
 Pin it
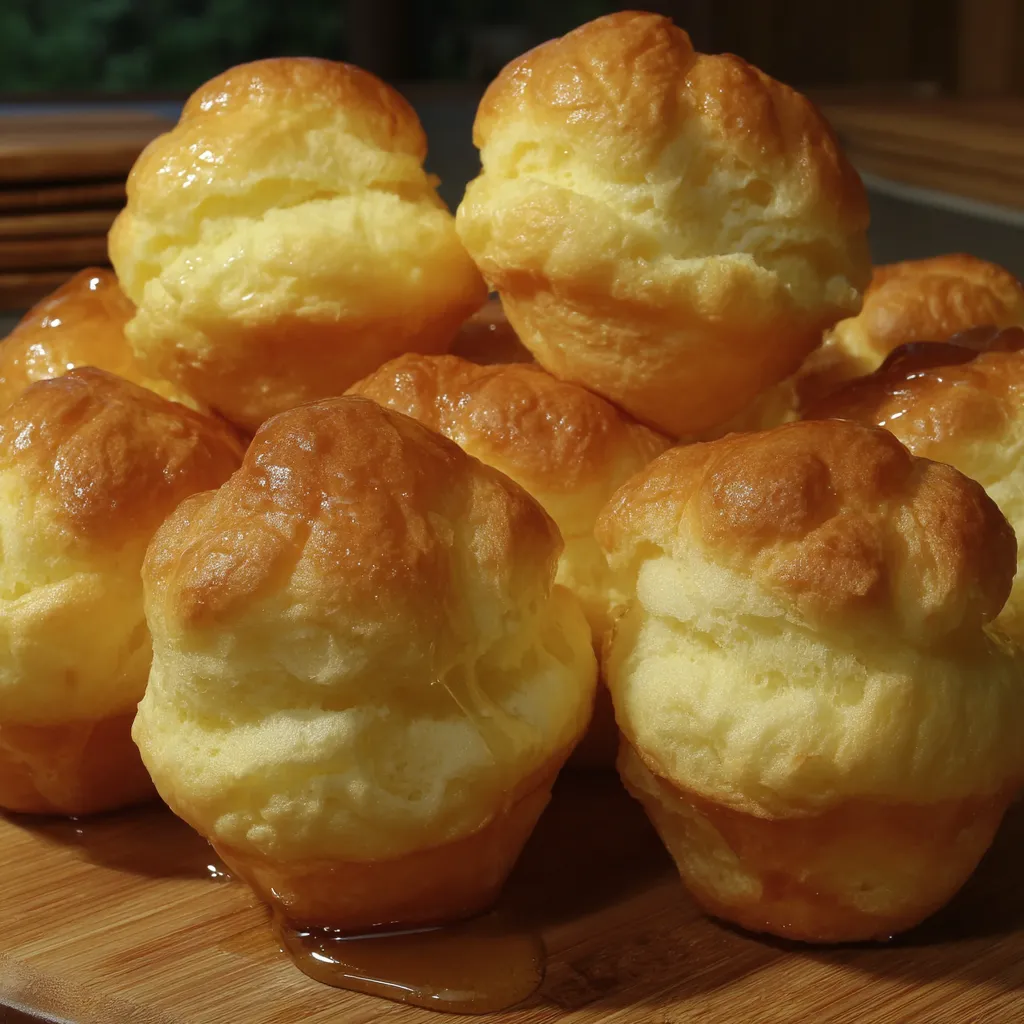
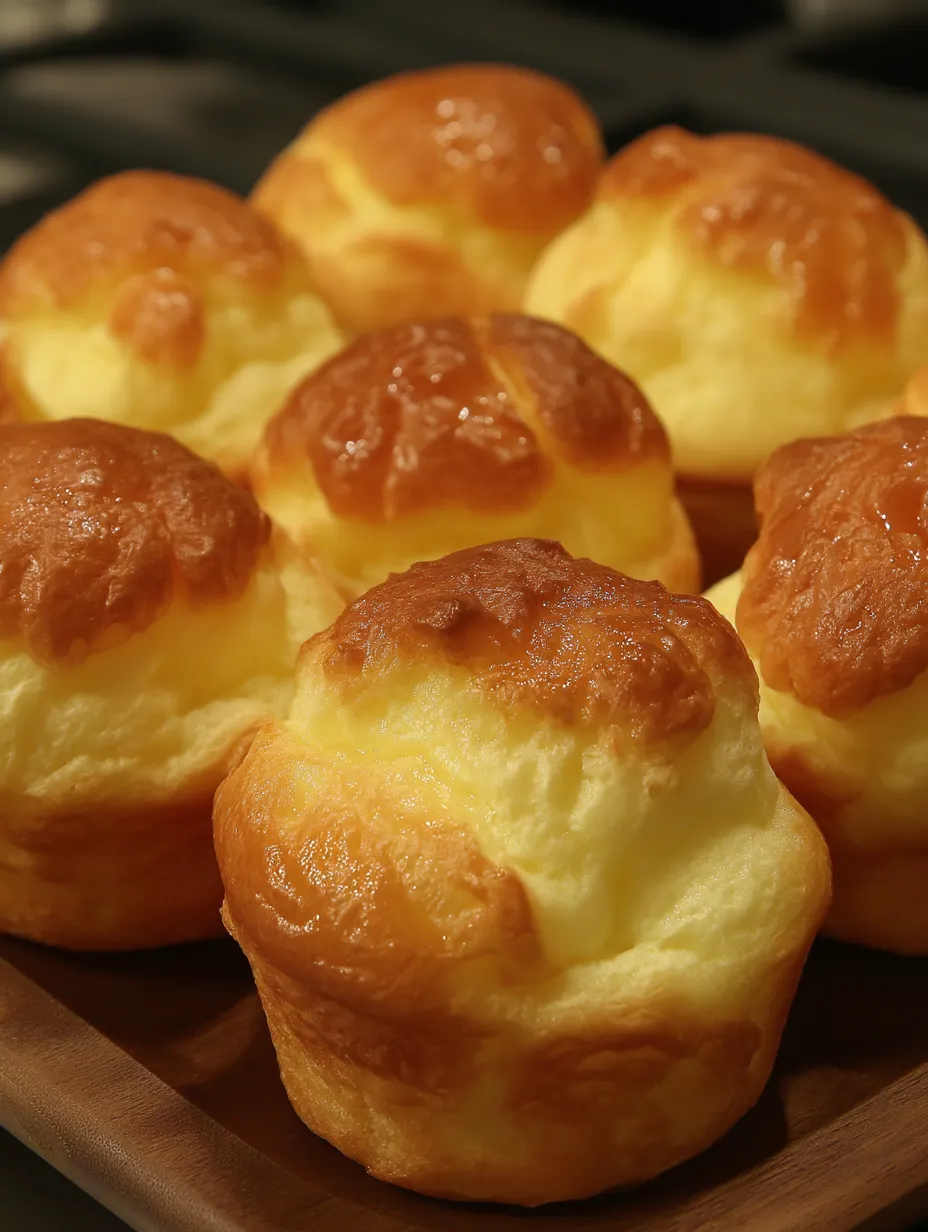
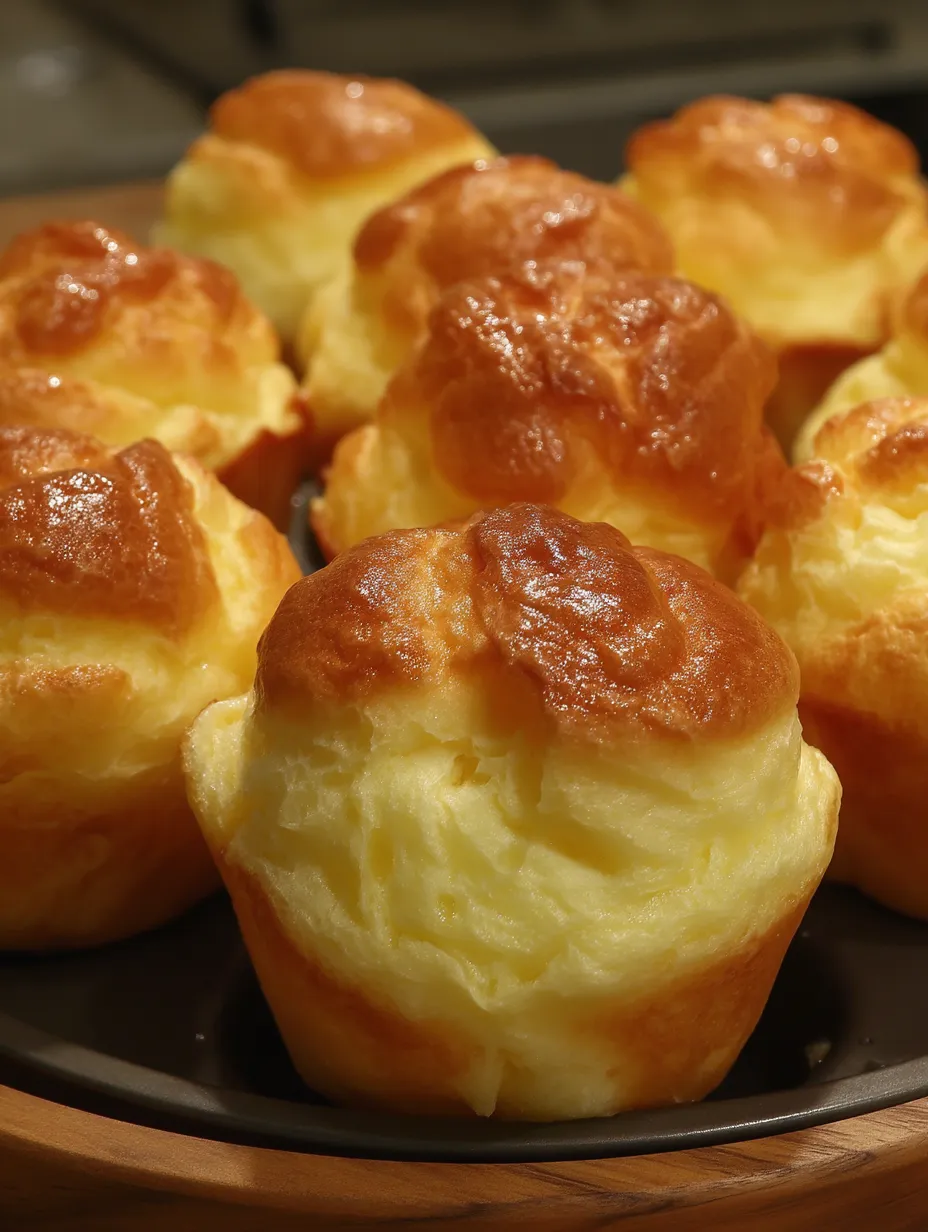
There's something magical about watching these simple pastries rise into golden, airy puffs in the oven. They start as a humble mixture of basic ingredients but transform into something elegant and impressive. These Nun's Puffs offer that perfect combination of crisp exterior and tender, slightly eggy interior that makes choux pastry so irresistible.
I first tried making these on a rainy Sunday afternoon when I needed a baking project that wouldn't require a grocery store run. The name intrigued me, and the simple ingredient list made it seem approachable. My first batch disappeared in minutes, with my usually reserved husband declaring them "dangerously good" between bites. Now they're our special weekend breakfast treat.
Simple Ingredients
- Butter: Creates steam during baking that helps the puffs rise dramatically—unsalted gives you better control over flavor
- Milk: Adds richness while providing the moisture needed for proper choux development—whole milk works best for tender results
- All Purpose Flour: The structure builder that traps steam and allows for that impressive rise—no need for fancy pastry flour here
- Eggs: The true stars that provide lift, richness, and that distinctive eggy flavor—room temperature eggs incorporate more easily
- Sugar: Just a sprinkle on top creates delightful sweet spots and beautiful caramelization—the optional sugar in the dough adds subtle sweetness throughout
The beauty of this recipe lies in its simplicity. Unlike many pastries that require special ingredients or equipment, these puffs use basic staples transformed through technique rather than fancy additions. My grandmother would have called this "making something out of nothing"—the highest kitchen compliment.
 Pin it
Step-by-Step Instructions
- Proper Preparation
- Greasing both the inside and rim of each muffin cup is crucial for successful removal. The batter expands dramatically during baking, climbing up and over the edges, so thorough greasing prevents sticking. Preheating the oven completely before baking ensures that initial blast of heat that creates the dramatic rise.
- Creating The Dough
- Melting butter and milk together creates the liquid base that will generate steam. Bringing it just to a boil activates the flour proteins properly when added. Adding all the flour at once might seem counterintuitive, but this shock method quickly gelatinizes the starches while minimizing gluten development.
- Vigorous Stirring
- The energetic stirring over low heat accomplishes two critical things: it cooks the flour to remove raw taste and dries the mixture enough to accept the eggs without becoming too loose. The dough "coming together in a ball" is your visual cue for proper development—it should pull away cleanly from the sides of the pan.
- Cooling Period
- Those five minutes of cooling prevent the hot dough from cooking the eggs on contact, which would result in scrambled eggs rather than smooth incorporation. The dough should be warm but not hot when you begin adding eggs—you should be able to touch it comfortably with your finger.
- Egg Incorporation
- Adding eggs one at a time allows each to be fully absorbed before the next goes in. The transformation from chunky to smooth happens gradually—don't panic when the dough initially breaks apart with each egg addition. Your patience and continued stirring will be rewarded with a glossy, pipeable dough.
- Even Distribution
- Dividing the batter evenly ensures uniform baking and appearance. Each muffin cup should be filled about halfway, allowing room for the dramatic expansion that makes these treats so impressive. The sugar sprinkle adds both sweetness and helps create that beautiful golden crust during baking.
- Baking Magic
- The high moisture content creates steam that puffs the dough dramatically. Opening the oven during the first 20 minutes can cause them to collapse, so resist the urge to peek! The puffs are done when deeply golden brown with dry, firm exteriors—pale puffs often collapse when cooling.
My first attempt at these puffs was nearly sabotaged when I opened the oven too early to check on them. They immediately began deflating before my eyes! I've since learned the patience required for perfect puffs—trusting the process and resisting the urge to peek until at least 25 minutes have passed.
Serving Suggestions
These versatile puffs shine with various accompaniments. Warm honey drizzled over the top creates simple elegance, allowing the eggy pastry flavor to take center stage. For brunch, serve with fresh berries and lightly sweetened whipped cream for a deconstructed cream puff experience. Coffee lovers might appreciate a dusting of powdered sugar and a strong espresso alongside. For a savory twist, omit the sugar and fill with scrambled eggs and herbs.
Creative Variations
Transform this basic recipe in multiple ways to keep it interesting. Add a teaspoon of vanilla extract or citrus zest to the dough for subtle flavor variations. Replace the sugar topping with grated cheese for savory puffs perfect alongside soups. Experiment with different sweeteners like maple sugar or cinnamon sugar on top for seasonal variations. Once baked and cooled, you can split and fill them like cream puffs with pastry cream or whipped chocolate ganache for an elevated dessert.
Storage Solutions
These puffs are best enjoyed fresh from the oven while still warm, but they can be stored in an airtight container at room temperature for up to two days. To refresh day old puffs, warm them in a 325°F oven for 5 7 minutes until crisp again. For make ahead options, freeze the baked, cooled puffs in airtight containers for up to a month, then thaw at room temperature and reheat in a warm oven until crisp.
 Pin it
I've been making these puffs for Sunday breakfasts for nearly three years now, gradually perfecting my technique. What began as a culinary experiment has become a beloved family tradition. There's something deeply satisfying about creating something so impressive from such humble ingredients. When my daughter had friends over for breakfast, one asked if we'd bought them from a bakery—perhaps the highest compliment a home baker can receive. Sometimes the simplest recipes become the ones that create lasting memories.
Frequently Asked Questions
- → Are Nun's Puffs difficult to make?
- Not at all! While choux pastry might sound intimidating, this version is simplified and foolproof. The key is to follow the steps in order - especially allowing the dough to cool slightly before adding eggs, and incorporating each egg completely before adding the next. If you can make pancake batter, you can make these puffs!
- → Why are they called Nun's Puffs?
- The name has historical origins - these pastries were reportedly made in French convents, hence the name 'Nun's Puffs.' They're also sometimes called 'Pets de Nonne' in French, which translates to 'Nun's Puffs.' They're a simpler variation of traditional choux pastry that rises dramatically in the oven.
- → Can I make these ahead of time?
- Nun's Puffs are best served warm from the oven when they're at their most puffy and crisp. However, you can prepare the dough up to 24 hours ahead and store it covered in the refrigerator. Let it come to room temperature for about 30 minutes before filling your muffin cups and baking.
- → What can I serve with Nun's Puffs?
- These versatile pastries pair wonderfully with many toppings! Traditional options include honey, maple syrup, or powdered sugar. For more decadence, try filled with whipped cream, pastry cream, or lemon curd and topped with fresh berries. For a savory twist, omit the sugar and fill with herbed cream cheese or smoked salmon.
- → Why didn't my puffs rise properly?
- Several factors can affect rising: 1) Make sure to cook the flour mixture long enough until it forms a ball, 2) Let the dough cool slightly before adding eggs, 3) Fully incorporate each egg before adding the next, 4) Preheat your oven completely, and 5) Avoid opening the oven door during the first 20 minutes of baking as the sudden temperature change can cause them to collapse.