 Pin it
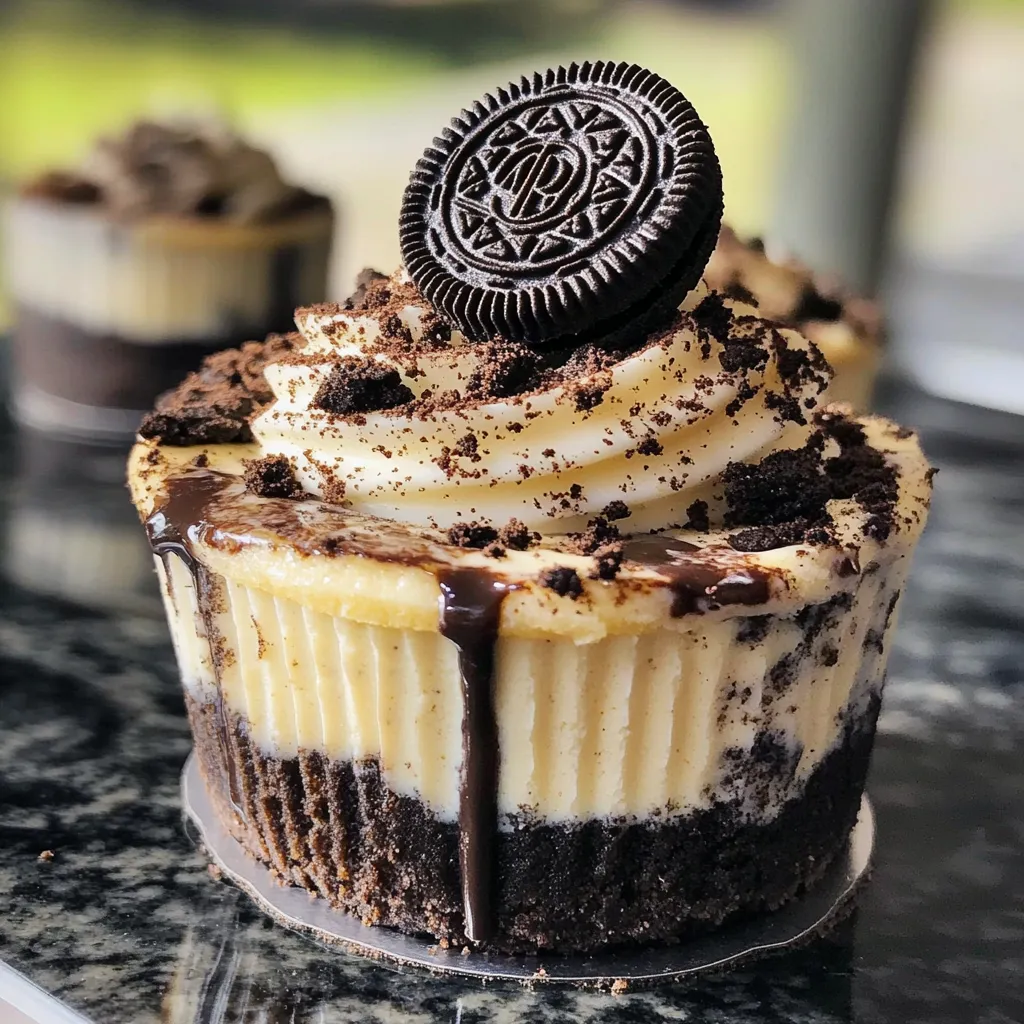
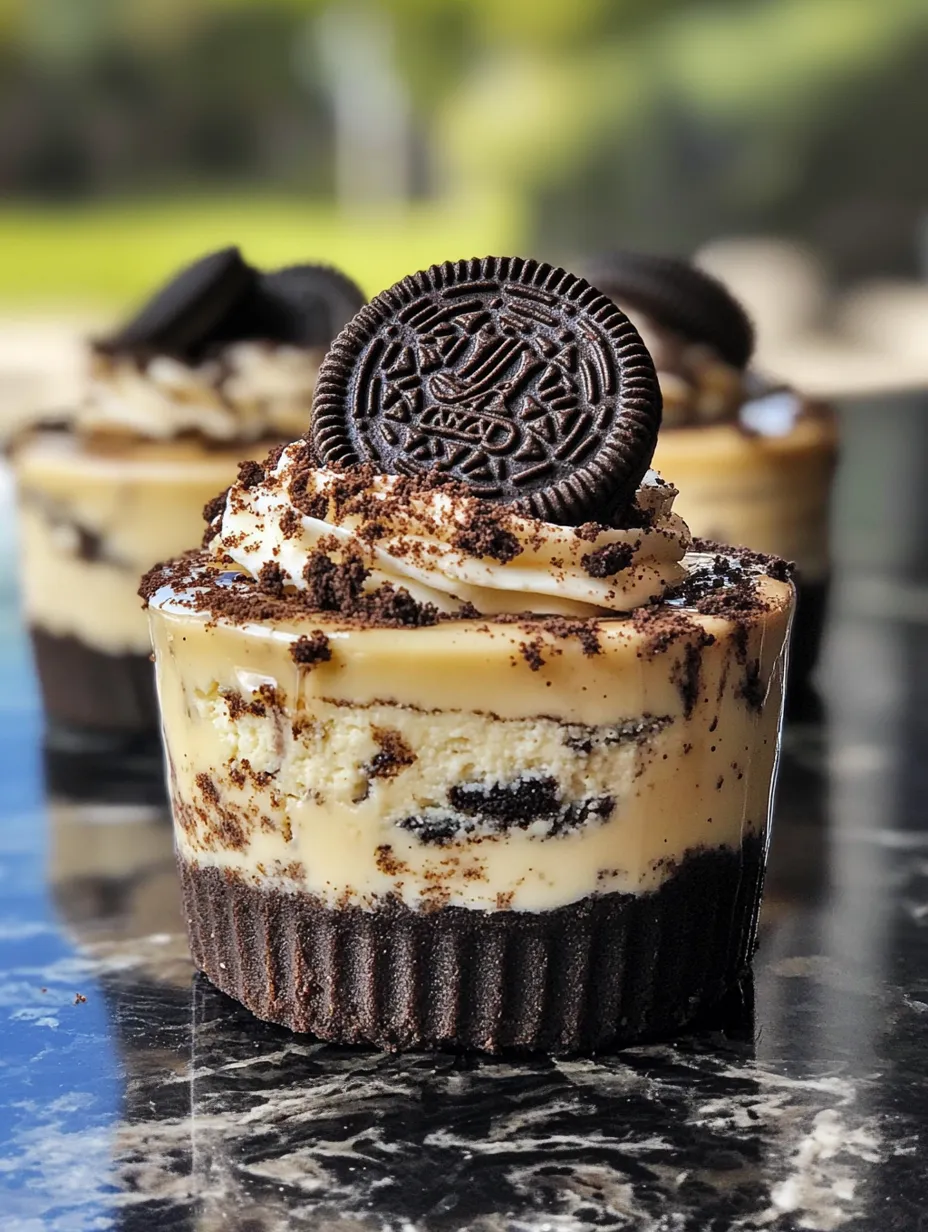
OK, I need to confess something - I created these mini cheesecakes for my son's 12th birthday because the kid is OBSESSED with Oreos. Like, I find empty packages stuffed under his bed obsessed. But then I took a bite and... well, let's just say I understand his addiction now! The contrast between the silky cheesecake and that surprise whole Oreo hidden inside makes these little guys dangerously addictive.
My friend Janet (who claims she's watching her sugar intake) ate THREE of these at our last book club meeting. When I called her out, she just shrugged and said, "I'll start my diet tomorrow." Then she asked for the recipe while reaching for a fourth! I've created a monster, and I'm not even sorry.
Ingredients
- Oreos for the crust: I've tried fancy chocolate cookies, but nothing beats the real thing. Don't bother scraping out the filling - just crush the whole cookies, filling and all. The filling actually helps bind everything together and adds sweetness.
- Philadelphia cream cheese: I've tried the store brand to save a few bucks and regretted it. The texture just isn't the same, and these little cakes deserve the good stuff. Take it from someone who learned the hard way!
- Heavy cream: For the love of all things delicious, don't substitute this with Cool Whip! I did that once when I was in a hurry, and while they were edible, they had this weird artificial aftertaste that totally ruined the experience.
- Whole Oreios for stuffing: This is the surprise element that makes people go "Whoa!" when they bite in. Don't crush these - you want that perfect disc of cookie goodness hiding inside.
- Chocolate sauce: I usually just melt some semi-sweet chocolate chips with a tiny bit of vegetable oil for a smoother drizzle, but in a pinch, store-bought chocolate syrup works too.
 Pin it
Step-by-Step Instructions
- Crush with care
- Getting the right texture for the crust is crucial. I put the Oreos in a ziplock bag and smash 'em with my rolling pin - it's oddly satisfying after a long day! You want mostly fine crumbs with a few bigger pieces for texture. Mix with melted butter until it looks like wet sand. If it seems too dry, add another tablespoon of butter. Press it firmly into your muffin tins - I use the bottom of a shot glass, which is the perfect size and makes my husband raise his eyebrows every time.
- Cream cheese tricks
- Seriously, don't skip softening your cream cheese! I've tried to rush this step and ended up with lumpy filling that no amount of mixing would smooth out. Leave it on the counter for at least an hour - I sometimes forget and microwave it for 15 seconds, but it never turns out quite as silky. Beat it with the sugar until completely smooth before moving on. If you see any lumps at this stage, they'll still be there in the final product!
- Whipping wonder
- The heavy cream needs to be COLD for the best whipping. I even throw my mixing bowl in the freezer for 10 minutes beforehand. Whip until you get stiff peaks - that means when you lift the beater, the cream stands up with just a slight curl at the tip. Undermixed cream makes for runny cheesecake, but if you go too far, you'll have sweet butter! Fold it gently into the cream cheese mixture - I use a figure-eight motion with a silicone spatula.
- Perfect pockets
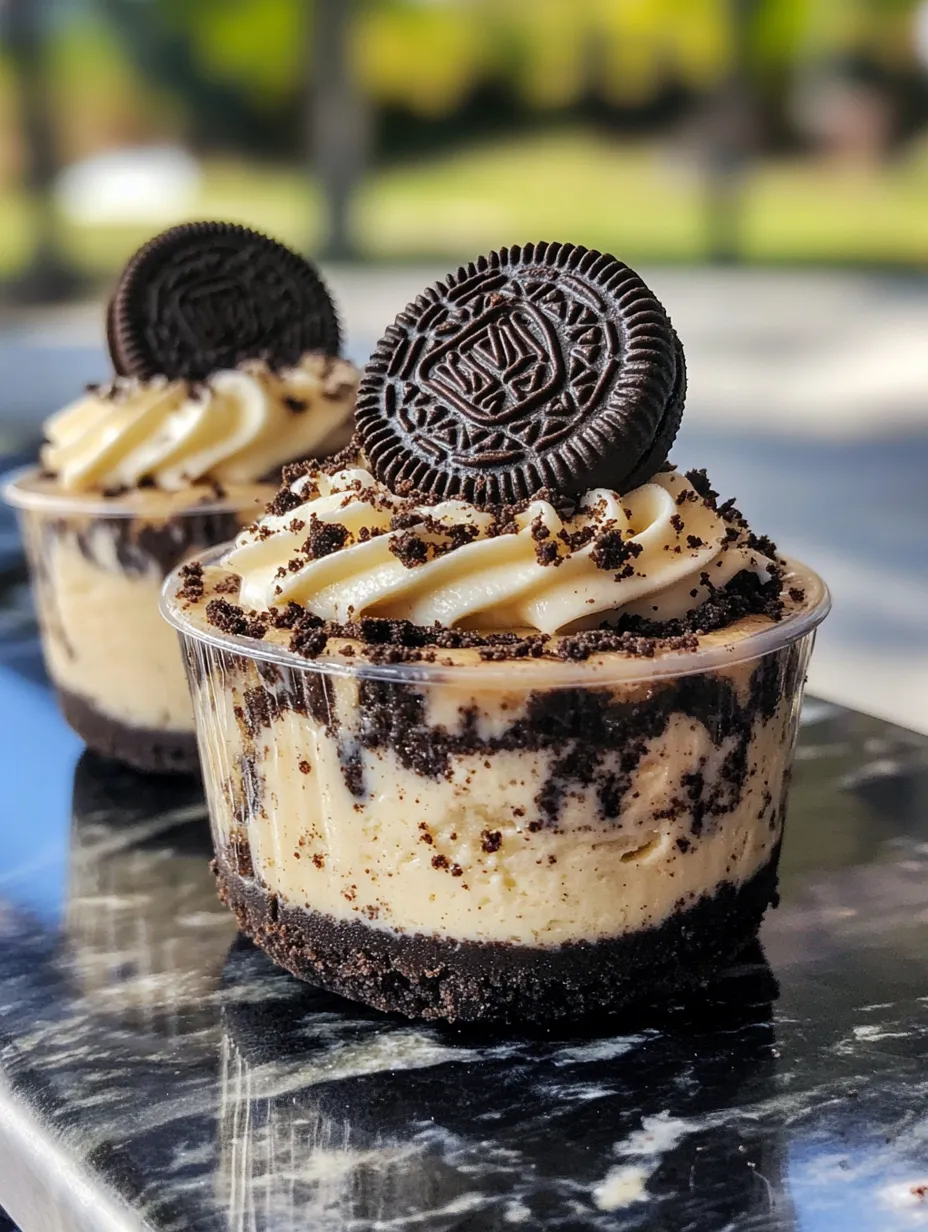
- This is where the magic happens! Spoon about a tablespoon of cheesecake mixture into each cup, then press a whole Oreo gently on top. Don't push it all the way to the bottom - you want that layer of cheesecake between the crust and the cookie. Then cover completely with more filling. I like to use a cookie scoop for this part so they all turn out the same size. Smooth the tops with the back of a spoon dipped in warm water for that professional look.
- Patience time
- These really need time to set up properly. My daughter once tried to eat one after just an hour in the fridge (the self-control of teenagers, am I right?), and it was basically a delicious pudding mess. Four hours minimum, but overnight is even better. The longer they chill, the more the flavors meld together into cookies-and-cream perfection.
- Topping abundance
- Go absolutely wild with the toppings! The crushed Oreos on top should be a bit chunkier than what you used for the crust - you want that textural contrast. For the chocolate drizzle, I put the sauce in a sandwich bag, snip off a tiny corner, and make zigzags across the top. For extra fancy occasions, I stand a mini Oreo up in the center like a little chocolate flag.
My first attempt at these was for my son's birthday party last year. I made the rookie mistake of using jumbo Oreos for the stuffing - they were too big and pushed all the filling out the sides! The kids still demolished them in minutes, but now I stick with regular-sized cookies. My husband says these are "dangerously good" and has banned me from making them unless we have company coming over, because otherwise he'll eat the entire batch while watching football.
Party Perfect
These mini cheesecakes are incredible on their own, but for a real showstopper dessert table, I arrange them on a tiered stand with some whole Oreos and chocolate-dipped strawberries scattered around. For my daughter's graduation party, I made a double batch and stuck tiny congratulations flags into the tops - everyone thought I'd ordered them from a bakery! They pair amazingly well with coffee or cold milk, and they're substantial enough to serve as the main dessert at any gathering.
Cookie Creativity
Want to switch things up? These are super adaptable! I've made them with mint Oreos during the holidays (add a drop of peppermint extract to the filling) and they were incredible. For my coffee-loving sister, I used the mocha Oreos and added a teaspoon of espresso powder to the cheesecake mixture. My kids love when I use the Double Stuf Oreos for the center - more cream filling means more happiness, apparently! And during Halloween, the orange-filled Oreos make these treats seasonally perfect.
Sweet Storage
These keep beautifully in the fridge for about 4 days in a covered container. I've learned the hard way that they absorb other food smells really easily, so I usually put them in their own container rather than just covering a plate with plastic wrap. If you need to make them further ahead, they freeze surprisingly well - just thaw in the refrigerator overnight before serving. I don't recommend adding the toppings until after they've thawed, though, as the crushed cookies can get soggy.
 Pin it
These Oreo-stuffed cheesecakes have become my go-to dessert when I need to impress without spending hours in the kitchen. They've saved me on countless occasions - from last-minute bake sale requests to surprise visitors. The best part is watching people take that first bite and discover the hidden Oreo center. Their eyes always widen with that "Oh my god" look that makes all the effort worthwhile. And between us? When everyone's gone to bed, I sometimes sneak one out of the fridge as my midnight reward for surviving another day of adulting. Don't judge me until you've tried them yourself!
Frequently Asked Questions
- → Can I use different flavors of Oreos for this recipe?
- Absolutely! Try mint, golden, or seasonal Oreo varieties for a fun twist. You can even mix different flavors within the same batch.
- → Do I need to remove the cream filling from the Oreos when making the crust?
- No need to remove the cream filling! The entire cookie gets crushed, filling and all, which helps bind the crust together with less butter needed.
- → Can I make these in regular muffin tins with liners?
- Yes! Standard muffin tins with paper liners work perfectly. This recipe will make approximately 10-12 standard-sized mini cheesecakes.
- → How do I store leftover mini cheesecakes?
- Store in an airtight container in the refrigerator for up to 3 days. The Oreos may soften slightly but will still taste delicious.
- → Can I freeze these mini cheesecakes?
- Yes! Freeze them without the toppings for up to 1 month. Thaw in the refrigerator overnight and add the crushed Oreos, chocolate drizzle, and garnish before serving.
