 Pin it
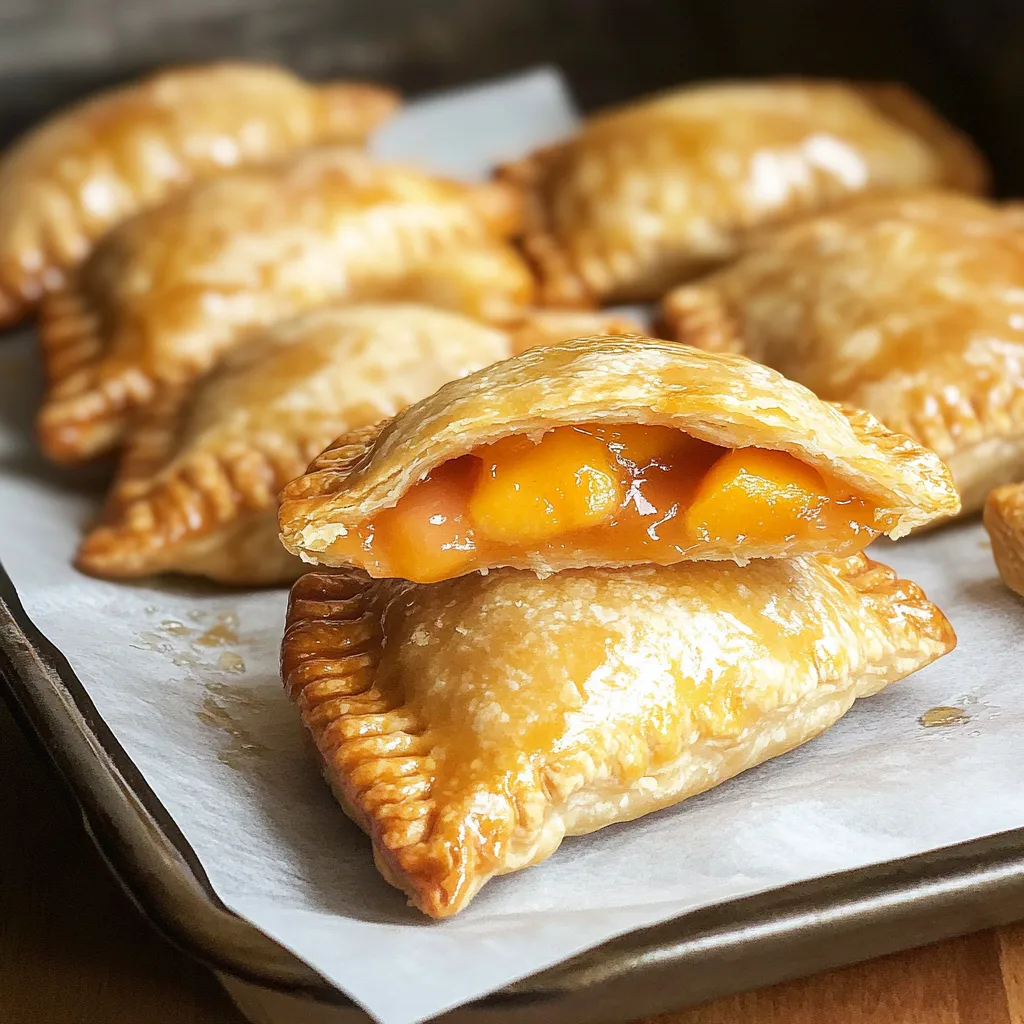
These peach hand pies have become my summer entertaining secret weapon. I discovered this recipe years ago when looking for a portable dessert to bring to outdoor concerts at our local park. The combination of flaky fried crust, sweet peach filling, and that simple sugar glaze creates this perfect balance of textures and flavors that makes people think you spent hours in the kitchen. In reality, using store-bought pie crust and canned filling means you can whip these up in less than an hour. They're essentially little portable peach pies that you can eat with your hands – no plates or forks required!
Last summer, I brought these to a neighborhood potluck. My next-door neighbor Joe, who claims he "doesn't do desserts," ate three of them and then asked if I had any extras he could take home. His wife caught him rummaging through their refrigerator at midnight looking for more! Now he requests "those fried peach things" for every backyard gathering.
Key Ingredients
- Refrigerated pie crust: This time-saving ingredient creates a perfectly flaky crust with zero effort. I've tried making these with homemade crust, but honestly, the refrigerated kind works beautifully and saves so much time.
- Canned peach pie filling: Creates that perfect sweet filling without any prep work. Make sure to get a good quality brand – the extra dollar or two makes a noticeable difference in flavor.
- Vegetable oil: For frying the pies to golden perfection. I've found that peanut oil or regular vegetable oil both work well and don't add any unwanted flavors.
- Simple sugar glaze: This three-ingredient glaze adds a touch of sweetness and gives the pies that beautiful shine. The corn syrup helps it set to the perfect consistency that doesn't get too sticky.
 Pin it
Step-by-Step Instructions
- Oil temperature:
- Keeping your oil at 375°F is absolutely crucial! Too cold and the pies absorb oil like a sponge; too hot and they burn before cooking through. I check mine with a thermometer constantly throughout the cooking process.
- Perfect sizing:
- That 5-6 inch circle gives you just the right amount of crust to filling ratio. Any smaller and you can't fit enough filling; any larger and they're harder to handle while frying.
- Filling amount:
- Two tablespoons might not seem like much, but it's the perfect amount. I've tried adding more and inevitably ended up with burst pies and filling sizzling in my oil.
- Water sealing:
- That quick brush of water around the edges is the secret to pies that don't leak. I use my fingertip for precise application rather than a brush which can add too much moisture.
- Crimping technique:
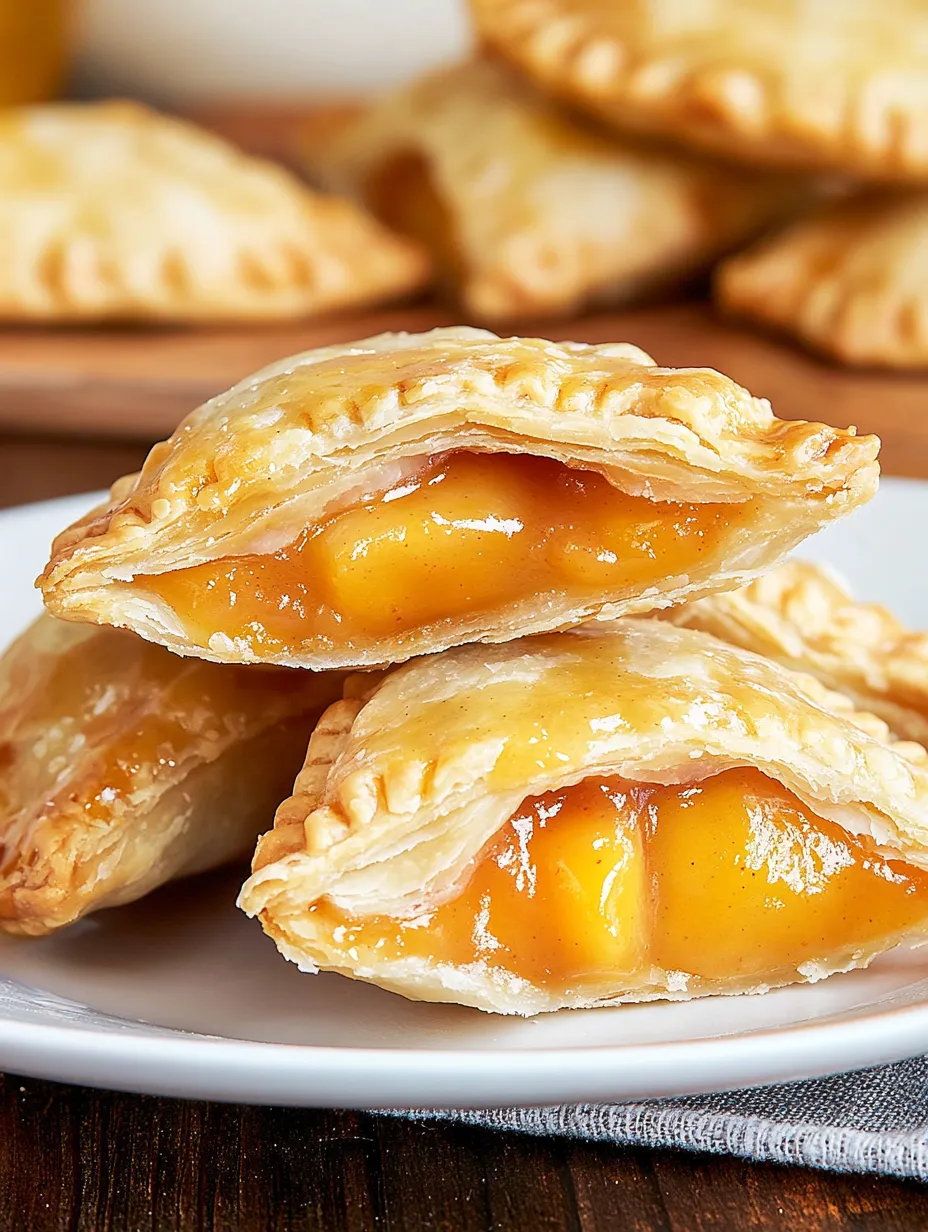
- Press firmly with a fork to really seal those edges. I crimp mine twice – once to seal, then again for a pretty pattern that helps identify different fillings when I make a variety.
- Immediate glazing:
- Apply that glaze while the pies are still warm – it creates this magical bond that locks in freshness and gives them that bakery-quality finish.
I've been perfecting this recipe for years, tweaking little details each time. My first attempts used too much filling and constantly burst open during frying, creating a frustrating mess in my oil. The amount in this recipe creates the perfect balance where you get plenty of peach flavor without the structural failures. I also experimented with different glazes before landing on this simple version that sets beautifully without being too sweet or overpowering the peach flavor.
Serving Ideas
Serve these hand pies at room temperature for casual gatherings or slightly warm for an extra special treat. For a summer dessert, pair them with vanilla ice cream on the side for dipping. At breakfast or brunch, they're perfect alongside coffee or tea. When I'm hosting a larger event, I often make several different fillings (apple, cherry, blueberry) and arrange them on a platter with small labels so guests can choose their favorite.
Tasty Twists
Try adding a sprinkle of cinnamon to the peach filling for a warm, cozy flavor. For a grown-up version, mix a tablespoon of bourbon into the filling before assembling. Fresh peaches can be substituted during peak season – just cook them down with a bit of sugar and cornstarch first. For a holiday variation, I sometimes dust the still-wet glaze with colored sugar or sprinkles to match the season.
Storage Smarts
These hand pies are best enjoyed the day they're made, but can be stored in an airtight container at room temperature for about a day. For longer storage, refrigerate for up to three days. To refresh them, warm in a 300°F oven for about 5 minutes – this restores some of that fresh-fried crispness to the crust. I don't recommend freezing them as the texture of the glaze and crust changes significantly.
 Pin it
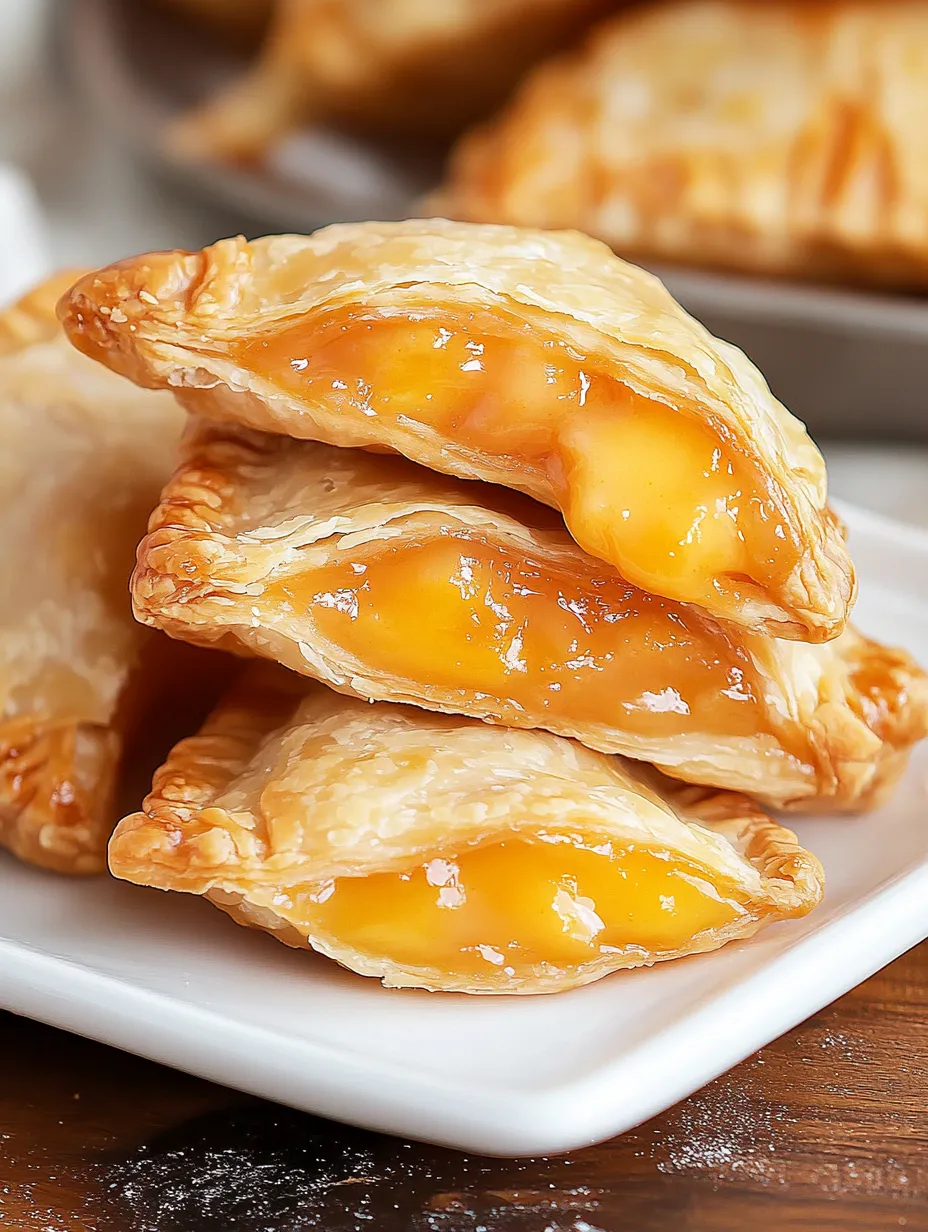
I've made these peach hand pies for countless summer gatherings, family picnics, and just because they're so darn good. There's something about that combination of crispy, flaky crust and sweet, juicy peach filling that makes people's eyes light up. The individual portions make them perfect for sharing, though I'll confess to sometimes making a small batch just for myself as a weekend treat. They remind me of those fried pies my grandmother used to make, but with a fraction of the effort – which is exactly the kind of recipe I love most!
Frequently Asked Questions
- → Can I bake these hand pies instead of frying them?
- Yes! Brush with egg wash and bake at 375°F for about 20 minutes until golden brown. The glaze can still be added after baking.
- → How do I store leftover hand pies?
- Store in an airtight container at room temperature for 1-2 days. They're best eaten fresh as the crust may soften over time.
- → Can I use homemade pie filling instead of canned?
- Absolutely! Just make sure homemade filling is thick enough so it doesn't leak during frying.
- → What's the best way to seal the edges of the hand pies?
- After brushing the edges with water, press firmly with a fork to create a decorative crimped edge that seals well.
- → Can I make these ahead of time for a party?
- You can prepare the assembled but uncooked pies a day ahead and refrigerate. Fry and glaze just before serving for the best texture.
