
 Pin it
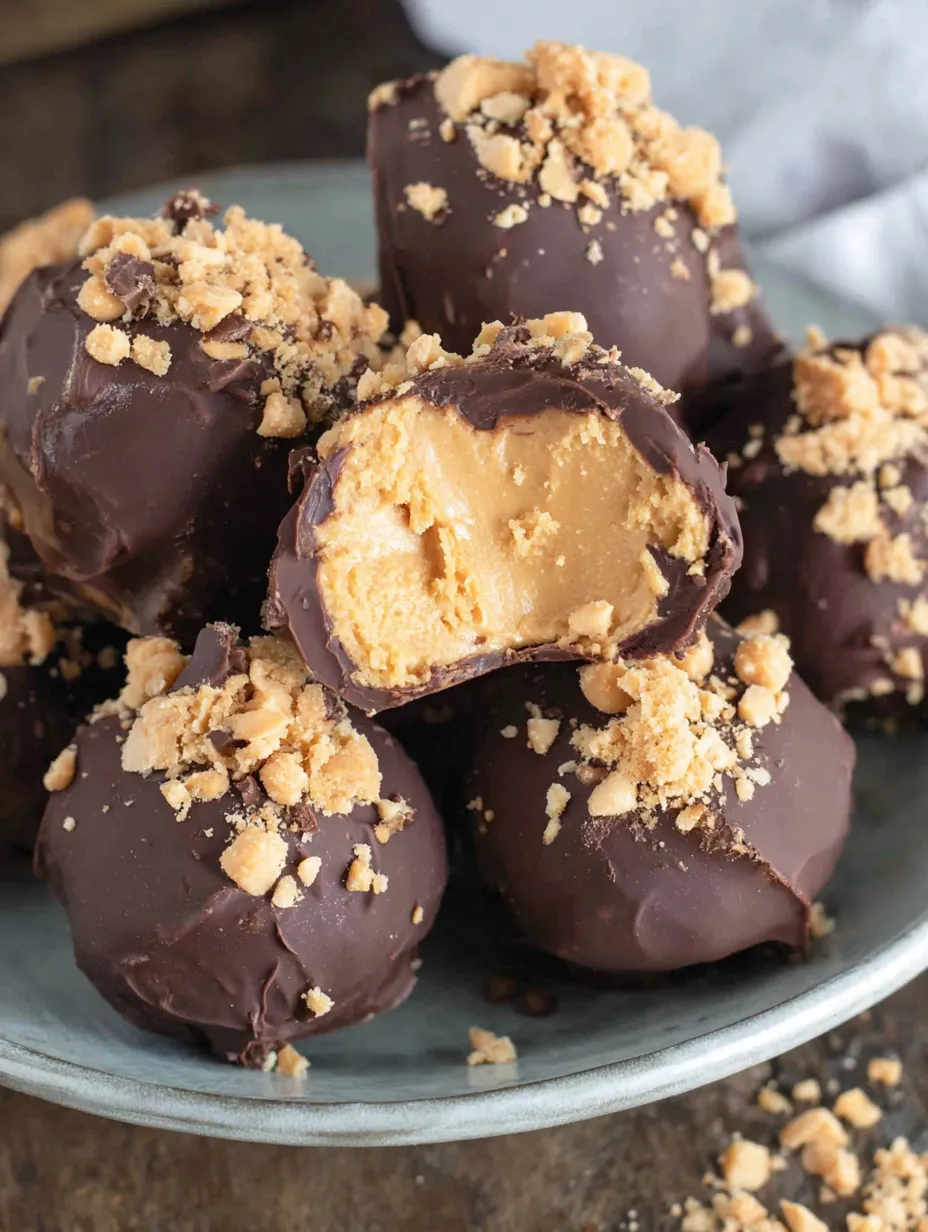
Peanut butter balls are basically homemade Reese's cups except you get to control how much peanut butter goes inside and you don't have to deal with those annoying paper wrappers, which automatically makes them superior to store-bought candy. You mix peanut butter with butter and powdered sugar until it forms this cookie dough-like mixture, chill it, roll it into balls, freeze them solid, then dip everything in melted chocolate until you have these perfect little spheres of peanut butter surrounded by hard chocolate shell. The whole process takes about two and a half hours including all the chilling and freezing time, but the actual hands-on work is maybe thirty minutes of mixing and dipping. I started making these when my daughter's school banned homemade baked goods for class parties but somehow still allowed "no-bake items," which seemed like an arbitrary distinction. These peanut butter balls became my default contribution, and after the first party where kids demolished an entire batch in minutes, the teacher started specifically requesting them for every event. Now my daughter acts like I'm required to make them for every school function, which has created expectations I can't always meet but has also made me weirdly popular among second graders.
My coworker Jessica claims she can't make anything that requires "precision or skill," which rules out basically all baking and most cooking in her mind. She watched me make these at a holiday party, insisting the whole time that she could never do it because dipping things in chocolate "requires talent." I literally handed her a fork and made her dip three balls herself while I watched, and they came out fine. Now she makes these constantly at home and has stopped using lack of skill as an excuse for not cooking, which her husband says has significantly improved their household since she's discovered she can make things that aren't microwaved or delivered.
What Goes Into Them
- Creamy peanut butter: One cup provides the base flavor and texture. Use regular creamy peanut butter, as natural varieties that separate won't provide the right consistency
- Unsalted butter: Eight tablespoons at room temperature blend smoothly with the peanut butter to create a moldable texture that isn't too sticky
- Powdered sugar: Two cups sweeten the filling and provide the necessary structure to transform liquid peanut butter into a rollable dough
- Dark chocolate melting wafers: Two cups melted create a coating that hardens into a satisfying shell; Ghirardelli wafers work exceptionally well
- Crushed peanuts: A quarter cup is optional for garnish but adds a lovely crunch and visual appeal to the finished candy
 Pin it
Making These No-Bake Treats
- Mixing the filling:
- Start with softened, room-temperature butter. In a large bowl, beat the butter and creamy peanut butter with an electric mixer for 1 to 2 minutes until completely smooth. Gradually add the powdered sugar on low speed to avoid a sugar cloud, then increase to medium and beat until the mixture resembles thick cookie dough. Cover and refrigerate for exactly 1 hour to firm up.
- Rolling into balls:
- Portion the chilled mixture into roughly equal amounts. Roll them between your palms to form smooth, 1-inch diameter balls (about the size of a large marble). Place them on a parchment-lined baking sheet and freeze for 1 to 2 hours until frozen solid. This step is non-negotiable for successful dipping.
- Melting the chocolate:
- Using a microwave-safe bowl, melt your dark chocolate wafers in 30-second intervals, stirring in between, until silky smooth. Let the chocolate cool for a few minutes so it is warm but not hot, which ensures a smoother, more even coating during the dipping process.
- Dipping and setting:
- Work quickly while the balls are still frozen. Using a fork, lower each ball into the chocolate, spooning more over the top if needed. Tap the fork against the edge of the bowl to remove excess, then slide the ball back onto the parchment paper. If using crushed peanuts, sprinkle them on immediately while the chocolate is wet. Let the balls sit at room temperature for 15 to 20 minutes until the shell is completely hard.
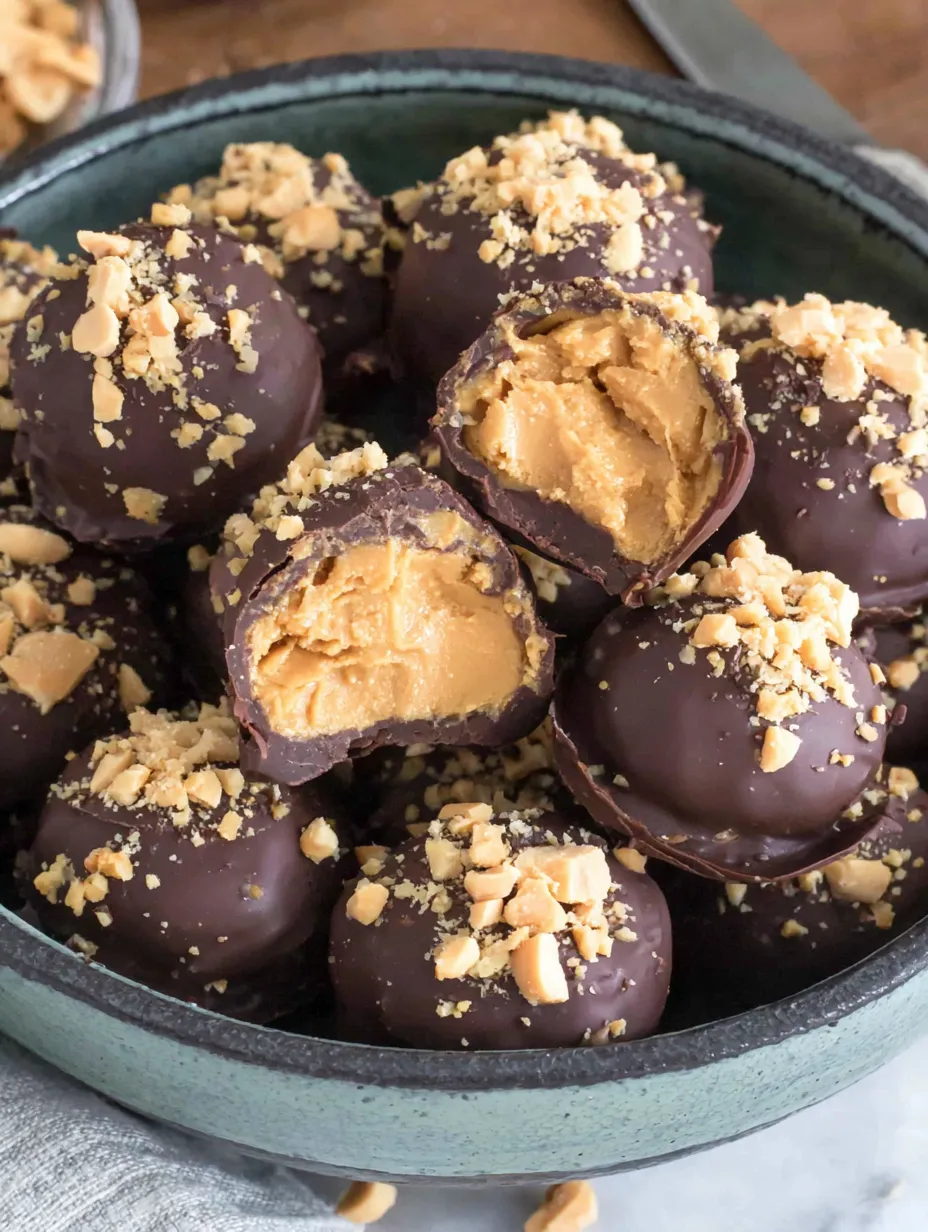
I've made these peanut butter balls countless times, and they remain the most requested treat in my rotation. There is something incredibly satisfying about the contrast between the snap of the dark chocolate shell and the creamy, salty-sweet center. Whether you're making them for a school event or a holiday platter, they look impressively professional despite being one of the easiest no-bake recipes in existence.
 Pin it
Ultimately, these little candies are a testament to the fact that the best desserts don't always require an oven. They bring together the classic combination of chocolate and peanut butter in a way that feels special and handmade. Once you master the simple chilling and dipping technique, you'll find yourself making these for every gathering, just like I do for those demanding second graders!
Frequently Asked Questions
- → Can I use natural peanut butter?
- Regular creamy peanut butter works best. Natural peanut butter is too oily and the balls won't hold together as well. Stick with brands like Jif or Skippy.
- → Why do I need to freeze the balls before dipping?
- If they're not frozen solid, they'll fall apart when you dip them in the warm chocolate. The freezing helps them keep their shape and makes dipping way easier.
- → Can I use milk chocolate instead of dark?
- Absolutely! Use whatever chocolate you prefer. Milk chocolate, semi-sweet, or even white chocolate all work great. Dark chocolate just balances the sweetness nicely.
- → How long do these last?
- They keep in the fridge for up to 2 weeks in an airtight container. You can also freeze them for up to 3 months. Just let them come to room temp for a few minutes before eating.
- → What if my chocolate is too thick for dipping?
- Add a teaspoon of coconut oil or vegetable oil to thin it out. Stir it in while the chocolate is melted and it should flow better for dipping.
- → Can I make these without butter?
- The butter helps make the filling smooth and creamy. You could try using more peanut butter instead, but the texture won't be quite the same.