
 Pin it
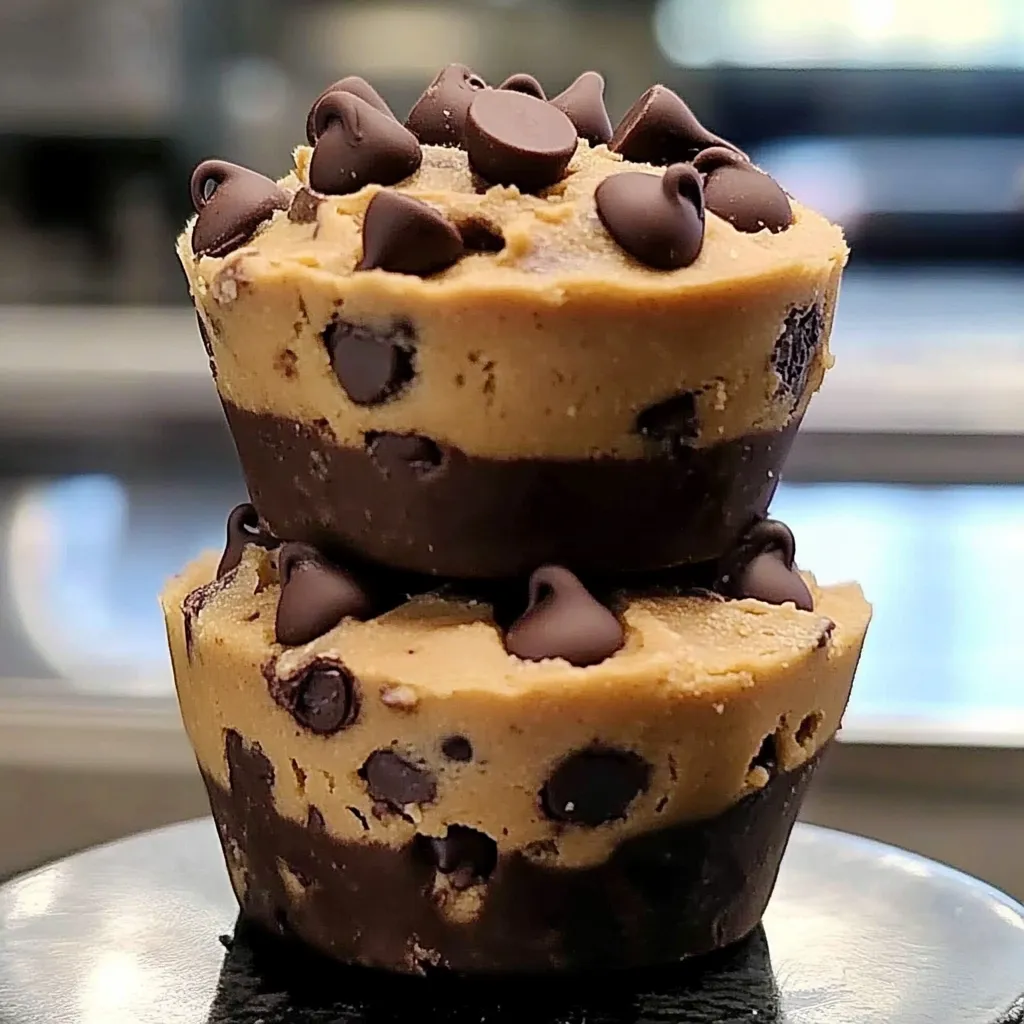
I stumbled onto this peanut butter chocolate chip cookie cup recipe last winter when I was looking for something different to make for a neighborhood cookie exchange. The combination of peanut butter and chocolate baked in a muffin tin creates these incredible little treats that look fancy but are actually easier than making regular cookies. They've become my go-to when I need something impressive but don't want to spend hours in the kitchen.
My teenage son brought friends over unexpectedly last weekend, and I quickly whipped these up while they were playing video games. When I brought them out still warm from the oven, conversation actually stopped mid-sentence as everyone grabbed one. One boy asked if I could teach his mom how to make them, which I consider the highest form of teenage compliment possible.
Simple Ingredients
- Peanut butter: Use your favorite brand, either creamy or chunky depending on texture preference
- Brown sugar: Creates that perfect chewy texture and caramel-like flavor
- Butter: Make sure it's truly softened for the best incorporation with the sugars
- Chocolate chips: I like using a mix of semi-sweet and milk chocolate for complexity
- Vanilla extract: Adds depth of flavor that complements both the peanut butter and chocolate
 Pin it
Cookie Cup Creation
- Muffin Tin Preparation
- Taking time to properly grease the muffin tin prevents sticking and makes for easy removal. I've found that a light coating of cooking spray works better than butter for this recipe. Paper liners are convenient but you miss out on those crispy edges that form against the metal tin. The first time I made these, I used liners and while delicious, they weren't quite as special as when the dough bakes directly against the tin, creating that perfect contrast between chewy center and crisp edge.
- Butter and Sugar Creaming
- Don't rush this step - those 2-3 minutes of beating create the base texture for the entire cookie. The mixture should lighten in both color and texture, looking almost fluffy before you move on. I use my stand mixer for this, but a hand mixer works perfectly well too. The butter must be properly softened (not melted) for the best incorporation. When pressed with a finger, it should make an indent but not collapse completely.
- Peanut Butter Integration
- Make sure to mix the peanut butter thoroughly with the butter-sugar mixture before adding the egg. This ensures the fat from the peanut butter is properly distributed throughout the dough. I've found that natural peanut butter works, but traditional varieties like Jif or Skippy give more consistent results since their texture doesn't vary as much. If using natural peanut butter, make sure it's well-stirred before measuring.
- Dry Ingredient Addition
- Add the flour mixture gradually, not all at once, and mix just until combined. Overmixing develops gluten which can make the cookie cups tough instead of tender. I typically add the dry ingredients in three additions, mixing on low speed just until the flour disappears. Some small lumps are fine - they'll disappear during baking. When I rushed this step once and dumped all the flour in at once, the texture wasn't nearly as good.
- Filling Strategy
- That 3/4 full guideline is crucial - it gives the cookie cups room to rise without overflowing. I use a cookie scoop to ensure each cup gets the same amount of dough, which helps them bake evenly. Pressing a slight indent in the center of each dough ball helps create that classic cookie cup shape. The reserved chocolate chips on top not only look pretty but also ensure you get chocolate in every bite.
- Baking Precision
- Watch these carefully during baking - the difference between perfect and overdone happens quickly. They're ready when the edges look set and golden but the centers still look slightly underdone. They'll continue cooking from residual heat after removal from the oven. I start checking at 10 minutes in my oven, though 12-15 is typical. A toothpick inserted near the edge (not the center) should come out with a few moist crumbs, not wet batter.
My husband, who typically passes on desserts saying he's "not a sweets person," ate three of these in one sitting and has requested them multiple times since. There's something about that perfect balance of peanut butter and chocolate in that unique cookie cup format that makes them irresistible even to people who don't usually crave sweets.
Perfect Pairings
Serve these cookie cups slightly warm with a scoop of vanilla ice cream for an elevated dessert. For coffee gatherings, they're perfect alongside a strong cup of coffee or hot chocolate. During the holidays, I arrange them on a platter with other cookies for variety, though these are always the first to disappear. My kids love them in lunch boxes as a special treat that holds up better than regular cookies.
Creative Variations
Try pressing a mini peanut butter cup into the center of each cookie cup right when they come out of the oven. Add a handful of chopped peanuts to the batter for extra crunch and peanut flavor. For a more decadent version, drizzle cooled cookie cups with melted chocolate and a sprinkle of flaky sea salt. Last Christmas, I experimented with adding a teaspoon of cinnamon to the dry ingredients, which created a wonderful warmth that complemented both the peanut butter and chocolate.
 Pin it
I've made these peanut butter chocolate chip cookie cups for everything from after-school snacks to dinner parties, and they never fail to impress. There's something magical about the combination of peanut butter and chocolate in that perfect little cup shape that makes them so much more special than regular cookies. My daughter has started making them for her college friends, saying they always make her "look like a baking genius" despite being so simple. Sometimes the best recipes are the ones that combine familiar flavors in a slightly different format to create something that feels new and exciting.
Frequently Asked Questions
- → Can I use natural peanut butter in these cookie cups?
- While you can use natural peanut butter, it may change the texture of the cookies slightly. For best results, use conventional creamy or chunky peanut butter that doesn't require stirring. If using natural peanut butter, make sure it's well-stirred and not too oily.
- → How do I know when the cookie cups are done baking?
- The cookie cups are done when the edges are golden brown and the centers appear slightly soft. Don't overbake them if you want a chewy texture. The centers will continue to set as they cool in the muffin tin.
- → Can I make these cookie cups in advance?
- Yes! These cookie cups store well in an airtight container at room temperature for up to 5 days. You can also freeze them for up to 3 months. Thaw at room temperature or warm slightly in the microwave before serving.
- → What can I substitute for chocolate chips?
- You can substitute the chocolate chips with peanut butter chips, butterscotch chips, white chocolate chips, or chopped candy pieces like peanut butter cups or M&Ms. You can also use a combination for variety.
- → Can I make mini cookie cups using a mini muffin tin?
- Absolutely! For mini cookie cups, use a mini muffin tin and reduce the baking time to 8-10 minutes. This will yield approximately 24-30 mini cookie cups, perfect for parties and bite-sized treats.