
 Pin it
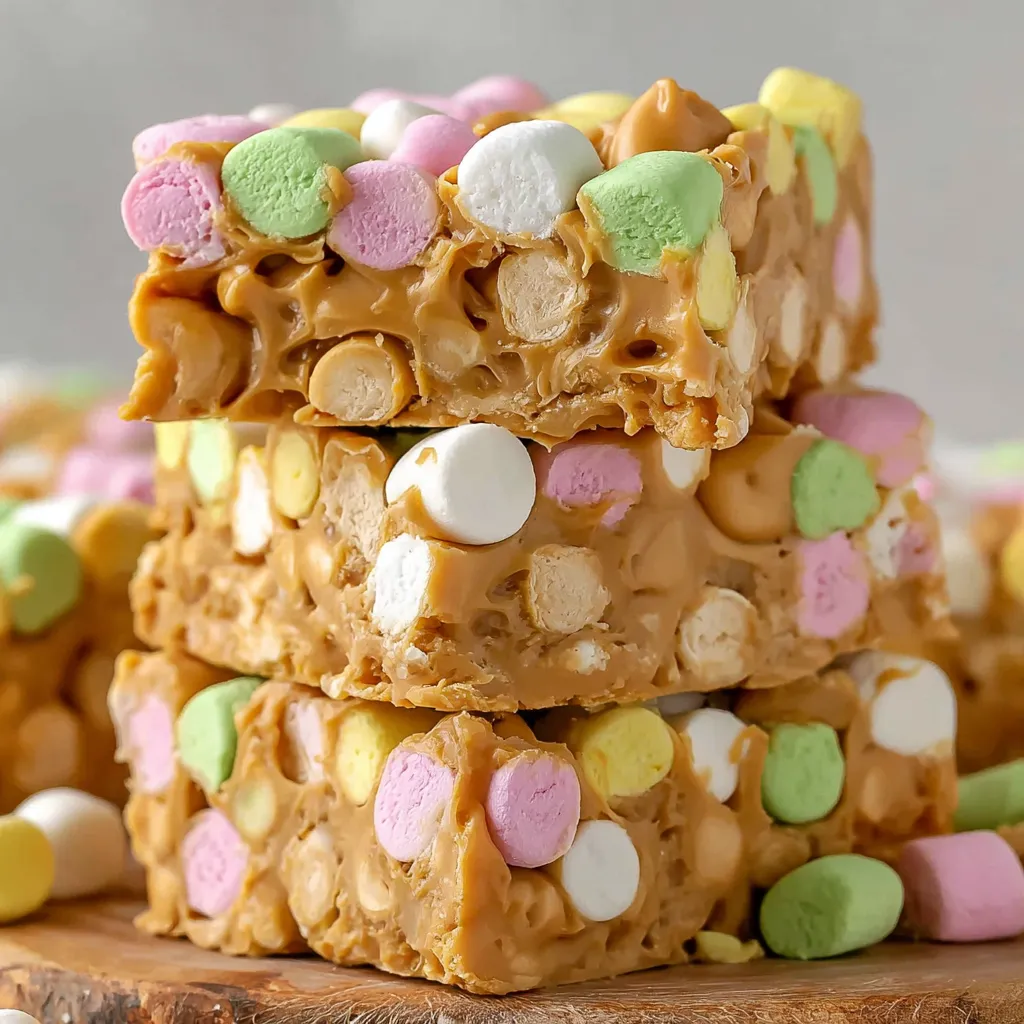
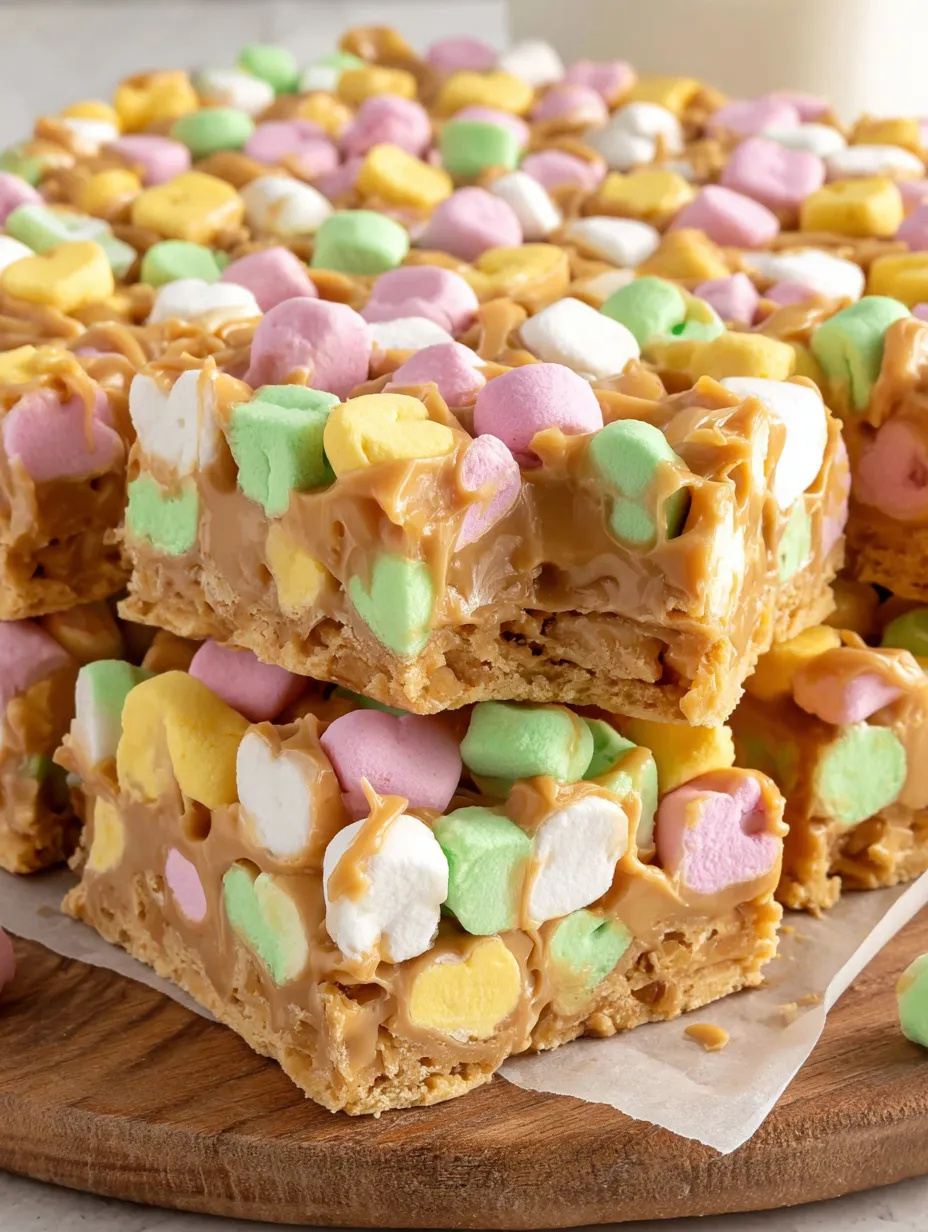
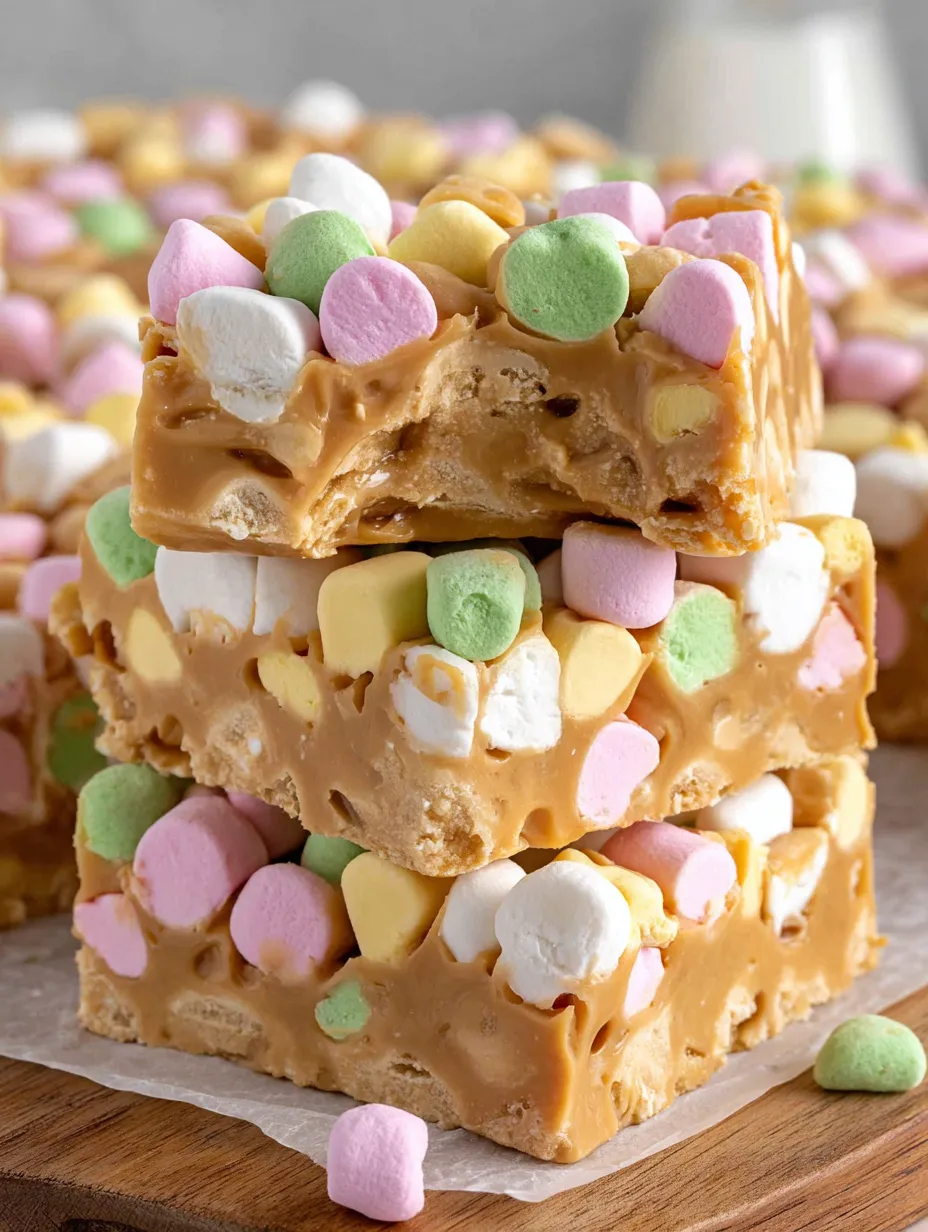
These peanut butter marshmallow squares have become my emergency dessert when I need something sweet and satisfying in minutes without turning on the oven or requiring any actual baking skills. The combination of creamy peanut butter, sweet butterscotch, and pillowy marshmallows creates these addictively chewy squares that taste like a cross between peanut butter fudge and Rice Krispie treats, and the fact that they require just five ingredients and no baking makes them my most-made dessert when time is short.
My neighbor Jessica, who claims she "can't cook or bake anything" and usually brings store-bought items to gatherings, made these squares for a school bake sale after I shared the recipe. She texted me photos of the finished squares looking absolutely perfect and said three different people asked if she'd bought them from a fancy bakery. She sold out completely within the first hour and has since made these squares her go-to contribution for every school event, work potluck, and family gathering. Now people actually request that she bring "those peanut butter marshmallow things," and she loves having a homemade recipe that makes her look like an accomplished baker when she literally just melted, mixed, and chilled.
Essential Ingredients Breakdown
- Unsalted butter: Adds richness and helps create the smooth base (½ cup).
- Creamy peanut butter: Forms the flavor foundation. Use **regular creamy** (Jif, Skippy) for proper setting, not natural.
- Butterscotch chips: Add sweet, buttery flavor and help create the binding mixture (11 oz bag).
- Vanilla extract: Enhances flavors; add off heat.
- Fruity mini marshmallows: Provide chewy texture and colorful appearance (10 oz bag).
 Pin it
Creating Perfect Squares
- Preparing the pan:
- Line an 8x8 inch pan with parchment paper, leaving **overhang handles** for easy removal. Spray parchment lightly.
- Melting the mixture:
- Place butter, peanut butter, and butterscotch chips in a saucepan. Melt over **medium-low heat**, stirring frequently (5-7 mins) until completely smooth and glossy (avoid scorching).
- Cooling briefly:
- Remove from heat, stir in vanilla. Let mixture cool for **2 to 3 minutes** (should be warm, not steaming hot) before adding marshmallows.
- Combining with marshmallows:
- Pour slightly cooled mixture over marshmallows in a large bowl. **Fold gently but thoroughly** with a spatula until every marshmallow is coated and suspended throughout.
- Spreading in pan:
- Immediately transfer mixture to the prepared pan. Spread into an even layer, pressing gently. Work quickly before the mixture sets.
- Chilling to set:
- Refrigerate for at least **1.5 to 2 hours** until completely firm throughout. Do not cut before fully set.
- Cutting neatly:
- Lift the entire block out using the parchment handles. Use a large, sharp knife, running it under **hot water and wiping clean between each cut** for neat, clean edges.
I've learned through making these squares countless times that properly cooling the peanut butter mixture before adding marshmallows is absolutely critical. Now I always let it cool for those few minutes and test the pan temperature before proceeding, which results in perfect squares with intact, colorful marshmallows throughout. I also discovered that running the knife under hot water between cuts makes such a difference in creating neat, professional-looking squares rather than sticky, smeared messes.
Peanut Butter Selection
Use **regular commercial peanut butter** (Jif, Skippy, etc.) because its emulsifiers and stabilizers help the mixture set properly. Natural peanut butter with separated oils can result in squares that are too soft or greasy.
Storage and Serving
Store in an **airtight container in the refrigerator** for up to a week. They are best served slightly chilled for optimal texture. Freezing is not recommended as it changes the marshmallow texture.
Delicious Flavor Variations
- Chocolate Peanut Butter: Use milk chocolate chips instead of butterscotch.
- S'mores Squares: Use chocolate chips and mix in graham cracker crumbs with the marshmallows.
- Crunchy Addition: Add 1 cup of Rice Krispies cereal along with the marshmallows.
 Pin it
Professional Kitchen Wisdom
- Stir constantly while melting to prevent scorching.
- Cool mixture properly before adding marshmallows to keep them intact and pillowy.
- Use parchment overhang as handles for easy removal.
- Wet or spray your knife between cuts for the cleanest edges.
- Work quickly once combined because mixture starts setting as it cools.
Frequently Asked Questions
- → Can I use regular-sized marshmallows?
- Mini marshmallows work best because they distribute more evenly. If using regular marshmallows, cut them into smaller pieces first.
- → What if I don't have butterscotch chips?
- You can substitute chocolate chips or white chocolate chips. The flavor will be different but still delicious.
- → Why do I need to cool the mixture before adding marshmallows?
- If the mixture is too hot, it will melt the marshmallows and you'll lose that chewy texture. A few minutes of cooling prevents this.
- → Can I use crunchy peanut butter?
- Creamy peanut butter works best for smooth, even texture. Crunchy would add extra crunch but might make the bars harder to cut.
- → How do I store these?
- Keep them in an airtight container in the fridge for up to a week. They can also be frozen for up to 2 months.
- → Can I make these in a different size pan?
- A 9x9 pan will make thinner bars. A 7x11 pan works too. Just adjust chilling time as needed based on thickness.