
 Pin it
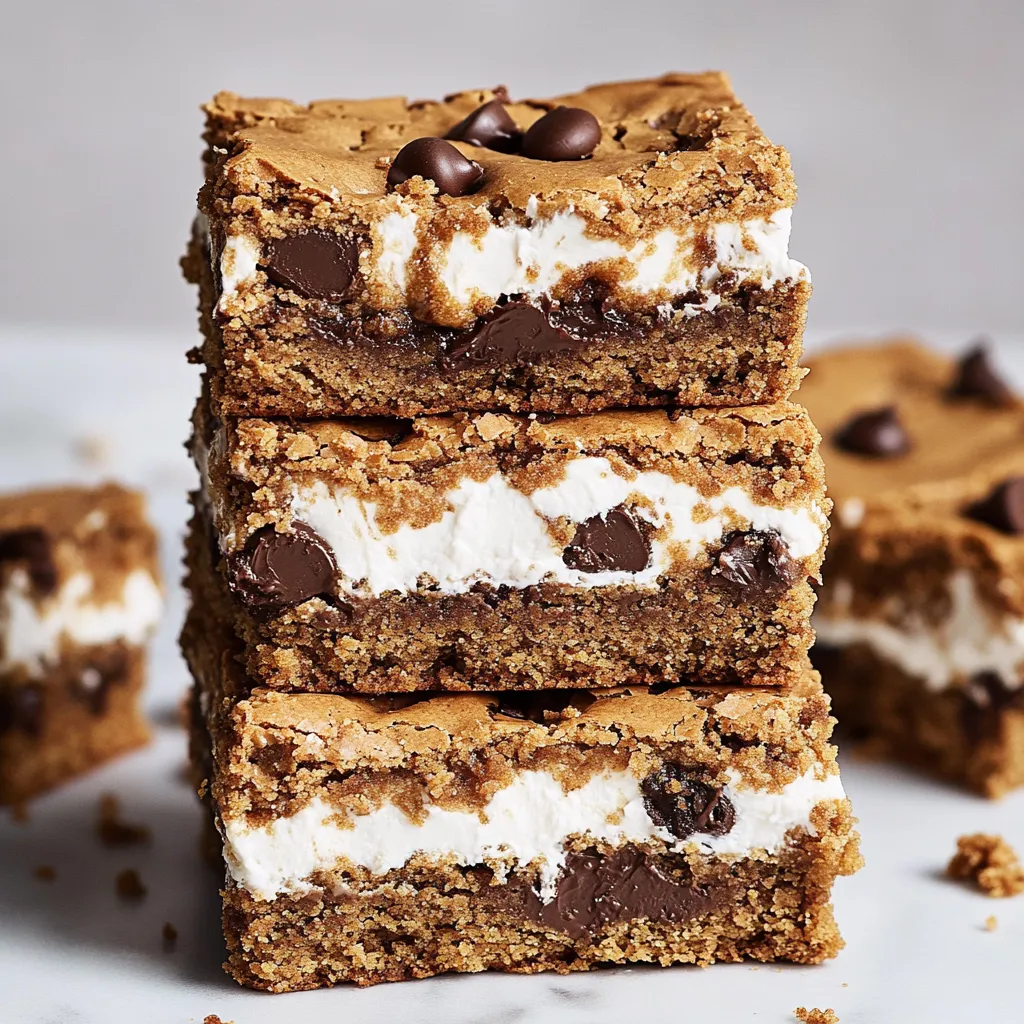
I created these Peanut Butter S'mores Blondies during that awkward transition between summer and fall when I wasn't quite ready to let go of campfire season but definitely craving something more substantial than a basic s'more. The result was this irresistible mash-up that's become my most requested dessert for gatherings year-round. These bars combine everything we love about s'mores – the graham cracker base, gooey marshmallow center, and melty chocolate – but elevate it with rich, chewy peanut butter blondie layers that add a whole new dimension of flavor. They're like summer camp nostalgia wrapped in a cozy sweater.
Last fall, I brought these to a friend's dinner party, and her husband – who normally passes on dessert – ate three squares before anyone else had finished their first. When caught reaching for a fourth, he simply shrugged and said, "I've been looking for this exact dessert my entire life without knowing it." That's the magic of these blondies – they feel both brand new and comfortingly familiar at the same time.
Sweet Essentials
- Dark brown sugar – This is the secret to that perfect chewy blondie texture and deep, almost caramel-like flavor. The extra molasses content makes a noticeable difference, though light brown sugar will work in a pinch. Whatever you do, don't substitute with plain white sugar, which would make the blondies both paler and less complex in flavor.
- Natural peanut butter – Using the drippy, natural stuff that requires stirring creates a much more pronounced peanut flavor than conventional brands. Just make sure it's very well mixed before measuring, or you'll end up with too much oil or too much solid. If all you have is Jif or Skippy, they'll work too – the blondies will just have a milder peanut butter flavor.
- Graham cracker crumbs – These aren't just a nod to traditional s'mores; they add a subtle honey sweetness and texture that elevates the entire bar. The fine crumbs integrate perfectly into the blondie base without creating any grittiness.
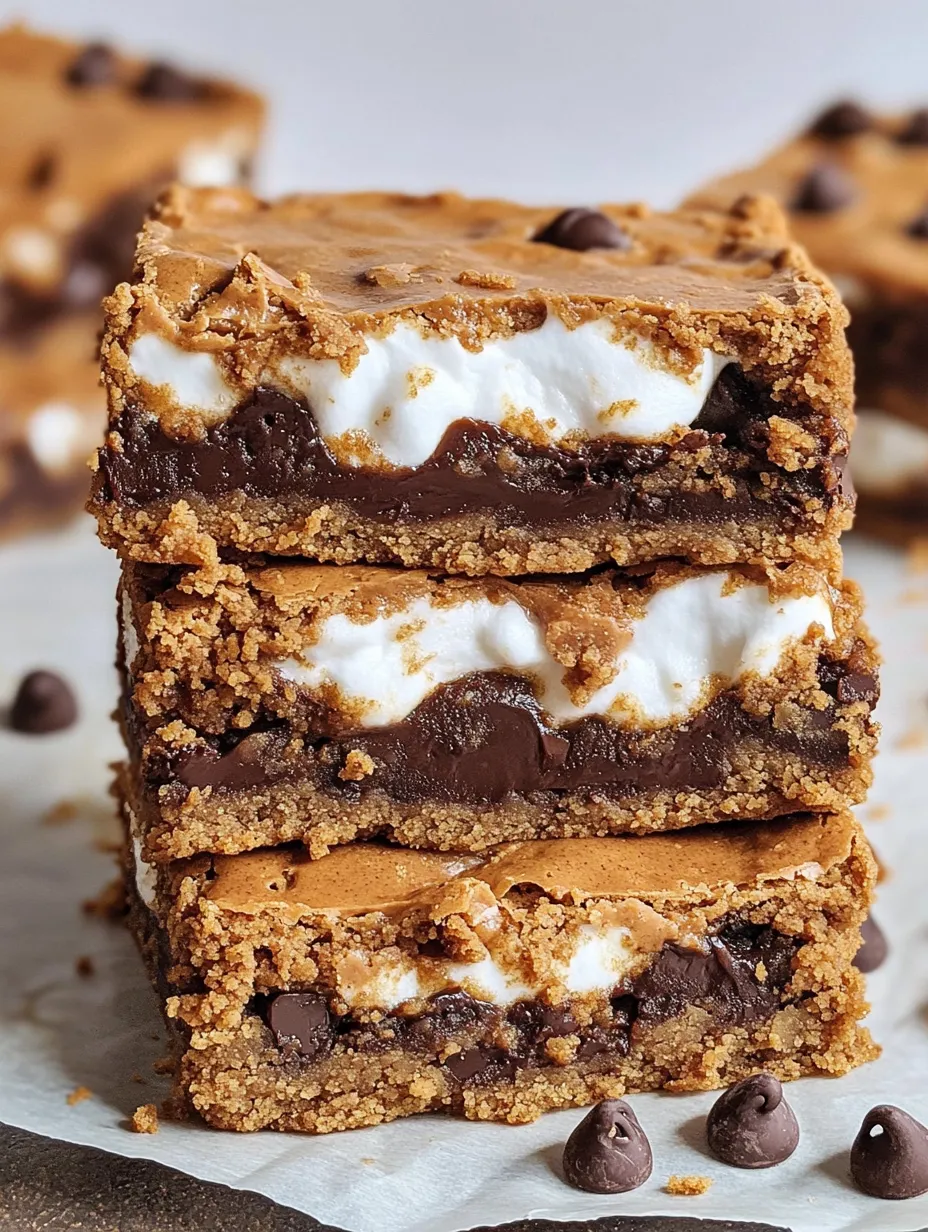
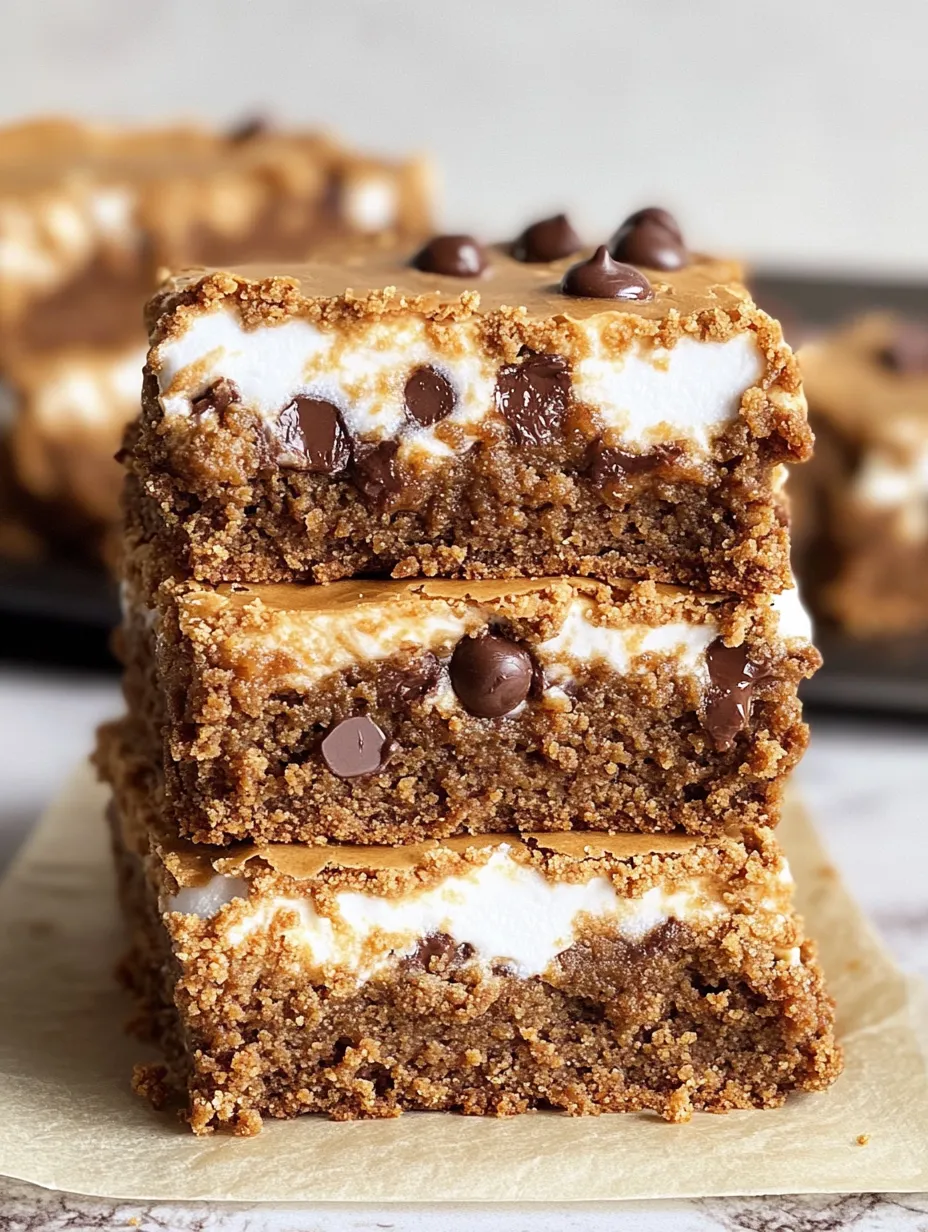
- Marshmallow creme – This gives you all the gooey marshmallow goodness of s'mores but in a form that's much easier to work with than whole marshmallows. It creates that perfect pull-apart stretch when you bite into a bar without the unpredictability of melting actual marshmallows in the oven.
- Extra egg yolk – Don't skip this seemingly small addition! That extra yolk is the difference between good blondies and great ones. It adds richness and contributes to that perfectly chewy, fudgy texture that makes these bars so addictive.
 Pin it
Creating Blondie Magic
- Perfect base technique:
- When melting the butter, be careful not to overheat it – you want it just melted, not sizzling hot. This ensures your brown sugar doesn't melt completely, which helps create those crisp, crackly edges that contrast beautifully with the chewy interior.
- Mastering the marshmallow layer:
- Don't stress about getting the marshmallow creme perfectly smooth – that's nearly impossible given its sticky nature. The dolloping method works best, and any unevenness actually creates delightful pockets of extra gooeyness throughout the bars. A lightly greased spatula or offset spatula helps tremendously with this step.
- The top layer strategy:
- Flattening pieces of dough between your palms before placing them on top creates a rustic, cobbled appearance while strategically allowing some marshmallow and chocolate to peek through. This not only looks beautiful but also creates different texture experiences in each bite.
- Baking precision:
- The visual cues are more important than the exact timing here. You're looking for edges that are set and lightly golden, a center that maintains a slight jiggle, and patches of marshmallow that have puffed and turned light golden brown. Resist the urge to bake until completely firm – that's the path to dry, disappointing blondies.
- Cooling patience:
- These bars need to cool completely in the pan before cutting. I know it's tempting to dig in while they're warm, but the texture improves dramatically as they cool, and you'll get much cleaner cuts once everything has set.
My first attempt at these was a delicious but messy learning experience. I tried using actual marshmallows instead of marshmallow creme, which created air pockets as they melted and then deflated. I've also experimented with different ratios of peanut butter to butter, finding that this version creates the perfect balance – enough peanut butter flavor to be distinctive but not so much that it overwhelms the s'mores elements.
Serving Inspiration
Transform these Peanut Butter S'mores Blondies into an even more impressive dessert by warming individual squares for 10-15 seconds in the microwave and topping with a scoop of vanilla ice cream. For summer gatherings, serve them alongside fresh berries for a color contrast that also cuts through the richness. They make an excellent addition to a dessert charcuterie board alongside other bite-sized treats. For a casual dinner party finish, place a stack of blondies on a wooden board with a pitcher of cold milk.
Sweet Variations
Once you've mastered the basic recipe, try some creative variations. Substitute almond butter for a more subtle nutty flavor, or try cookie butter for a spiced twist. Add a layer of thinly sliced bananas between the blondie base and marshmallow for a "campfire banana boat" inspired version. For chocolate lovers, use a combination of milk and dark chocolate chips instead of just semisweet. During the holidays, add a sprinkle of crushed peppermint candies on top for a festive touch.
Storage Secrets
These Peanut Butter S'mores Blondies maintain their best texture for about 3 days when stored in an airtight container at room temperature. The blondies will become slightly more firm as they sit, but a brief 10-second warm-up in the microwave easily restores their gooey glory. For longer storage, these freeze beautifully for up to 3 months – wrap individual squares in plastic wrap, then store in a freezer bag. Thaw at room temperature for about an hour, or unwrap and microwave for 20-30 seconds for that fresh-baked experience.
 Pin it
I've made these Peanut Butter S'mores Blondies for countless gatherings, from casual backyard barbecues to more formal dinner parties. There's something about the combination of nostalgic s'mores flavors elevated with rich peanut butter and brown sugar that appeals to people of all ages. While they might look impressive, the straightforward preparation makes them accessible even to novice bakers. Just be prepared to share the recipe – requests are guaranteed!
Frequently Asked Questions
- → Can I use crunchy peanut butter instead of creamy?
- Yes, you can use crunchy peanut butter for added texture. Just make sure it's well-stirred if using natural peanut butter. The final blondies will have small bits of peanuts throughout, which adds a nice textural contrast to the gooey marshmallow layer.
- → Why is a light-colored metal pan recommended?
- Light-colored metal pans conduct heat more evenly and prevent the bottom and edges from over-browning. Dark pans absorb more heat, which can cause the edges to bake faster than the center. Glass or ceramic pans retain heat longer and can lead to overbaked edges by the time the center sets.
- → Can I use regular marshmallows instead of marshmallow creme?
- While marshmallow creme creates the ideal gooey texture, you can substitute with regular marshmallows in a pinch. Use about 2 cups of mini marshmallows or 16 regular marshmallows. They won't spread as easily, so you may want to chop larger marshmallows and distribute them evenly over the base layer.
- → How do I know when the blondies are done baking?
- The blondies are done when the edges are lightly golden brown, the center is still slightly jiggly (not wet), and any exposed marshmallow is puffed and lightly golden. A toothpick inserted into a dough section should come out with a few moist crumbs. It's better to slightly underbake than overbake for the best texture.
- → Can I freeze these blondies?
- Yes! These blondies freeze well for up to 3 months. Cut them into individual squares, wrap each in plastic wrap, and store in a freezer-safe container. Thaw at room temperature for about 1-2 hours before serving, or microwave for 15-20 seconds for a warm, gooey texture.
- → What can I substitute for graham cracker crumbs?
- If graham crackers aren't available, you can use digestive biscuits, vanilla wafers, or even gingersnaps (for a spicy twist) crushed into fine crumbs. In a pinch, you could substitute with an equal amount of additional all-purpose flour, though you'll lose some of the distinctive s'mores flavor.