
 Pin it
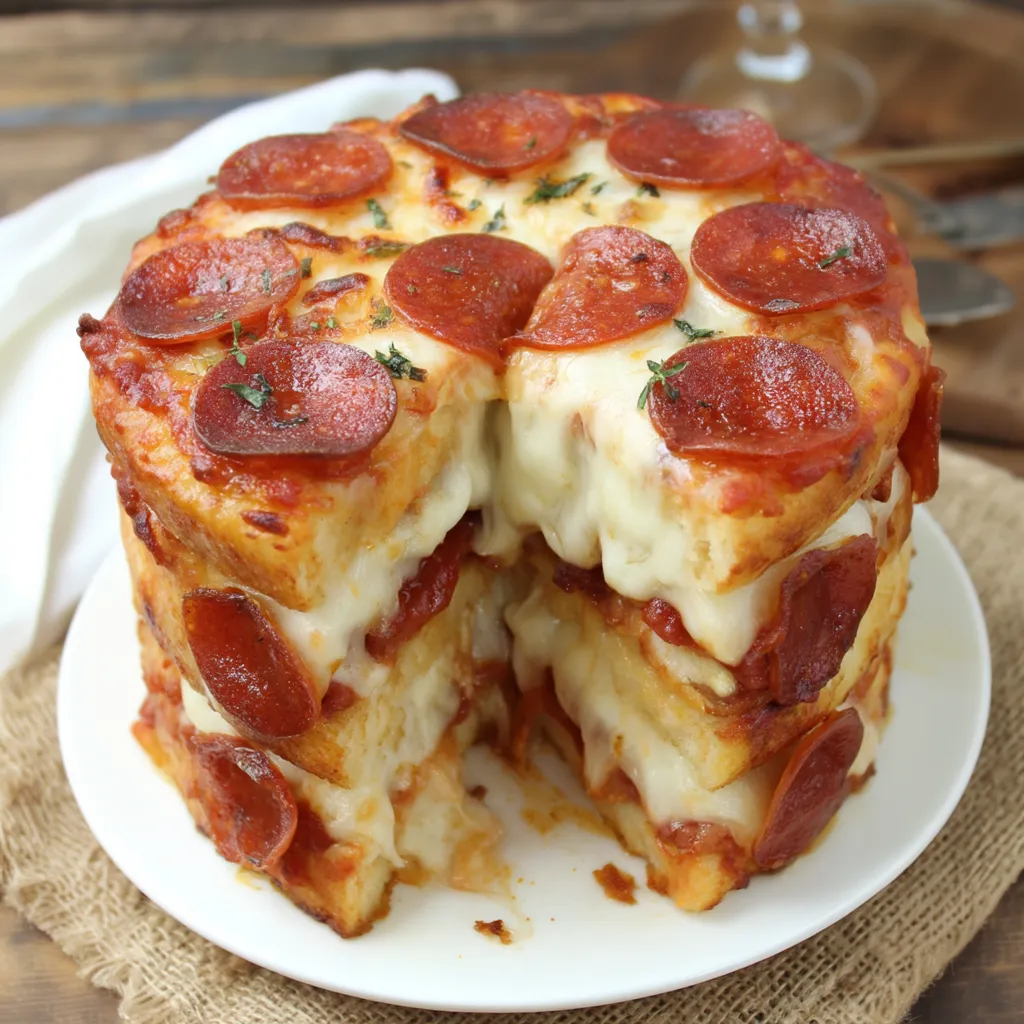
I threw this recipe together last summer when my kid's birthday party was coming up and I was tired of the usual cake options. What started as a joke became the most talked about food I've ever brought to a gathering. There's something about slicing into those layers of pizza goodness that makes people's eyes bug out like they've just witnessed a magic trick. My brother-in-law actually took a video of cutting the first slice because nobody believed it was really layer upon layer of pizza until they saw it.
My nephew, who usually communicates exclusively through shoulder shrugs and eye rolls, actually used complete sentences when he saw this. He's now requested it for his own birthday instead of regular cake, which might be the highest compliment a sixteen-year-old can give a recipe.
Ingredients
Refrigerated pizza dough saves so much time it's not even funny. Could you make your own dough? Sure. Will anyone notice or care? Nope.
Stacking the layers creates that dramatic "cake" effect that makes people reach for their phones before they even taste it. Half the fun is watching people's reactions to the first slice.
Parchment paper isn't just suggested - it's absolutely essential unless you want to chisel your pizza cake out of the pan with a jackhammer. Those little handles you create by letting the paper stick up are your best friends when it's time to lift this beast out.
Pre-baking the rounds is the secret to avoiding that horrible moment when you cut into what looks amazing only to find raw dough in the middle. Nobody wants that.
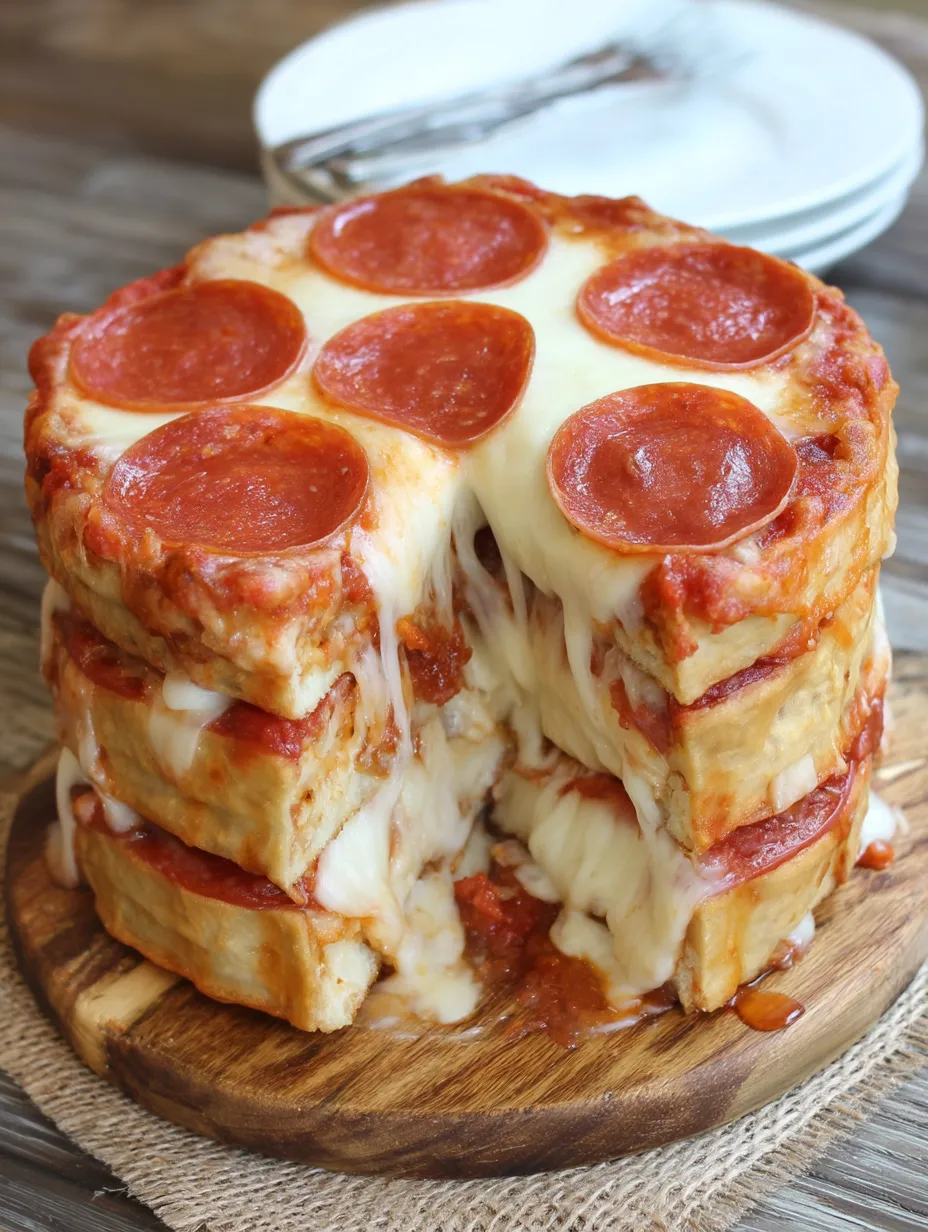
Folding the extra dough over the top creates that perfect "crust" look that tricks people into thinking you're just serving a tall regular pizza until you cut into it.
 Pin it
Step-by-Step Instructions
- Measuring the pan first
- saves you from that frustrating moment when you've cut all your rounds and they don't actually fit. I learned this one the hard way.
- Cutting the dough rounds
- feels weirdly satisfying, like using giant cookie cutters. I use a bowl that's the right diameter and trace around it with a knife because I don't have a giant round cookie cutter just hanging around my kitchen.
- Pre-baking the rounds
- is where the magic starts. That first time I made this, I skipped this step thinking "how bad could it be?" The answer: bad. Really bad. Don't skip this step unless you enjoy pizza flavored dough-goo.
- Lining the sides of the pan with a strip of dough
- is probably the trickiest part. It takes some patience to get it to stay put without sliding down, but it's worth the effort for that perfect outer wall.
- Layering each component strategically
- ensures everything sticks together properly. I've found that ending each layer with cheese works best - when it melts, it glues everything together.
- Testing for doneness by peeking underneath with the parchment handles
- was a technique I discovered after cutting into my first attempt too early. Nothing ruins a pizza party faster than discovering the inside is still raw.
- Resting before slicing
- is torture when everyone's staring at your creation, but those five minutes make the difference between Instagram-worthy slices and a collapsed mess.
My biggest pizza cake disaster happened when I tried to make it too tall without supporting the sides properly. The whole thing listed sideways like the Leaning Tower of Pizza (sorry, couldn't resist) and eventually collapsed into what my kids still refer to as "pizza mountain." Delicious? Yes. Pretty? Not exactly.
Serving Ideas
A simple green salad served alongside helps balance out all that cheesy goodness and makes you feel slightly less guilty about basically eating a stack of pizzas.
For birthday celebrations, stick some candles in the top and watch the birthday person's confusion turn to delight when they realize what they're getting instead of cake.
Set out extra dipping sauces like ranch, garlic butter, or extra marinara for people to customize their slices. Something about this format makes people want to dip more than they do with regular pizza.
 Pin it
Mix It Up
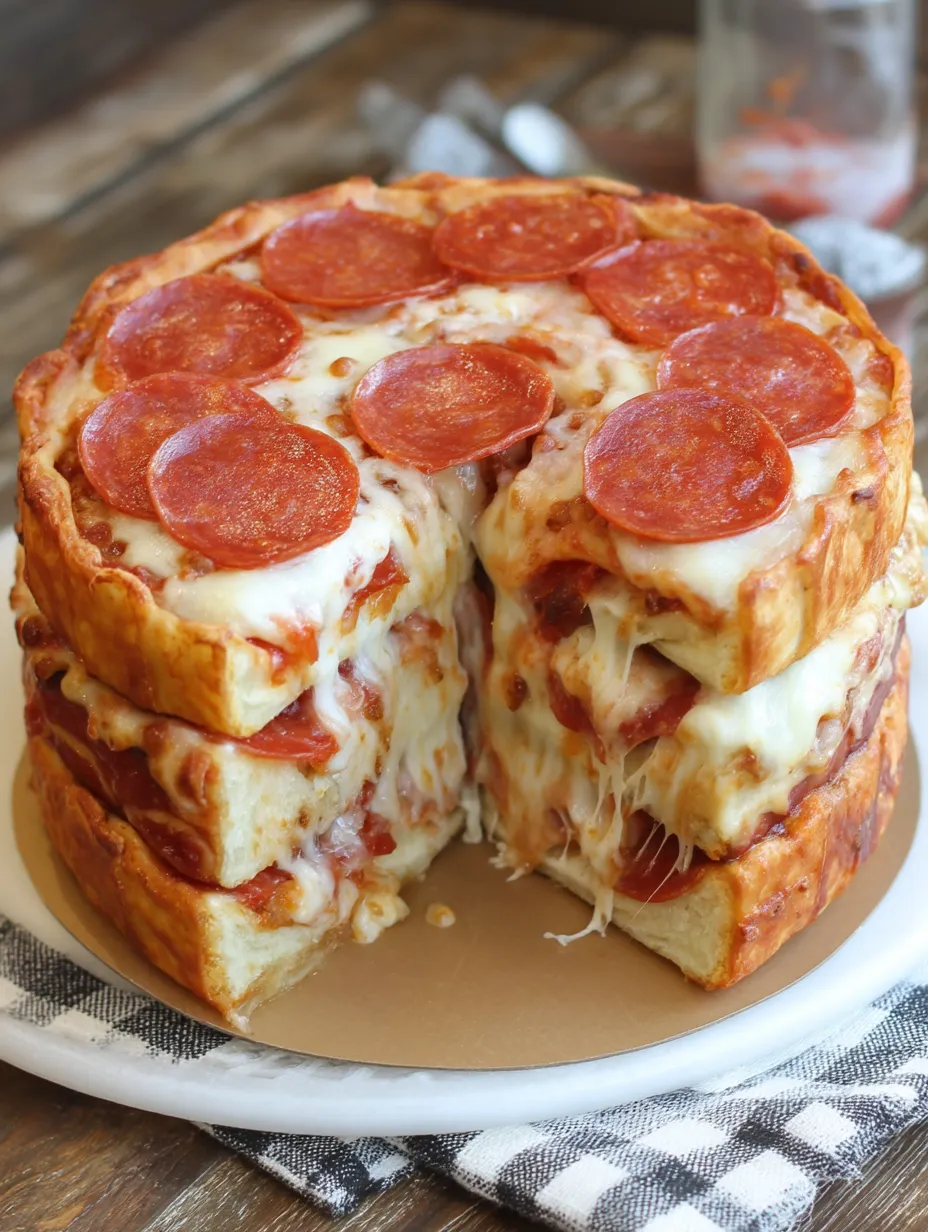
Creating different layers with varied toppings makes cutting into it even more exciting. I've done a **pepperoni layer**, a **veggie layer**, and a **cheese-only layer** to keep everyone happy.
Making a **breakfast version** with scrambled eggs, bacon, and breakfast sausage between the layers turns this into an impressive brunch centerpiece.
Adding **different cheeses** to each layer creates a more complex flavor profile - try provolone, cheddar, or even some crumbled feta mixed with the mozzarella.
This pizza cake isn't going to win any culinary awards, but it's definitely going to win you some serious points at your next gathering. It's one of those recipes that make people think you went to way more effort than you actually did, which in my book is the definition of a perfect party food. Plus, watching people's faces when you cut that first slice is almost as satisfying as eating it.
Frequently Asked Questions
- → What type of pan works best for making Pizza Cake?
- A 6-inch springform pan with 4-inch high sides works perfectly, as it allows easy removal of the finished cake. You can also use any tall-sided ovenproof pan like a round cake pan or even a small Dutch oven, but line it well with parchment paper with overhang to help lift the pizza cake out after baking.
- → Can I add other pizza toppings to this Pizza Cake?
- Absolutely! While the recipe calls for pepperoni, you can customize each layer with different toppings like sautéed mushrooms, bell peppers, olives, or Italian sausage. Just be careful not to add too many wet ingredients, which could make the cake soggy. Pre-cook any vegetables to remove excess moisture.
- → Can I make this Pizza Cake ahead of time?
- You can prepare and pre-bake the individual pizza rounds a day ahead. You can also assemble the entire cake a few hours before baking and refrigerate it. When ready to serve, bake as directed, adding a few extra minutes to the baking time if it's cold from the refrigerator. The pizza cake is best enjoyed fresh from the oven.
- → How do I prevent the Pizza Cake from becoming soggy in the middle?
- To prevent sogginess, don't overload with sauce, use pre-baked crusts for the layers, and consider adding a thin layer of cheese directly on each crust before adding sauce - this creates a moisture barrier. Also, make sure any vegetable toppings are well-drained or pre-cooked to remove excess moisture.
- → What's the best way to serve Pizza Cake?
- Allow the pizza cake to cool for 5-10 minutes after baking before removing it from the pan, which helps it set. Serve it like you would a cake, cutting wedges with a sharp knife. Pair it with a simple salad or vegetable side dish to balance the richness. A pizza wheel or large chef's knife works well for clean slices.