 Pin it
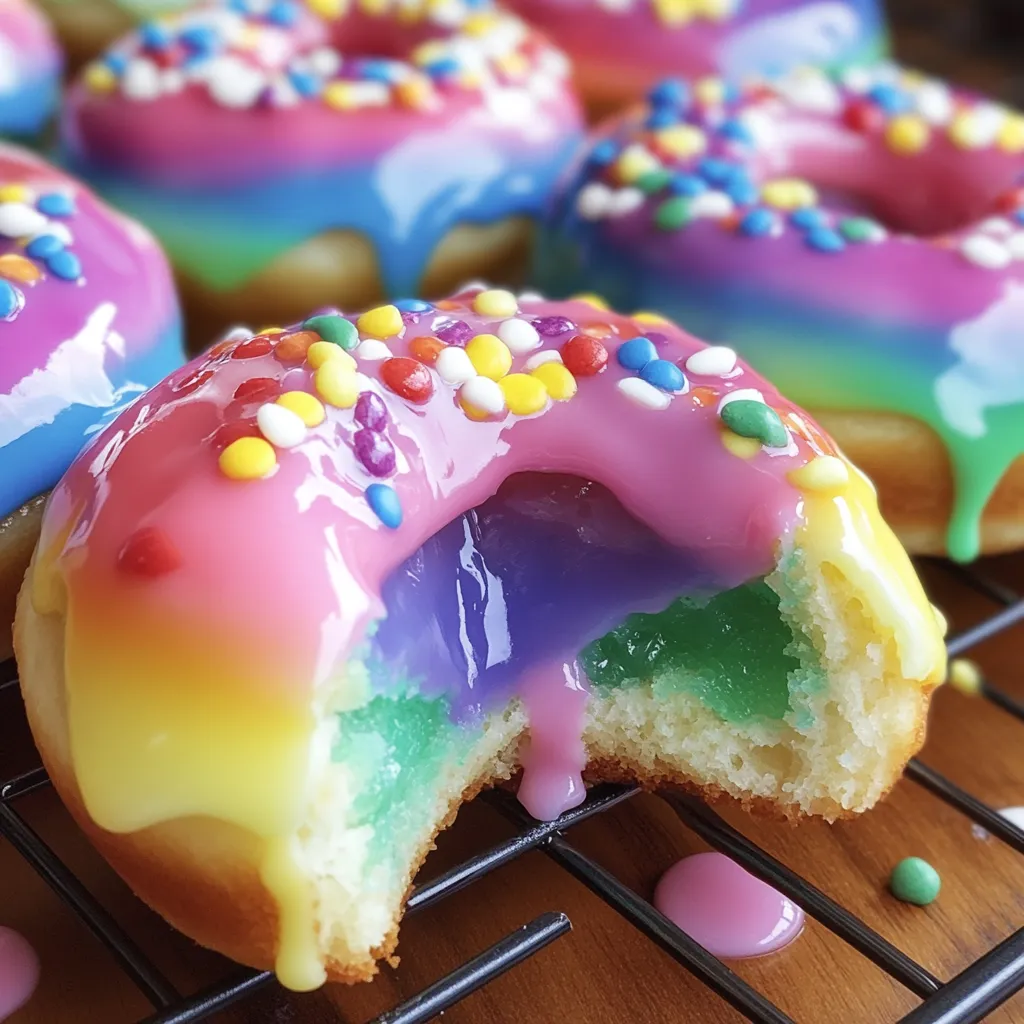
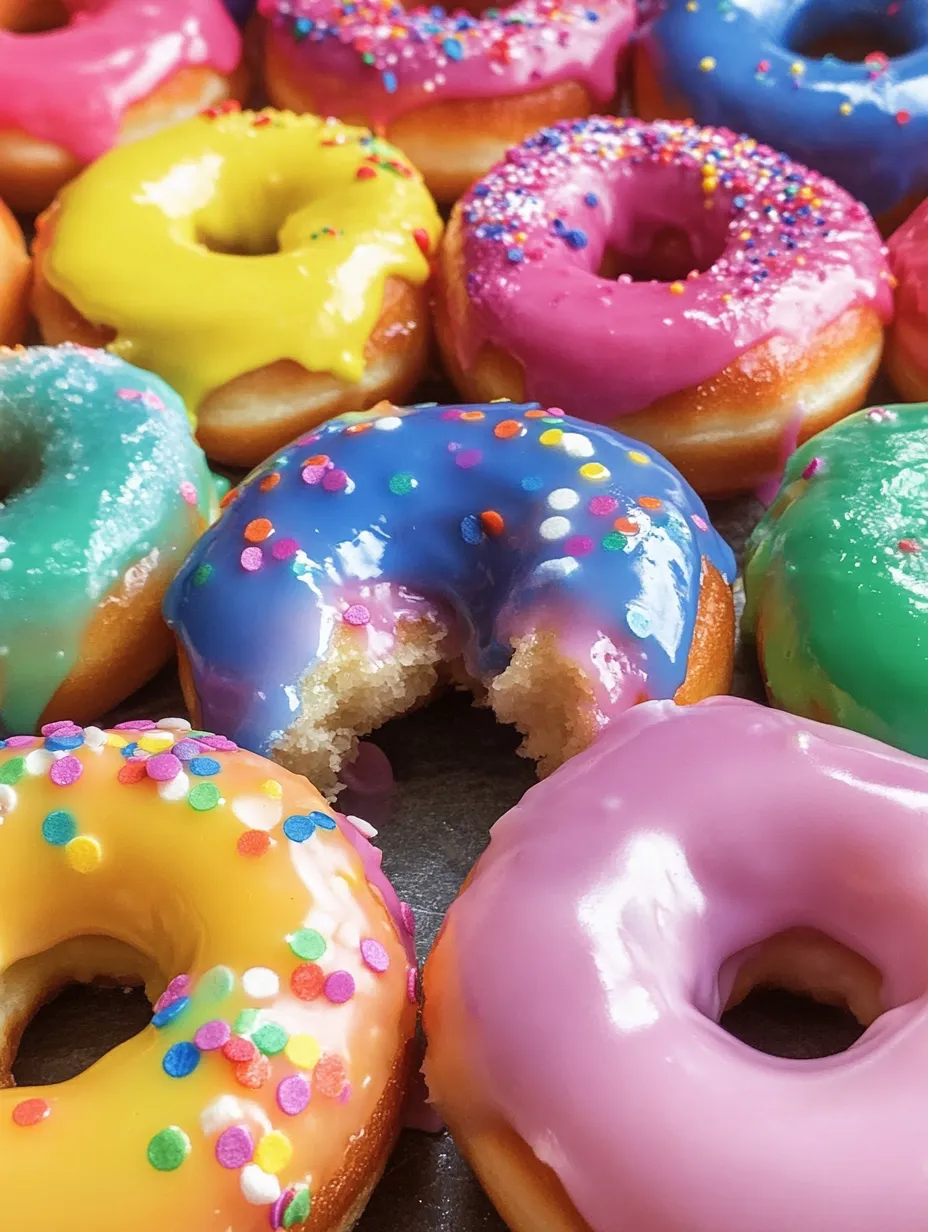
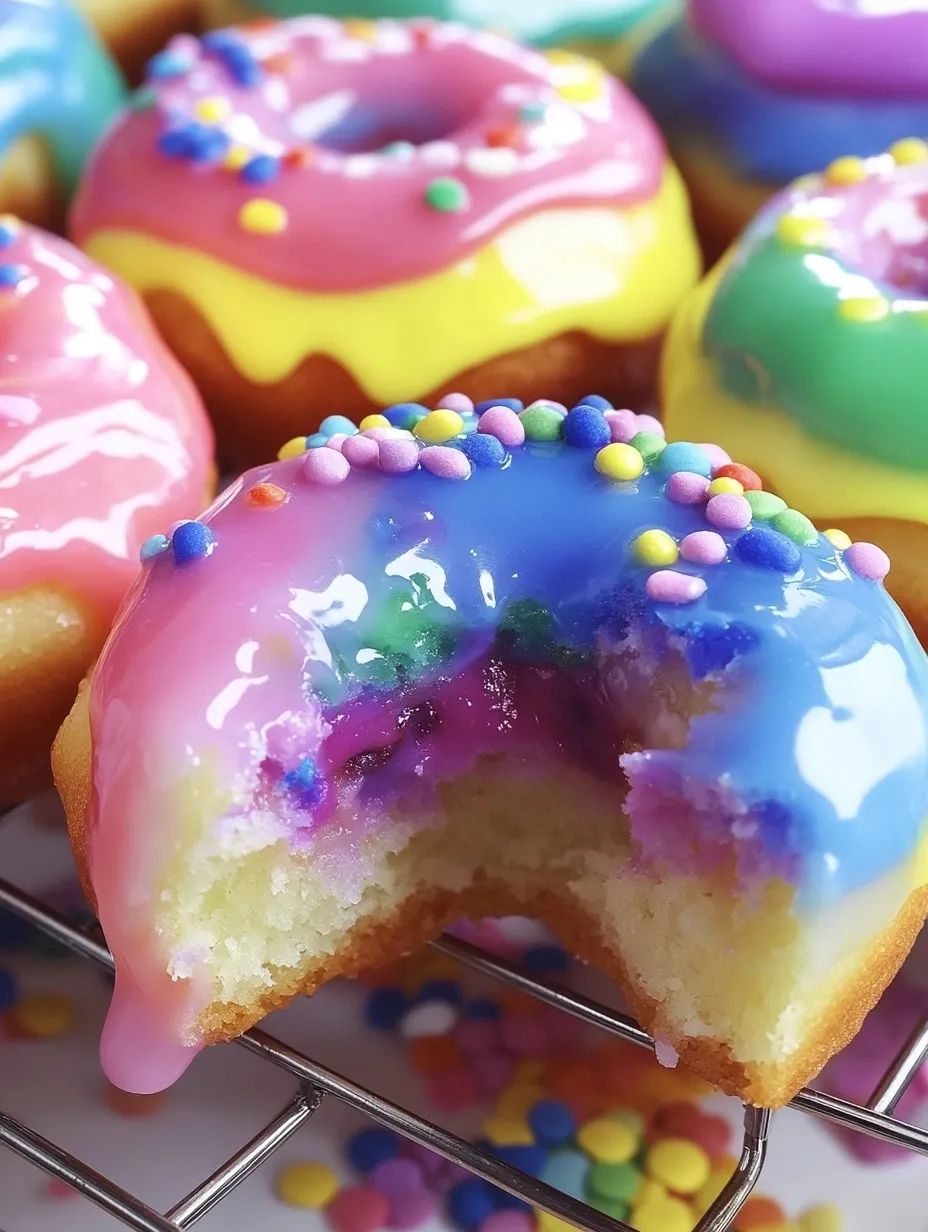
Biting into a soft, freshly glazed doughnut only to discover a vibrant rainbow of colors swirled inside? Pure magic. I stumbled upon this recipe idea after a rainy Saturday morning spent scrolling through Instagram left my kids begging for something "amazing" to bake. These rainbow-filled doughnuts combine the comforting familiarity of homemade fried dough with a whimsical surprise that makes breakfast feel like a celebration. They've become our special occasion breakfast tradition, appearing for birthdays, report card days, and those random Sundays when we all need a little extra joy.
Last month I made these for my daughter's sleepover party, and one of her friends declared them "the most beautiful breakfast ever invented." Her mom texted me later asking for the recipe, confessing that her daughter had talked about nothing else the entire ride home. That's the magic of rainbow-filled anything – it transforms the ordinary into something extraordinary.
Donut Essentials
- Active dry yeast: The foundation of any good doughnut is properly activated yeast. That initial 10-minute rest is non-negotiable; if your yeast doesn't foam up, it's not fresh enough and your doughnuts won't rise properly. I learned this the hard way after trying to rush things once.
- Room temperature butter: Not melted, not cold – truly room temperature butter incorporates properly into the dough without leaving greasy spots. I forget to take it out ahead of time at least half the occasions I make these, and end up with the butter sitting in my pocket while I prepare the other ingredients!
- All-purpose flour: Creates the perfect balance between structure and tenderness. I've experimented with bread flour (too chewy) and cake flour (too delicate), and all-purpose wins every time for that classic doughnut texture we all crave.
- Vanilla pudding: The canvas for our rainbow masterpiece. Homemade pudding creates a silkier texture, but I've used instant pudding mix many times when short on time, and they still turn out delicious. The key is making sure it's fully set before coloring.
- Canola oil: Its neutral flavor and high smoke point make it ideal for frying. I've tried vegetable oil too, which works fine, but avoid oils with distinct flavors like olive or coconut unless you want those notes in your doughnuts.
 Pin it
Creating Donut Magic
- Perfecting the dough:
- When combining the ingredients, add the flour gradually rather than all at once. This helps achieve that smooth, slightly tacky texture that produces perfectly fluffy doughnuts. The dough should pull away from the sides of the bowl but still feel slightly sticky to touch. If it's too dry, your doughnuts will be dense.
- First rise patience:
- That hour-long first rise is crucial for developing flavor and texture. I place my covered bowl in a slightly warm oven (preheated to the lowest setting then turned off) to create the perfect environment. The dough should noticeably double in size – if your kitchen is cold, it might take a bit longer.
- Cutting with care:
- Use a 3-inch round cutter for standard doughnuts. If you don't have one, a drinking glass works perfectly. The key is pressing straight down rather than twisting, which can seal the edges and prevent proper rising. I save the cut-out holes and fry them too – chef's treats!
- Frying finesse:
- Maintaining that 350°F oil temperature is crucial – too hot and they'll brown before cooking through, too cool and they'll absorb too much oil and become greasy. Use a thermometer if you have one, or test with a small piece of dough – it should bubble immediately and rise to the surface.
- Creating rainbow magic:
- Divide the vanilla pudding between 5-6 small bowls and color each one vibrantly. When filling a piping bag, spoon each color in stripes along the sides rather than mixing them together. This creates that perfect rainbow swirl effect when you pipe into the doughnuts.
- Filling technique:
- Let the doughnuts cool just enough to handle before filling – about 10 minutes. Use a small knife to create a hole in the side, then pipe the rainbow pudding in until you feel resistance. Sometimes I overfill them slightly so there's a tiny peek of rainbow visible from the outside.
My first attempt at these was a comedy of errors. I rushed the second rise, resulting in dense doughnuts that absorbed way too much oil. Then I tried filling them while still hot, causing the pudding to melt and leak out everywhere. Through multiple batches (my family didn't mind being test subjects), I've learned that patience at each stage makes all the difference. Now even my less-than-perfect batches disappear in minutes.
Colorful Presentation
Transform these rainbow-filled doughnuts into an even more impressive breakfast by arranging them on a white platter with fresh berries scattered around for color contrast. For birthday mornings, I place them on a cake stand with a candle in the middle one. They also make a showstopping addition to brunch buffets – just cut a few in half and place them cut-side up to reveal the rainbow filling inside, tempting everyone to grab one.
Sweet Variations
Once you've mastered the basic technique, try flavoring the dough with a teaspoon of cinnamon or nutmeg for warm spice notes. For chocolate lovers, use chocolate pudding as the base and color it in varying shades from white to dark for an ombre effect. During holidays, match your colors to the occasion – red and green swirls for Christmas, pastels for Easter, orange and black for Halloween. The possibilities are endless!
Freshness Tips
These doughnuts are truly at their prime the day they're made, ideally within the first few hours. If you must store them, place them in a single layer in an airtight container at room temperature for up to 24 hours. Avoid refrigerating filled doughnuts as the moisture changes the texture of the dough. For make-ahead options, you can prepare the dough the night before and let it rise in the refrigerator overnight, then proceed with cutting and the second rise in the morning.
 Pin it
I've made these rainbow-filled doughnuts for countless special mornings in our house, from birthday breakfasts to first days of school. There's something undeniably joyful about watching someone bite into what appears to be a regular glazed doughnut, only to discover a rainbow of colors inside. That moment of surprised delight is worth every minute spent preparing them. While they might seem like a lot of work compared to a box of store-bought doughnuts, the memories created around our kitchen table as we bite into these colorful treats together are absolutely priceless.
Frequently Asked Questions
- → Can I bake these doughnuts instead of frying them?
- Yes, you can bake them at 350°F for about 15 minutes. The texture will be different from fried doughnuts - a bit more bread-like and less airy, but still delicious.
- → How do I store these doughnuts?
- Store in an airtight container at room temperature for 1-2 days. Because of the pudding filling, you may want to refrigerate them if keeping longer than a day.
- → Can I use instant pudding mix for the filling?
- Absolutely! Instant pudding mix works great for the filling. Just prepare according to package directions, divide into portions, add food coloring to each, then layer in your piping bag.
- → What's the best way to fill the doughnuts?
- Use a piping bag fitted with a long filling tip. Insert the tip into the side of the doughnut and gently squeeze to fill. You'll feel the doughnut get slightly heavier as it fills.
- → Can I make the dough ahead of time?
- Yes, you can prepare the dough and refrigerate it overnight for the first rise. Let it come to room temperature before rolling out and cutting the doughnuts.
