
 Pin it
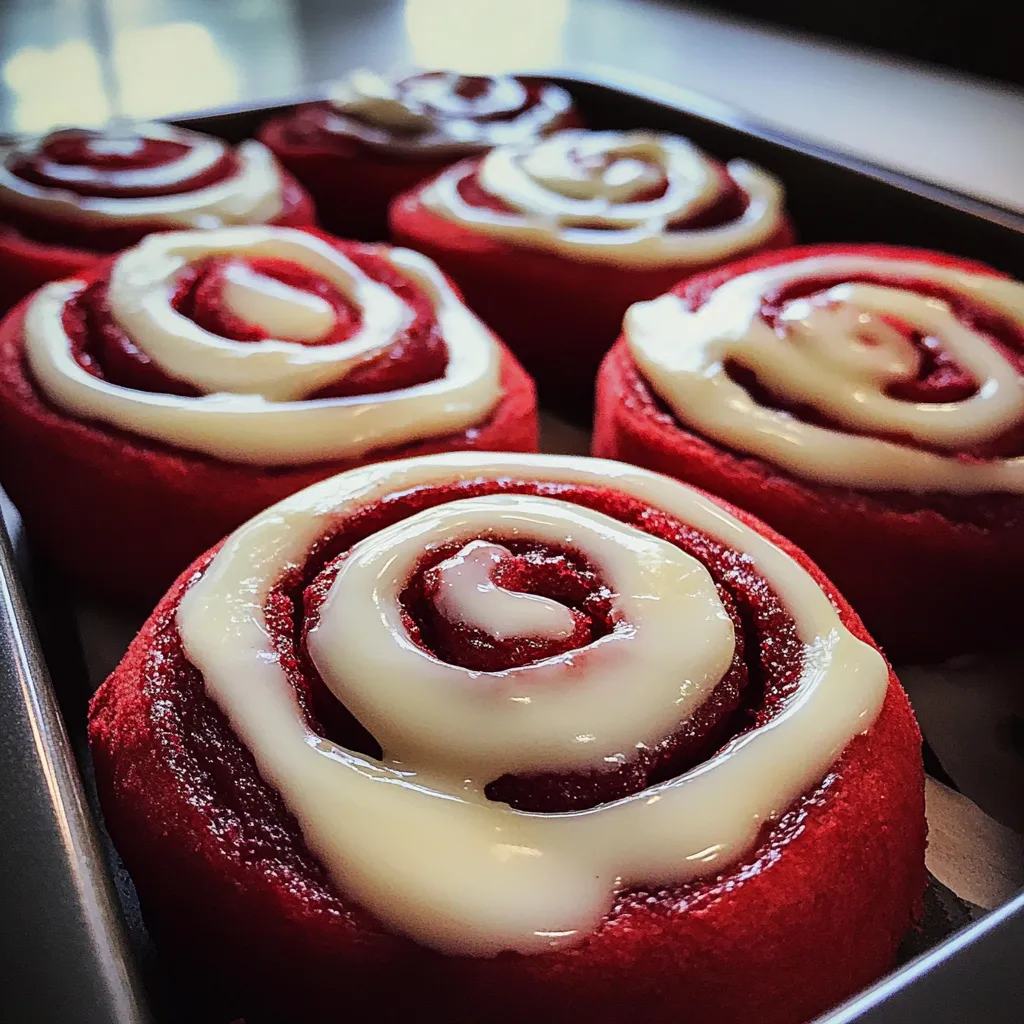
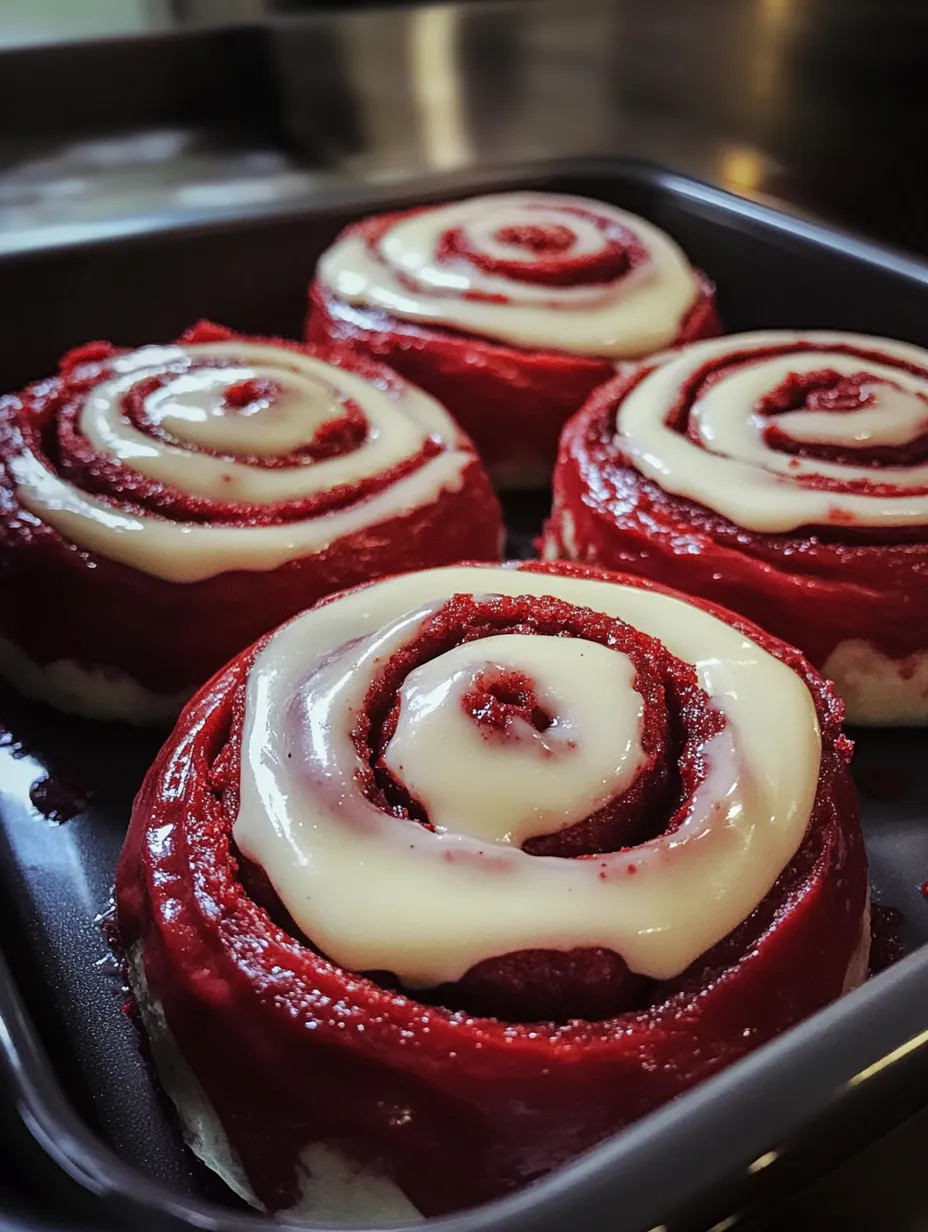
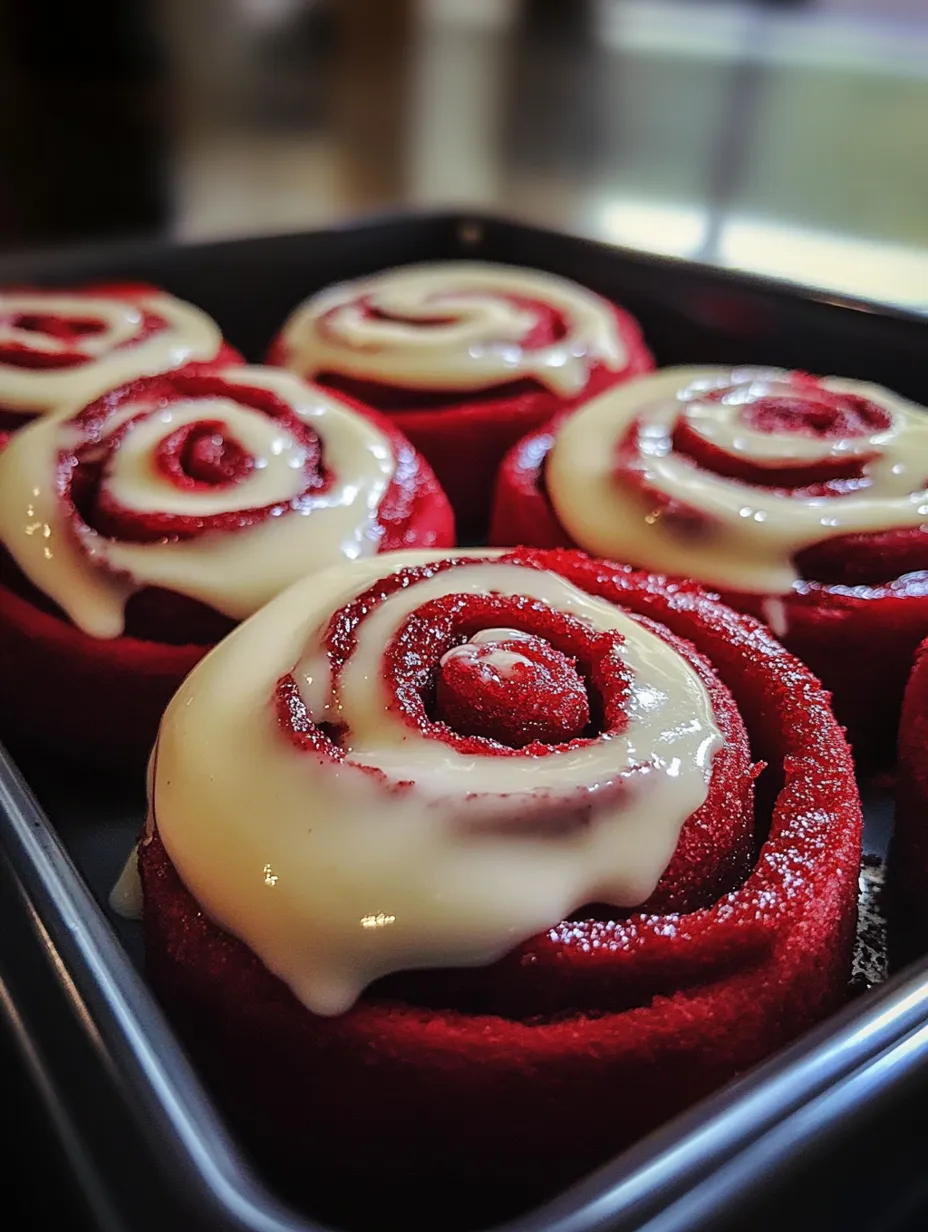
I created these red velvet cinnamon rolls for my daughter's Valentine's Day breakfast last year, and holy moly—they've become a non-negotiable tradition in our house! The deep crimson dough with swirls of cinnamon-brown sugar filling feels so special, and that cream cheese icing melting into all the nooks and crannies... pure breakfast heaven. My kitchen smells absolutely divine when these are baking, and the dramatic color makes them look WAY more complicated than they actually are.
My husband, who usually grabs coffee and runs out the door for breakfast, actually sat down and savored two of these. Then he texted me from work asking if there were any leftovers for when he got home! I've never seen the man so excited about breakfast in our 12 years of marriage.
Ingredients
- Active dry yeast: I've tried instant yeast too, and it works fine, but I find the active dry gives a better rise and flavor development. Just make sure your milk is warm, not hot! I've killed many a yeast batch with overheated milk.
- Cocoa powder: Dutch-processed gives a darker, richer color, but regular unsweetened works too. The cocoa is what makes these truly "red velvet" rather than just red cinnamon rolls—that subtle chocolate undertone is everything!
- Red gel food coloring: Liquid food coloring works in a pinch, but you'll need a LOT more of it. The first time I made these, I used liquid and had to add almost half the bottle to get that deep red color. Gel is much more concentrated.
- Brown sugar: Dark brown sugar in the filling gives a deeper molasses flavor that complements the cocoa in the dough. I've used light brown in a pinch, but the dark really makes a difference if you have it.
- Cream cheese: The star of the icing! Philadelphia brand truly does work best here (and no, they're not paying me to say that, though I wish they would). Store brands can be grainier and don't melt as beautifully.
 Pin it
Step-by-Step Instructions
- Yeast whispering
- Getting that perfect activation is so satisfying! Your milk should feel like warm bath water on your wrist—too hot and you'll kill the yeast, too cool and it won't wake up. I once tried to rush this step and ended up with sad, dense rolls that my kids still ate but definitely noticed weren't right. When your yeast mixture gets all foamy and smells like bread, you're golden!
- Cocoa incorporation
- Achieving that perfect red velvet flavor balance takes a light touch. Sift your cocoa powder to avoid lumps—I learned this the hard way when I bit into a dry cocoa pocket in my first batch. Whisk it thoroughly with the flour before adding to the wet ingredients. The cocoa should provide a hint of chocolate without overwhelming the cinnamon—it's that unique red velvet balance that makes these special.
- Dough elasticity
- Creating that perfect texture requires proper kneading. The dough should feel slightly tacky but not sticky enough to coat your fingers. I knead on a very lightly floured surface to avoid adding too much extra flour, which can make your rolls tough. When it's ready, the dough should spring back when you poke it and feel as smooth as a baby's bottom (weird comparison, but totally accurate!).
- Perfect filling spread
- Getting even cinnamon distribution makes every bite delicious. Make sure your butter for the filling is very soft but not melted—I sometimes microwave cold butter for just 8-10 seconds on 50% power to get that perfect spreadable consistency. Use an offset spatula if you have one to spread the filling all the way to the edges except for a half-inch border along one long side (that helps create a good seal).
- Rolling technique
- Creating tight, even rolls takes a bit of practice. Start from the long edge and roll tightly but don't stretch the dough. I use my fingers to tuck and adjust as I go to keep things even. Once rolled, I actually chill my log for about 10 minutes before cutting—this makes slicing SO much cleaner, especially with the red dough that shows every imperfection!
- Icing perfection
- Achieving that melt-into-the-crevices magic is all about timing. I make the icing while the rolls are baking, then let the rolls cool for just 5 minutes before adding the icing. Too hot and the icing completely liquefies and runs off; too cool and it sits on top rather than creating that gorgeous glaze effect.
Our first Christmas back home after moving cross-country, I made these for our extended family brunch. My grandmother—who never admits when anyone cooks better than her—asked for the recipe! I caught her stealing techniques from me in the kitchen, which is basically the highest form of culinary flattery. I've tweaked the amount of cocoa three times to get it just right—too much and they're chocolate rolls, too little and they're just red.
Serving Style
These rolls make the most gorgeous centerpiece on a brunch table! I sometimes dust them with a little powdered sugar right before serving for a "snow-capped" effect during the holidays. For Valentine's Day breakfast, I shape the dough into a heart before slicing and arrange the rolls in a heart pattern in the baking dish. They're absolutely perfect with a strong cup of coffee to balance the sweetness. For extra indulgence, I've been known to add a side of fresh berries macerated with a splash of Grand Marnier (adults only for that brunch, obviously!).
Sweet Variations
These versatile rolls can be adapted for different flavor profiles while keeping that gorgeous red color. My chocolate-obsessed son loves when I add mini chocolate chips to the filling. For Christmas morning, I sometimes add a teaspoon of orange zest to the dough and filling—the red and orange together feel so festive. My personal favorite variation is adding chopped toasted pecans to the filling for texture contrast. And for a truly decadent version, try adding a tablespoon of bourbon to the cream cheese icing—it adds amazing depth (and the alcohol bakes off, but you can skip this if serving to kids).
Fresh Keeping
These red velvet rolls stay reasonably soft for about 2 days if stored in an airtight container. The color actually intensifies overnight, making them even prettier on day two! I usually microwave leftover rolls for about 15 seconds to restore that fresh-baked texture. If you're making them for a morning event, the overnight method is a lifesaver—prepare everything up to the second rise, cover the pan with plastic wrap, and refrigerate overnight. In the morning, let them sit at room temperature for about 30 minutes before baking. I've also frozen fully baked and iced leftover rolls individually wrapped in plastic, then foil—they reheat surprisingly well at 300°F for about 10 minutes.
 Pin it
I've been perfecting these red velvet rolls for about three years now, and they've become my signature contribution to family gatherings. There's something so satisfying about watching someone bite into one for the first time—that moment of surprise when they taste how the cocoa, cinnamon, and cream cheese work together. My nephew calls them "Christmas morning rolls" regardless of when I make them because they feel that special. While they do take some time to make, most of it is inactive rising time, and the results are absolutely worth it. The combination of visual impact and unique flavor makes these the kind of recipe that gets passed down and requested year after year—exactly the kind of food tradition I love creating for my family.
Frequently Asked Questions
- → Can I make these cinnamon rolls ahead of time?
- Yes! You can prepare the rolls the night before, place them in the baking dish, cover, and refrigerate overnight. In the morning, let them sit at room temperature for 30-45 minutes before baking.
- → Can I freeze these red velvet cinnamon rolls?
- Absolutely! Freeze them either before the second rise (after cutting and arranging in pan) or after baking (without icing). Thaw overnight in refrigerator, then follow normal instructions for rising/baking or just warming and icing.
- → Is there a substitute for red food coloring?
- You can use natural alternatives like beet powder (about 2-3 tbsp) or freeze-dried strawberry/raspberry powder. The color won't be as vibrant, but they'll still have a reddish hue.
- → How do I know when the dough has risen enough?
- The dough should double in size and when you gently press a finger into it, the indentation should remain rather than spring back immediately.
- → What's the best way to cut the cinnamon rolls?
- For clean cuts, use unflavored dental floss! Slide it under the rolled dough, cross the ends over the top and pull. You can also use a sharp serrated knife or bench scraper.