 Pin it
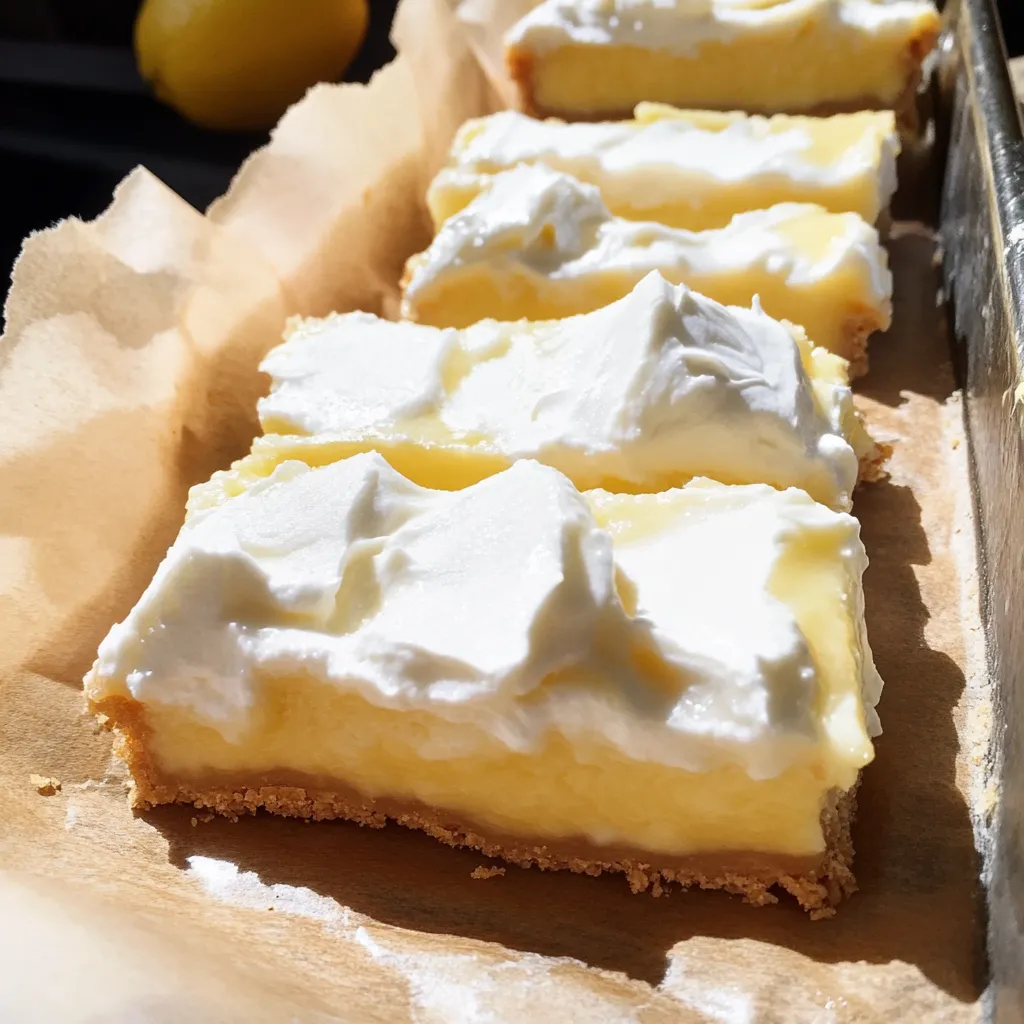
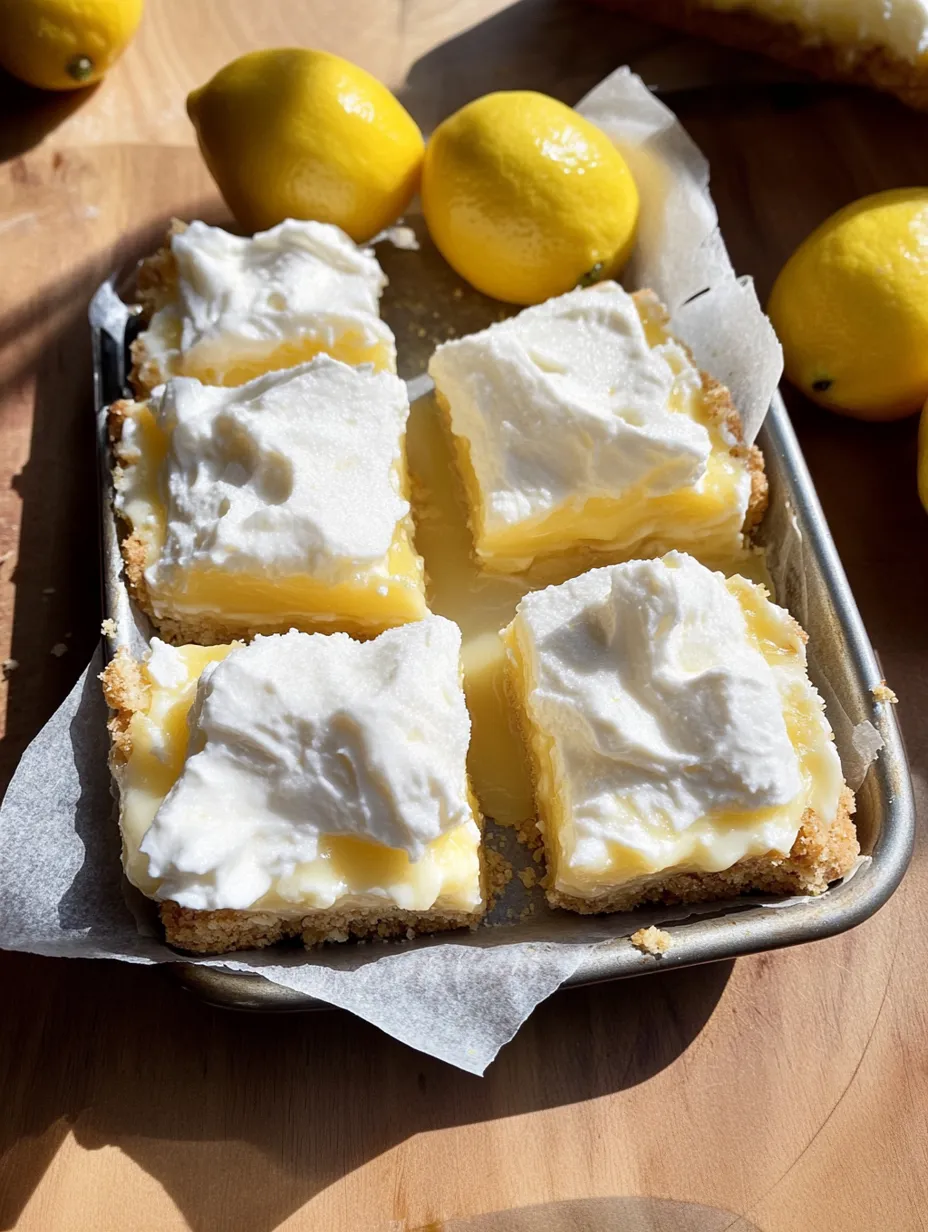
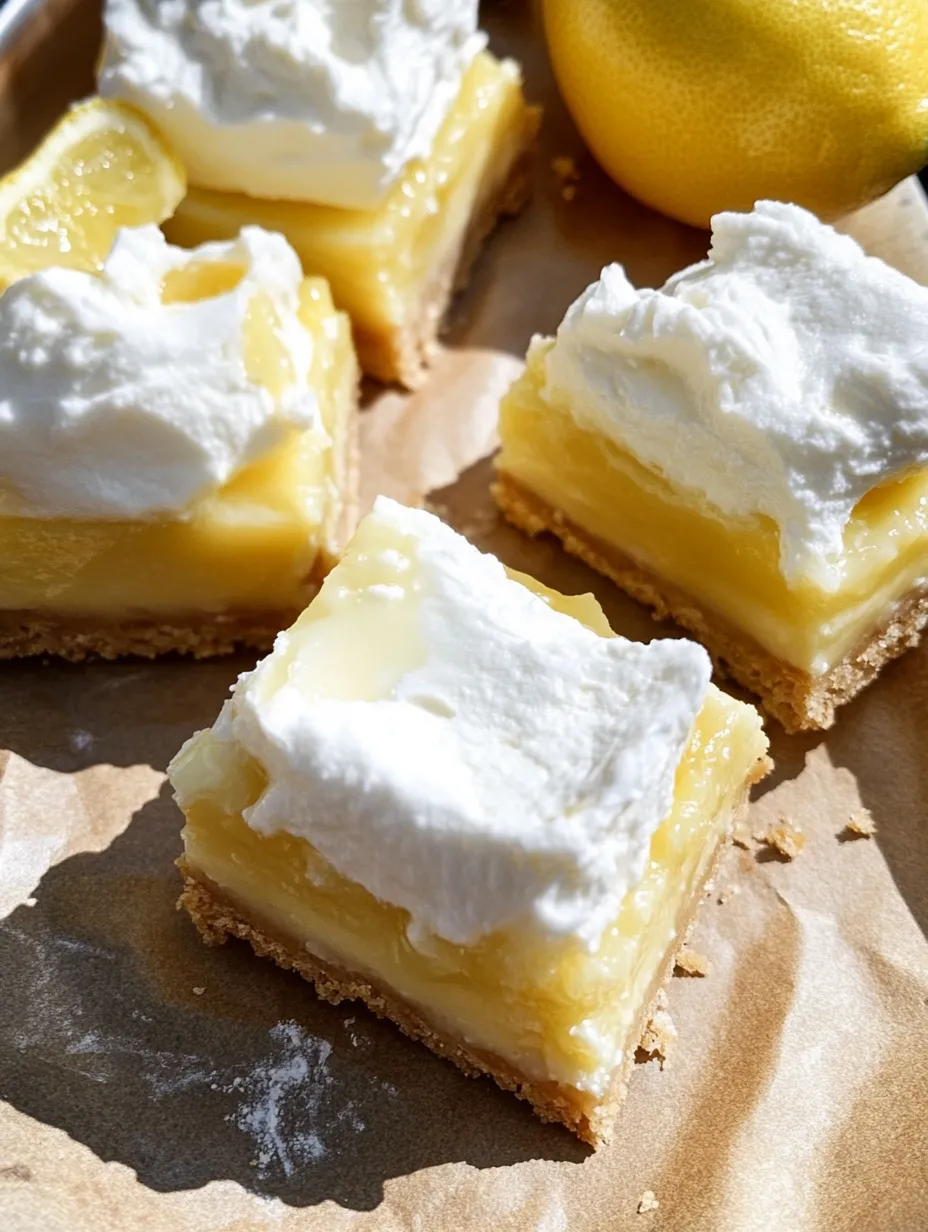
These small batch lemon bars have become my perfect solution for those citrus cravings without making a huge pan. I discovered this recipe a few summers ago when I wanted something bright and tangy but didn't need enough dessert to feed an army. The combination of buttery shortbread crust and that vibrant, luscious lemon layer creates this perfect balance of textures and flavors that makes even lemon skeptics come back for seconds. The smaller yield means they're always fresh, and let's be honest – sometimes you just need a little something sweet without leftovers tempting you for days.
Why You'll Love This Recipe
- The perfect small yield means no waste for smaller households
- The balance of sweet and tangy hits all the right flavor notes
- The two distinct layers create a beautiful presentation with minimal effort
- They taste even better after chilling, making them perfect for make-ahead desserts
Last spring, I brought these to a small dinner party as one of two dessert options. My friend Mark, who always claims he "doesn't do citrus desserts," tried a small square to be polite. By the end of the night, he had polished off three bars and was asking if there were any extras he could take home. His wife couldn't stop laughing about his sudden conversion to the lemon side.
Key Ingredients
- Cold butter - Using cold butter cut into cubes is crucial for that perfect shortbread texture. The cold butter creates little pockets that make the crust tender and crumbly rather than tough.
- Fresh lemon juice - The bottled stuff just doesn't compare. Fresh juice provides that bright, clean flavor that makes these bars sing. One good lemon should give you enough juice and zest for this small batch.
- Lemon zest - Don't skip this! The oils in the zest contain concentrated lemon flavor that elevates the filling from good to extraordinary. I always zest my lemon before juicing it.
- Powdered sugar - Using this in the crust instead of granulated sugar creates that melt-in-your-mouth texture that makes shortbread so irresistible.
- Granulated sugar - The coarser texture in the filling helps create that signature glossy top layer as it bakes and cools.
 Pin it
Baking Magic
- Perfect pan size - For this small batch, a 6x6 inch pan works perfectly. If you don't have one, you can use a loaf pan or even create a foil barrier in a larger pan to make a smaller section.
- Parchment paper technique - Create a parchment sling by leaving extra hanging over two sides, which makes removing the bars incredibly easy. I learned this trick after mangling my first batch trying to get them out of the pan.
- Cold butter methodology - Cut your butter into small cubes before mixing. You want pea-sized pieces distributed throughout the flour mixture, creating that perfect shortbread texture.
- Hot crust filling - Pour the filling over the crust while it's still hot from the oven. This helps the filling begin to set immediately and prevents a soggy bottom.
- Jiggle test - The filling should still have a slight jiggle in the center when done, similar to custard. It will continue setting as it cools, so don't overbake or you'll lose that creamy texture.
- Patience practice - Letting them cool completely before cutting gives you the cleanest slices. I sometimes refrigerate them for an hour after they've reached room temperature for extra insurance.
You Must Know
- The bars need to cool completely before cutting for clean edges
- They taste even better after being refrigerated for a few hours
- A metal pan conducts heat more evenly than glass for this recipe
I've been perfecting this recipe for years, making small tweaks each time. My first attempts had too much sugar in the filling, overwhelming the lemon's natural tanginess. Finding that perfect balance where the sweetness complements but doesn't mask the lemon was crucial. The baking time evolved too - initially I baked them too long, resulting in a rubbery texture instead of that luscious, silky filling. I've found that the slight wobble in the center before cooling gives the perfect final consistency.
Serving Ideas
Serve these lemon bars chilled for the best flavor and texture. Dust them with powdered sugar just before serving, as it tends to dissolve if done too far in advance. For a dinner party presentation, place each bar on a small dessert plate with a sprig of fresh mint and a few blueberries for color contrast. I sometimes add a tiny dollop of lightly sweetened whipped cream to each bar for an extra special touch. These pair beautifully with afternoon tea or a post-dinner coffee.
Tasty Twists
Try adding a teaspoon of lavender to the sugar for the filling and letting it infuse for an hour before mixing for a lovely floral note. For a more intense lemon flavor, add a drop of lemon oil along with the juice and zest. Create a raspberry version by placing a few fresh raspberries on top of the filling before baking. My personal favorite variation adds a thin layer of dark chocolate between the crust and filling – the chocolate-lemon combination is unexpected but delicious.
Storage Smarts
These lemon bars keep beautifully in the refrigerator for up to 4 days in an airtight container. Place parchment paper between layers if you need to stack them. For longer storage, these can be frozen for up to a month – freeze them solid on a baking sheet, then wrap individually in plastic wrap and store in a freezer container. Thaw overnight in the refrigerator before serving. I find they're actually delicious eaten while still slightly frozen on hot summer days – almost like a lemon ice cream bar!
 Pin it
Citrus Secrets
For the most juice, roll your lemon firmly on the counter before cutting and juicing
A microplane grater gives the best zest without the bitter white pith
For perfectionist slices, wipe your knife clean between each cut
I've made these small batch lemon bars countless times for intimate gatherings, afternoon treats, and even as a thoughtful gift packaged in a little box with a ribbon. There's something about that bright lemon flavor that just perks people up and brings smiles. The smaller yield makes them perfect for those times when you want something special without the commitment of a full 9x13 pan. Though I'll admit, I've definitely doubled the recipe more than once when I know lemon lovers will be around – they disappear that quickly!
Frequently Asked Questions
- → What size pan should I use for these small batch lemon bars?
- A 6x6 inch square pan works perfectly. If you don't have one, you can use a loaf pan (8x4 inches) or even a 6-inch round cake pan and adjust the shape of your bars accordingly.
- → Can I double this recipe for a larger batch?
- Yes! Double all ingredients and bake in an 8x8 inch square pan. You may need to increase baking time by 2-3 minutes for both the crust and filling.
- → My filling cracked while baking. What went wrong?
- Cracks usually happen when lemon bars are baked at too high a temperature or for too long. Make sure your oven is properly calibrated and check the bars a few minutes before the recommended baking time.
- → Can I use Meyer lemons instead of regular lemons?
- Absolutely! Meyer lemons will give a sweeter, less tart flavor profile. Since they're naturally sweeter, you might reduce the sugar by a tablespoon if you prefer less sweetness.
- → How do I know when the bars are fully baked?
- The filling should be set and no longer jiggly in the center. The edges might be slightly puffed, and the top should not be wet or sticky to a gentle touch.
- → Can I make these lemon bars gluten-free?
- Yes! Replace the all-purpose flour with a 1:1 gluten-free baking flour blend in both the crust and filling. The texture might be slightly different, but they'll still be delicious.
