 Pin it
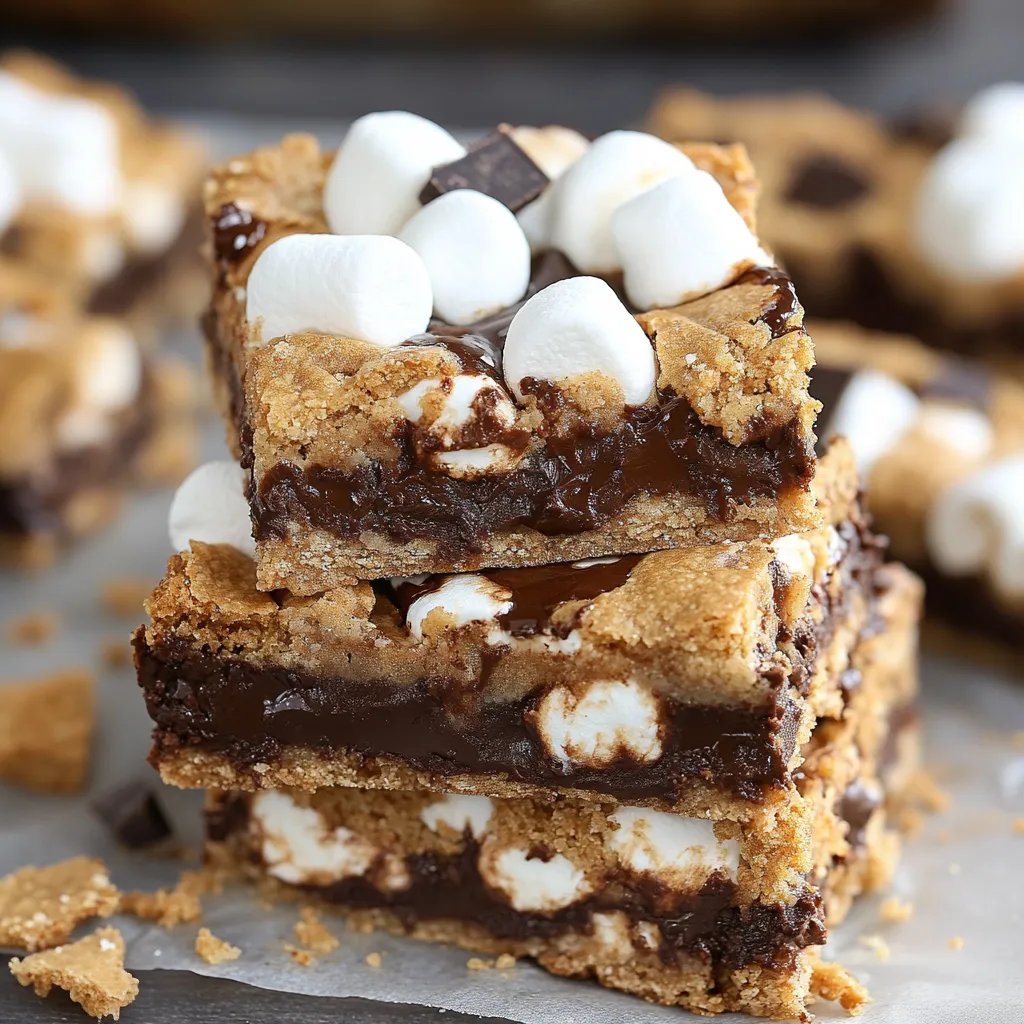
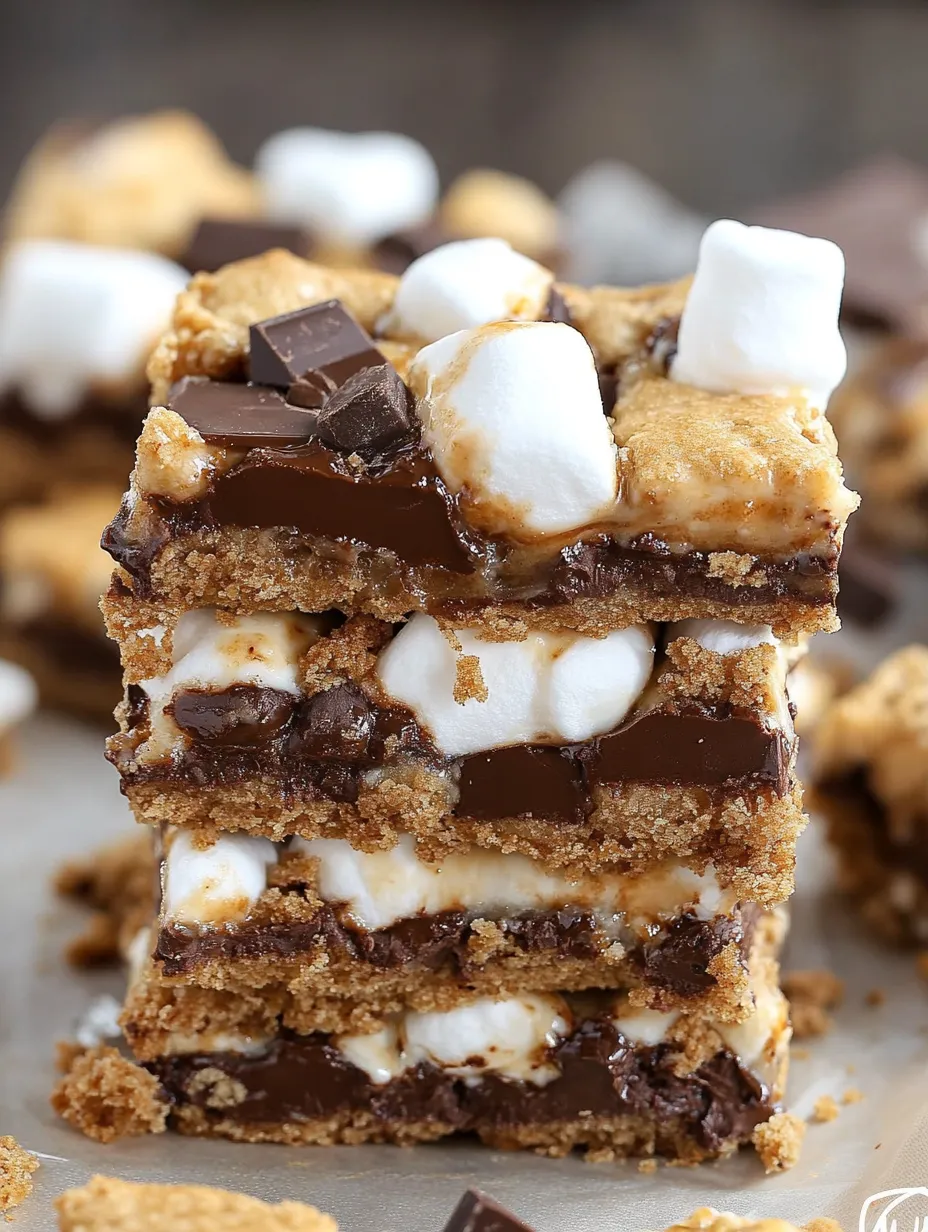
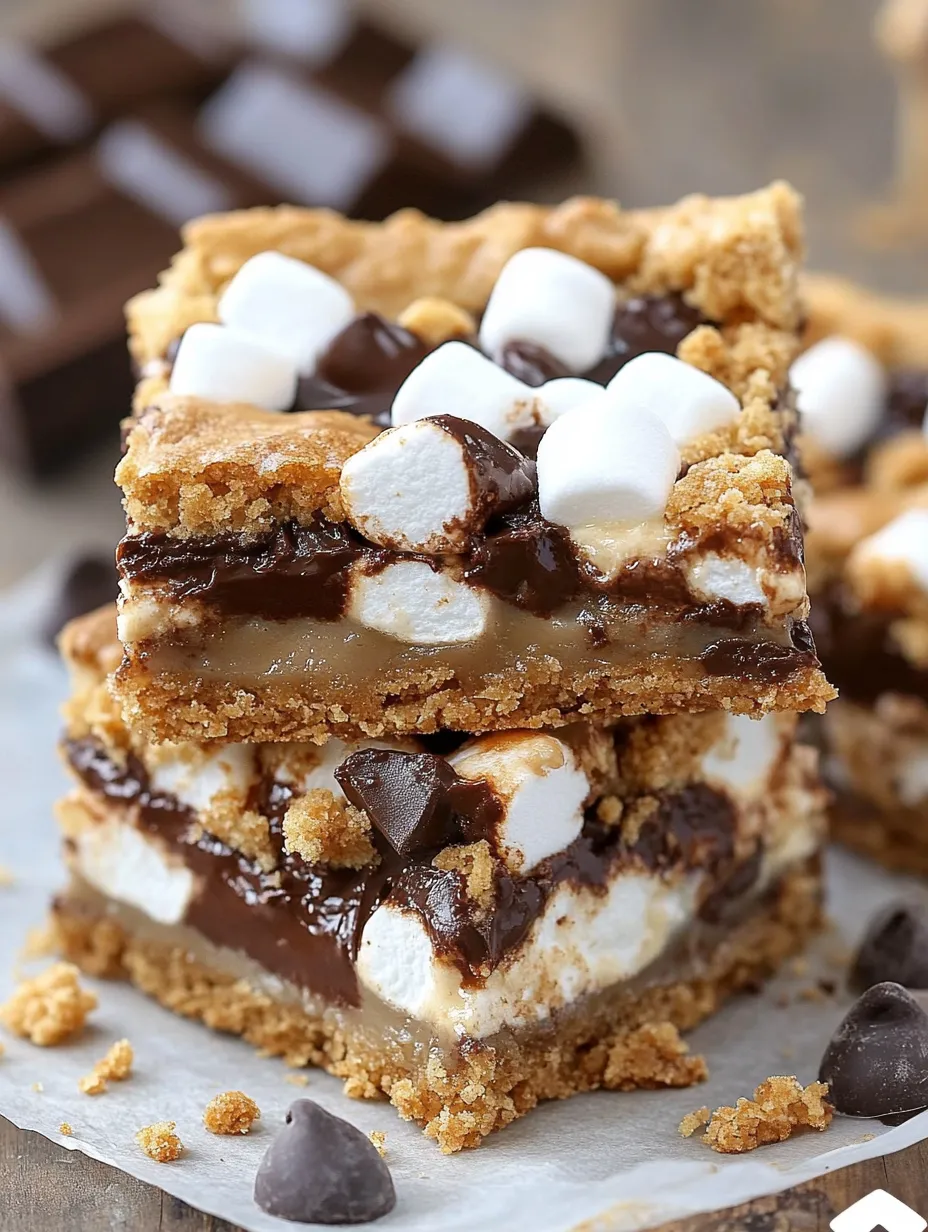
Summer campfire memories in a baking dish - that's what these S'mores Seven Layer Bars deliver with every gooey, indulgent bite. I created this recipe during a rainy weekend when my kids were desperate for s'mores but the weather had other plans. These bars capture everything magical about traditional s'mores - the toasty marshmallows, melted chocolate, and crunchy graham crackers - without requiring a fire pit or ending up with sticky marshmallow in your hair. They've become our go-to dessert for potlucks, summer gatherings, or anytime we need a crowd-pleasing treat that takes minimal effort.
Last summer I brought these to my neighbor's barbecue and watched as the platter emptied within minutes. My friend's husband, who claimed he was "watching what he eats," quietly returned to the dessert table three separate times. When I caught him sneaking a fourth bar, he just shrugged and said, "I'm counting these as a camping essential, not dessert." I couldn't argue with that logic.
Campfire Essentials
- Graham cracker crumbs: The foundation of any proper s'more. I prefer buying whole graham crackers and crushing them myself for a mixture of fine crumbs and small pieces, which creates better texture variation. A food processor works perfectly, but a ziplock bag and rolling pin does the job too if you don't mind a little therapeutic smashing.
- Butter: This transforms the graham cracker crumbs into a proper crust that holds everything together. I've found that salted butter adds a nice flavor contrast to the sweetness, but unsalted works perfectly too. Just make sure it's completely melted for easy mixing.
- Sweetened condensed milk: The magical ingredient that binds everything together and creates that gooey, caramelized texture. Don't substitute evaporated milk - they're completely different products and your bars won't set properly.
- Mini marshmallows: These toast more evenly than large marshmallows and distribute better throughout the bars. Adding them in two stages is crucial - some get deliciously melty inside the bars while the top layer gets that perfect toasted campfire finish.
- Chocolate chips and chocolate bars: Yes, both! The chips melt into the bars while baking, creating pockets of chocolate throughout, while the chocolate bar pieces on top give you that authentic s'more appearance and another layer of melt-in-your-mouth goodness.
 Pin it
Campsite Creation
- Building the perfect base:
- When mixing the graham cracker crumbs with butter, it should resemble wet sand that holds together when pressed. Press this mixture firmly into your baking dish - I use the bottom of a measuring cup to create an even, compact layer. Any gaps or loosely packed areas will cause your bars to fall apart later.
- Creating gooey perfection:
- Pour the sweetened condensed milk slowly and evenly over the crust. Try to cover the entire surface - this becomes the "glue" that holds all the delicious toppings in place. If needed, gently tilt the pan to help it spread to the corners.
- Layering with purpose:
- Sprinkle your first layer of marshmallows, chocolate chips, and graham cracker pieces evenly across the surface. Resist the urge to add more than called for - too many toppings will prevent the bars from setting properly. The broken graham cracker pieces should be roughly quarter-sized for the best texture.
- Achieving toasty goodness:
- That second bake after adding the remaining marshmallows is what creates the authentic s'more experience. Watch closely during the last few minutes - you want them golden brown, not burnt. Every oven differs, so start checking at the 8-minute mark.
- The finishing touch:
- Adding the chocolate bar pieces while the bars are still hot ensures they melt just enough to stick to the marshmallows without completely disappearing. Space them evenly so each bar gets some of that classic chocolate bar topping.
My first batch of these bars taught me a valuable lesson about patience. I tried cutting them immediately after removing from the oven and ended up with a delicious but structurally compromised mess. Now I force myself to wait at least 15 minutes before cutting (usually by leaving the kitchen entirely). I've also experimented with the marshmallow-to-chocolate ratio over many batches and found this version creates the perfect balance - too many marshmallows creates a sticky situation that's impossible to cut cleanly.
Sweet Presentations
Turn these bars into an even more impressive dessert by serving them slightly warm with a scoop of vanilla ice cream on the side. For summer gatherings, I arrange them on a rustic wooden board surrounded by fresh strawberries and blueberries for a red, white, and blue theme. They also make adorable individual desserts when cut small and served in cupcake liners on a tiered stand.
Campfire Creativity
Once you've mastered the basic recipe, try some creative variations. Add a layer of chopped peanut butter cups for a Reese's-inspired s'more. Substitute cinnamon graham crackers for a subtle spice twist. During the holidays, I add crushed peppermint candies on top for festive s'more bars. For chocolate lovers, try using dark chocolate chips and milk chocolate bars for more complex flavor.
Storage Secrets
These bars stay deliciously fresh for 3-4 days when stored in an airtight container at room temperature. Place parchment paper between layers if you need to stack them. They can also be refrigerated, which firms them up considerably - perfect if you prefer a less gooey texture. For longer storage, these freeze beautifully for up to 3 months. Just thaw at room temperature for about an hour before serving.
 Pin it
I've made these S'mores Seven Layer Bars for everything from backyard gatherings to classroom treats. There's something about the combination of toasted marshmallows and melted chocolate that taps into childhood memories and makes everyone smile. While traditional s'mores will always have their place around the campfire, these bars have become our family's year-round solution when we're craving that magical combination of flavors. The best part? No sticky marshmallow roasting sticks to clean, no campfire smoke in your eyes, and everyone gets the perfect proportion of ingredients in every single bite.
Frequently Asked Questions
- → Can I use regular marshmallows instead of mini ones?
- Yes, you can use regular marshmallows cut into quarters or halves. Mini marshmallows are recommended because they melt more evenly and create a better texture throughout the bars.
- → How should I store these bars?
- Store in an airtight container at room temperature for up to 3 days. You can also refrigerate them to make them less gooey and easier to handle, but bring to room temperature before serving for the best texture.
- → Can I freeze these s'mores bars?
- Yes! Wrap them individually in plastic wrap and store in a freezer-safe container for up to 3 months. Thaw at room temperature before serving.
- → What's the best way to cut these bars neatly?
- For clean cuts, allow the bars to cool completely, then use a sharp knife dipped in hot water and wiped clean between cuts. You can also refrigerate them first to firm them up before cutting.
- → Can I add other mix-ins to these bars?
- Absolutely! Try adding chopped nuts, toffee bits, white chocolate chips, or even a drizzle of caramel on top for extra decadence and flavor variations.
