
 Pin it
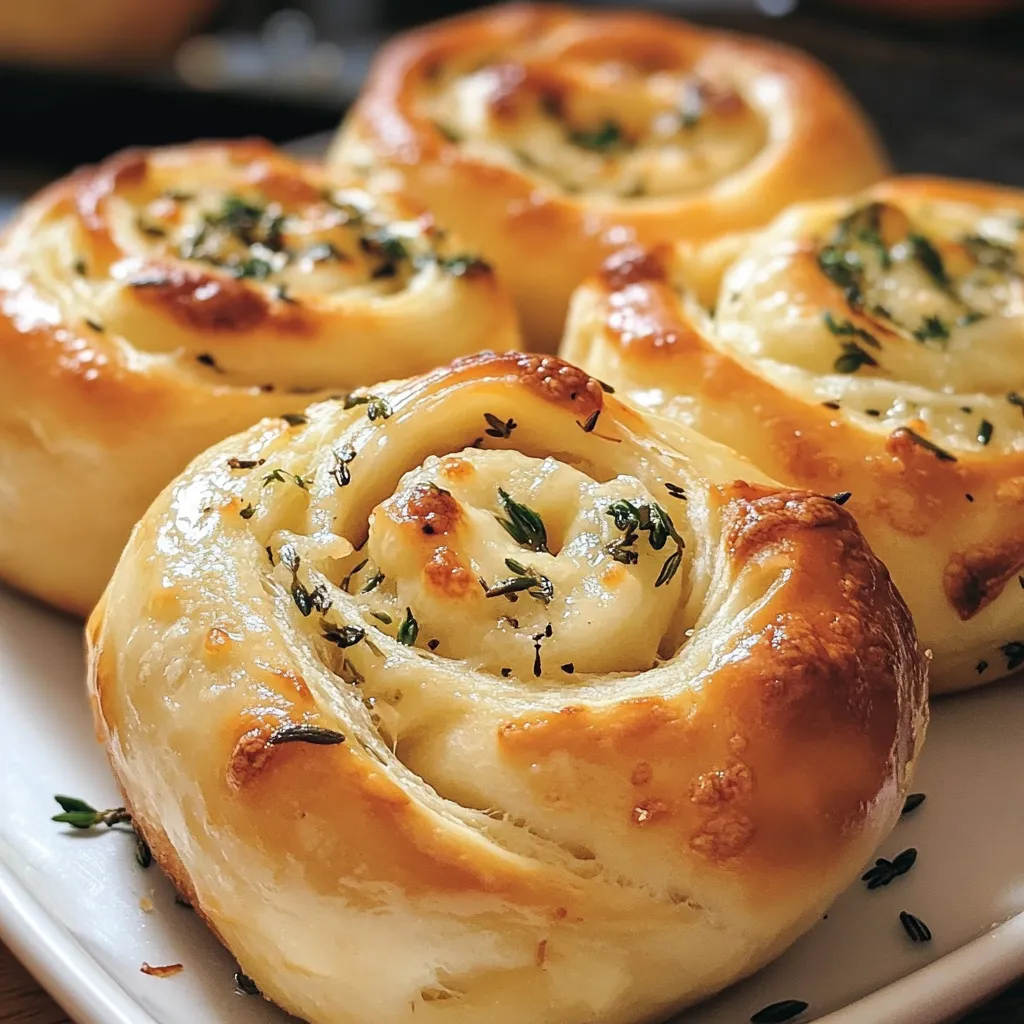
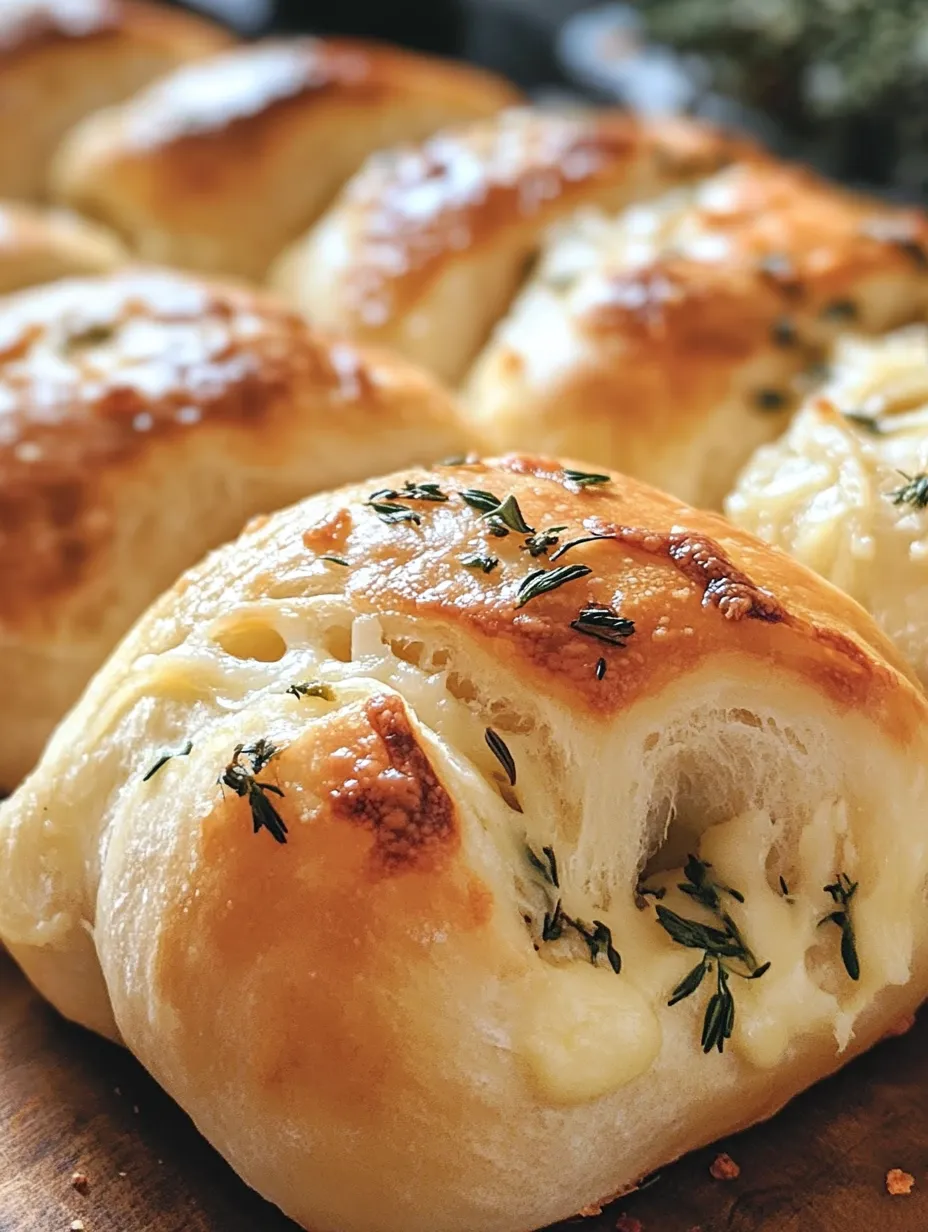
I stumbled upon this sourdough herb and cheese roll recipe last winter when I was looking for creative ways to use my sourdough discard. The combination of tangy sourdough with herbs and melty cheese creates these incredible rolls that taste like they came from an artisan bakery. They've become my go-to when I want to elevate a simple soup or stew dinner into something special.
My neighbor stopped by just as these were coming out of the oven, and the aroma alone convinced her to stay for coffee. After one bite, she immediately asked for my sourdough starter recipe along with this one. Sometimes the simplest recipes create the most memorable impressions.
Simple Ingredients
- Sourdough starter - Either discard or active works beautifully here
- Fresh herbs - The dried herbs infuse flavor throughout the rolls
- Good cheese - Use quality cheese for the best flavor and melting properties
- Basic pantry ingredients - Nothing fancy required beyond your sourdough starter
- Optional garlic powder - Adds a subtle savory note that complements the herbs perfectly
 Pin it
Roll Creation
- Dough Development
- The dough should be soft and slightly tacky but not sticky. I've found that adding the flour gradually gives me better control over the final texture. Don't rush the kneading process - those full 8 minutes develop the gluten structure that creates the perfect chewy texture. The first time I made these, I underkneaded and ended up with denser rolls. Now I knead until the dough passes the "window pane test" - when you can stretch a small piece thin enough to see light through without tearing.
- Resting Period
- That 4-6 hour rest is where the magic happens - the sourdough fermentation creates both flavor and texture. I often make the dough in the morning and shape the rolls in the afternoon for dinner, or mix it at night and let it rest in the refrigerator for next-day baking. The slow fermentation not only improves digestibility but develops that distinctive sourdough tang that makes these rolls special. In warmer weather, the dough may be ready sooner; in cooler conditions, it might need the full 6 hours or more.
- Filling Assembly
- The softened butter in the filling helps everything stick together and adds richness. I mix the cheese and herbs with the butter before spreading, which ensures even distribution throughout the rolls. When rolling the dough into a rectangle, I aim for about 14×10 inches - this creates the perfect thickness for the filling-to-dough ratio. Too thin and the filling bursts out; too thick and you lose the beautiful spiral effect.
- Rolling Technique
- Rolling the dough tightly is key for well-defined spirals. I start from the long edge and use my fingertips to keep the roll compact as I go. For the cleanest slices, I use unflavored dental floss: slide it under the log, cross the ends over the top, and pull to cut through cleanly. A sharp knife works too, but sometimes compresses the rolls slightly. Making the slices even ensures consistent baking - I often mark the log before cutting to guide me.
- Final Rise
- Don't rush this second rise - it's what gives the rolls their fluffy texture. They should look noticeably puffier but not quite doubled in size. In my cooler kitchen, this sometimes takes the full 2 hours, while in summer it might be just an hour. I look for the rolls to be touching each other in the pan - this creates that classic pull-apart texture with soft sides and helps them rise upward instead of outward.
- Baking Strategy
- The egg wash creates that beautiful golden shine, and the extra cheese on top gets wonderfully crispy. I sometimes cover the rolls with foil halfway through baking if they're browning too quickly. The rolls are done when they reach an internal temperature of about 190°F, but since most home bakers don't check bread temperature, look for even golden browning across the top. Letting them cool slightly before serving allows the structure to set, so they don't collapse when pulled apart.
My husband, who normally passes on bread before dinner to save room for the main course, ate three of these rolls before I even served the soup. There's something about that combination of tangy sourdough, aromatic herbs, and melty cheese that makes them irresistible even to those who usually show restraint around bread baskets.
Perfect Pairings
Serve these rolls alongside a hearty soup or stew for a complete meal. For entertaining, I arrange them in a bread basket lined with a cloth napkin to keep them warm. They make an excellent addition to a cheese board, offering a more substantial option alongside cheeses and charcuterie. My kids love them as an after-school snack, slightly warmed with a bit of butter.
Creative Variations
Try different cheese combinations like gruyere and thyme for a French twist. Add finely chopped sun-dried tomatoes or olives to the filling for Mediterranean flair. For a breakfast version, use cinnamon, sugar, and raisins instead of the savory fillings. Last Thanksgiving, I experimented with adding finely chopped sage and rosemary to the dough itself rather than just the filling, which created an even more aromatic roll that paired beautifully with the meal.
 Pin it
I've made these sourdough herb and cheese rolls for everything from casual family dinners to holiday gatherings, and they never fail to impress. There's something magical about the way those spirals of herbs and cheese peek through the golden crust, promising flavor in every bite. My daughter has started helping me make them, carefully sprinkling the cheese and herbs across the dough, creating food memories that will last far longer than the rolls themselves. Sometimes the most meaningful recipes are the ones that transform simple ingredients through time and patience into something that brings people together around the table.
Frequently Asked Questions
- → Can I use sourdough discard for these rolls?
- Yes! This recipe is excellent for using up sourdough discard. Both active starter and discard will work fine, though discard may require a slightly longer rise time. The flavor profile will be slightly different but equally delicious with either option.
- → What's the best cheese to use for these rolls?
- These rolls are versatile and work well with many cheese varieties. Sharp cheddar provides robust flavor, while mozzarella offers that classic stretch. Parmesan adds a nutty, salty quality. For the best results, use a combination of cheeses - try a mix of cheddar and mozzarella with a sprinkle of parmesan on top.
- → Can I prepare these rolls the night before?
- Yes! You can prepare the rolls through the shaping stage, then place them in the baking dish, cover tightly, and refrigerate overnight. The next day, remove from the refrigerator and let them come to room temperature and complete their final rise (about 1-2 hours) before baking.
- → How can I tell when my dough has risen enough?
- The dough should be noticeably puffier and roughly doubled in size. A good test is the poke test: gently poke the dough with your finger about 1/2 inch deep. If the indentation remains or fills back slowly, the dough is ready. If it springs back quickly, it needs more time to rise.
- → Can I freeze these sourdough rolls?
- Yes, these rolls freeze beautifully! Cool them completely, then wrap individually in plastic wrap and place in a freezer bag. Freeze for up to 3 months. To reheat, thaw at room temperature and warm in a 350°F oven for 5-10 minutes, or microwave individual rolls for about 30 seconds.