
 Pin it
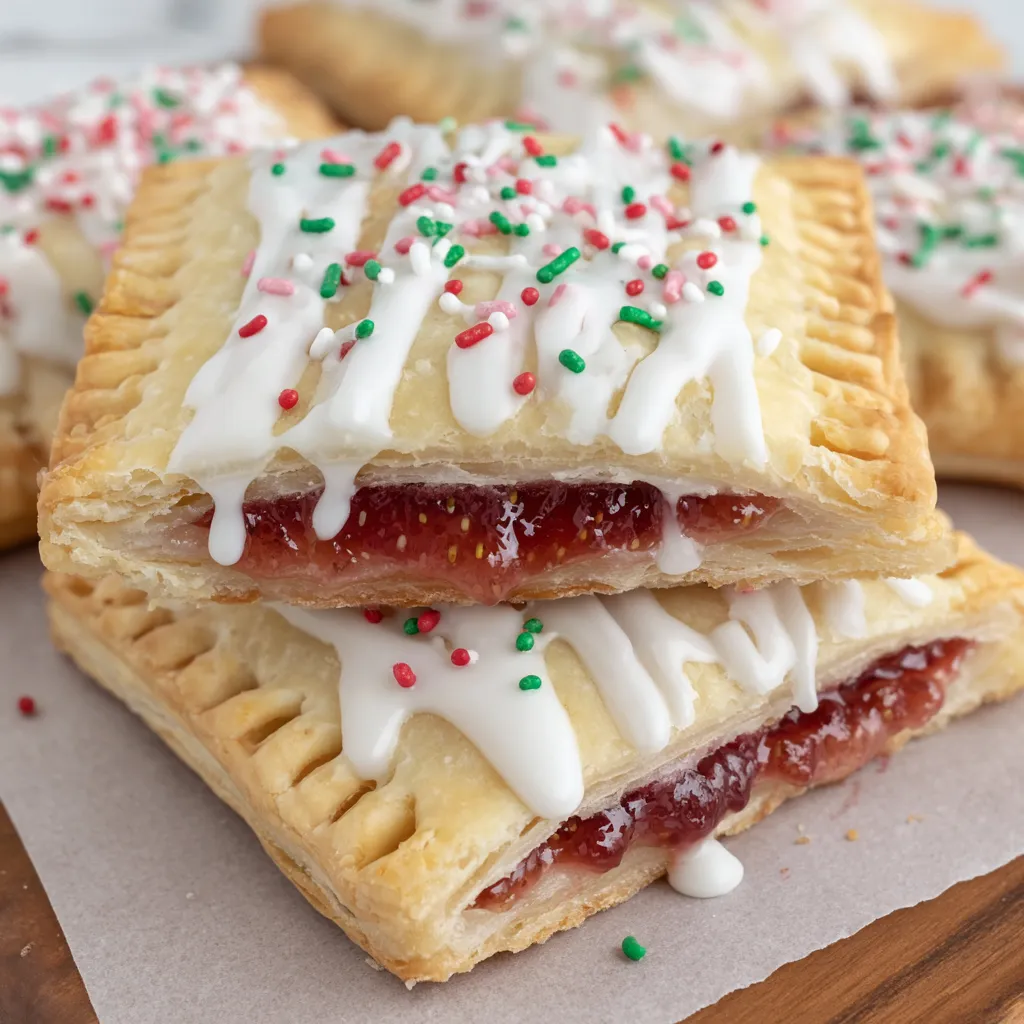
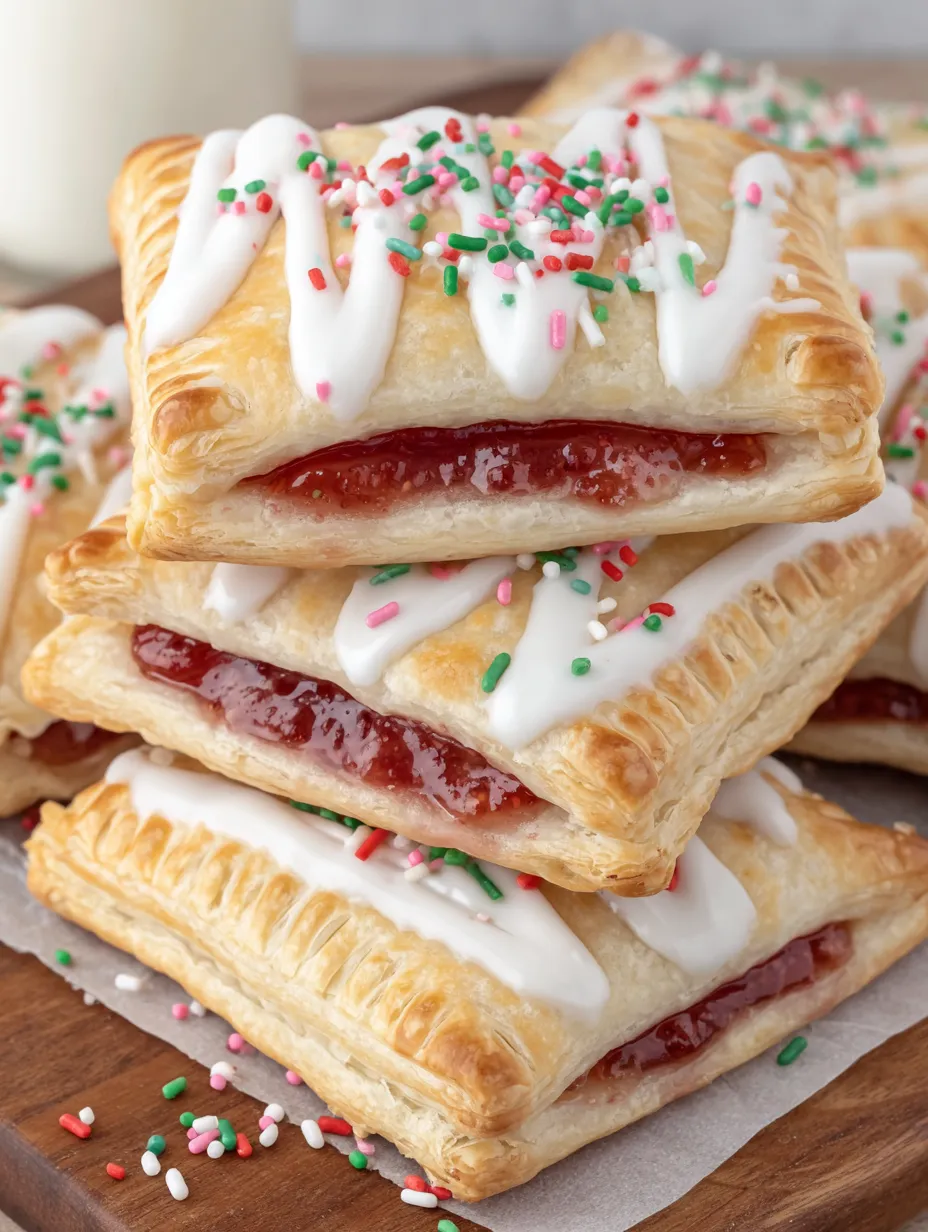
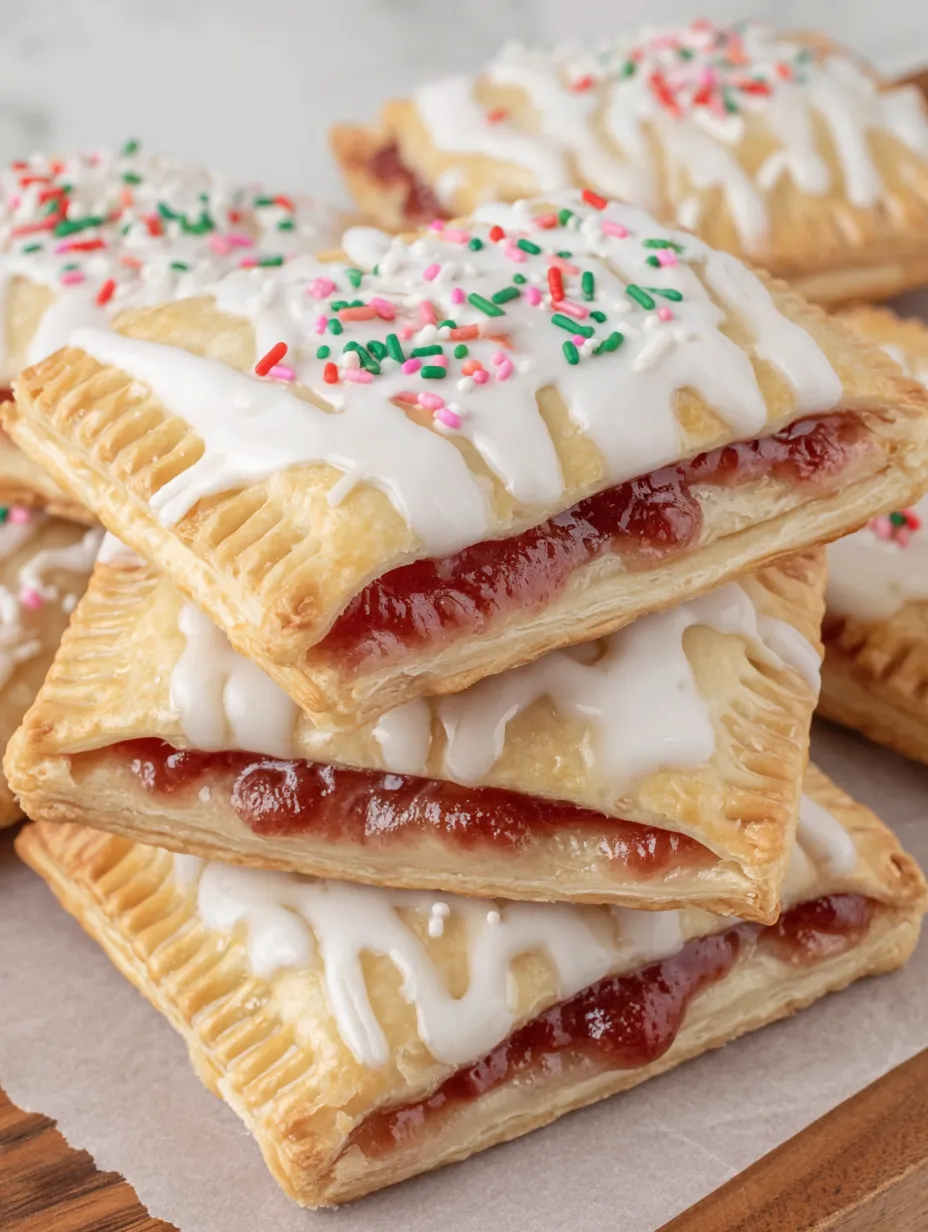
Making homemade strawberry pop tarts transforms a childhood staple into a gourmet breakfast experience. By utilizing refrigerated pie crust as a high-quality shortcut, you achieve a level of flakiness and buttery flavor that far surpasses anything found in a foil wrapper. These hand-held pastries are filled with real strawberry preserves, sealed with a classic fork-crimped edge, and finished with a sweet vanilla glaze and a festive shower of sprinkles. It is a 35-minute recipe that delivers pure nostalgia while tasting remarkably fresh, making it the perfect activity for Saturday mornings with the family.
I first debuted these at a neighborhood coffee morning, and they were an instant hit. My daughter now invites her friends over specifically for "pop tart mornings," where the kitchen becomes a flurry of icing and rainbow sprinkles. My best friend Jessica started making them with her twins, and it has quickly become their favorite weekend tradition. There is something deeply satisfying about making a "fancy" version of a familiar treat that looks like it came from a boutique bakery but only took minutes to prepare.
Key Pastry Elements
- Refrigerated Pie Crusts: Two standard crusts. Let them reach room temperature for 10 minutes before unrolling to prevent cracking and ensure easy cutting
- Strawberry Preserves: Thicker and fruitier than standard jam, preserves provide a more intense strawberry flavor and stay contained during the bake
- Egg Wash: One egg whisked with a splash of water. This serves as the "glue" for the edges and creates the professional golden-brown shine on the crust
- Powdered Sugar Glaze: A simple blend of sugar, milk, and vanilla that sets into a soft matte finish, providing that iconic pop tart look
- Rainbow Sprinkles: Added while the glaze is wet to provide a pop of color and a satisfying textural crunch
 Pin it
Creating Your Pop Tarts
- Preparing the Pastry:
- Unroll the pie crusts and roll them slightly thinner with a rolling pin. Cut the dough into 3x4 inch rectangles. You should aim for 16 rectangles total (8 tops and 8 bottoms) by gathering and re-rolling the scraps only once to maintain tenderness.
- Filling and Sealing:
- Place a tablespoon of preserves in the center of 8 rectangles, leaving a half-inch border. Brush the border with egg wash, place the top rectangle on, and press the edges with your fingers. Use a fork to firmly crimp the edges for a secure, professional-looking seal.
- Baking for Crunch:
- Poke steam vents in the top with a fork and brush with more egg wash. Bake at 400°F for 15 minutes. Look for a deep golden brown color; this ensures the pastry is crisp enough to hold the glaze without becoming soggy.
- The Finishing Touch:
- Cool the pastries completely on a wire rack. Whisk the glaze until it is thick but pourable. Spread generously over the center of each pop tart and immediately shower with sprinkles before the icing sets.
Through dozens of batches, I’ve found that using a pizza cutter is much faster and cleaner than a knife for getting those perfect rectangles. I also learned that if you re-roll the scraps more than once, the dough starts to get tough. If you find your preserves are a bit too thin, stir in a teaspoon of cornstarch before filling to help them set during the bake.
Flavor Adventures
Once you master the strawberry version, try 'Brown Sugar Cinnamon' by filling with a mix of brown sugar, cinnamon, and a tiny bit of butter. For a more decadent treat, use Nutella or a high-quality chocolate hazelnut spread. Blueberry preserves or apple butter also make fantastic seasonal variations that pair perfectly with a morning coffee.
Storage and Refreshing
These stay delicious at room temperature for up to 3 days in an airtight container. To bring back the original "just baked" crunch, pop an un-iced pop tart into a 300°F oven for 5 minutes. You can also freeze the unbaked, assembled pastries for up to 2 months; simply bake them directly from the freezer, adding 2-3 extra minutes to the timer.
 Pin it
Ultimately, homemade strawberry pop tarts are about bringing a little bit of magic to the breakfast table. They prove that you can create something nostalgic and fun without sacrificing quality or taste. Once you take that first bite of flaky pastry and sweet fruit, you'll see why these have become a permanent Saturday morning tradition in our home.
Frequently Asked Questions
- → Can I use homemade pie crust instead?
- Yes, homemade crust works great. It'll be thinner and flakier than store-bought. You might need to adjust the baking time by a minute or two.
- → What other fillings can I use?
- Any thick jam or preserves works. Try raspberry, blueberry, apple butter, or even Nutella. Just keep the amount to about a tablespoon per tart.
- → Why do I need to poke holes in the top?
- The holes let steam escape while baking. Without them, the pop tarts can puff up too much or even burst open.
- → How do I keep the filling from leaking out?
- Don't overfill them, leave that half-inch border, and make sure to seal the edges well with egg wash and crimping. Those three steps prevent most leaks.
- → Can I freeze these?
- Yes, freeze them without frosting. Wrap each one individually and freeze for up to 3 months. Toast them straight from frozen and add fresh frosting.
- → How long do they stay fresh?
- Store them in an airtight container at room temperature for 2-3 days. The crust will soften a bit over time but they'll still taste good.