
 Pin it
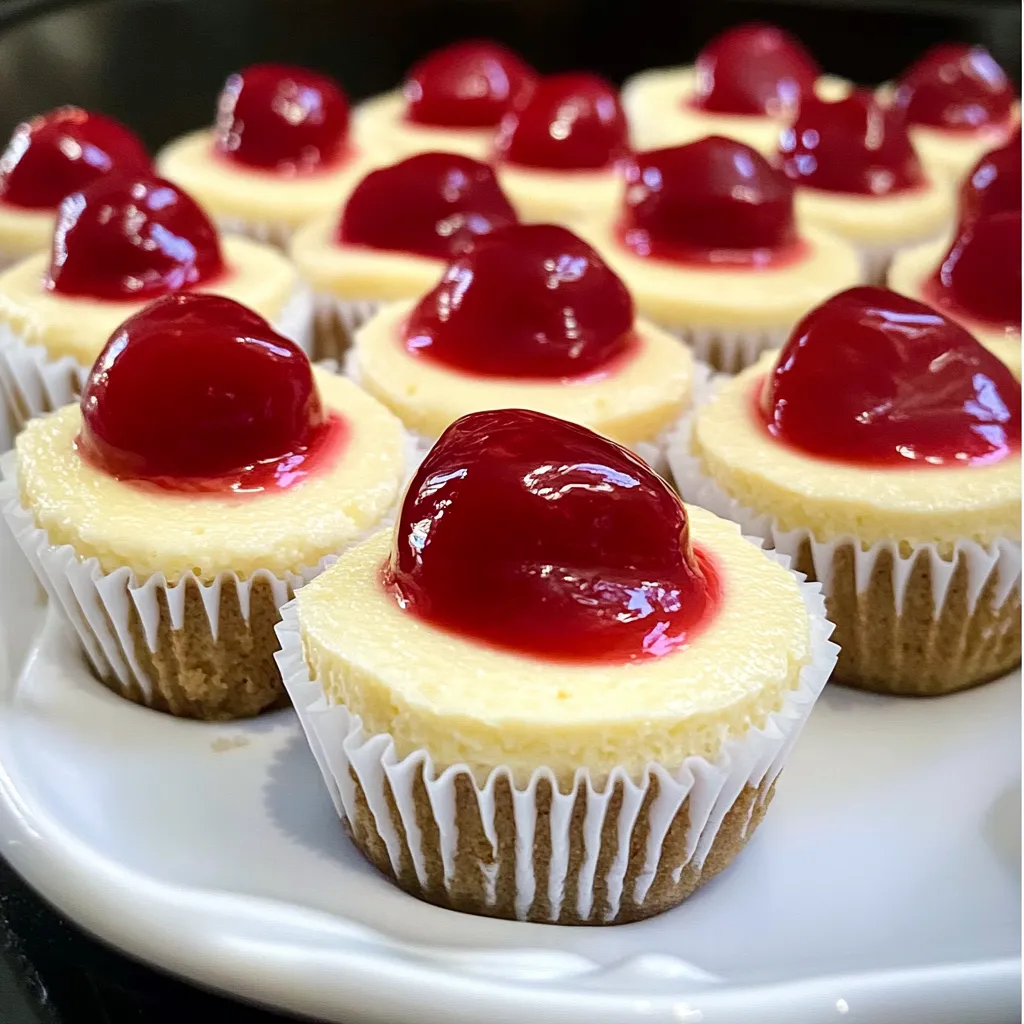
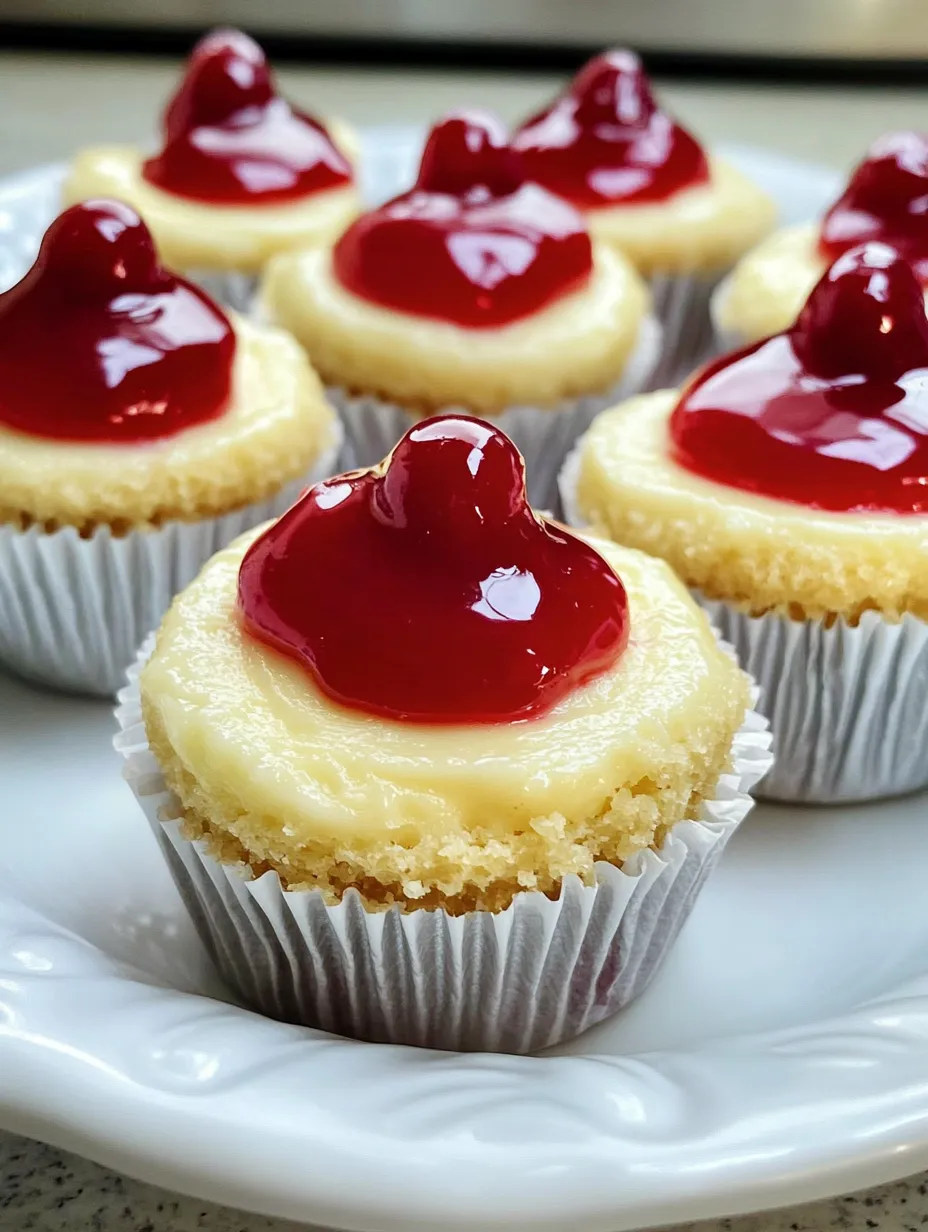
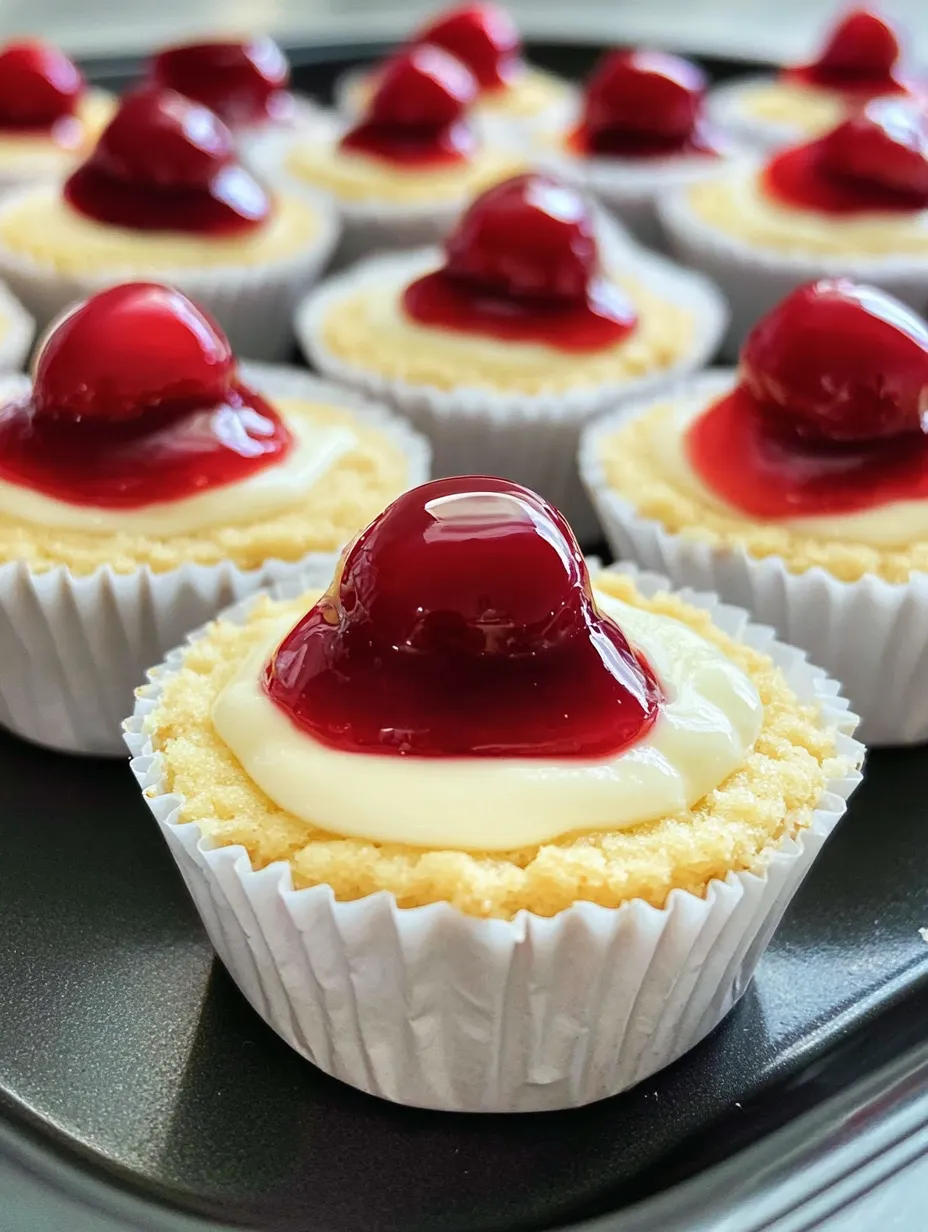
I stumbled across this recipe years ago when I needed a last-minute dessert for book club. These mini cheesecakes have saved me countless times since then when I need something that looks fancy but takes basically no effort. The vanilla wafer at the bottom creates this perfect little crust without all the crushing and mixing of traditional cheesecake bases. Plus, making them in a muffin tin means perfect portions and way faster baking time than a full-sized cheesecake.
Made these for my sister's birthday dinner last month. She's usually the baker in the family and was shocked when I showed up with something homemade. My nephew, who claims he hates cheesecake, ate three of them when nobody was looking. The empty cupcake liners in the trash gave him away.
Simple Ingredients
- Vanilla wafer cookies: These little guys create an instant crust without any work. I've tried other cookies too - gingersnaps are amazing for the holidays.
- Cream cheese: Has to be full-fat for the right texture and flavor. Trust me, I tried to lighten them up once with reduced-fat and nobody was impressed.
- Sugar: Regular granulated works perfectly. I've accidentally used powdered before and they were too sweet.
- Eggs: They bind everything together and give that classic cheesecake texture. Room temperature is important or you'll get lumps.
- Vanilla: Splurge on the bean paste if you can - those little specks look gorgeous. But honestly, extract works fine too.
- Cherry pie filling: The classic topping that makes them look fancy with zero effort. I've used blueberry, strawberry, or even just fresh berries when I'm feeling virtuous.
 Pin it
Quick Assembly
- Prep Your Pan:
- Start by lining your muffin tins with paper liners. Don't skip this step unless you enjoy digging mangled cheesecake out of your pan. Drop a vanilla wafer into each liner, flat side down. No need to press - it'll settle in during baking.
- Mix With Care:
- Beat your cream cheese until it's totally smooth before adding anything else. Any lumps now will still be there later. Add sugar gradually with the mixer on low - dump it all at once and you'll be wearing a sugar cloud.
- Egg Addition:
- Add those eggs one at a time, beating well after each. This isn't just recipe writer nonsense - it actually makes a difference in the texture. The mixture should look glossy and smooth.
- Vanilla Moment:
- Stir in your vanilla. If using bean paste, take a second to admire those little specks before mixing them in.
- Fill 'Em Up:
- Use a scoop if you have one for even filling. I use an ice cream scoop with a release lever - game changer. Fill cups about ¾ full - they'll puff up a bit during baking then settle back down.
- Baking Magic:
- These need about 20-22 minutes. You want them just set but still slightly jiggly in the center. They'll finish setting as they cool.
- Chill Out:
- Let them cool in the pan before refrigerating. Don't rush this step or they might crack or sink too much.
My first batch of these was a total experiment. I had cream cheese that needed using up and some vanilla wafers left from my kid's lunch box. The tops cracked like crazy because I baked them too long, but everyone raved about them anyway. Now I've made them so many times I don't even need the recipe. I've learned that adding the topping right before serving keeps the cheesecake from getting soggy if you're making them ahead.
Serving Style
These little beauties look impressive arranged on a cake stand for parties. For fancier occasions, I sometimes put out bowls of different toppings so guests can customize their own. They pair perfectly with coffee after dinner or with mimosas for brunch (yes, cheesecake for brunch is perfectly acceptable). If you're feeling extra, add a tiny mint leaf to each one for that restaurant touch.
Mix It Up
While the classic version is hard to beat, there are endless variations. Try adding lemon zest to the batter for a bright, citrusy version. Swirl in a spoonful of caramel before baking. Replace the vanilla wafer with an Oreo cookie for a cookies-and-cream version. During the holidays, I add a dash of peppermint extract and top with crushed candy canes instead of cherries.
Storage Sense
These keep beautifully in the fridge for about four days, though they rarely last that long in my house. Store them without the topping until you're ready to serve. For longer storage, freeze them plain in an airtight container for up to two months. When you're ready to eat them, thaw overnight in the fridge and add topping before serving.
 Pin it
I've brought these mini cheesecakes to countless gatherings over the years. They've made appearances at baby showers, potlucks, holiday parties, and late-night snack attacks. There's something about individual desserts that makes people happier than slices from a larger cake. My friend Sarah now requests them for every birthday instead of traditional cake, and my husband has been known to check the freezer stash before offering to "bring dessert" to dinner invitations. Sometimes the simplest recipes become your signature dish.
Frequently Asked Questions
- → Can I use different toppings instead of cherry pie filling?
- Absolutely! Try blueberry, strawberry, or apple pie filling. Fresh berries, chocolate sauce, or caramel also work beautifully as alternative toppings.
- → Why did my mini cheesecakes crack on top?
- Cracks usually happen from overbeating the batter (introducing too much air) or cooling too quickly. Beat just until combined and let them cool gradually at room temperature before refrigerating.
- → Can I make these with reduced-fat cream cheese?
- Yes, but the texture won't be quite as rich. If using reduced-fat cream cheese, add 1 tablespoon of flour to help with the consistency.
- → Do I need to use a water bath for these mini cheesecakes?
- No, one of the benefits of mini cheesecakes is that they don't need a water bath like full-sized cheesecakes do.
- → How do I know when my mini cheesecakes are done baking?
- They should be set around the edges but still have a slight jiggle in the center. They'll continue to set as they cool. If they're completely firm in the center, they're likely overbaked.