
 Pin it
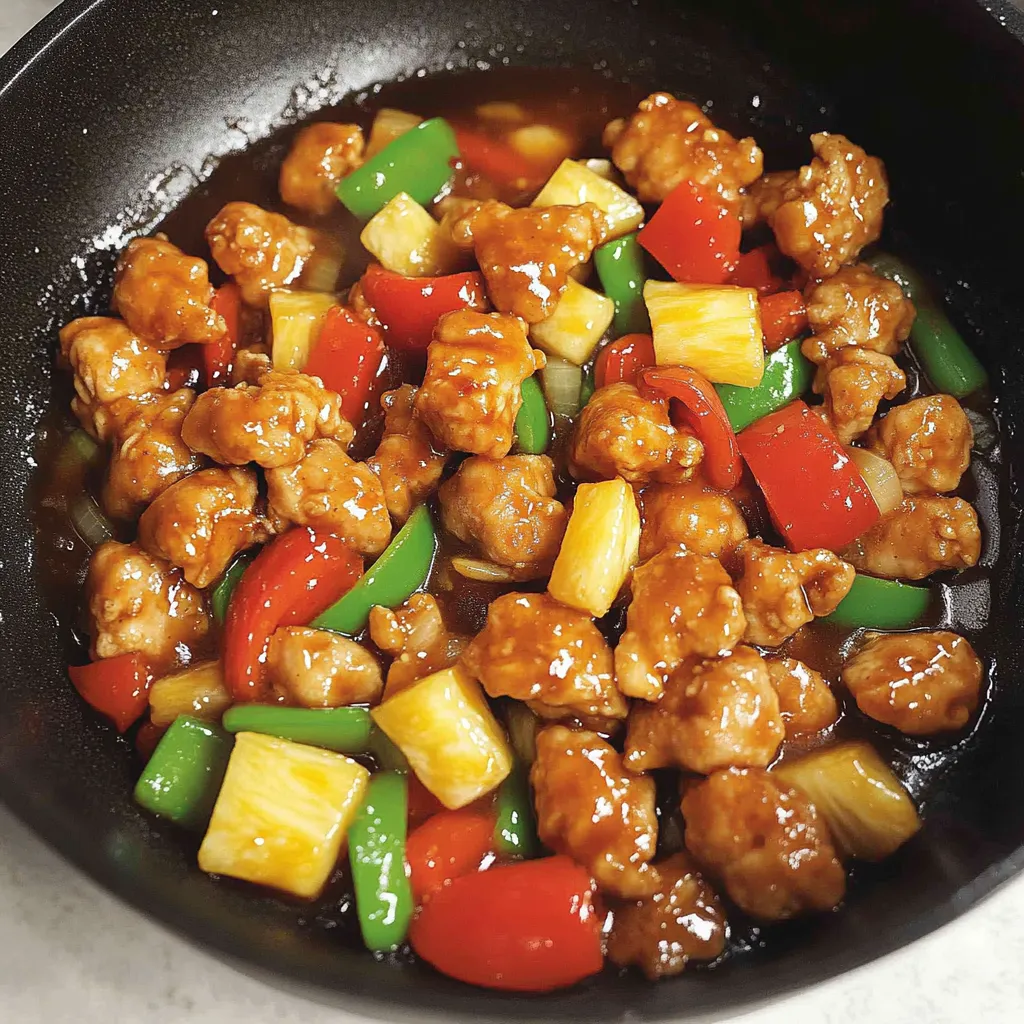
This sweet and sour chicken has been my go-to takeout fake-out for years. I stumbled on this recipe when trying to recreate my favorite Chinese restaurant dish, and honestly, it turned out even better than what I was ordering. The chicken gets this incredible crispy coating that somehow stays crunchy even after being tossed in the sauce. And that sauce - it hits all the right notes of tangy, sweet, and savory that makes sweet and sour chicken so addictive.
Last month I made this for friends who always order Chinese takeout on movie nights. My buddy Mike, who considers himself a sweet and sour connoisseur, took one bite and said, 'I'm never ordering this again - yours is way better.' His wife asked for the recipe before they even left that night.
Key Ingredients
- Chicken thighs: They stay juicier than breast meat, but either works great. Just make sure to cut the pieces evenly for consistent cooking.
- Egg white: This is the secret to a super crispy coating! Leaving out the yolk creates a lighter, crispier crust than a whole egg would.
- Cornstarch and flour combo: This duo creates the perfect texture - light yet substantial enough to stand up to the sauce.
- Baking powder: Don't skip this! It creates tiny air pockets in the coating that make an extra-crispy crust.
- Fresh pineapple: If you can get it, fresh pineapple has a brightness that canned just can't match. But canned works perfectly fine in a pinch.
 Pin it
Cooking Magic
- Perfect your chicken coating:
- After mixing the chicken with egg white, make sure each piece gets evenly coated with the flour mixture. I use a plastic bag and give it a good shake to ensure every nook and cranny is covered.
- The frying secret:
- Don't overcrowd your pan when frying the chicken. Work in batches if needed - giving the pieces space ensures they get crispy all over instead of steaming against each other.
- Quick vegetable cooking:
- That high-heat sauté for the vegetables is crucial - you want them to get slightly charred but still maintain some crunch. Nobody likes mushy bell peppers!
- Sauce strategy:
- Always mix your sauce ingredients before you start cooking and give them another stir right before adding to the pan. This ensures the cornstarch is fully incorporated and prevents lumps.
- The final toss:
- Turn off the heat before adding the chicken back to the pan. Toss everything together quickly but gently - this keeps the chicken coating crispy while still getting nicely coated with sauce.
- Timing is everything:
- This dish comes together fast once you start cooking, so have everything prepped and ready to go before you begin. Mise en place is your friend here!
I developed this recipe after a disappointing takeout experience where the chicken was soggy and the sauce was way too sweet. After several attempts (and making my family eat sweet and sour chicken three nights in a row), this version hit all the right notes. The egg white trick came from my grandmother, who used it for her crispy fried foods. The first time I made it perfectly, my husband said it was better than any restaurant version he'd had - and now it's requested at least twice a month in our house.
Serving Ideas
Serve this over steamed rice to soak up all that delicious sauce. For a complete takeout-style meal, pair it with some simple steamed broccoli or bok choy. If you're feeling fancy, serve it alongside some vegetable spring rolls or wonton soup for a restaurant-quality Chinese feast at home.
Tasty Twists
Try adding a tablespoon of pineapple juice to the sauce for extra tropical flavor. Swap the chicken for shrimp or tofu for a different protein option. For extra heat, add more red pepper flakes or a drizzle of chili oil at the end.
Storage Smarts
This dish is best enjoyed immediately while the chicken is at peak crispiness. If you do have leftovers, store them in an airtight container in the refrigerator for up to 3 days. Reheat in a skillet over medium heat rather than the microwave to help restore some of the crispiness.
 Pin it
I've made this sweet and sour chicken for countless family dinners, potlucks, and even a Chinese New Year celebration with friends. There's something so satisfying about creating a takeout favorite at home that tastes even better than what you'd get from a restaurant. The balance of crispy chicken, tangy-sweet sauce, and fresh vegetables makes this a dish that pleases everyone at the table - and the fact that it comes together in less time than it takes for delivery doesn't hurt either!
Frequently Asked Questions
- → Can I bake the chicken instead of frying it?
- Yes! Preheat your oven to 425°F, spray the coated chicken with cooking oil, and bake for 15-20 minutes, turning halfway through.
- → Is there a substitute for pineapple?
- Mango chunks make a great alternative, or you can simply omit and add extra bell peppers for crunch.
- → How can I make this dish less sweet?
- Reduce the sugar to 2-3 tablespoons and increase the vinegar by 1 tablespoon for a tangier sauce.
- → Can I make this ahead of time?
- The sauce can be made 2-3 days ahead. For best results, fry the chicken just before serving to maintain crispiness.
- → What can I serve with sweet and sour chicken?
- Steamed rice is traditional, but it also pairs well with fried rice, chow mein noodles, or cauliflower rice for a lower-carb option.