
 Pin it
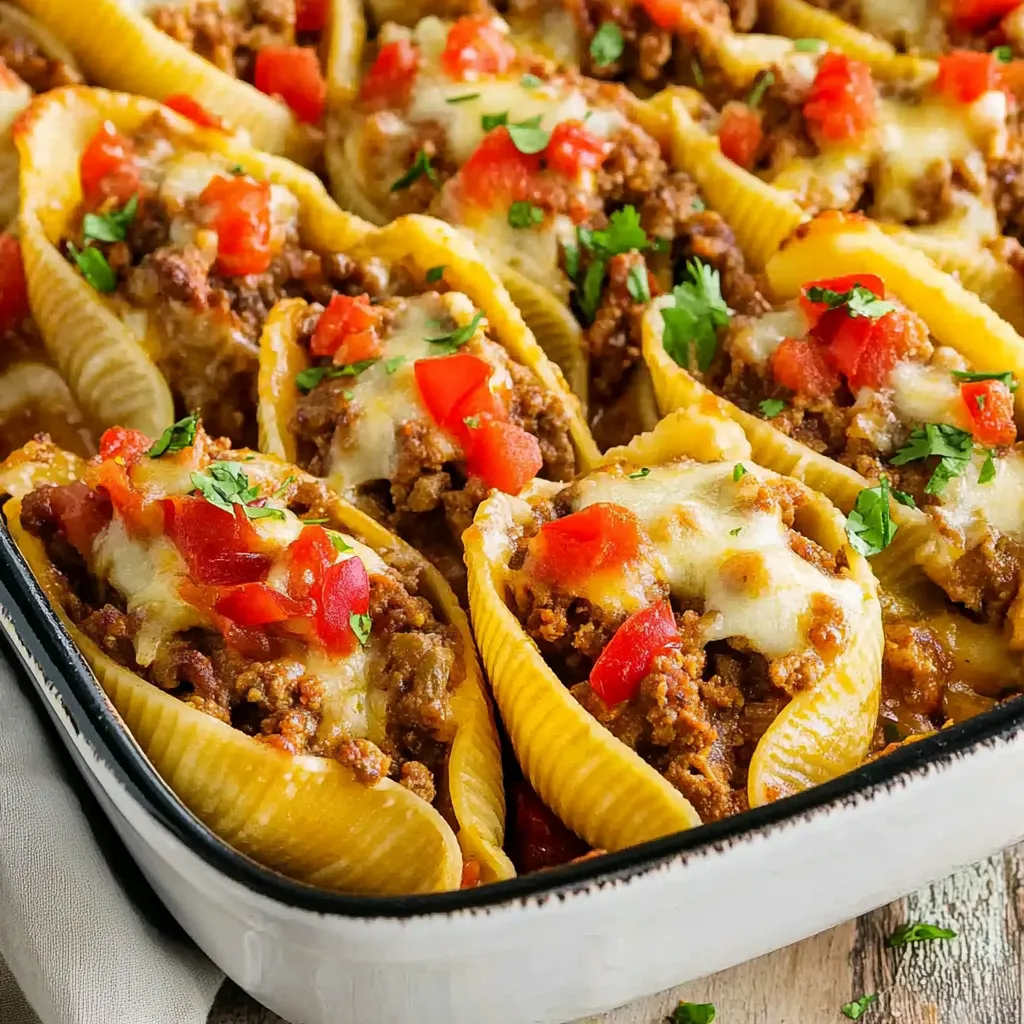
These taco stuffed shells have completely revolutionized my weeknight dinner game. I stumbled on this recipe a few years back when I was bored with regular tacos but had a craving for Mexican flavors. The combination of jumbo pasta shells with seasoned taco meat and melty cheese creates this perfect fusion dish that somehow satisfies both pasta and taco cravings simultaneously.
Last month, I made these for my neighbor who just had a baby. Her husband texted me the next day saying even their toddler, who normally refuses anything but chicken nuggets, ate three shells and asked for "taco boats" again. When you can please both sleep-deprived parents and a finicky 3-year-old, you know you've got a winner.
Key Ingredients
- Jumbo pasta shells: Cook these just to al dente as they'll continue to absorb moisture in the oven. Overcooking leads to torn shells that won't hold your filling.
- Ground beef: I use 85/15 lean-to-fat ratio for the best flavor without excessive grease. Ground turkey works beautifully too if you prefer.
- Taco seasoning: Store-bought packets work perfectly, but I often make my own to control the salt and heat levels.
- Two cheese blend: The combination of sharp cheddar and creamy Monterey Jack creates the perfect melt and flavor. Freshly grated melts so much better than pre-shredded.
- Rotel tomatoes: These add amazing flavor and a touch of heat. The green chilies in them complement the taco flavors perfectly.
- Fresh jalapeño: This adds a bright, fresh heat that balances the rich filling. Adjust according to your family's spice tolerance.
 Pin it
Shell-Stuffing Magic
- Perfect pasta cooking
- Cook those shells just until they're flexible but still firm. They should hold their shape when handling but be pliable enough to stuff. A minute under the package directions usually works perfectly.
- Flavor-building strategy
- Sautéing the onions with the beef (rather than adding them raw) develops a depth of flavor that makes all the difference. Let them get slightly golden for the best taste.
- Cooling before cheese
- That brief cooling period before adding the cheese to the filling prevents it from immediately melting, which would make the filling runny and difficult to stuff into the shells.
- Stuffing technique
- A small spoon works well for filling, but my secret weapon is a cookie scoop! It portions perfectly and keeps your hands clean during assembly.
- Covering while baking
- Baking covered for most of the time prevents the shells from drying out while ensuring everything heats through. That final uncovered bake lets the cheese get perfectly melty and bubbly.
- Serve promptly
- These are at their absolute best right from the oven when the cheese is gooey and the shells are perfectly tender but still hold their shape.
I perfected this recipe after noticing how my family seemed to get bored with our regular taco Tuesday routine. My first attempt used too much salsa and resulted in soggy shells. After adjusting the liquid ratios and adding that crucial covered baking step, I finally nailed the perfect balance of flavors and textures. My teenage son now requests these for his birthday dinner every year, which I consider the highest compliment a recipe can receive.
Serving Ideas
Serve these shells with a side of Mexican street corn or a simple green salad with lime vinaigrette. Set up a topping bar with sour cream, guacamole, extra salsa, and chopped cilantro so everyone can customize their shells. For a complete fiesta, add a side of black beans and Mexican rice.
Tasty Twists
Try using ground chicken or turkey seasoned with chipotle powder for a smoky variation. Add a layer of refried beans to the bottom of the baking dish before adding the shells for extra fiber and flavor. For a vegetarian version, substitute the beef with a mixture of black beans and corn.
Storage Smarts
These shells keep beautifully in the refrigerator for up to 3 days. The microwave works for quick reheating, but for best results, cover with foil and warm in a 300°F oven for about 20 minutes. You can also assemble the entire dish a day ahead, refrigerate, and add about 10 minutes to the covered baking time when you're ready to cook.
 Pin it
I've made these taco stuffed shells for countless family dinners, potlucks, and meal trains for new parents. There's something about the familiar flavors of tacos transformed into this fun, handheld pasta package that just makes people happy. The fact that they're easy to make ahead and can be scaled up for a crowd makes them my go-to when I need a guaranteed crowd-pleaser that doesn't keep me in the kitchen all day.
Frequently Asked Questions
- → Can I make this recipe ahead of time?
- Yes! You can assemble the entire dish up to 24 hours ahead and refrigerate it covered. When ready to bake, add 10-15 minutes to the baking time if cooking from cold.
- → How spicy is this dish?
- The spice level is moderate with the jalapeño and Rotel tomatoes. For a milder version, use regular diced tomatoes and omit the jalapeño. For extra heat, add more peppers or some hot sauce.
- → Can I freeze this dish?
- Yes! Assemble the dish but don't bake it. Cover tightly with foil and freeze for up to 3 months. Thaw in the refrigerator overnight before baking, adding 15-20 minutes to the baking time.
- → What can I serve with taco stuffed shells?
- Try a simple green salad, Mexican rice, refried beans, or corn. A side of guacamole and sour cream also pairs wonderfully with this dish.
- → Can I make this vegetarian?
- Absolutely! Substitute the ground beef with plant-based meat alternative, black beans, or a mixture of sautéed vegetables like zucchini, bell peppers, and corn.