
 Pin it
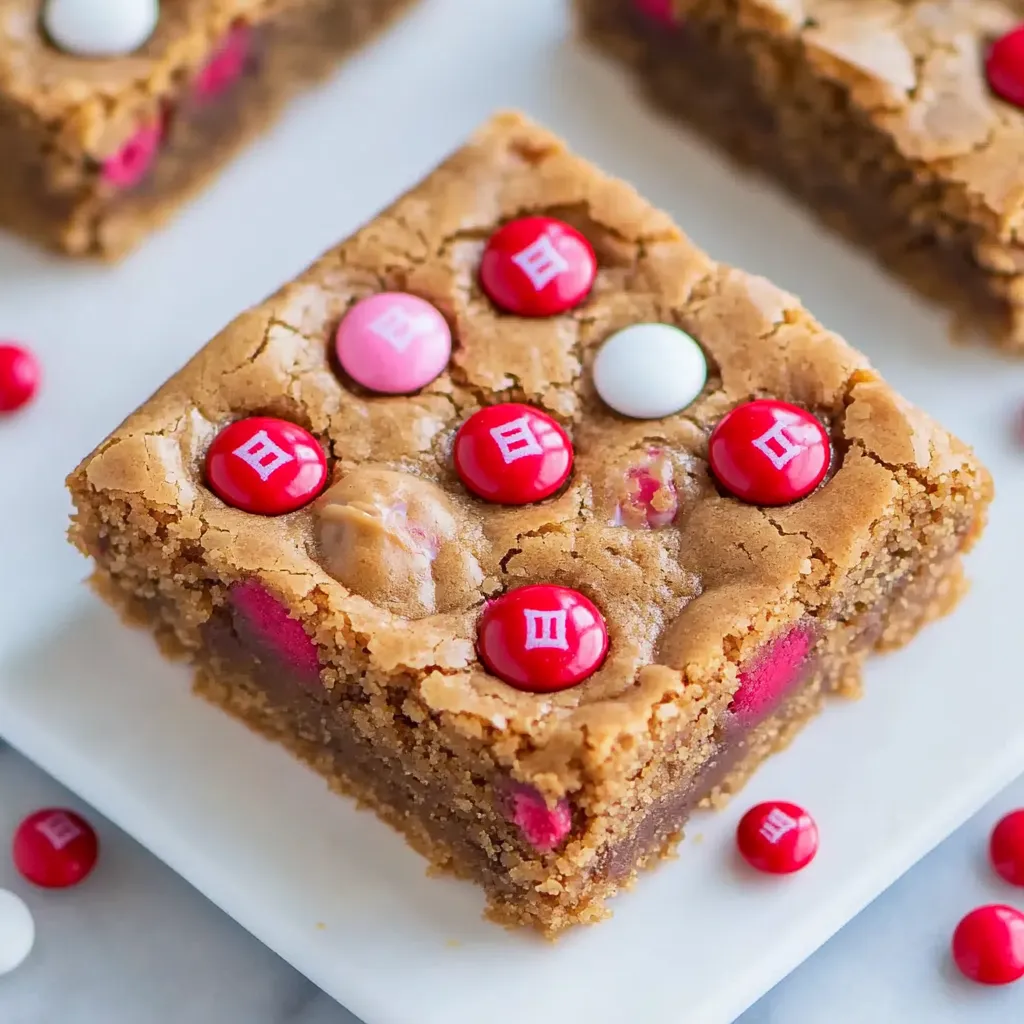
I discovered this recipe during a late-night baking session when my daughter announced she needed treats for tomorrow's Valentine's party. What started as a panic-bake turned into our most-requested dessert. These blondies strike that perfect balance - chewy centers, slightly crisp edges, creamy peanut butter, and festive M&Ms that make everyone smile. They're what happens when a peanut butter cookie gets dressed up for Valentine's Day.
Let me tell you about the time I brought these to my son's basketball team party. These teenagers, who usually pretend they're too cool to care about anything, kept sneaking back to the dessert table. By the end of the night, three moms had texted me for the recipe. That's when I knew these blondies were something special.
Essential Ingredients
- Real butter: needs to be melted but not browned - it's the foundation of flavor
- Commercial peanut butter: makes all the difference - I learned the hard way that natural versions turn these oily
- Light brown sugar: brings caramel notes and perfect chewiness
- Fresh eggs: bind everything together beautifully
- Pure vanilla extract: enhances every other flavor
- All-purpose flour: creates the ideal structure
- Valentine M&Ms: add color and crunch in every bite
 Pin it
Blondie Magic
- The Foundation:
- Let's start with perfectly melted butter - not too hot or it'll scramble your egg
- Blend:
- Blend in peanut butter until it's silky smooth
- Add:
- Add brown sugar and watch the magic happen as it all comes together
- Beat:
- Beat in your egg and vanilla until the mixture looks glossy and inviting
- The Build:
- Fold in flour with a gentle touch - treat it like you're tucking in a baby
- Sprinkle:
- Sprinkle in those M&Ms like you're decorating a masterpiece
- Press:
- Press everything into your pan with loving care
- Add:
- Add extra M&Ms on top because more is more when it comes to candy
- Final Glory:
- Watch through the oven door as they turn golden
- Test:
- Test with a toothpick - a few moist crumbs are perfect
- Let them cool:
- Let them cool even though it's torture
- Cut:
- Cut into squares and try not to eat them all at once
Sweet Kitchen Wisdom
Let me tell you about these blondies after making them about a hundred times. They need to cool completely - I know it's torture watching them sit there, but trust me. One time I got impatient and cut them warm; they were delicious but messy. Now I make them the night before I need them. The texture actually gets better overnight, and those M&Ms stay perfectly crisp. That first bite of a properly cooled blondie? Pure heaven.
Making Them Your Own
Over countless batches, I've played around with this recipe more times than I can count. During Christmas, I use red and green M&Ms, and my kitchen looks like Santa's workshop. Sometimes I swirl in a ribbon of Nutella before baking - my kids go crazy for this version. Once, when I was feeling fancy, I browned the butter first. The nuttiness it added was incredible, though honestly, the original version has my heart.
Keeping The Magic Alive
Here's the deal with storage - these blondies stay perfectly chewy for a week in an airtight container. I use my grandmother's old cookie tin, with layers of wax paper between the bars. They never last that long though. For longer storage, wrap them individually and freeze them. My daughter calls them 'emergency happiness bars' and loves finding them in the freezer after a tough day at school.
Spreading The Love
These blondies have become my signature bring-along to every gathering. I package them in pretty boxes lined with parchment paper for teacher gifts. Last Valentine's Day, I made triple batches for my kids' classes - the other parents still talk about them. There's something about homemade treats that store-bought just can't match.
 Pin it
Baker's Heart And Soul
- Watch them like a hawk in the last few minutes of baking
- Let them cool in the pan on a wire rack - air circulation matters
- Cut them with a plastic knife for the cleanest edges
These blondies are more than just a recipe in my collection - they're part of our family's story. They've been there for celebrations, comfort after bad days, and countless moments in between. Every time I make them, I'm reminded that sometimes the simplest things, made with love, bring the most joy.
Frequently Asked Questions
- → Why can't I use natural peanut butter?
- Natural peanut butter can be too oily and separate, affecting the texture. Stick to regular brands like Jif or Skippy for best results.
- → Can I use different types of M&Ms?
- Yes! Try peanut, dark chocolate, or any seasonal M&Ms. Just keep the amount the same.
- → How do I know when they're done baking?
- A toothpick in the center should come out clean or with a few moist crumbs, but no wet batter.
- → Can I freeze these blondies?
- Yes, they freeze well for up to 4 months when wrapped tightly and stored in an airtight container.
- → Why do I need to let them cool for an hour?
- Cooling helps the blondies set properly and makes them easier to cut into clean squares.