
 Pin it
I stumbled onto this recipe three Christmases ago when I was desperate to recreate my grandmother's pralines but kept failing miserably with traditional methods. After my fifth batch turned into what my husband lovingly called "pecan concrete," I found this version with marshmallow creme and vanilla chips. The difference was night and day - suddenly I was making perfect pralines without the usual anxiety or candy thermometer drama.
My sister in law, who judges everyone's holiday baking with the subtlety of a competition show host, actually asked for seconds last year. Then she cornered me in the kitchen to find out how mine were "so much better" than the ones she'd been making for years. Coming from someone who once told me my chocolate chip cookies were "almost as good as Chips Ahoy," this was basically the candy equivalent of winning a James Beard award.
Ingredients
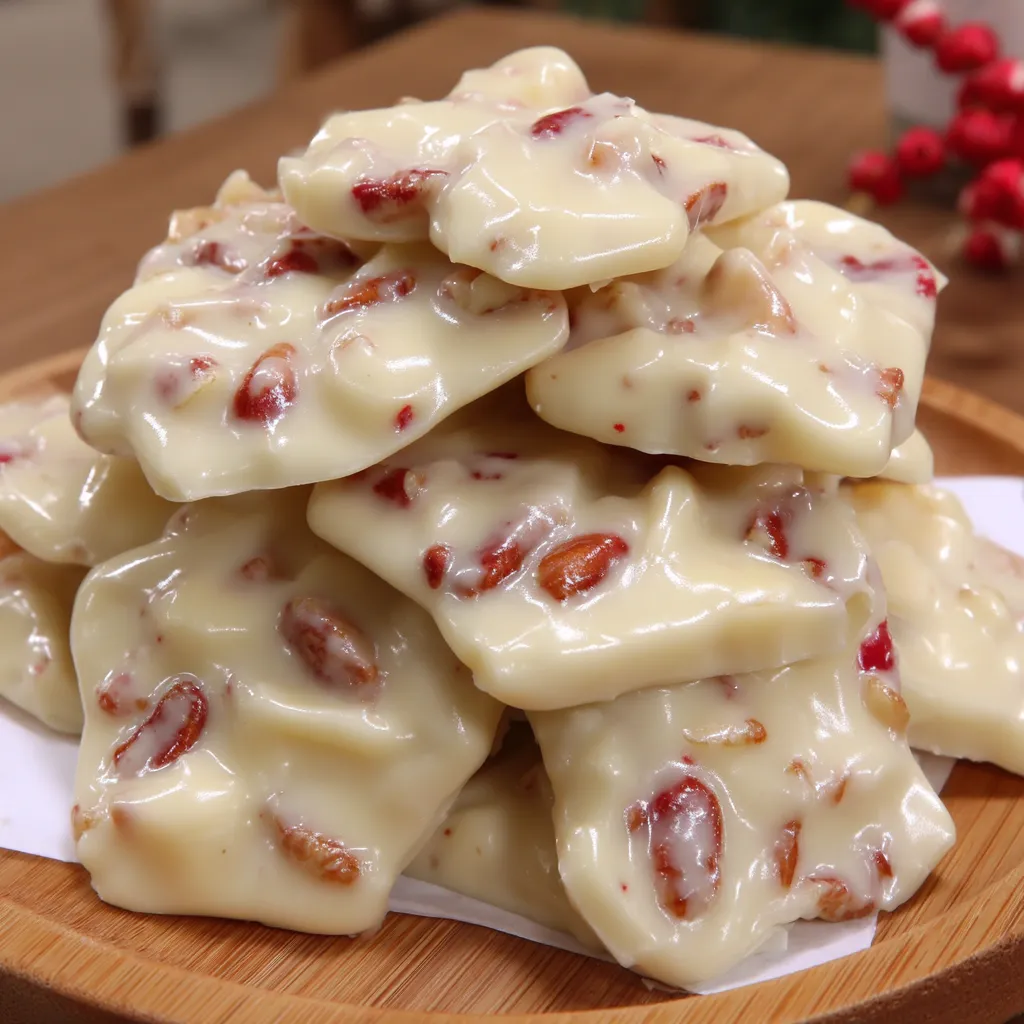
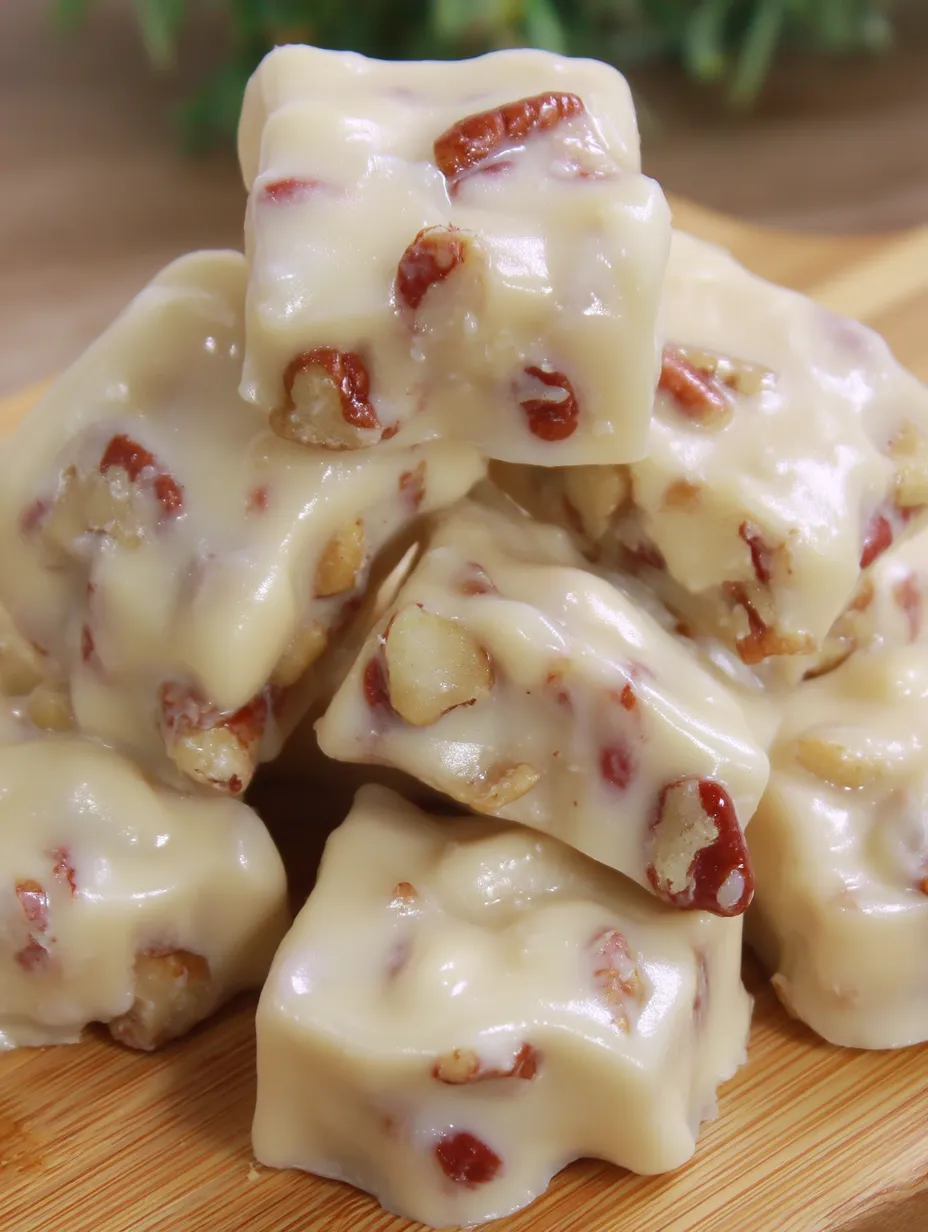
Evaporated milk gives these a richness that regular milk could never achieve. That slightly caramelized flavor creates depth that makes these taste like they took way more effort than they did.
Vanilla chips are the secret weapon here. They melt beautifully without being finicky like white chocolate and give these a smooth, creamy base that just works.
Marshmallow creme sounds like a weird addition until you realize it's what prevents that grainy texture that ruins most homemade pralines. It's like candy making insurance.
Pecans need to be freshly chopped, not those pre chopped bags that have been sitting in the baking aisle for who knows how long. The difference in flavor is night and day.
Butter has to be real, not margarine or a substitute. Those extra fat molecules create that velvety mouthfeel that makes you close your eyes when you take a bite.
 Pin it
Step-by-Step Instructions
- Preparing my workspace completely before starting
- saves so much stress. The first time I made these, I was frantically tearing off waxed paper with sticky hands while my mixture started hardening in the pan - not my finest moment.
- Stirring constantly
- isn't just a suggestion - it's non negotiable unless you want a pan of burnt sugar. I learned to position myself comfortably because those 8 minutes of stirring feel like 30 when your arm starts getting tired.
- Boiling for exactly the recommended time
- was something I used to think was fussy overkill until I tried cutting corners. Too short and they never set; too long and you're making pecan studded brickwork.
- Adding the vanilla chips and marshmallow creme
- is where the magic happens. Watching them melt into the hot sugar mixture is oddly satisfying, like those videos of paint mixing that you can't stop watching.
- Waiting those few minutes before dropping onto waxed paper
- was a lesson I learned the hard way. Too soon and they spread into sad puddles; too late and you're chiseling hardened praline off your spoon.
- Working quickly once they're ready to drop
- is crucial. My first batch, I answered the phone halfway through and came back to find the remaining mixture had set up like cement in the pot.
My worst praline disaster happened when I tried to multitask during the cooking process. I thought I could stir with one hand and respond to an email with the other. The resulting burnt mess set off my smoke detector and filled the house with a smell my husband described as "burnt marshmallows mixed with sadness." Now I treat praline making like surgery - full concentration, no distractions.
Serving Ideas
These shine when served with strong, black coffee. Something about that bitter sweet contrast makes both the coffee and pralines taste better.
For holiday gift boxes, I nestle them between layers of waxed paper in vintage tins I find at thrift stores. People always return the tins - empty, of course - with not so subtle hints about refills.
When I'm feeling fancy, I'll crush a few and sprinkle them over vanilla ice cream. The cold ice cream against the candy crumbs creates this textural contrast that's absolutely worth the extra calories.
Mix It Up
Adding a splash of bourbon right after removing from heat creates this grown up version that disappears especially fast at neighborhood gatherings.
Sprinkling a few flakes of sea salt on top while they're still warm creates that sweet salty thing that makes people unable to eat just one.
Swapping pecans for walnuts works surprisingly well when someone has a pecan allergy (or when pecans hit $12 a bag and you need a more budget friendly option).
Chocolate lovers in my family prefer when I swap the vanilla chips for semi sweet chocolate chips and add a teaspoon of espresso powder to deepen the flavor.
 Pin it
Every Christmas now, these are the first thing I make and the first thing to disappear from the dessert table. My aunt, who still makes pralines the traditional way with a candy thermometer and a prayer, asked for my recipe last year. I consider that my greatest culinary achievement to date.
Frequently Asked Questions
- → Why did my pralines turn out grainy?
- Grainy pralines often result from sugar crystallization. To prevent this, avoid scraping the sides of the pan while cooking, use a heavy-bottomed pot, and make sure to stir constantly during the boiling process.
- → Can I toast the pecans before adding them?
- Yes! Toasting pecans at 350°F for 8-10 minutes before using them enhances their flavor and crunch. Just be sure to cool them completely before adding to the mixture.
- → How long do these pralines stay fresh?
- When stored in an airtight container at room temperature with waxed paper between layers, these pralines stay fresh for 1-2 weeks. They can also be frozen for up to 3 months.
- → Why are my pralines spreading too much?
- If your pralines are spreading too flat, the mixture may be too hot when dropped. Let it cool another minute or two until it thickens slightly. The mixture should still be pourable but beginning to set.
- → Can I use regular chocolate chips instead of white chocolate?
- Absolutely! Milk or semi-sweet chocolate chips make a delicious variation on this recipe. You'll get a traditional chocolate praline instead of a vanilla one.