
 Pin it
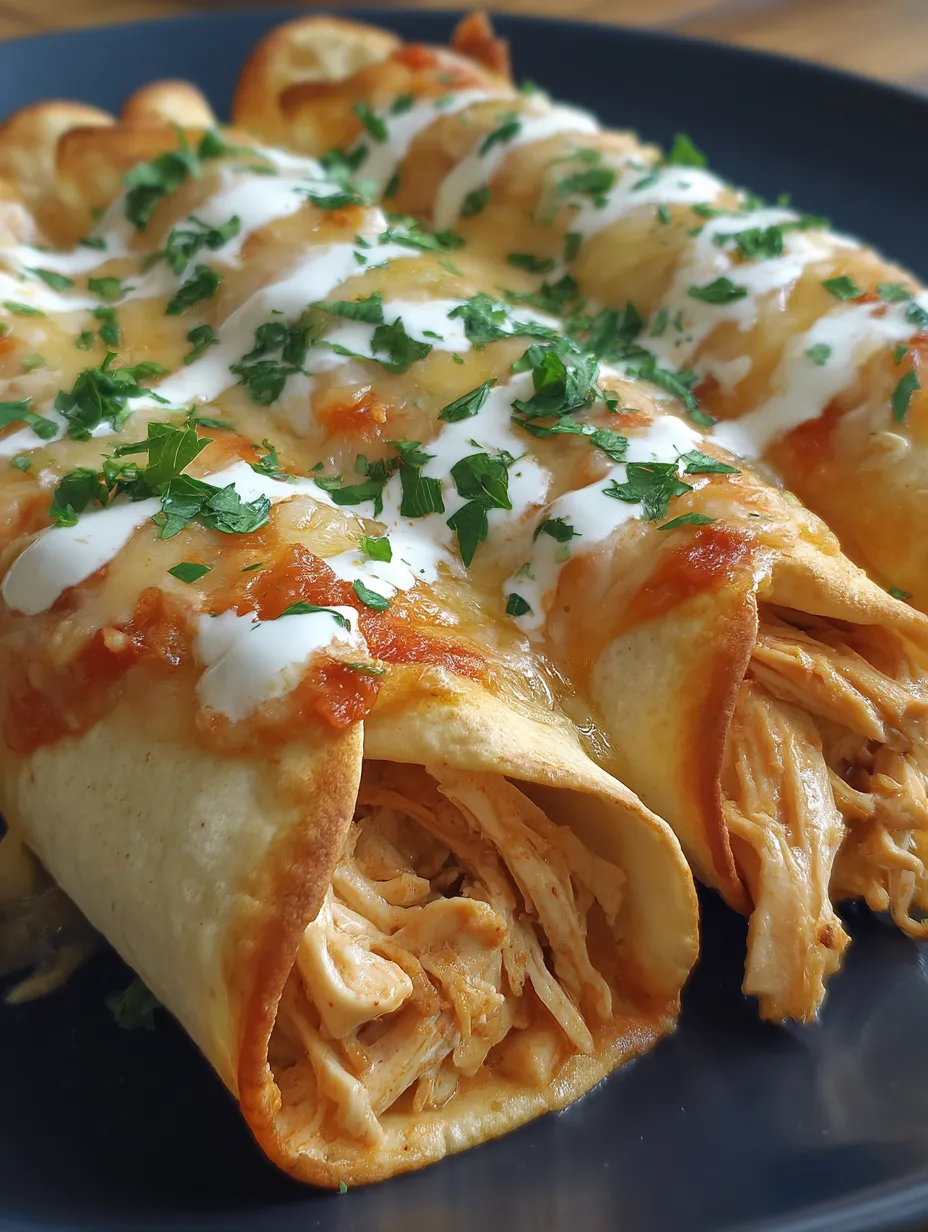
Nothing satisfies a craving for Mexican food quite like crispy taquitos. This baked version delivers all that satisfying crunch without the mess and calories of deep frying. I started making these as a healthier alternative to the fried version I grew up with, and honestly, I think they taste even better. The creamy, flavorful filling paired with that golden crispy shell creates the perfect hand held meal that works for dinner, appetizers, or even make ahead lunches.
Last summer I made these for a casual backyard gathering and put out a little toppings bar with different salsas and dips. My neighbor's teenage son, who typically sticks to plain pizza and chicken nuggets, devoured five of them and then asked his mom if she could get the recipe. Sometimes the highest praise comes from the pickiest eaters!
Simple Ingredients
- Shredded Chicken: The protein base that pairs perfectly with the creamy elements—rotisserie chicken is a great time saver here
- Cream Cheese: Creates that rich, tangy foundation that holds everything together—let it soften properly for easy mixing
- Cheddar Cheese: Adds sharp flavor and that satisfying melty quality—freshly grated melts better than pre shredded
- Salsa: Brings moisture and flavor without having to chop vegetables—choose your preferred heat level
- Spice Blend: That combination of garlic powder, onion powder, and cumin creates authentic Mexican flavor without measuring multiple spices
I discovered the magic of adding cream cheese to the filling after making regular chicken taquitos that always seemed a bit dry. That simple addition creates a creamy texture that keeps the chicken moist while adding richness that balances the spices perfectly. Sometimes the best recipe tweaks come from solving a problem!
 Pin it
Step-by-Step Instructions
- Flavorful Filling
- Taking time to thoroughly combine all the filling ingredients ensures consistent flavor in every bite. The softened cream cheese should be fully incorporated with no white streaks remaining. The warmth from the chicken if recently cooked helps melt the cheeses slightly, creating a cohesive mixture that's easy to work with.
- Rolling Technique
- Placing the filling in a line rather than mounding it in the center makes rolling much easier. Keeping the amount consistent 2 3 tablespoons prevents overstuffing, which can lead to splitting or filling leakage during baking. That tight roll with the seam placed downward ensures they don't unravel in the oven.
- Baking Preparation
- The parchment paper prevents sticking without adding extra fat. That light brush of oil or cooking spray is crucial—it's what creates the golden, crispy exterior that mimics frying while using significantly less oil. Covering the entire surface ensures even browning and prevents dry spots.
- Perfect Baking
- The high oven temperature 425°F is essential for achieving that crispy exterior. The 15 18 minute window allows the tortillas to become golden and crunchy while heating the filling throughout. The taquitos are done when they're golden brown and firm to the touch, with no soft spots remaining.
- Serving Strategy
- Allowing the taquitos to cool for just a minute or two before serving prevents burned mouths while keeping them perfectly crispy. Arranging them with complementary dips creates an interactive eating experience that everyone enjoys. The contrast between the warm, crispy taquitos and cool, creamy dips makes every bite more interesting.
My first attempt at these was disappointing because I didn't brush the outside with oil, resulting in dried out rather than crispy tortillas. That simple step makes all the difference between "meh" and "amazing." Sometimes the smallest details create the biggest impact in the final result!
Serving Suggestions
These versatile taquitos adapt to multiple serving contexts. For a main dish, serve 3 4 per person alongside Mexican rice and beans for a complete meal. As an appetizer, slice each taquito in half and arrange on a platter with small bowls of guacamole, sour cream, and various salsas for dipping. For casual gatherings, create a taquito bar where guests can customize their toppings with shredded lettuce, diced tomatoes, jalapeños, and Mexican crema. A side of lime wedges adds bright acidity that cuts through the richness.
Creative Variations
Transform this basic recipe with simple swaps that create entirely new flavor experiences. Try pepper jack instead of cheddar for a spicy kick. Add a can of drained, diced green chiles or a chopped jalapeño to the filling for heat throughout. Vegetarians can substitute black beans mashed with the same seasonings for the chicken. For a breakfast version, use scrambled eggs and breakfast sausage as the protein base. Brush with honey butter instead of plain oil before baking for a sweet savory finish.
Make Ahead Magic
These taquitos are perfect for meal prep and advance preparation. The filling can be made up to three days ahead and refrigerated until needed. Assembled, unbaked taquitos can be frozen on a baking sheet, then transferred to a freezer bag for up to three months—bake directly from frozen, adding 5 7 minutes to the baking time. For the crispiest results, bake just before serving, but fully baked taquitos can be reheated in a 350°F oven for 5 10 minutes to restore their crunch.
 Pin it
I've been making versions of these taquitos for nearly five years now, gradually perfecting the filling proportions and baking technique. What started as a healthier alternative to fried taquitos has become one of our family's most requested meals. There's something deeply satisfying about creating a dish that everyone loves while knowing it's also a bit better for them than the traditional version. The best recipes are often these happy compromises between what tastes good and what's good for us.
Frequently Asked Questions
- → Can I make these taquitos ahead of time?
- Yes! You can prepare the filling and assemble the taquitos up to 24 hours in advance. Store them covered in the refrigerator, then brush with oil and bake when ready to serve. Add 2-3 minutes to the baking time if cooking from cold.
- → How do I keep corn tortillas from cracking when I roll them?
- Corn tortillas need to be warmed properly to prevent cracking. Wrap the stack in damp paper towels and microwave for 30 seconds, or warm them individually in a dry skillet for about 10 seconds per side until pliable.
- → Can these taquitos be frozen?
- Absolutely! Freeze unbaked taquitos in a single layer until solid, then transfer to a freezer bag. Bake from frozen at 425°F for 20-25 minutes. For leftover baked taquitos, freeze and reheat in a 375°F oven for 10-15 minutes.
- → Can I use a different meat instead of chicken?
- Yes, shredded beef, pork, or turkey work great as substitutes. You can also make them vegetarian by replacing the meat with black beans, refried beans, or sautéed mushrooms and peppers.
- → How do I make these taquitos spicier?
- Add a diced jalapeño or serrano pepper to the filling, use hot salsa instead of mild, mix in a few dashes of hot sauce, or add 1/4 teaspoon of cayenne pepper to the seasoning mix.
- → What's the best way to reheat leftover taquitos?
- For best results, reheat in the oven at 375°F for 8-10 minutes to restore the crispy texture. Microwaving works in a pinch (1-2 minutes), but the taquitos won't be as crispy.