
 Pin it
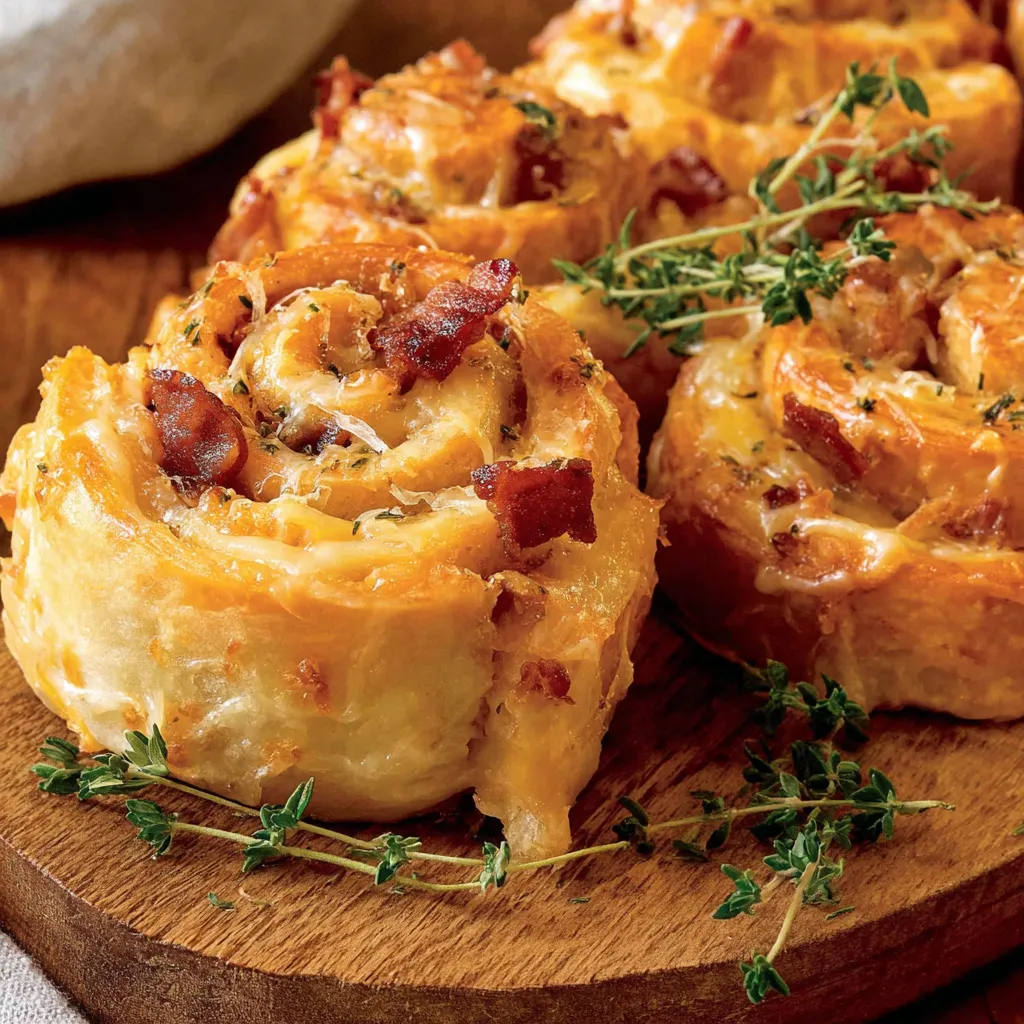
These baked turkey and cheese rolls became my lifesaver during one hectic Saturday when my sister showed up unexpectedly with her three kids right around lunchtime. I was scrambling to figure out what to feed everyone when I spotted leftover turkey in the fridge and remembered the crescent roll dough I'd bought earlier that week. The garlic butter idea came from watching my mom always brush butter on everything she baked. What started as desperation cooking turned into something my nephews still ask about months later. Now whenever family drops by unannounced, I can whip these up and look like I actually had my act together.
My neighbor Carol borrowed this recipe for her book club meeting and texted me afterward saying the ladies demolished the entire tray before they even started discussing the book. Apparently one woman kept asking who catered the food because she couldn't believe something that good was homemade. Now Carol brings these to every gathering and has stopped telling people how easy they are because she likes the compliments too much.
Getting Your Ingredients Right
- Crescent sheet saves hassle: Way easier than dealing with all those perforated triangles that never want to stick together properly
- Colby jack melts perfectly: Mild enough for kids but still has actual flavor, plus it gets nice and gooey without getting stringy
- Fresh garlic makes a difference: Takes two seconds to mince and tastes so much better than the powdered stuff
- Good deli turkey matters: Don't use that weird processed lunch meat that tastes like nothing and has gross texture
- Bacon bits work fine: Store-bought saves time and mess, though if you've got leftover bacon hanging around, use that instead
- Real butter is worth it: Margarine just doesn't taste the same and doesn't brown as nicely
 Pin it
Putting It All Together
- Getting everything ready
- Heat your oven to 350 degrees and lay out some parchment paper on your counter. Unroll that crescent sheet carefully and stretch it out to about nine by thirteen inches. Don't stress if it's not perfect - this is supposed to be easy, not fancy bakery work.
- Making the garlic butter
- Melt your butter in a small bowl with the minced garlic, salt, and pepper. I usually just zap it in the microwave for thirty seconds, then stir everything together. Brush this all over the dough with a pastry brush, or just drizzle it on and spread it around with a spoon if that's easier.
- Layering the good stuff
- Leave about half an inch at the bottom edge empty - you'll need this for sealing later. Lay your cheese slices in two rows across the bottom two-thirds of the dough, then sprinkle the bacon bits over the cheese. Layer the turkey slices on top, overlapping them so you get complete coverage. If you need two layers of turkey, go for it.
- Rolling it up
- This is the only slightly tricky part, but it's really not bad. Start from the bottom edge and roll everything up tightly, keeping the filling tucked in as you go. That garlic butter helps everything stick together. When you get to the empty part at the top, pull it tight and press it down to seal everything shut.
- Cutting and baking
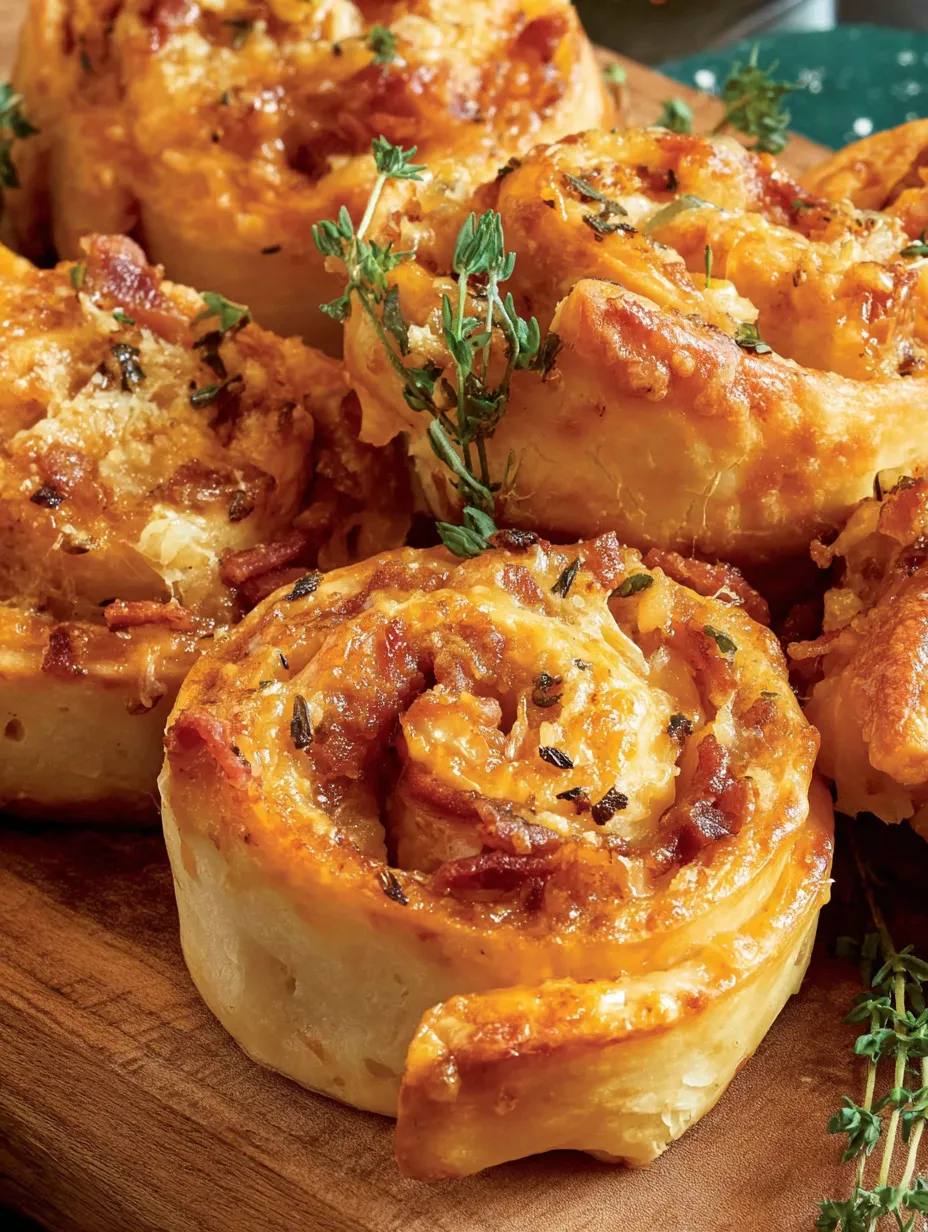
- Use a really sharp knife to cut the roll into ten pieces, cleaning the blade between cuts so you don't drag filling everywhere. Arrange them cut-side up in a greased baking dish with a little space between each one. Bake for twenty-five minutes until they're golden brown and puffy.
My first batch was a total disaster because I packed way too much stuff inside and they exploded all over the oven. I also used a dull knife that just smooshed everything instead of cutting cleanly. Once I figured out the right amount of filling and invested in a decent knife, these became foolproof.
How to Serve Them
These are best right out of the oven while the cheese is still all melty and stretchy. They work great as appetizers for parties or as a light lunch with some soup. I usually just put them on a platter and let people grab them with their hands. If you want to get fancy, honey mustard or ranch for dipping is nice, but they're honestly good enough to eat plain.
Making Them Different
You can switch up the meat and cheese however you want. Ham and Swiss is really good, or try breakfast sausage and cheddar for brunch. My vegetarian friends like them with roasted peppers and mushrooms instead of meat. If you like spice, pepper jack cheese and some jalapeños really jazz things up.
Leftovers and Make-Ahead
These are definitely best fresh, but leftovers keep okay in the fridge for a couple days. Reheat them in the oven for about ten minutes to get the outside crispy again. You can also put them together ahead of time and stick them in the fridge overnight before baking, which sometimes makes the flavors even better.
 Pin it
These turkey and cheese rolls have become my secret weapon for looking like I know what I'm doing in the kitchen when really I'm just winging it most of the time. They taste like something from a fancy deli but use basic ingredients that don't break the bank. Perfect for when you need to feed people something decent without spending your whole day cooking or stressing about whether it'll turn out right.
Frequently Asked Questions
- → Can I use different types of meat?
- Absolutely! Ham, roast beef, chicken, or even leftover holiday turkey work great. Just make sure the meat is thinly sliced for easy rolling.
- → What cheese works best for this recipe?
- Colby Jack is great, but cheddar, Swiss, provolone, or any good melting cheese works well. Avoid hard cheeses that don't melt smoothly.
- → Can I make these ahead of time?
- Yes! Assemble the rolls, cover, and refrigerate up to 24 hours before baking. Add 5-10 extra minutes to baking time if starting from cold.
- → How do I prevent the rolls from unrolling?
- Roll tightly and make sure the garlic butter helps seal the seam. Place seam-side down in the baking dish for extra security.
- → Can I freeze these rolls?
- You can freeze the assembled unbaked rolls for up to 1 month. Thaw overnight in the fridge before baking, adding a few extra minutes to cook time.