
 Pin it
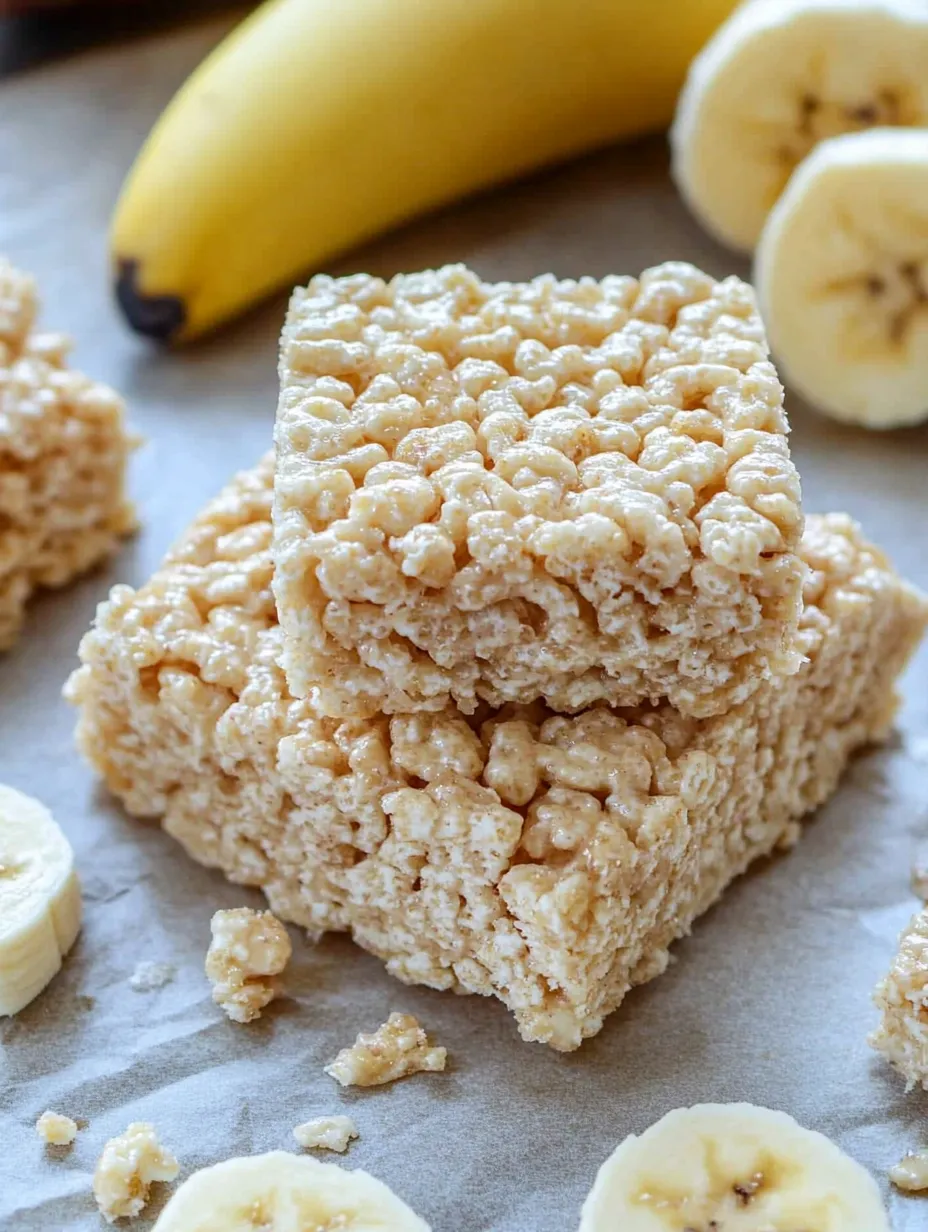
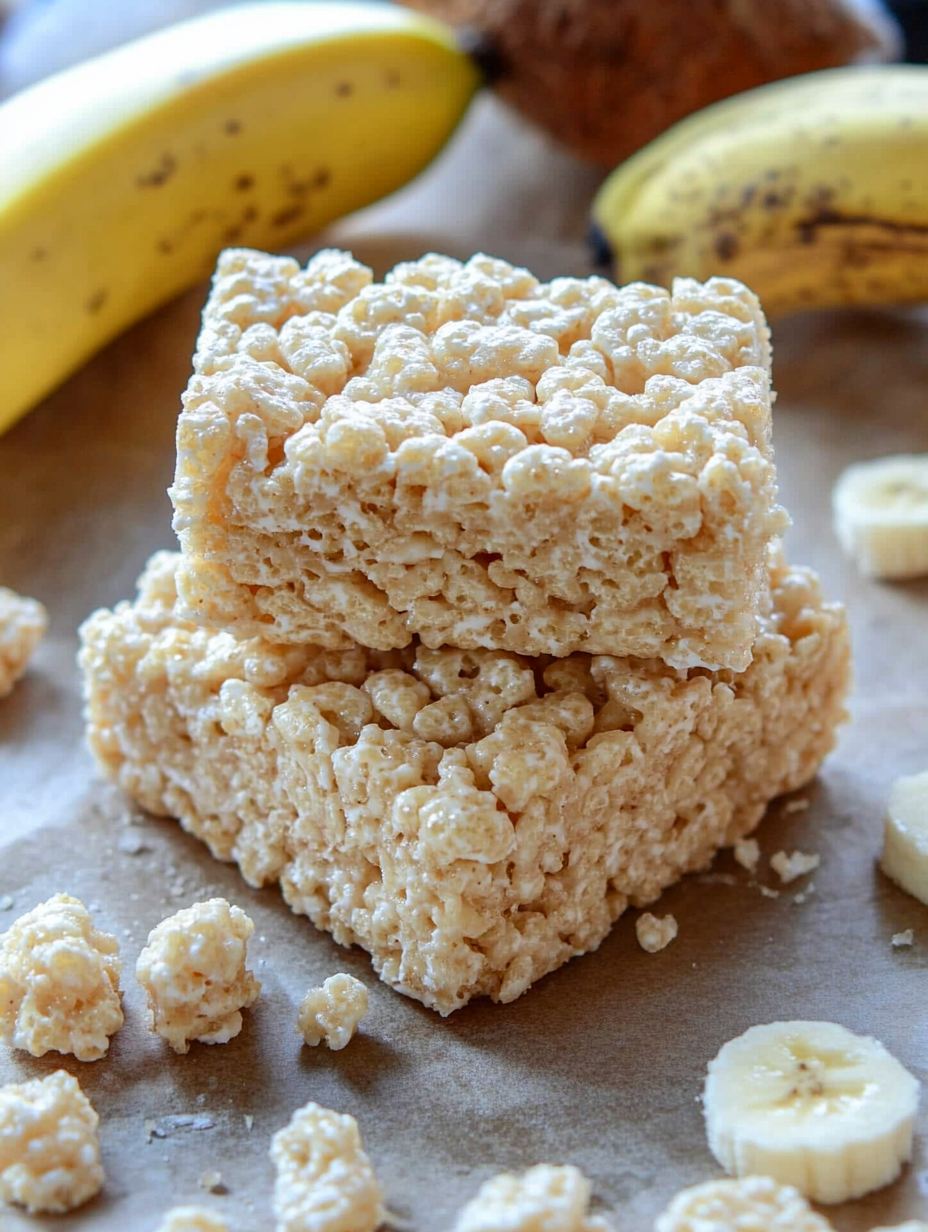
The day I discovered how to combine two childhood favorites - banana pudding and Rice Krispie treats - was like hitting the nostalgic jackpot. This recipe takes those classic marshmallowy squares and gives them a creamy banana twist that'll make you wonder why no one thought of this sooner. Every time I make these, the kitchen fills with that unmistakable banana pudding aroma that takes me right back to summer afternoons at my grandmother's.
Last week, I brought these to my son's baseball game, and they disappeared faster than any fancy store-bought treats. There's something about that familiar Rice Krispie snap combined with banana pudding flavor that makes everyone reach for seconds.
Essential Ingredients
- Fresh marshmallows make all the difference
- Real butter creates perfect texture
- Instant banana pudding adds magic flavor
- Crispy rice cereal needs to be fresh
- Nilla wafers bring that classic touch
- Non-stick spray prevents sticking disasters
 Pin it
Detailed Instructions
- Melting Moment
- Start with melting that butter until it's just right. Add your marshmallows and watch them transform into a gooey, stretchy cloud. This is where the magic begins.
- Pudding Power
- When you stir in that banana pudding mix, something wonderful happens. The whole mixture takes on this beautiful creamy color and that incredible banana aroma fills your kitchen.
- Cereal Symphony
- Add your Rice Krispies gradually, folding them in until every piece is coated in that banana-marshmallow goodness. Listen for that familiar snap, crackle, pop!
- Final Touch
- Press it all into your pan - not too hard, you want them chewy, not dense. That sprinkle of crushed Nilla wafers on top? Pure genius.
Perfect Pairings
I love serving these alongside a cold glass of milk - just like when we were kids. For parties, I'll cut them into bite-sized squares and arrange them on a platter with fresh banana slices. Sometimes I'll drizzle a little melted white chocolate over the top for extra decadence. They're perfect for picnics because they travel well and don't melt like chocolate treats.
Make It Your Own
The beauty of these treats lies in how easily you can customize them. Sometimes I'll layer whole Nilla wafers in the middle for extra crunch. My kids love when I add mini chocolate chips while the mixture's still warm. During holidays, I'll add yellow food coloring to make them extra festive. Some nights I'll even sandwich vanilla ice cream between two squares for an incredible dessert.
Keep It Fresh
Store these beauties in an airtight container and they'll stay crispy for about 3-4 days. Layer wax paper between them to prevent sticking. Don't refrigerate them - it makes them hard as rocks. For bake sales, I wrap them individually in plastic wrap, and they hold up beautifully. If they start getting a bit stale, 10 seconds in the microwave brings them back to life.
 Pin it
These treats remind me of why I love baking - taking simple ingredients and creating something that makes people smile. Whether you're making them for a school event, family movie night, or just because it's Tuesday, they never fail to bring back those sweet childhood memories while creating new ones.
Frequently Asked Questions
- → Can I use different pudding flavors?
- Yes, experiment with any instant pudding mix flavor you enjoy.
- → How should I store these?
- Store in an airtight container at room temperature for up to 3 days.
- → Why aren't my treats soft?
- Don't overheat marshmallows or press treats too firmly into pan.
- → Can I make these ahead?
- Yes, but they're best enjoyed within 2-3 days for optimal freshness.
- → Can I freeze these treats?
- Not recommended as freezing can affect the texture.