 Pin it
Let me share one of my most treasured recipes - traditional Filipino Biko. This dessert holds such a special place in my heart, bringing back memories of watching my grandmother in her tiny kitchen, carefully stirring the sticky rice as it absorbed the rich coconut milk. The way the brown sugar caramelizes, creating these gorgeous amber notes that blend perfectly with the creamy coconut, is absolutely magical. I've spent countless hours perfecting this recipe, making it for everything from casual family dinners to grand celebrations, and I've discovered that the simplicity of just a few quality ingredients creates something truly extraordinary. The best part? While it looks impressive, this recipe is surprisingly straightforward, making it perfect for both beginners and experienced cooks who want to explore Filipino cuisine.
The Heart Behind This Recipe
What makes this Biko recipe absolutely incredible is how it brings people together. In my family, it's always been more than just a dessert - it's a tradition that spans generations. I've learned that the key lies in understanding how these simple ingredients - sticky rice, coconut milk, and brown sugar - work together in perfect harmony. Through years of making this dish, I've discovered little secrets that transform it from good to extraordinary. Like how letting the rice soak for just 30 minutes before cooking makes the texture absolutely perfect, or how stirring the coconut milk mixture in one direction creates the smoothest, most velvety consistency. Don't worry about getting it exactly right the first time - this recipe is wonderfully forgiving and adapts beautifully to your personal taste preferences. Whether you make it traditionally or add your own creative twists, the soul of this beloved Filipino treat shines through in every bite.
Your Essential Kitchen Companions
- Glutinous Rice: 2 cups of this special rice is our foundation. I always buy mine from the local Asian market, where the quality is consistently perfect. Take your time rinsing it - I mean really rinsing it, until that water runs completely clear. This step is absolutely crucial for achieving that perfect sticky texture we're after.
- Water: 2 1/2 cups of water might seem simple, but getting this ratio right is everything. I've found this amount gives us that ideal tenderness while maintaining the distinct chewiness that makes Biko so special.
- Coconut Milk: Don't even think about using light coconut milk here! We need that full-fat, creamy goodness that comes in a 14 oz can. This is where all the richness and soul of our Biko comes from.
- Brown Sugar: 1 cup of good quality brown sugar creates that perfect caramel flavor. Sometimes I'll add a touch more if I'm craving something sweeter, or if I know my guests have a particularly sweet tooth.
- Salt: Just 1/2 teaspoon, but it's absolutely essential. It's amazing how this tiny amount brings out all those beautiful sweet and creamy flavors.
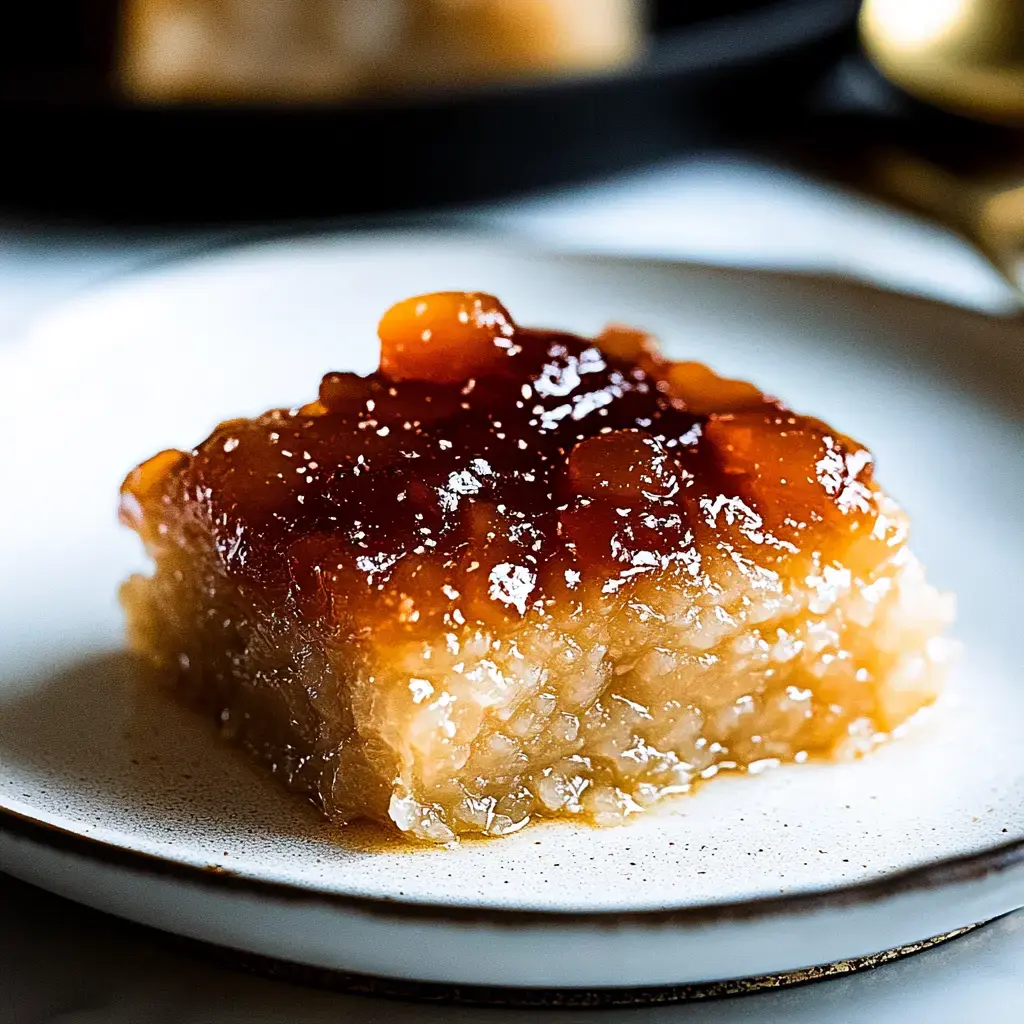
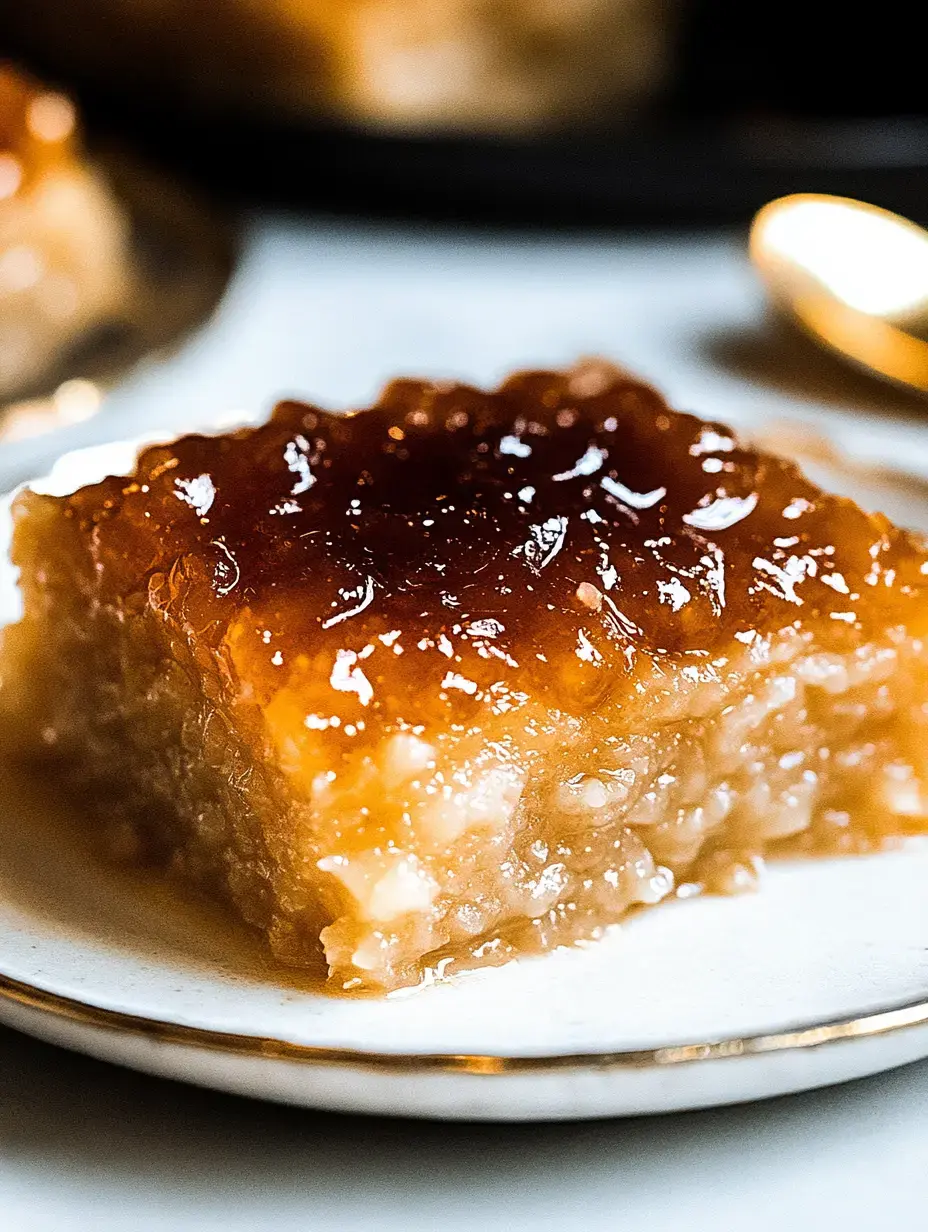
- For that Extra Special Topping: 1/2 cup of the richest coconut cream you can find, combined with 1/4 cup brown sugar. This creates that gorgeous glossy finish that makes everyone's eyes light up.
 Pin it
Creating Magic Together
- The Foundation of Perfect Rice
- Let's start with the most crucial step - preparing our glutinous rice. I've found that taking extra care here makes all the difference. Give it several good rinses until the water runs crystal clear. This removes excess starch and ensures each grain will cook up perfectly sticky without becoming gummy. If you're using a rice cooker like I do, you're in for an easy ride. Just add your water, and let it do its thing. For stovetop cooking, keep a watchful eye and stir occasionally to prevent any sticking. The rice should be tender but still maintain a slight chew - that's the texture we're after.
- Creating Our Coconut Symphony
- While the rice works its magic, let's create that incredible coconut mixture. This is where our Biko really comes to life! Combine your coconut milk, brown sugar, and that crucial pinch of salt in your largest, heaviest pan. Keep stirring gently but consistently - I love watching how it transforms from separate ingredients into this gorgeously glossy, unified mixture. The key here is patience; let it thicken naturally over medium heat, stirring to prevent any scorching.
- The Grand Union
- Now comes what I consider the most satisfying part of making Biko. Once your rice has reached that perfect sticky consistency, it's time to introduce it to our coconut mixture. This is where you'll need some arm strength! Keep stirring, folding everything together until each grain of rice is beautifully coated. You'll notice the mixture start to thicken and pull away from the sides of the pan - that's your sign that magic is happening. This usually takes about 15 minutes of continuous stirring, but trust me, it's worth every second.
- The Final Transformation
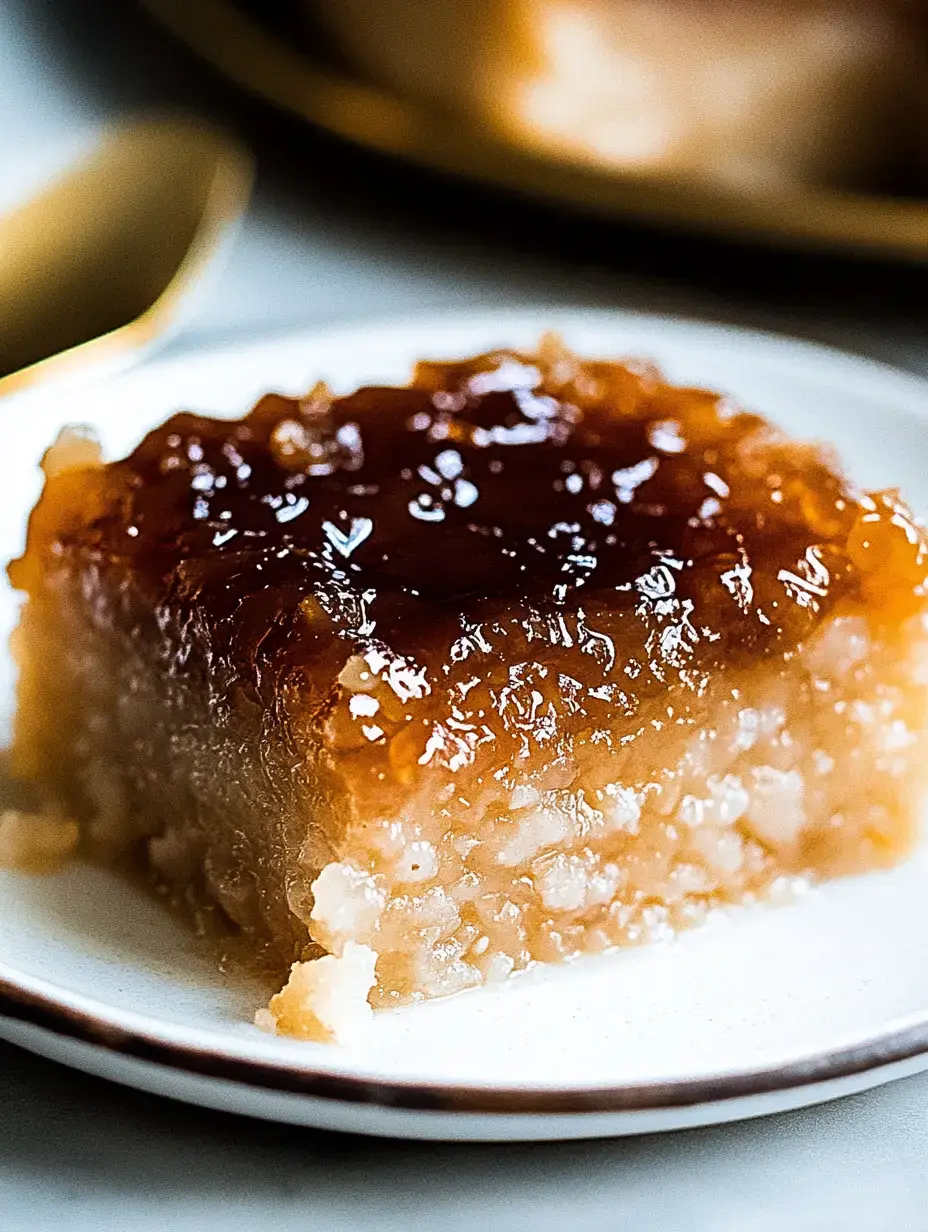
- Here's where your Biko comes together in all its glory. Transfer this gorgeous mixture into your prepared pan - I swear by my 9x9 inch pan for the perfect thickness. If you're going all out with the topping (which I highly recommend), this is the time to create that final layer of luxury. Cook your coconut cream and sugar until it reaches this beautiful, thick consistency, then spread it over the top like you're frosting the most precious cake. Now comes the true test of patience - letting it cool completely before cutting. The waiting is the hardest part, but it ensures those perfect, clean slices that make everyone gasp with delight.
Making This Recipe Shine
Through countless batches of Biko, I've discovered so many wonderful ways to make this classic dessert your own while honoring its traditional roots. One of my favorite variations is adding a couple of pandan leaves while cooking the rice - it infuses this subtle, almost vanilla-like aroma that makes people ask what that magical flavor is. During special occasions, I love creating an ube version by gently folding in some purple yam paste, creating these beautiful swirls of color that make each piece look like edible art. The possibilities are truly endless - I've topped it with fresh mango slices in summer, sprinkled it with toasted coconut for extra texture, and even created a chocolate drizzle version that my kids absolutely adore. The beauty of Biko is how it welcomes these creative touches while maintaining its soul-warming comfort.
 Pin it
The Perfect Way to Serve
Over years of serving Biko at countless gatherings, I've learned that presentation makes this beloved dessert even more special. I love arranging it on traditional banana leaves when I can find them - the subtle fragrance they add is incredible. For everyday serving, I'll cut perfect squares and arrange them on my favorite platter, maybe with a light dusting of toasted coconut or a drizzle of coconut caramel. Temperature is crucial too - Biko truly shines when served at room temperature, where you can fully appreciate its chewy texture and complex flavors. I always pair it with hot Filipino coffee or ginger tea; the contrast of temperatures and flavors is absolutely divine. For larger gatherings, I'll create a beautiful display with fresh tropical fruits on the side and perhaps some whipped coconut cream for those who want to take their dessert experience to the next level.
Keeping Your Biko Fresh
One of the questions I get asked most often is how to store Biko properly to maintain its amazing texture and flavor. Through plenty of trial and error, I've found that the key is properly wrapping it in an airtight container before refrigerating. If you're planning to serve it the next day, simply let it come to room temperature naturally - this preserves that perfect chewy texture we work so hard to achieve. For longer storage, I've discovered that portioning it before freezing works beautifully. When you're ready to enjoy it again, thaw it overnight in the refrigerator, then gently warm individual portions. A little trick I've learned is to brush the surface with warm coconut milk just before serving - it brings back that gorgeous glossy finish and adds an extra touch of moisture. This way, your Biko can be just as delightful days after you've made it.
 Pin it
Frequently Asked Questions
- → What type of rice should I use?
Use glutinous rice (also called sweet rice or malagkit). Regular rice won't give the right sticky texture.
- → What is latik?
Latik is made from cooking coconut cream until it separates and forms golden brown curds. It adds texture and flavor to Filipino desserts.
- → How long does biko keep?
Store at room temperature for 1 day or refrigerate up to 3 days in airtight container. Best served at room temperature.
- → Can I add pandan?
Yes, adding pandan leaves while cooking the rice adds traditional flavor. Remove leaves before serving.
