
 Pin it
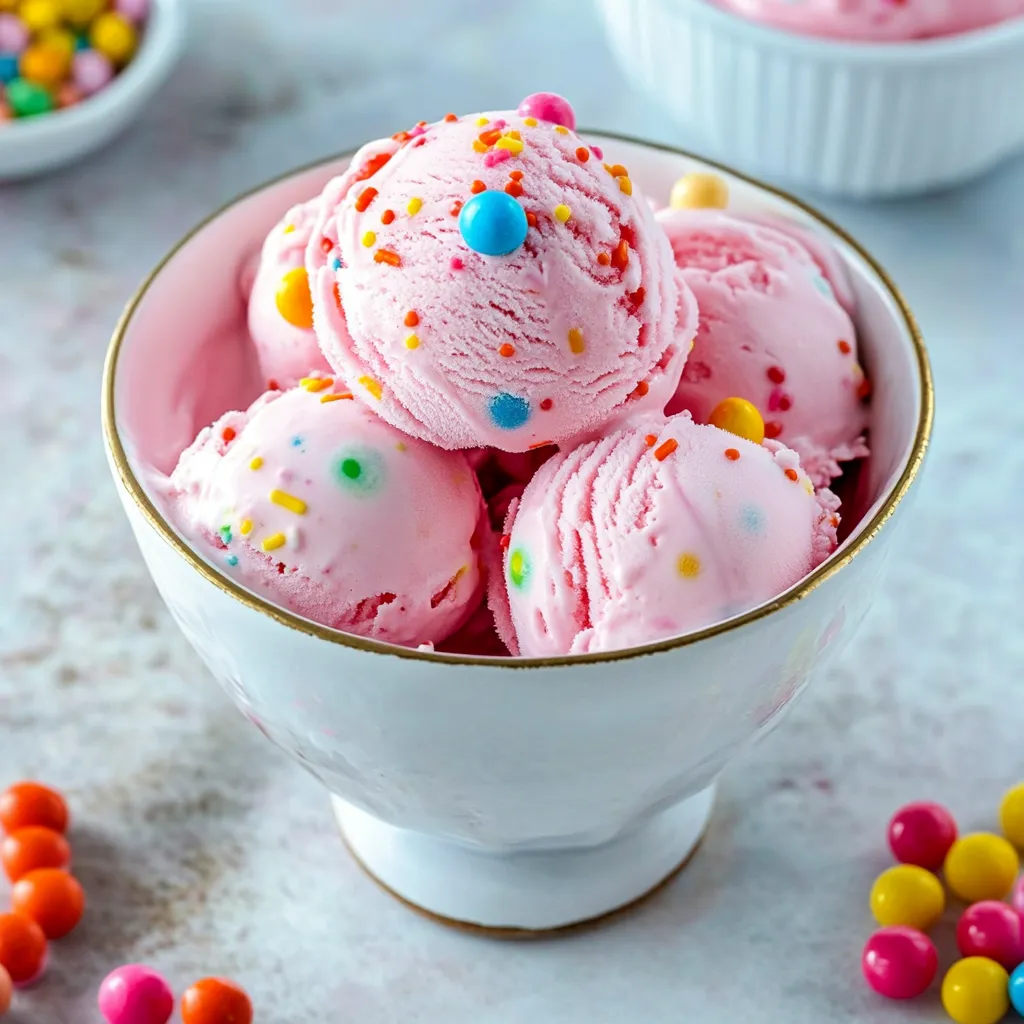
I stumbled onto this bubblegum ice cream recipe last summer when I was planning my daughter's birthday party. The combination of that vibrant pink color with the nostalgic bubblegum flavor creates this incredible ice cream that's both a visual delight and a trip down memory lane. It's become our go-to for special celebrations when I want something that feels festive and fun.
My nephew's eyes went wide with excitement when I served this at a family gathering last month. "It tastes exactly like bubblegum!" he exclaimed before asking for seconds. Sometimes the simplest recipes create the biggest impressions, especially with kids.
Simple Ingredients
- Heavy cream and whole milk - The foundation for any good homemade ice cream
- Bubblegum flavoring - Much easier than trying to extract flavor from actual gumballs
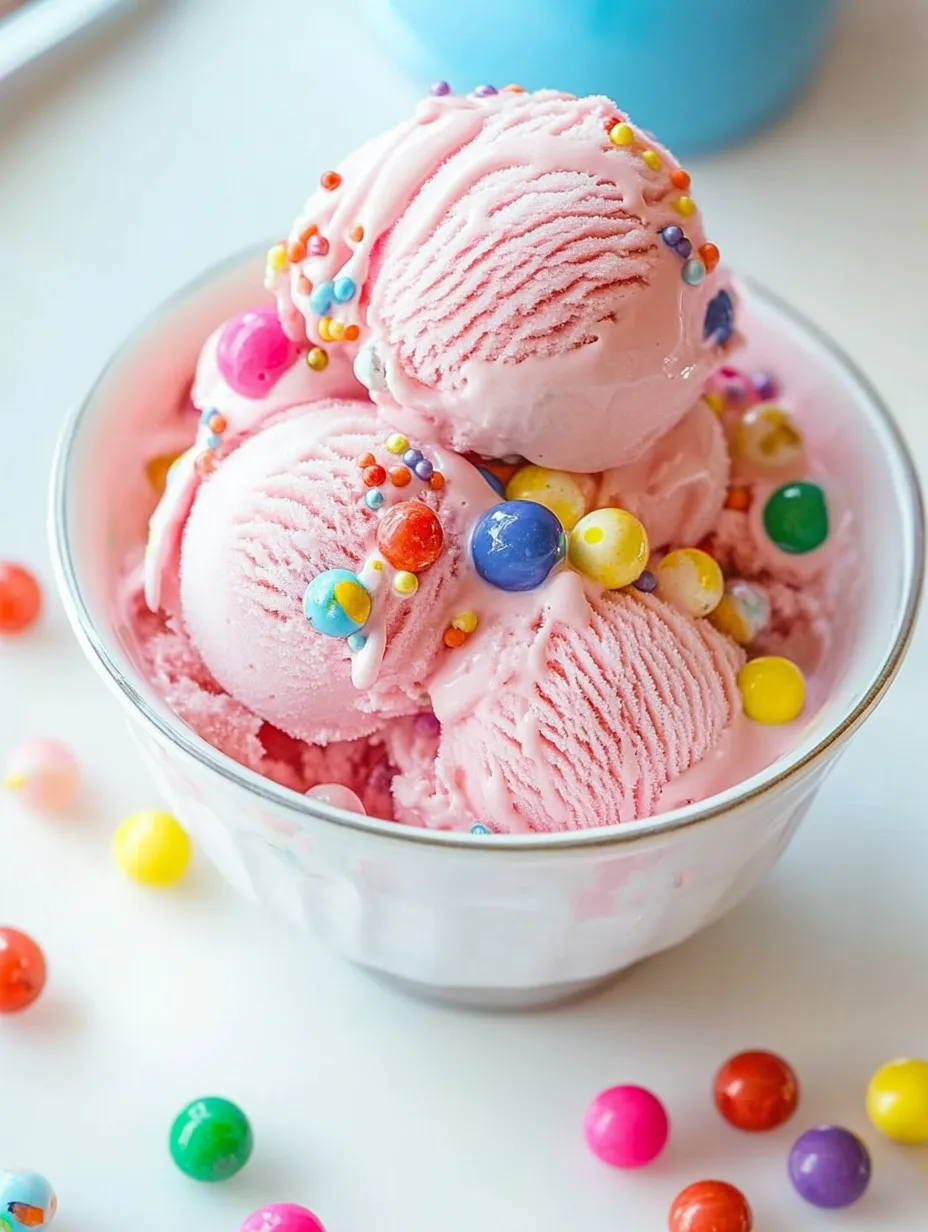
- Confetti sprinkles - Adds both color and texture to the smooth ice cream base
- Food coloring - Creates that signature bright pink color that's part of the fun
- Real gumballs - The perfect decorative topping that reinforces the theme
 Pin it
Ice Cream Creation
- Bowl Freezing
- Don't underestimate the importance of this first step - a properly frozen ice cream maker bowl is non-negotiable for the best texture. I actually keep mine in the freezer permanently so it's always ready to go. The first time I tried making ice cream, I only froze the bowl for a few hours and ended up with a soupy mess that wouldn't firm up. Now I make sure it's frozen solid for at least 24 hours before churning, which makes all the difference in creating that perfect creamy consistency.
- Base Mixing
- Thoroughly dissolving the sugar in the liquid ingredients creates the smoothest texture. I whisk for a full 2-3 minutes, even when it seems like the sugar has dissolved, to ensure there's no grittiness in the final product. The combination of heavy cream and whole milk provides the perfect fat content for creamy ice cream - I've tried using all heavy cream, but the result was almost too rich, while using lower-fat milk created an icier texture. This ratio creates the perfect balance.
- Flavor Balance
- The bubblegum flavoring is potent, so I start with a little less than the recipe calls for, taste, and add more if needed. The vanilla extract might seem unnecessary in a bubblegum-flavored dessert, but it actually rounds out the flavor beautifully and prevents the bubblegum from tasting one-dimensional or artificial. That pinch of salt is crucial too - it enhances the sweetness and makes the flavor more complex. I've forgotten it once or twice and definitely noticed the difference.
- Color Development
- For that classic bubblegum pink, I add the food coloring gradually, checking the color as I go. Remember that the color will appear lighter in the finished, frozen product than it does in liquid form. I aim for a shade that seems a bit too vibrant in the liquid, which will mellow to the perfect pink once frozen. Gel food coloring works best as it provides vibrant color without adding excess liquid to the base. For a more natural approach, you could use a touch of beetroot powder, though the color will be more subdued.
- Churning Process
- Following the manufacturer's instructions for your specific ice cream maker is key. Mine typically takes about 20-25 minutes to reach that perfect soft-serve consistency. One trick I've learned is to have the mixture well-chilled before it goes into the machine, which reduces churning time and creates smaller ice crystals for a smoother result. Adding the sprinkles toward the end prevents them from bleeding their colors throughout the entire batch while ensuring they're well distributed.
- Freezing Method
- Using a shallow container rather than a deep one allows the ice cream to freeze more evenly and quickly. I press plastic wrap directly onto the surface of the ice cream before putting the lid on to prevent ice crystals from forming. That 4-hour minimum freezing time is really just the starting point - overnight is even better for the perfect scoopable consistency. The brief rest at room temperature before serving softens it just enough for perfect scooping while maintaining the ideal texture.
My normally health-conscious sister-in-law took one bite of this ice cream and immediately asked for the recipe. "Some things are worth the splurge," she admitted with a smile. There's something about that nostalgic bubblegum flavor that seems to bring out the kid in everyone.
Perfect Pairings
Serve this playful ice cream with shortbread cookies for a simple but delightful dessert. For birthdays, it pairs perfectly with vanilla cake or cupcakes for a festive color contrast. During summer parties, I often create an ice cream bar with various toppings like chocolate sauce, caramel, and extra sprinkles for guests to customize their scoops. My kids love it best in a cone with extra gumballs on top for the full experience.
Creative Variations
Try swirling in a ribbon of marshmallow fluff for a cotton candy-like variation. Add mini white chocolate chips instead of sprinkles for a different texture contrast. For an adult version (that still appeals to the kid inside), add a few drops of prosecco flavoring along with the bubblegum for a "bubblegum champagne" ice cream. Last summer, I experimented with layering this ice cream with strawberry sauce in a loaf pan for a "strawberry bubblegum ripple" that was a huge hit at our block party.
 Pin it
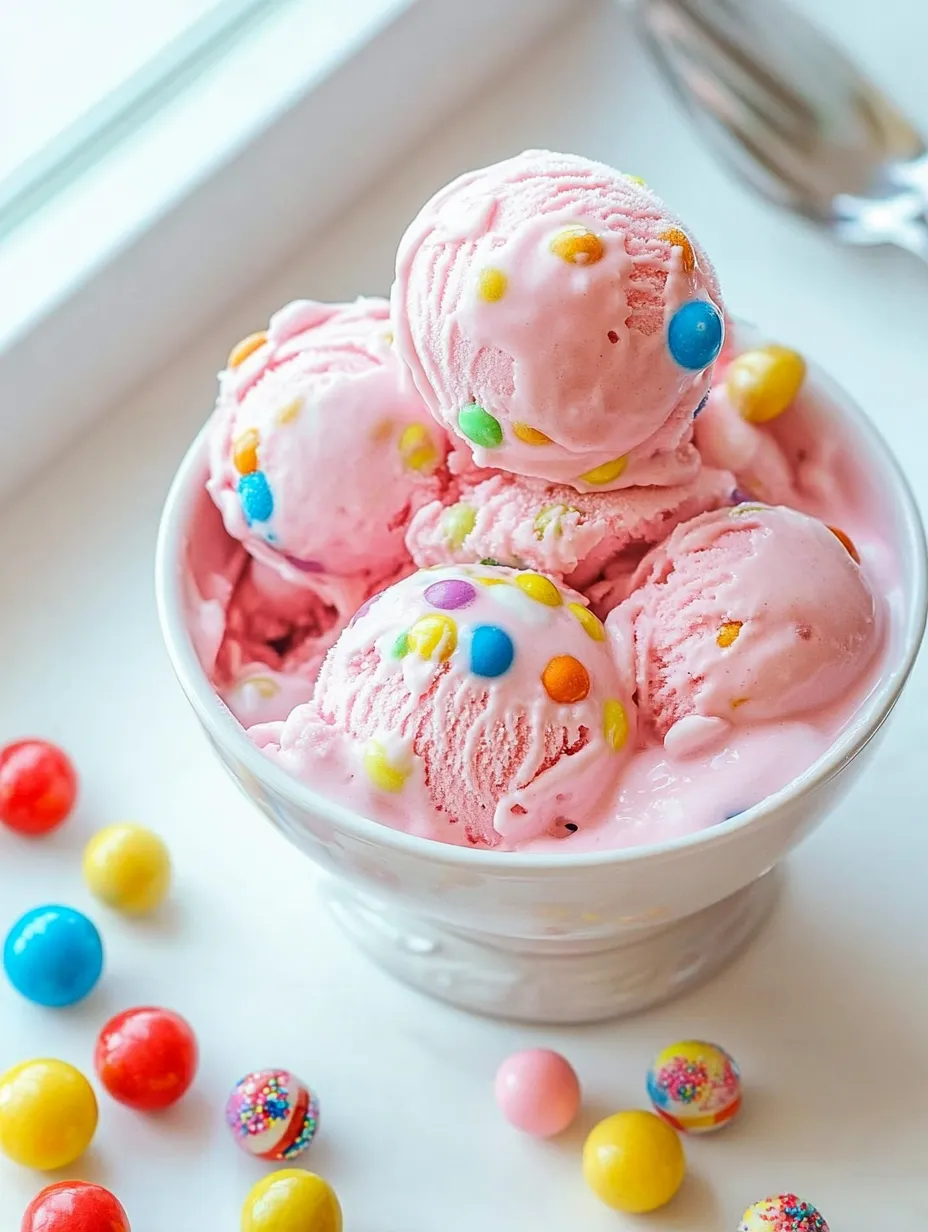
I've made this bubblegum ice cream for everything from summer playdates to birthday celebrations, and it never fails to bring joy. There's something magical about watching both children and adults light up at the sight of that vibrant pink color, then smile with recognition at the nostalgic flavor. My daughter has started requesting it for her half-birthday and un-birthday celebrations too, which I take as the highest compliment a recipe can receive. Sometimes the most memorable desserts are the ones that transport us back to the simple joys of childhood, even if just for a few delicious moments.
Frequently Asked Questions
- → Do I need an ice cream maker for this recipe?
- While an ice cream maker produces the creamiest texture, you can make a no-churn version. Simply whip the heavy cream until stiff peaks form, then fold in a mixture of sweetened condensed milk (instead of regular milk and sugar) with the bubblegum flavoring and food coloring. Freeze as directed in the recipe.
- → Where can I find bubblegum flavoring?
- Bubblegum flavoring can be found at specialty baking stores, craft stores with baking sections, or online retailers like Amazon. Look for brands like LorAnn Oils, which makes concentrated food-grade flavor oils, or Frontier Co-op, which makes alcohol-based extracts.
- → Can I use actual bubblegum instead of flavoring?
- Yes, you can infuse the milk with actual bubblegum for a natural flavor. Heat 2 cups of milk with about 1 cup of bubblegum pieces until hot (not boiling). Remove from heat, cover, and let steep for 30 minutes. Strain out the gum pieces, which will have become flavorless, and proceed with the recipe. Note that this method produces a milder flavor than using extract.
- → Why is my ice cream not freezing properly?
- Several factors can affect freezing: 1) Ensure your ice cream maker bowl was thoroughly frozen (24+ hours), 2) Your ingredients might be too warm - chill them before churning, 3) Too much sugar or alcohol can lower the freezing point, 4) Overfilling the ice cream maker prevents proper churning and freezing.
- → What can I use instead of artificial food coloring?
- For a natural pink color, you can use beet powder, freeze-dried strawberry or raspberry powder, or a small amount of pure cranberry juice. Start with a small amount and add more until you achieve your desired shade of pink. While the color may be less vibrant than with artificial coloring, it provides a natural alternative.