 Pin it
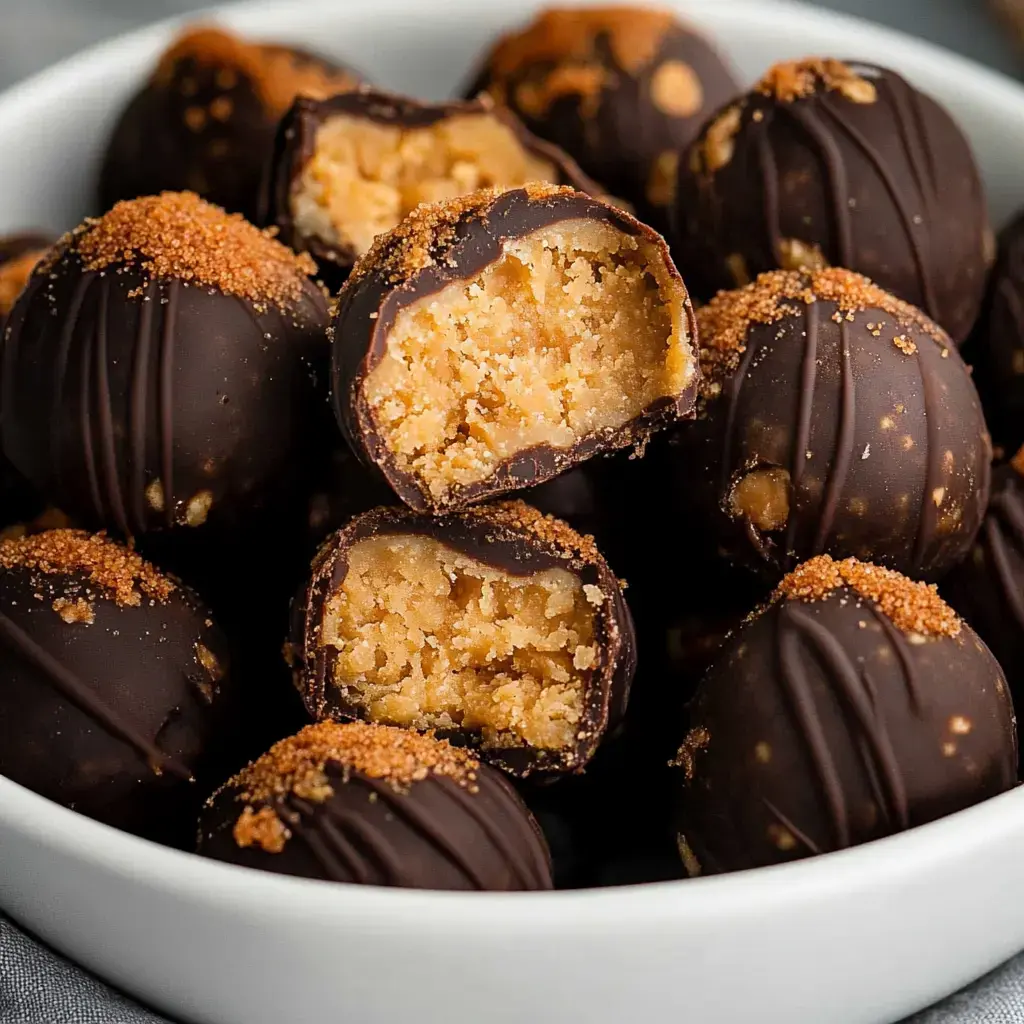
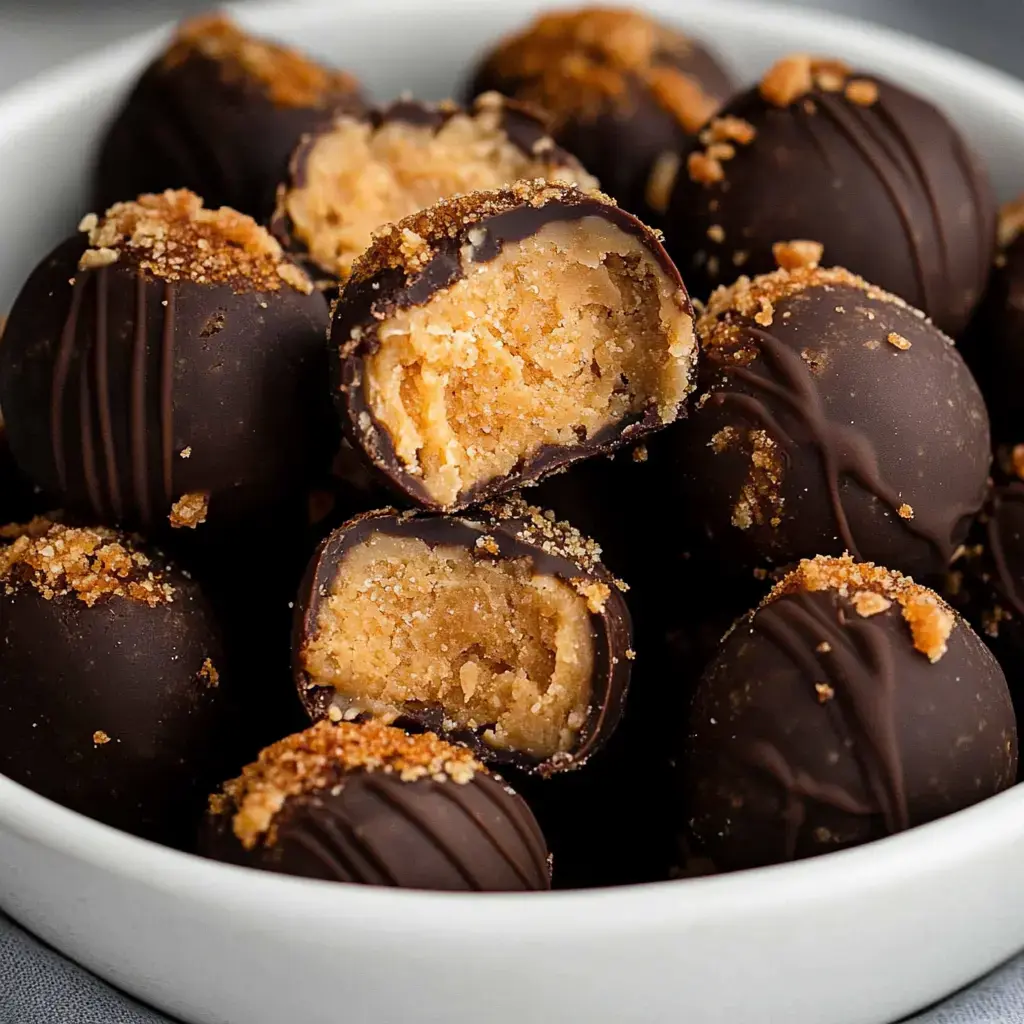
You haven't lived until you've tried these Butterfinger Balls. My kitchen adventures led me to create these little bites of heaven and now they're the most requested treat in our house. The combination of creamy peanut butter crunchy graham crackers and that irresistible Butterfinger crunch all wrapped in silky chocolate is pure magic.
Why These Are Always Gone First
Every time I bring these to a gathering they disappear in minutes. The best part is how simple they are to whip up no baking required. I love keeping a batch in the freezer for surprise visitors or when my sweet tooth kicks in. My neighbors have started requesting them for every block party.
What You Need
- Peanut Butter: 1 cup, creamy for a smooth texture or crunchy for added bite.
- Butter: ½ cup, unsalted and softened for easy mixing.
- Vanilla Extract: 1 tsp, for added depth of flavor.
- Powdered Sugar: 2 cups, sifted to ensure smoothness in the mixture.
- Graham Cracker Crumbs: 1 cup, finely crushed for structure and a slight crunch.
- Butterfinger Candy Bars: 4 bars, crushed to mix in and garnish.
- Chocolate Bark: 12 oz, melted for dipping and coating the truffles.
Let's Make Magic
- Mix the Base
- In a large bowl, beat together peanut butter, butter, and vanilla extract until creamy. Gradually mix in powdered sugar, scraping the sides of the bowl as needed.
- Add Texture
- Stir in graham cracker crumbs and crushed Butterfinger candy bars until evenly combined.
- Shape the Balls
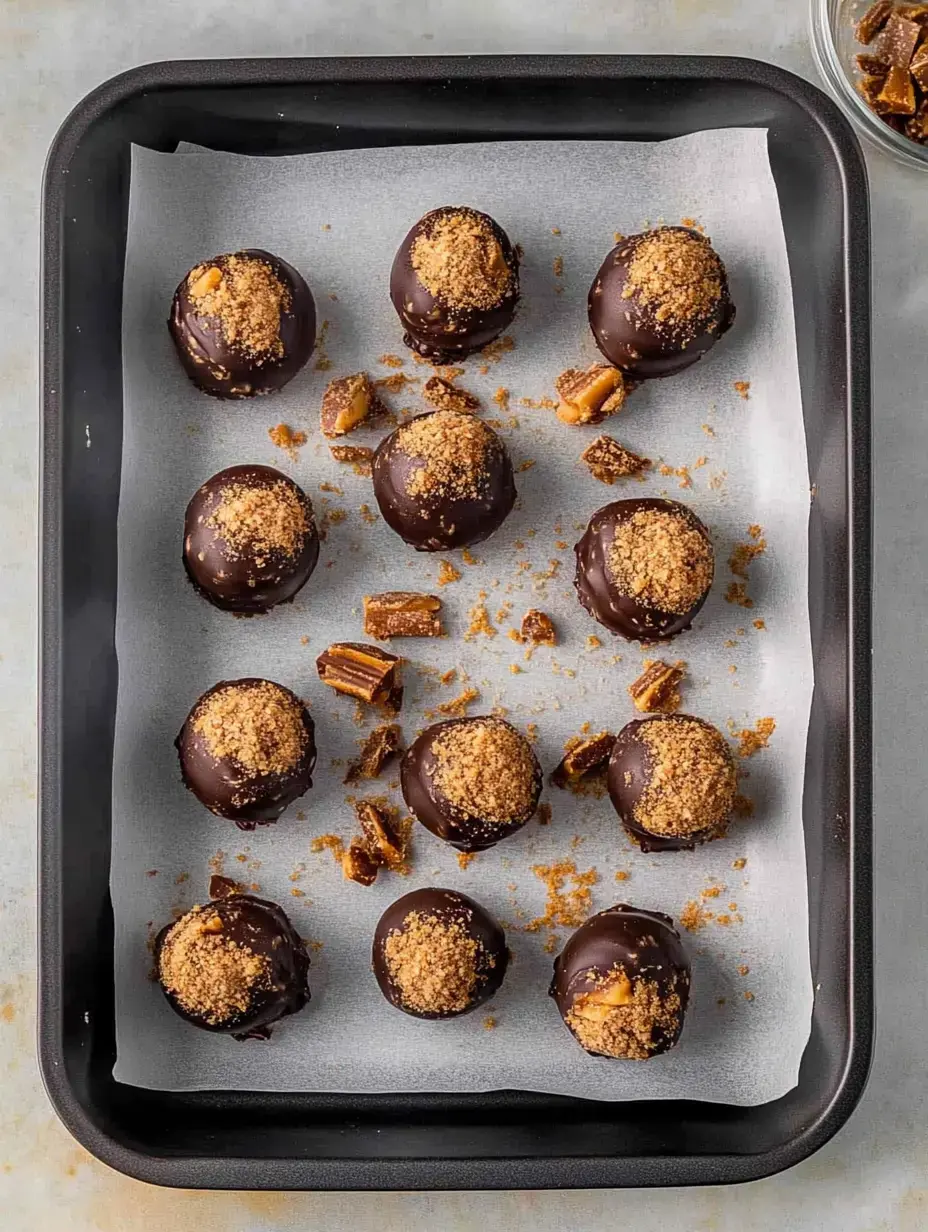
- Using a cookie scoop, form 1 ½ tablespoon-sized balls and roll them smooth. Place on a parchment-lined baking sheet and freeze for 30 minutes to set.
- Dip and Decorate
- Melt chocolate bark and use a toothpick or fork to dip each ball into the chocolate. Sprinkle with crushed Butterfinger or add decorative drizzles while the chocolate is still wet.
- Let Set
- Allow the coated truffles to set on the parchment-lined sheet at room temperature or in the fridge before serving.
 Pin it
Keep Them Fresh
These little treats stay perfect in an airtight container in the fridge for weeks but they never last that long in our house. I like to separate layers with wax paper to keep them looking pretty. For longer storage pop them in the freezer and just pull them out whenever you need a chocolatey fix.
Switch Things Up
Sometimes I get creative and use different candy bars. Last week I tried them with Snickers and they were amazing. White chocolate coating is another favorite in our house. My daughter loves adding colorful sprinkles for birthday parties it makes them extra festive.
Special Occasion Star
I started making these for holiday cookie platters but now they show up at baby showers birthday parties and even weddings. The best part is I can make them days ahead which is a lifesaver during busy times. Everyone thinks they took hours to make but I know better.
 Pin it
My Secret Tips
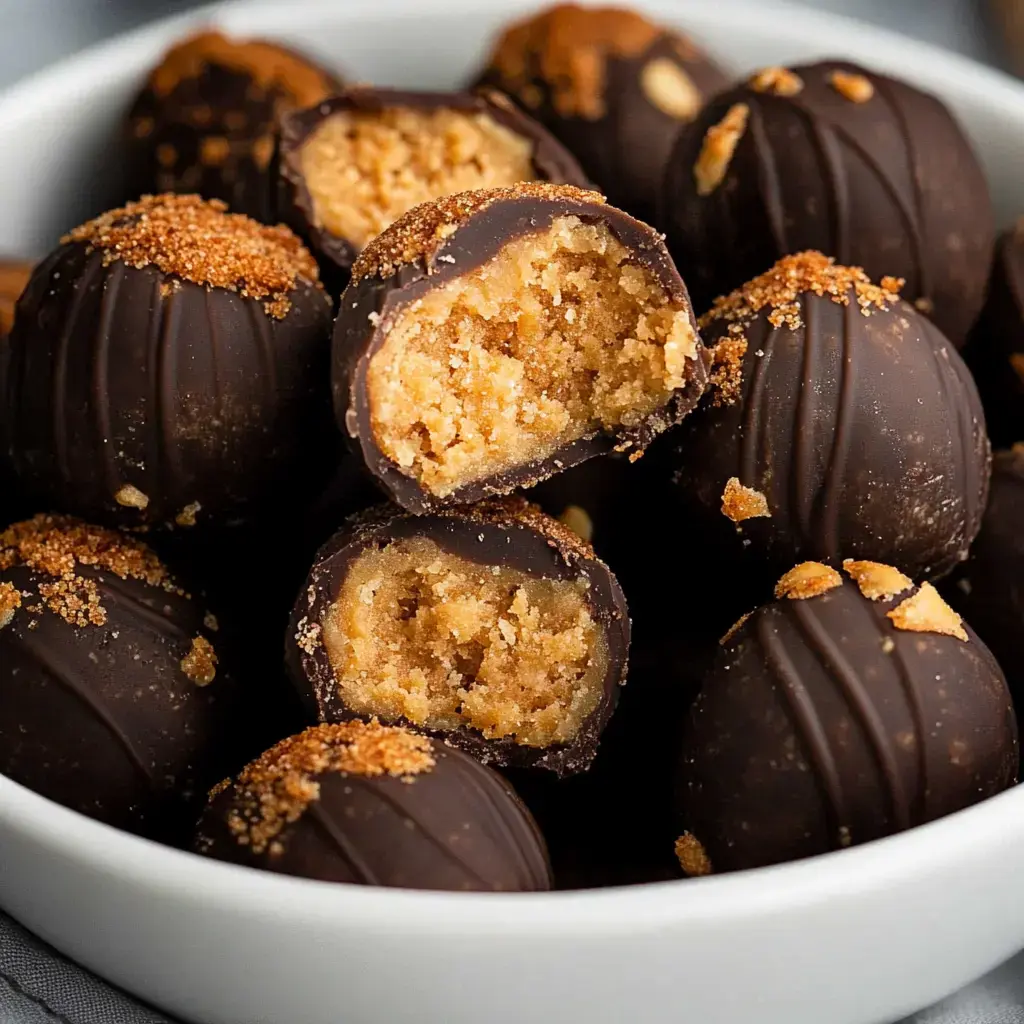
Here's what I've learned after countless batches if your mixture feels too soft pop it in the fridge for 15 minutes before rolling. When melting chocolate use 30 second bursts in the microwave and stir between each one. A fork works better than a toothpick for dipping trust me on this one.
Fun with Kids
My kitchen helpers love making these with me. They're experts at crushing the candy bars and rolling the balls. Sure it gets a bit messy but watching them sprinkle the toppings with such concentration makes it all worth it. Plus they're learning to love being in the kitchen.
Dress Them Up
When I'm feeling fancy I'll arrange them in pretty paper cups on a silver platter. For gifts I found these adorable little boxes at the craft store. A quick swirl of contrasting chocolate on top makes them look totally professional.
 Pin it
Everyone Can Enjoy
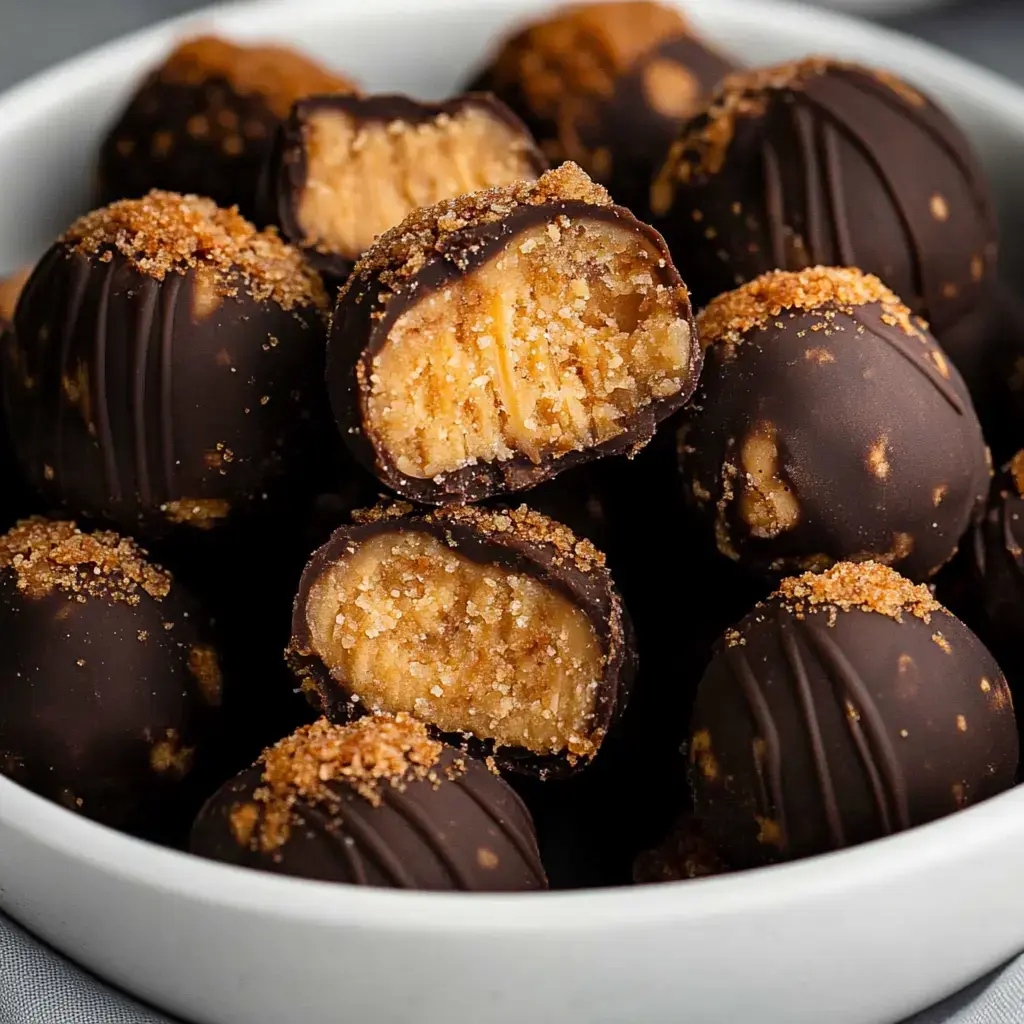
I've started experimenting with different versions to suit all my friends. My neighbor follows a gluten free diet so I use gluten free graham crackers for her. For my vegan sister I use dairy free chocolate and it works perfectly. The joy of sharing treats everyone can eat is priceless.
Perfect Partners
Nothing beats these balls with a hot cup of coffee on a cozy afternoon. When I host book club I serve them alongside fresh berries and they disappear in minutes. The combination of chocolate and fruit is just irresistible.
Gifting Gold
These have become my signature holiday gift. I package them in cute tins with handwritten recipe cards. My friends start asking about them as soon as December hits. There's something special about sharing a homemade treat during the holidays.
The Life of the Party
Whenever I need a reliable party treat these are my go to. They travel beautifully and stay fresh for hours at room temperature. I always bring copies of the recipe because someone always asks for it.
 Pin it
Always Be Prepared
After running out too many times I now keep a secret stash in the freezer. They thaw quickly and have saved me countless times when unexpected company drops by. Nothing makes people feel more special than pulling out a homemade treat just for them.
Frequently Asked Questions
- → What type of peanut butter works best for these balls?
Regular peanut butter like Jif or Skippy works best. Avoid natural peanut butter as it's too oily and can affect the texture of the balls.
- → How should I store Butterfinger balls?
Store them in an airtight container in the refrigerator. They'll stay fresh for up to a week when properly stored.
- → What's the best chocolate for dipping?
Chocolate bark works best for a smooth finish and doesn't need tempering. You can also use a mix of bark and chocolate chips, or tempered chocolate chips alone.
- → Can I make these ahead of time?
Yes! These balls can be made ahead and stored in the refrigerator. They're perfect for preparing before parties or holiday gatherings.
- → What toppings can I use?
You can top them with extra crushed Butterfingers, holiday sprinkles, or flaky sea salt. The toppings should be added while the chocolate is still wet.
