
 Pin it
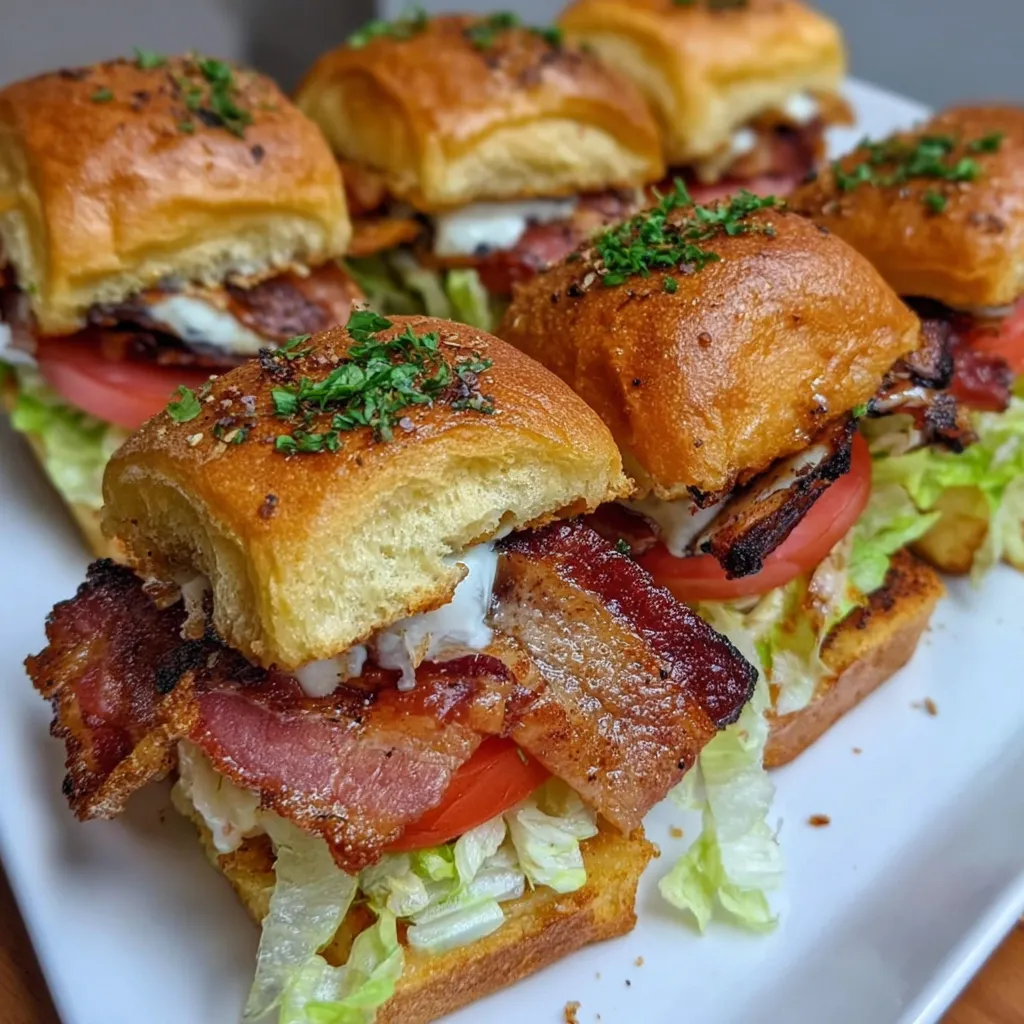
These candied bacon BLT sliders happened by accident when I was trying to use up leftover brown sugar and got creative with some thick-cut bacon I had in the fridge. What started as an experiment turned into my most requested party food ever. The sweet and spicy coating on the bacon creates this amazing contrast with the cool lettuce and juicy tomatoes, while those buttery garlic buns make everything taste gourmet. My brother-in-law, who's notoriously picky about food, ate four of these at our last family barbecue and kept asking what I did to make the bacon taste so good.
Last month I brought these to a potluck where everyone was supposed to bring something "unique." While other people showed up with fancy salads and complicated casseroles, my simple sliders were the first thing to disappear completely. Three different people asked for the recipe, and my neighbor texted me the next day asking if I could make them for her book club meeting. Sometimes the best recipes are the ones that take familiar ingredients and just twist them slightly.
Ingredient Essentials
- Thick-cut bacon: You need the substantial pieces to hold up to all that brown sugar coating. Thin bacon just burns before the sugar has time to work its magic.
- Dark brown sugar: The molasses gives it that rich, complex sweetness that regular white sugar can't match. Don't even think about substituting here.
- Hawaiian slider buns: Those soft, slightly sweet rolls are perfect with the candied bacon. Regular hamburger buns work too, but these make it feel more special.
- Fresh Roma tomatoes: They hold their shape better and won't make your sliders soggy like those big beefsteak tomatoes can.
- Real butter for the garlic spread: Don't use margarine or that weird spreadable stuff. Real butter makes all the difference when you're toasting the buns.
- Smoked paprika: This is what gives the bacon that extra smoky depth. Regular paprika is fine, but smoked takes it to another level.
 Pin it
How to Make Them
- Getting the Bacon Ready:
- Crank your oven to 400 degrees and set up a baking sheet with a wire rack on top. Line the bottom with foil because things are about to get messy in the best way. Mix your brown sugar with the smoked paprika, black pepper, and cayenne until everything's combined and there aren't any clumps.
- Coating the Bacon:
- Lay out your bacon strips on the rack, making sure they're not touching each other. Sprinkle that sugar mixture all over both sides of every piece, then really rub it in with your hands. Get it into all the little crevices and edges. The more coating you get to stick, the better that caramelized crust will be.
- Baking Magic:
- Stick the whole thing in the oven for about 15 minutes, then flip each piece over and bake for another 10-15 minutes. You'll know it's done when the edges start getting really dark and the sugar looks shiny and caramelized. Don't worry if it looks almost burnt - that's exactly what you want.
- Prepping the Buns:
- While the bacon cools down, mix your softened butter with minced garlic and parsley. Heat up a big skillet over medium heat and spread that garlic butter on the cut sides of your slider buns. Toast them face-down until they're golden and crispy, then flip them for just a minute to warm the other side.
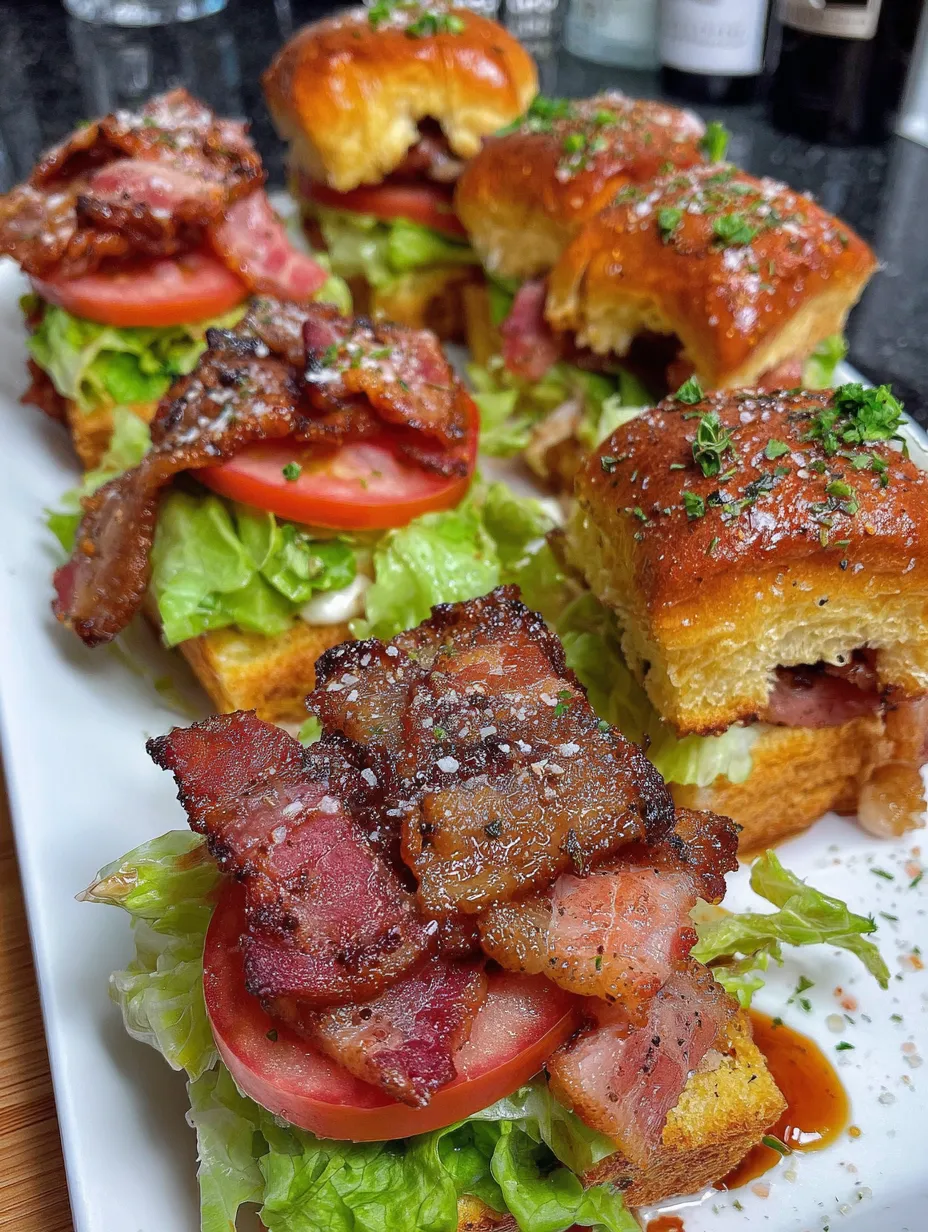
- Putting It All Together:
- Cut each bacon strip into three pieces so they fit perfectly on the sliders. Start with the bottom buns, slap on some mayo, add your lettuce, then a thick slice of tomato that you've seasoned with salt and pepper. Pile on three pieces of that incredible candied bacon and top with the other half of the bun.
My first attempt was a disaster because I got impatient and tried to cut the bacon while it was still hot. Half of it crumbled into sugary bacon bits, which actually tasted great but looked terrible on the sliders. Now I always make the bacon first and let it sit while I prep everything else. The waiting is torture, but the results are so much better when you let it cool and firm up properly.
The Sugar Coating Secret
Getting that brown sugar to caramelize properly is the whole point of this recipe. You want it to melt and bubble and eventually form this shiny, almost lacquered coating on the bacon. If your oven runs cool, it might take a few extra minutes. If it runs hot, keep an eye on things so the sugar doesn't burn before the bacon cooks through. The finished product should look glossy and dark, almost like it's been painted.
Spice Level Tips
The cayenne adds just enough heat to balance out all that sweetness without making it actually spicy. My kids, who think black pepper is too hot, love these sliders. But if you're cooking for people who really can't handle any heat at all, you can leave it out entirely. The smoked paprika and black pepper still give plenty of flavor complexity.
Bun Toasting Technique
That garlic butter step is what takes these from good to incredible. Don't just butter the buns - really coat them with that garlicky mixture and toast them until they're properly golden. The butter helps them get evenly crispy while the garlic adds this amazing aroma that makes your whole kitchen smell like a fancy restaurant.
Tomato Selection
I've tried these with different types of tomatoes, and Roma really are the best choice. They're dense enough to slice thick without falling apart, and they don't have all those seeds and gel that make everything messy. Cut them about half an inch thick - thick enough to add substance but not so thick they take over the whole slider.
Make-Ahead Game Plan
The beauty of this recipe is that you can do most of the work ahead of time. I often make the candied bacon the day before a party and just store it in the fridge. It actually gets even crispier overnight. The garlic butter can be made ahead too. Then all you have to do is toast the buns and assemble everything when your guests arrive.
Serving Strategy
These work great for parties because they're substantial enough to be satisfying but small enough that people can eat them with one hand while they're mingling. I usually figure two sliders per person, but honestly, people tend to eat more than that. They're rich enough that you don't need much else - maybe some chips or fruit salad on the side.
Leftover Solutions
If you somehow end up with leftover candied bacon (which rarely happens), it keeps really well in the fridge and is amazing chopped up and added to salads or pasta. You can also reheat it gently in the oven to crisp it back up. The assembled sliders don't keep well, but the components can be stored separately and put back together later.
Variations Worth Trying
Once you master the basic version, there are lots of ways to mix things up. Adding a slice of sharp cheddar cheese makes them even more indulgent. Swapping the iceberg lettuce for arugula gives you a peppery bite that works really well with the sweet bacon. Some people love adding avocado, which makes them feel more like a California-style sandwich.
 Pin it
These candied bacon BLT sliders have become my signature dish because they hit that perfect sweet spot between familiar and exciting. Everyone knows what a BLT tastes like, but that candied bacon twist makes it feel special and memorable. The technique isn't hard, but the results look and taste like something you'd pay good money for at a trendy restaurant. Every time I make them, I'm reminded that sometimes the best recipes come from just playing around with ingredients you already love.
Frequently Asked Questions
- → Can I make the candied bacon ahead of time?
- Yes! Cook the bacon up to 2 days ahead and store it in the fridge. Just reheat briefly before serving.
- → What if I don't have slider buns?
- You can use regular hamburger buns cut in half or small dinner rolls. Just adjust the portion sizes accordingly.
- → How do I know when the bacon is done?
- Look for dark brown edges and a caramelized appearance. The bacon will crisp up more as it cools.
- → Can I use turkey bacon instead?
- Yes, but reduce the cooking time since turkey bacon cooks faster and won't get as crispy.
- → How long do these sliders stay fresh?
- They're best eaten immediately, but assembled sliders can be stored in the fridge for up to 2 hours before serving.