
 Pin it
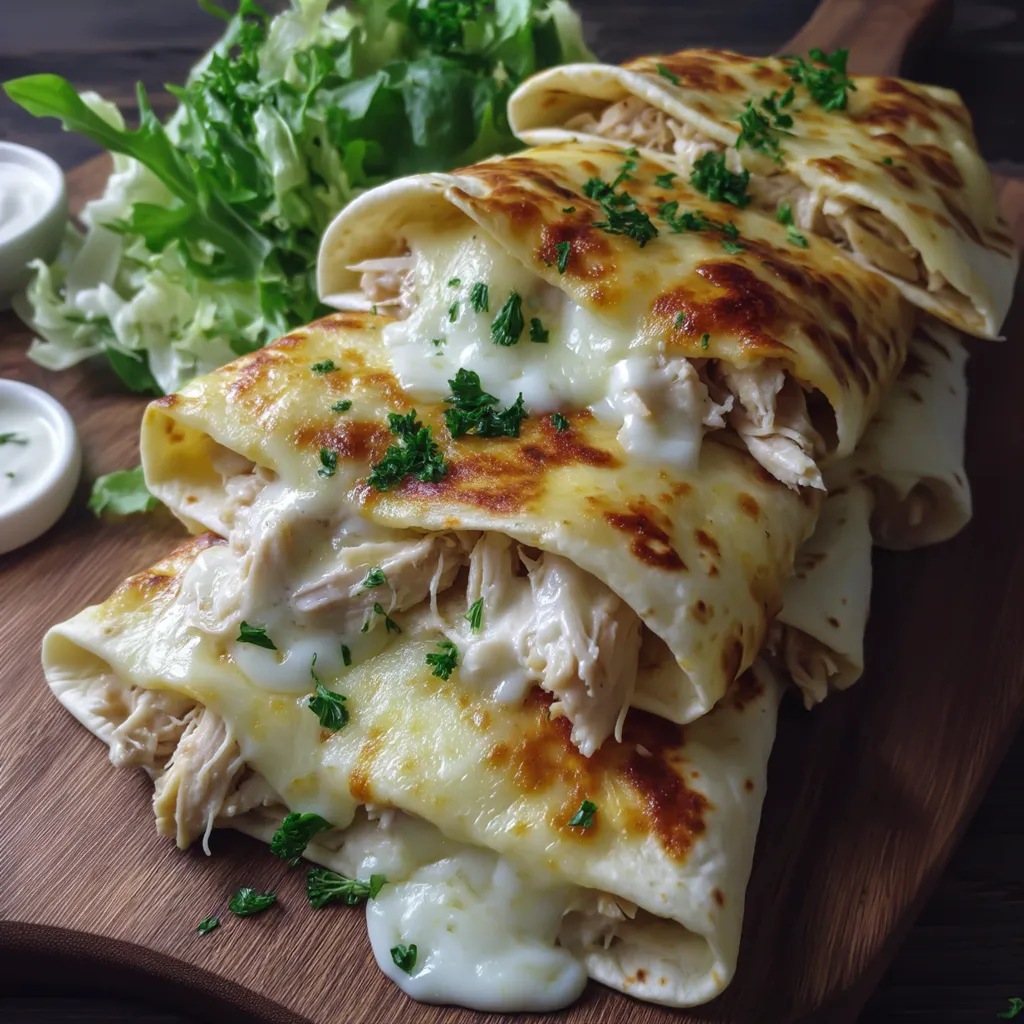
This cheesy garlic chicken wrap recipe has become my weeknight hero when I need something delicious that doesn't keep me in the kitchen for hours. The combination of tender chicken, melty cheese, and garlic creates a flavor explosion that satisfies those comfort food cravings while still feeling fresh and light.
I first created these wraps when trying to use up leftover rotisserie chicken, and they've since become a weekly request in our household. My teenagers actually text me from school asking if we can have "those amazing chicken wraps" for dinner.
Ingredients
- Cooked shredded chicken: provides the protein foundation and works beautifully whether you use rotisserie chicken, leftover grilled chicken, or specifically cooked chicken for this recipe
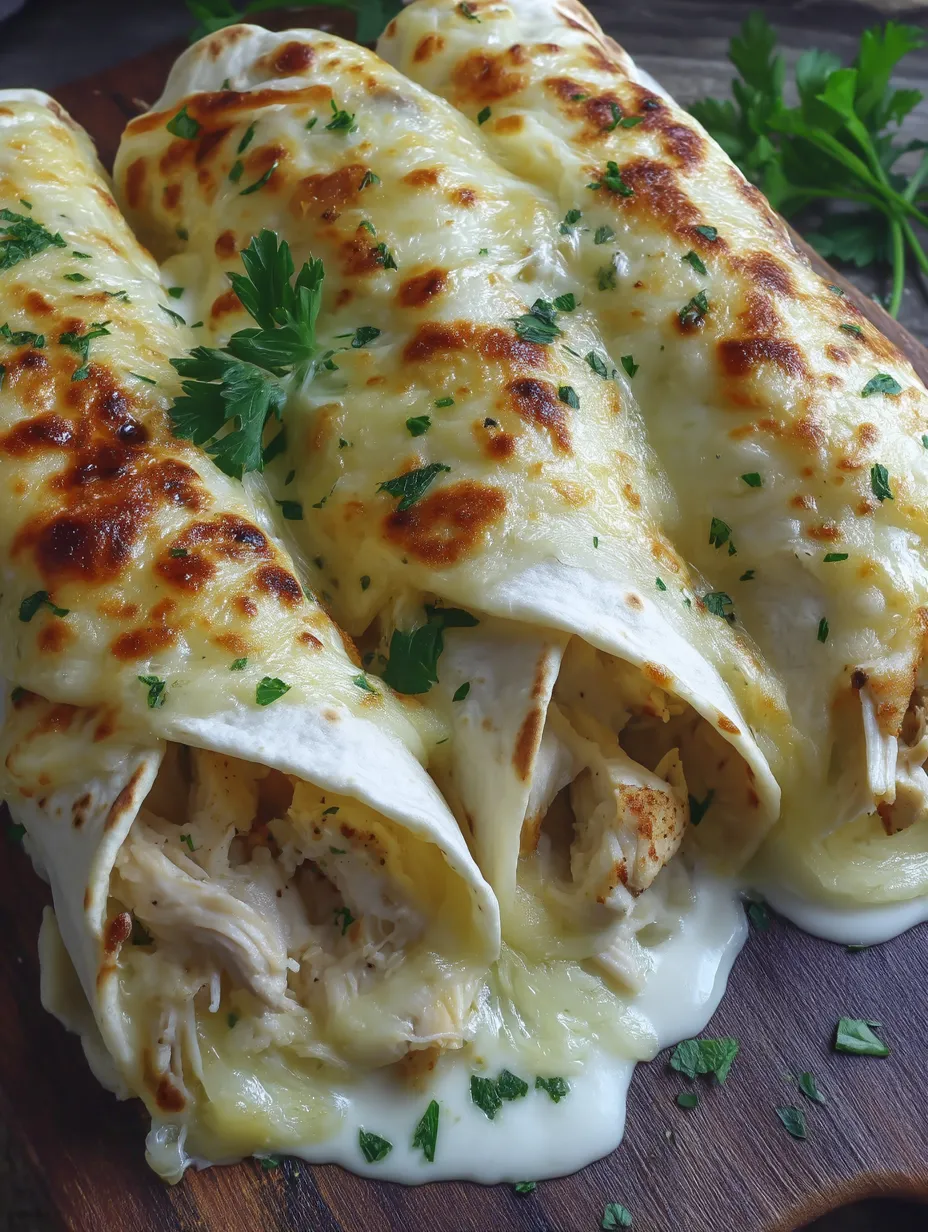
- Mozzarella cheese: creates that perfect cheese pull when melted and adds a mild flavor that lets the garlic shine
- Cream cheese: adds richness and helps bind all the filling ingredients together
- Sour cream: brings a subtle tanginess that balances the richness of the other ingredients
- Fresh garlic cloves: deliver bold flavor that permeates the entire wrap
- Fresh parsley: brightens the filling with color and a hint of herbaceous flavor
- Paprika: adds a subtle warmth and beautiful color to the filling
- Salt and pepper: are essential for bringing all the flavors together
- Large flour tortillas: work best as they can hold a generous amount of filling without breaking
- Mixed salad greens: add freshness, nutrition, and a pleasant textural contrast
- Olive oil: helps achieve that perfectly crispy exterior when cooking
Step-by-Step Instructions
- Create the Filling:
- Combine shredded chicken, mozzarella, softened cream cheese, sour cream, minced garlic, chopped parsley, paprika, salt, and pepper in a large bowl. Mix thoroughly until you have a cohesive mixture where the cream cheese is fully incorporated. The filling should be creamy but still have texture from the chicken pieces. This is where all those beautiful flavors begin to meld together.
- Assemble the Wraps:
- Place a flour tortilla flat on your work surface and spoon approximately half cup of the chicken mixture into the center, forming a horizontal line but leaving about an inch of space on each side. Top with a small handful of mixed greens, distributing them evenly across the chicken mixture. The greens add freshness and crunch that complements the rich filling perfectly.
- Roll the Wraps:
- Fold in both sides of the tortilla toward the center, then roll from the bottom up, keeping the filling tucked in tightly as you go. The key is to roll firmly enough to keep everything secure but not so tight that the filling squeezes out. A properly rolled wrap will stay together during cooking.
- Cook to Crispy Perfection:
- Heat a nonstick skillet over medium heat and add a light drizzle of olive oil. Place the wraps seam side down first to seal them closed. Cook for 3 to 4 minutes until golden brown, then carefully flip and cook the other side. Listen for the sizzle and watch for that beautiful golden color to develop. The outside should become crispy while the inside cheese melts to gooey perfection.
 Pin it
The minced garlic is truly the star ingredient here. I remember the first time I made these wraps with pre minced garlic from a jar instead of fresh, and while still good, they missed that punchy garlic flavor that makes these wraps so memorable. My daughter actually asked what was different about the recipe. Fresh garlic makes all the difference in creating that aromatic quality that fills the kitchen as these cook.
Storage and Meal Prep
These wraps store surprisingly well in the refrigerator for up to 3 days. Wrap each one individually in aluminum foil or parchment paper, then place them in an airtight container. To reheat, unwrap and place in a dry skillet over medium heat for about 5 minutes, flipping halfway through. This restores the crispy exterior while warming the filling.
You can also freeze the assembled uncooked wraps for up to 2 months. Place them on a baking sheet lined with parchment paper and freeze until solid, then transfer to freezer bags. Cook directly from frozen by adding a few extra minutes to the cooking time.
Customization Ideas
The beauty of these wraps lies in their versatility. Try adding diced bell peppers or spinach to the chicken mixture for extra vegetables. Swap mozzarella for pepper jack if you prefer a spicier kick, or use a combination of cheeses like cheddar and Monterey Jack.
For a Mediterranean twist, add chopped sun-dried tomatoes, olives, and a sprinkle of oregano to the filling. You could also incorporate cooked bacon bits or diced avocado for different flavor dimensions. The basic formula stays the same while allowing endless variations.
 Pin it
Serving Suggestions
These wraps shine when served with complementary sides and sauces. A simple side salad with vinaigrette creates a balanced meal. For dipping, ranch dressing, chipotle mayo, or even warm marinara sauce works beautifully with the garlic and cheese flavors.
For entertaining, cut the wraps into pinwheels and serve as appetizers with toothpicks. They make excellent picnic food since they taste great at room temperature and travel well without getting soggy.
Frequently Asked Questions
- → How do I keep the wraps from falling apart?
Ensure the filling is placed in the center of the tortilla, fold the sides in first, and then roll it tightly. Cooking seam-side down secures the wrap.
- → Can I substitute any ingredients?
Yes! You can swap mozzarella for cheddar or your preferred cheese, and use Greek yogurt instead of sour cream for a healthier twist.
- → What dipping sauces pair well with the wraps?
Ranch dressing, garlic aioli, or a spicy tomato salsa make great dips to elevate the flavor of these wraps.
- → Can these wraps be made ahead of time?
You can prepare the filling in advance and store it in the refrigerator. Assemble and cook the wraps fresh for the best taste and texture.
- → How do I make the wraps crispy?
Cook the wraps in a preheated skillet with a small drizzle of olive oil for a golden and crispy finish on both sides.