
 Pin it
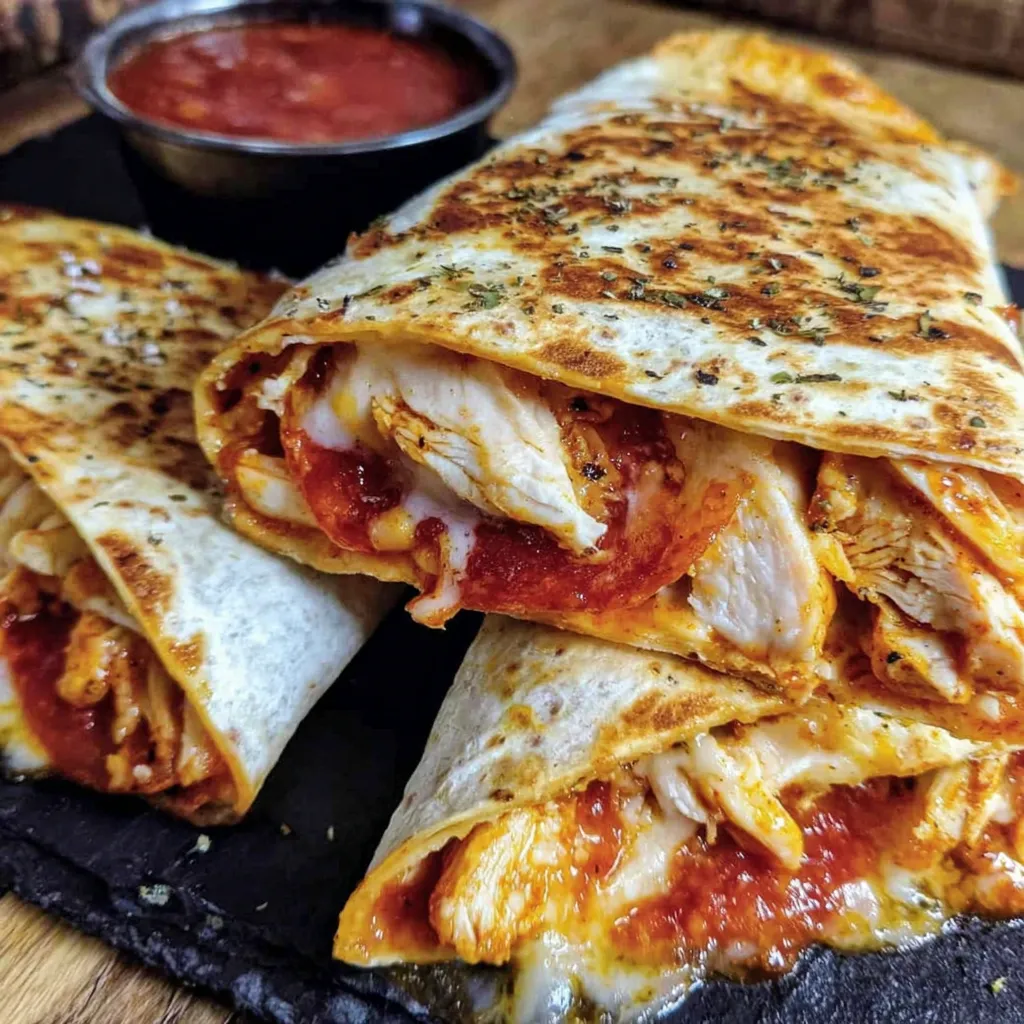
Chicken and pepperoni pizza melts are the ultimate middle ground between a guilty pleasure and a high-protein meal. By stuffing classic pizza flavors inside a crispy toasted tortilla instead of dough, you get a handheld, gooey result that’s faster than delivery. The recipe relies on smart convenience swaps—like frozen chicken patties and protein tortillas—to get dinner on the table in just 25 minutes. I stumbled onto this while trying to satisfy my son’s "high protein everything" demands for his wrestling season. It turned out to be the perfect solution: it met his strict macro requirements while still tasting like actual food the rest of the family enjoyed. Now, it’s our go-to for busy Tuesdays when nobody has the energy for a full-scale cooking production.
My neighbor Tom is a self-proclaimed "anti-health food" guy who thinks nutrition is only for gym rats. When he saw the protein tortilla packaging on my counter, he was immediately skeptical. I watched him devour two entire melts before I told him they each had over 40g of protein. He looked genuinely betrayed that I’d tricked him into eating something healthy that actually tasted good. Now, I see protein tortillas in his grocery cart all the time, though he still pretends he’s only in it for the flavor.
What Goes Into It
- Frozen chicken burger patties: 3 patties, cooked and sliced into strips
- Large protein tortilla wraps: 3 wraps (regular flour tortillas also work)
- Shredded mozzarella cheese: 1.5 cups, divided between the layers
- Pizza sauce: 1/2 cup (just enough for flavor without making it soggy)
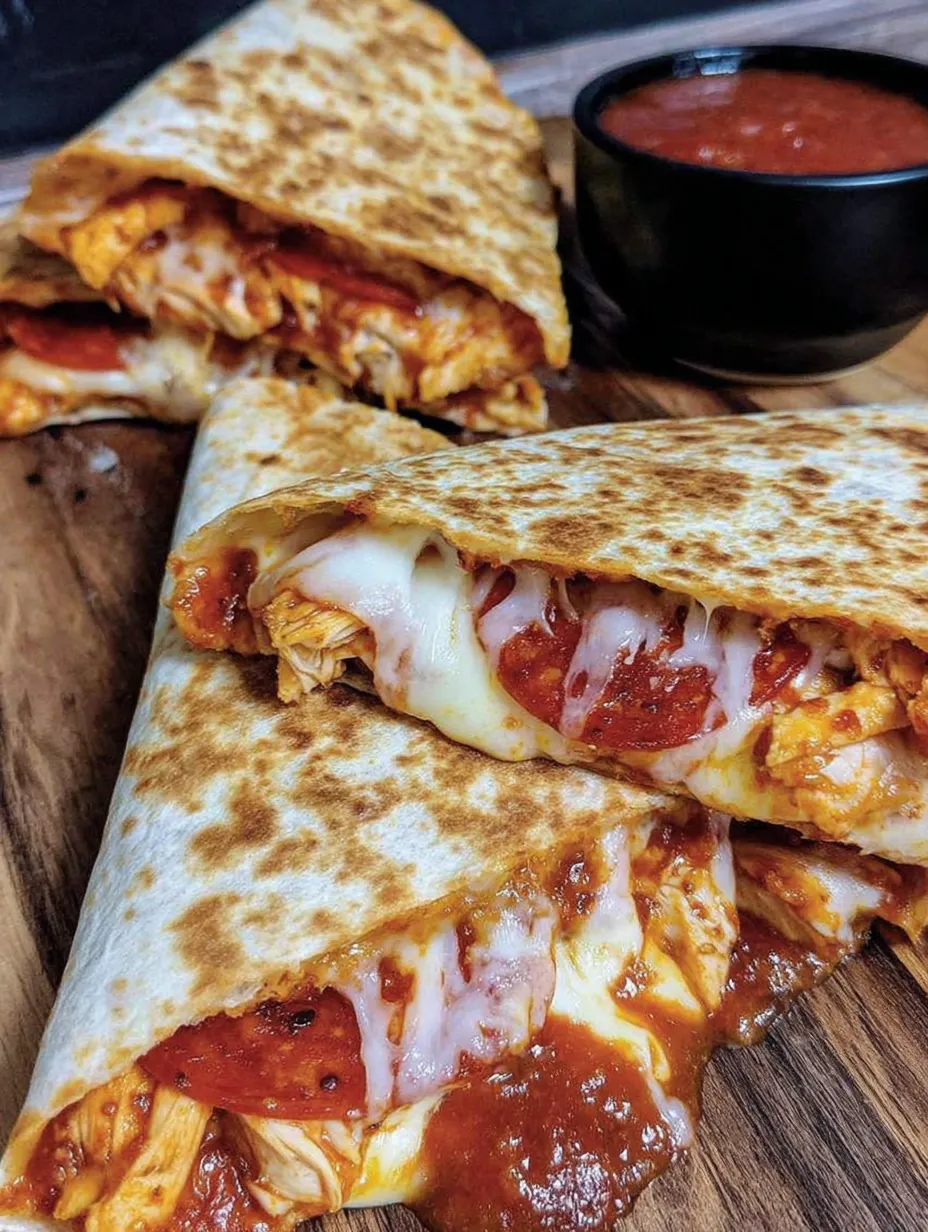
- Pepperoni slices: 18 slices (about 6 per melt)
 Pin it
The 25-Minute Method
- 1. Prep the Chicken:
- Cook the frozen chicken patties in a skillet over medium-high heat for about 6 minutes per side (until the internal temperature reaches 165°F). Let them rest for a minute, then slice into thin strips.
- 2. Layer the Filling:
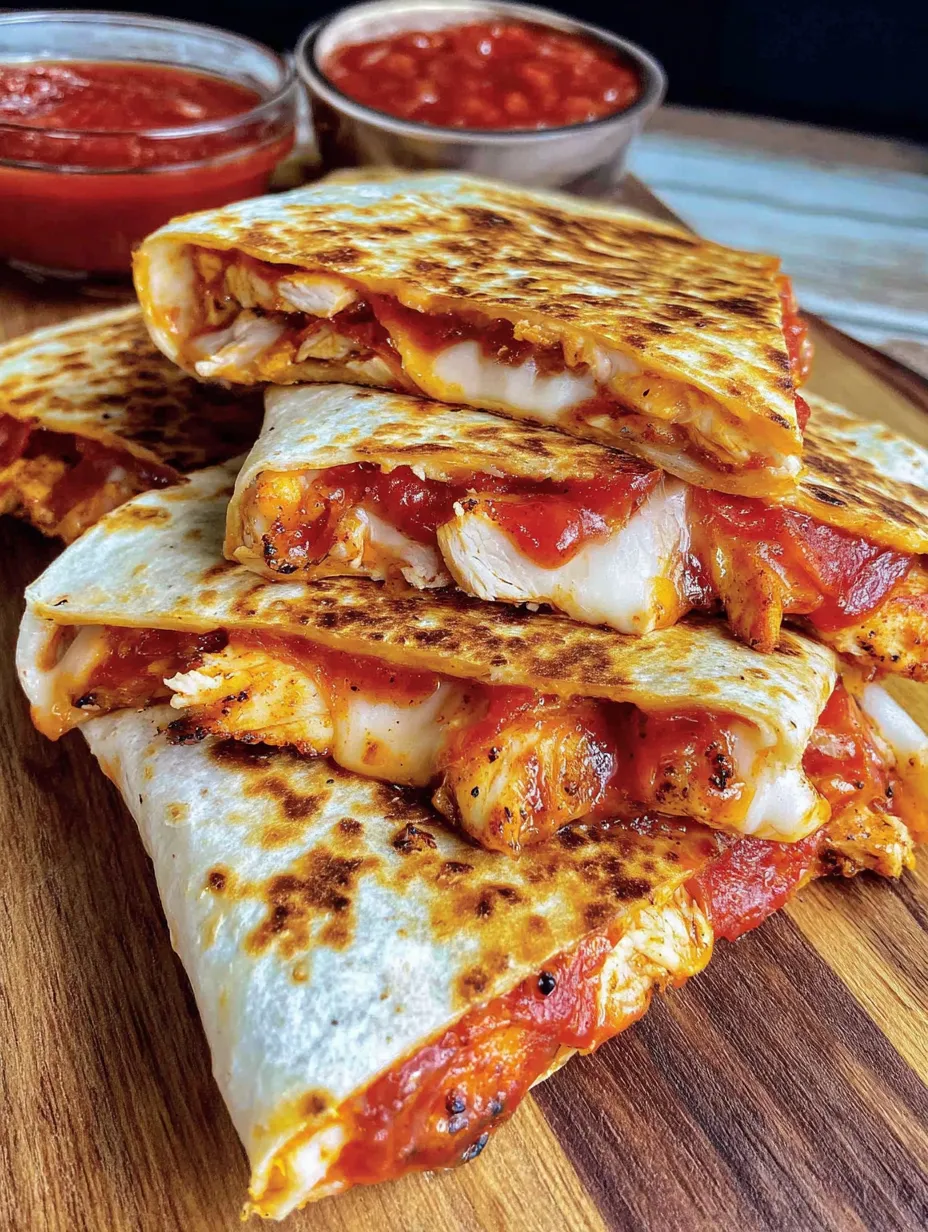
- Lay the tortillas flat. Down the center of each, layer 1/4 cup of cheese, the chicken strips, a spoonful of pizza sauce, 6 pepperoni slices, and another 1/4 cup of cheese. Don't overfill, or you won't be able to fold them!
- 3. The Fold:
- Bring the left and right sides of the tortilla toward the center so they overlap, completely enclosing the filling. Press down firmly on the seam.
- 4. The Crisp:
- Place the wraps seam-side down in a clean skillet over medium-low heat. Toast for 5 minutes, flip carefully, and toast for another 5 minutes until golden brown and the cheese is fully melted.
I learned the hard way that fresh chicken breasts actually don't work as well as the patties here. They take forever to cook and often end up too bulky. The frozen patties are designed to be uniform, which means they layer perfectly and every bite gets an even distribution of chicken, cheese, and pepperoni.
Variations & Storage
To lighten things up, try turkey pepperoni or use rotisserie chicken if you have some in the fridge. For a spicy kick, throw in some jalapeño slices or red pepper flakes.
Storage: These keep in the fridge for up to 3 days. To get that crunch back, skip the microwave and reheat them in a 350°F oven for 10 minutes or in an air fryer for 3–5 minutes.
 Pin it
Ultimately, these pizza melts are a lifesaver for anyone balancing a busy schedule with nutritional goals. They prove that "macro-friendly" doesn't have to mean boring or difficult. Whether it's an after-school snack for a hungry athlete or a quick desk lunch, these melts deliver that classic pizza satisfaction in a fraction of the time!
Frequently Asked Questions
- → Can I use fresh chicken instead of frozen patties?
- Sure! Grilled chicken breast, rotisserie chicken, or even leftover cooked chicken all work great. Just slice it into strips before adding to the wraps.
- → What if I don't have protein tortillas?
- Any large tortillas work fine. You'll just have a bit less protein. Flour tortillas, whole wheat, or even low-carb tortillas all taste great.
- → Can I bake these instead of pan-frying?
- You can bake them at 400°F for about 10-12 minutes, flipping halfway through. They won't be quite as crispy as pan-fried though.
- → How do I keep the wraps from opening while cooking?
- Always start cooking them seam side down. The heat will seal them closed. You can also use toothpicks to hold them shut if needed.
- → Can I make these ahead of time?
- You can assemble them and keep them wrapped in the fridge for a few hours before cooking. Or cook them completely and reheat in a skillet or oven to crisp them back up.
- → What else can I add to these?
- Try adding sliced mushrooms, bell peppers, olives, or onions. Just don't overstuff them or they'll be hard to fold and the filling might spill out.