 Pin it
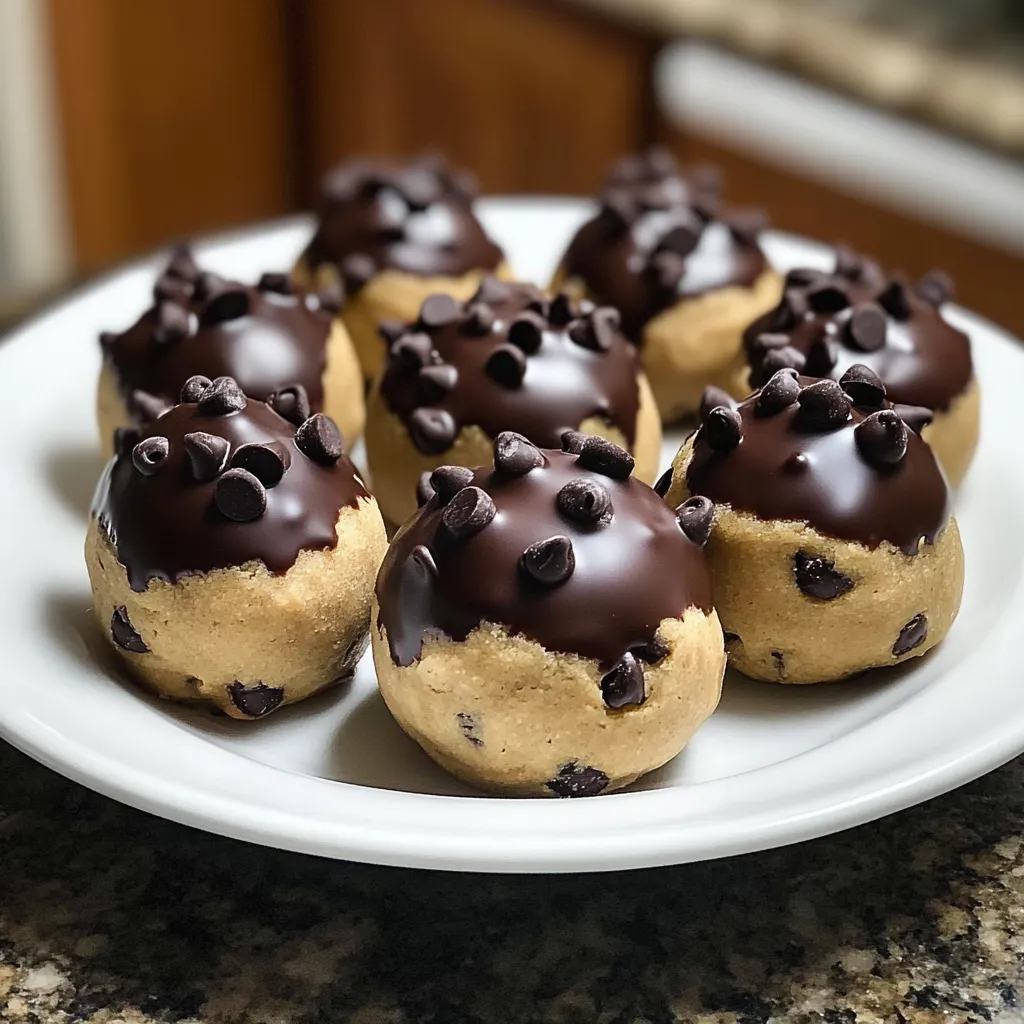
Cookie dough straight from the bowl has always been my guilty pleasure. These little chocolate-dipped bites deliver that same forbidden joy without any worry about raw eggs. I created these after one too many times getting caught sneaking dough while baking with my kids. The buttery, chip-studded centers with that snappy chocolate coating have become my signature bring-along to every gathering.
I brought these to my sister's housewarming last summer and her neighbor, who claimed to be "watching his sugar," ate seven before dinner. Later I caught him asking my sister in a whisper if there were any left. These little bites have that effect on people.
Kitchen Essentials
- Unsalted butter: Make sure it's properly softened but not melty. The texture of your dough depends on starting with butter at the right consistency.
- Brown sugar: This creates that caramel-like flavor that makes cookie dough irresistible. Pack it firmly in your measuring cup for the right ratio.
- Heat-treated flour: Regular flour can harbor bacteria, so we bake it briefly at 350°F for 5 minutes to make it safe. Cool completely before using.
- Chocolate chips: We need two kinds here: some mixed into the dough for texture and flavor, and better-quality ones for melting and dipping.
- Coconut oil: Just a teaspoon mixed with your melting chocolate creates that perfect glossy finish that sets with a satisfying snap.
 Pin it
Making Magic
- Mix the base:
- Cream butter and brown sugar until genuinely light and fluffy – about 3 minutes with an electric mixer. Don't rush this step; it creates the texture that makes these irresistible. Add vanilla and salt, mixing until incorporated.
- Create perfect dough:
- Gradually add your cooled, heat-treated flour, mixing on low. The mixture will look crumbly at first. Add milk a tablespoon at a time until the dough comes together but isn't sticky. Fold in chocolate chips by hand using a spatula.
- Shape with care:
- Roll dough between your palms into bite-sized balls about an inch in diameter. If the dough sticks to your hands, chill it for 15 minutes first. Place balls on a parchment-lined sheet and refrigerate for 30 minutes until firm.
- Master the chocolate:
- Melt your dipping chocolate slowly and gently in 20-second microwave intervals, stirring between each. Add coconut oil for smooth consistency. Stop microwaving when chips are almost melted and let residual heat finish the job.
- Dip like a pro:
- Working with a few dough balls at a time (keeping the rest refrigerated), dip each one halfway into the chocolate. Let excess drip off, then place back on lined sheet. Add any sprinkles immediately before the chocolate sets.
My first attempt at these was a sticky disaster. I rushed the dipping process with warm dough balls and ended up with chocolate-covered fingers and misshapen lumps. Now I keep most of the batch refrigerated while working with small batches, and the results are much more Instagram-worthy.
Perfect Pairings
For casual gatherings, I serve these in colorful cupcake liners on a rustic wooden board. They make a fantastic ice cream topping when chopped – try them over vanilla with a drizzle of caramel sauce. For kids' birthdays, I've stuck them on lollipop sticks for cookie dough pops that disappear in minutes.
Creative Twists
The basic recipe welcomes endless variations. Swap regular chocolate chips for peanut butter or butterscotch chips. Add mini M&Ms for color and crunch. White chocolate coating with rainbow sprinkles creates a birthday cake version that kids go crazy for. My personal favorite adds toffee bits to the dough with a sprinkle of sea salt on the chocolate coating.
Keeping Fresh
These treats stay perfect in an airtight container in the refrigerator for up to a week. Layer them between sheets of parchment to prevent sticking. For longer storage, freeze them solid on a baking sheet, then transfer to a container. Let thaw in the refrigerator before serving.
 Pin it
I've made these cookie dough bites for everything from school bake sales to holiday parties. There's something about that contrast between creamy dough and snappy chocolate that makes them impossible to resist. While I appreciate an ambitious baking project, there's something deeply satisfying about creating something this delicious with so little effort. Just don't tell your guests how easy they were – let them think you spent hours in the kitchen.
Frequently Asked Questions
- → Why do you need to heat-treat the flour?
- Heat-treating flour kills any potential bacteria, making it safe to consume in no-bake recipes. Simply bake it at 350°F for 5 minutes and let it cool before using.
- → Can I make these vegan?
- Yes! Use plant-based butter, dairy-free milk, and vegan chocolate chips for a completely vegan version of these cookie dough bites.
- → How long do these cookie dough bites last?
- When stored in an airtight container in the refrigerator, they'll stay fresh for up to a week.
- → Can I freeze these cookie dough bites?
- Absolutely! They freeze well for up to 3 months. Just thaw in the refrigerator before serving.
- → What can I use instead of coconut oil for the chocolate coating?
- You can use shortening or just omit it, though the oil helps the chocolate melt more smoothly and gives a shinier finish.
