 Pin it
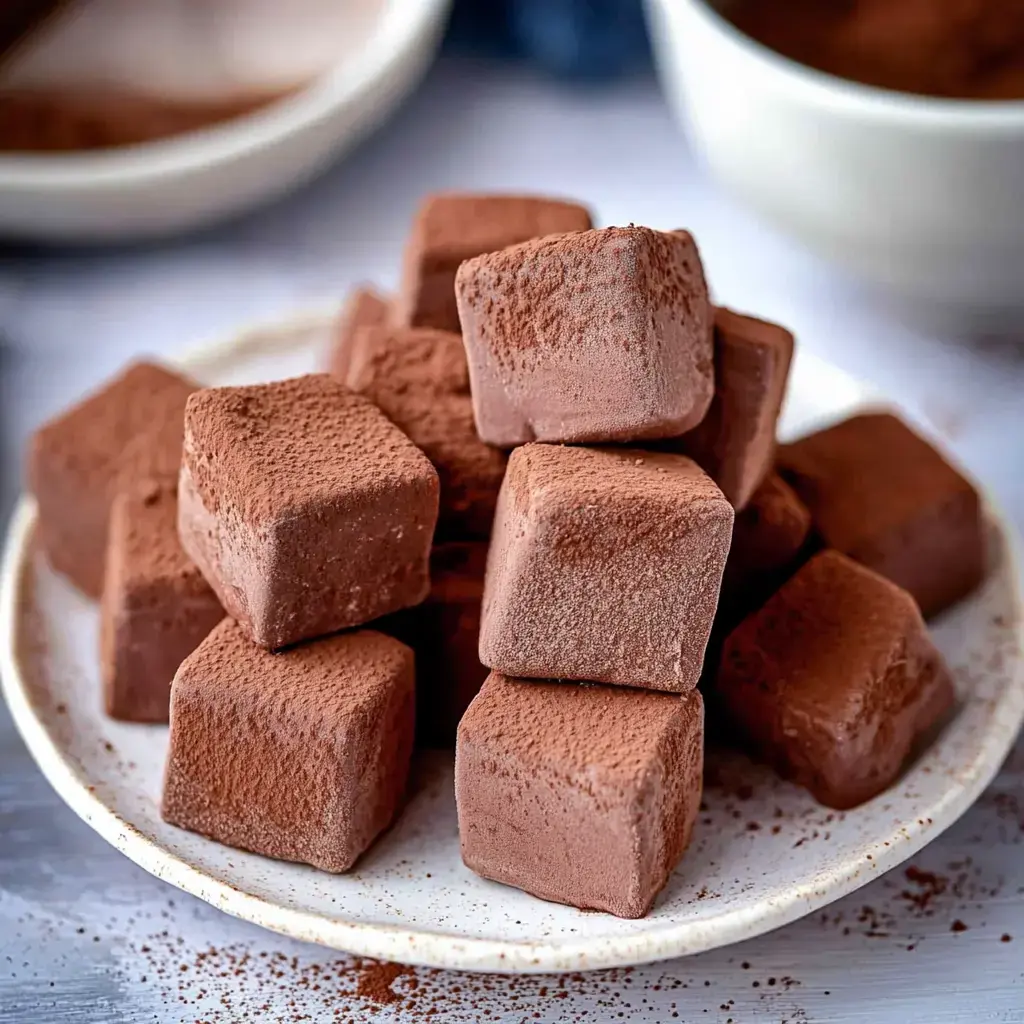
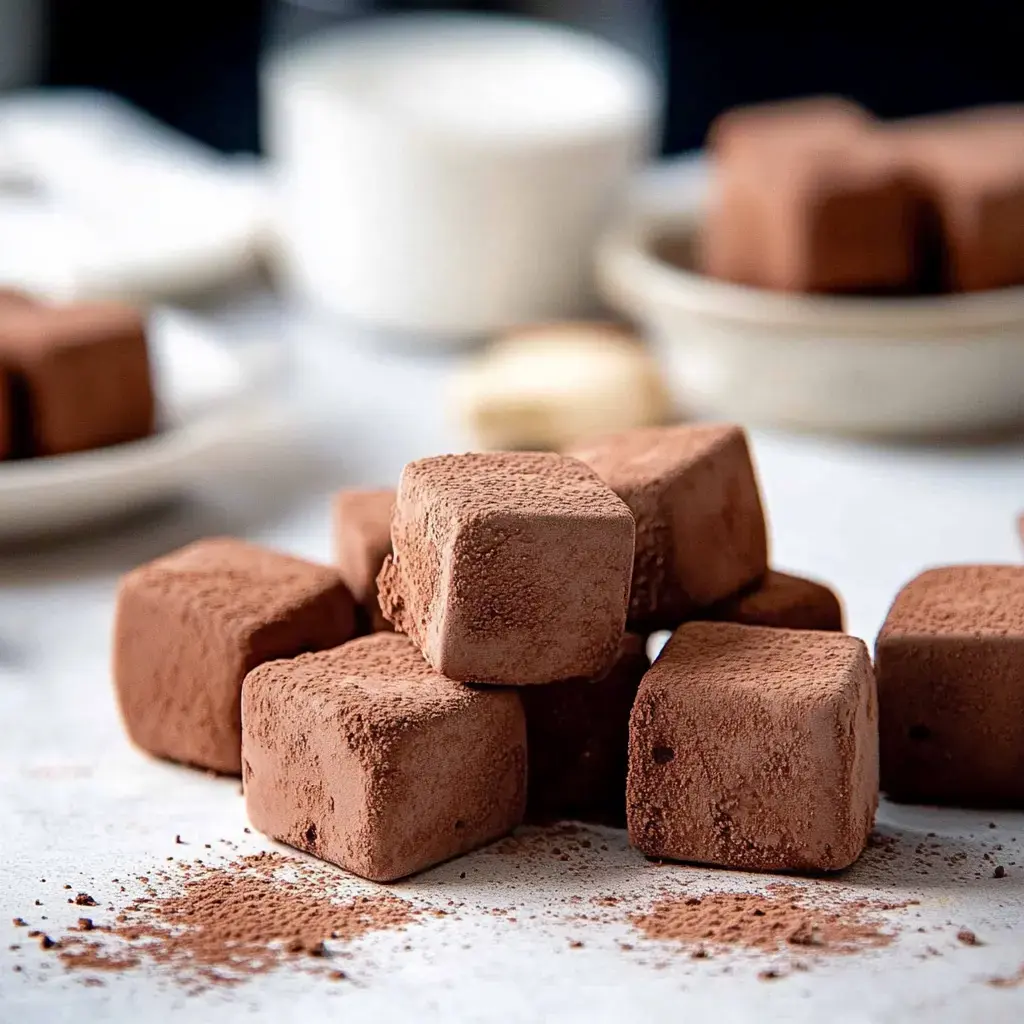
I'm so excited to share my chocolate marshmallow recipe that's become a holiday tradition in my house. After years of experimenting I've finally perfected these cloud like treats that are worlds away from store bought versions. They're incredibly soft pillowy and packed with rich chocolate flavor that melts into pure magic in your mouth.
What Makes These Special
My secret is creating a rich cocoa paste first instead of just mixing in powder. Trust me this one step makes all the difference giving you marshmallows that stay perfectly moist with deep chocolate flavor in every bite. Even my marshmallow skeptic friends can't resist these.
What You'll Need
- Gelatin: This is our foundation 3g per teaspoon.
- Sugar: 2 cups I sometimes use brown sugar for extra depth.
- Corn Syrup: 3/4 cup honey works too.
- Cocoa: 1/3 cup splurge on the good Dutch processed stuff.
- Vanilla: 1 tsp or try coffee extract for mocha.
- Coffee: A pinch of instant really boosts chocolate flavor.
- Water: 1/4 cup boiling for the cocoa paste.
- Salt: Just 1/4 tsp makes everything pop.
 Pin it
Let's Make Magic
- Getting Started
- First bloom your gelatin it needs 10 minutes. Meanwhile make that gorgeous cocoa paste with boiling water till it's silky smooth.
- Sugar Time
- Here's where we need patience heat that sugar mixture slowly no stirring until it hits just the right temp.
- The Big Mix
- This is my favorite part watching it transform as we whip everything together until it's fluffy and perfect.
- Rest and Wait
- Spread it in your pan then let it rest overnight this is the hardest part.
- Final Touch
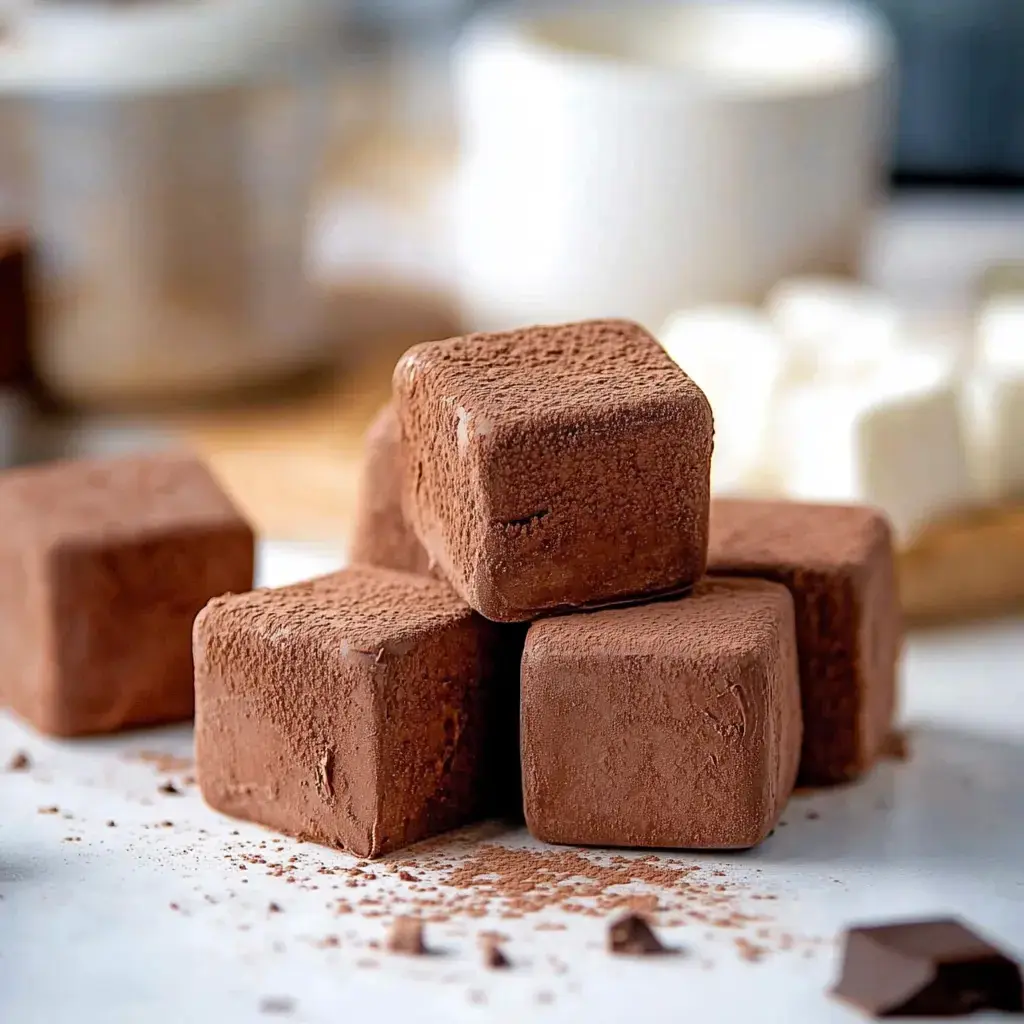
- Cut into clouds of chocolate goodness and roll in our sugar mix they'll look like little pillows.
My Secret Tips
Make sure that gelatin is really well bloomed and don't rush the temperature of your sugar syrup. I always set a timer when whisking because it's tempting to stop too early but patience gives you that perfect fluffy texture.
Keeping Them Fresh
Keep your marshmallows in an airtight container right on your counter. Don't put them in the fridge I learned that lesson the hard way. When stored properly these little treats stay perfect for weeks though they never last that long in my house.
 Pin it
Ways to Enjoy
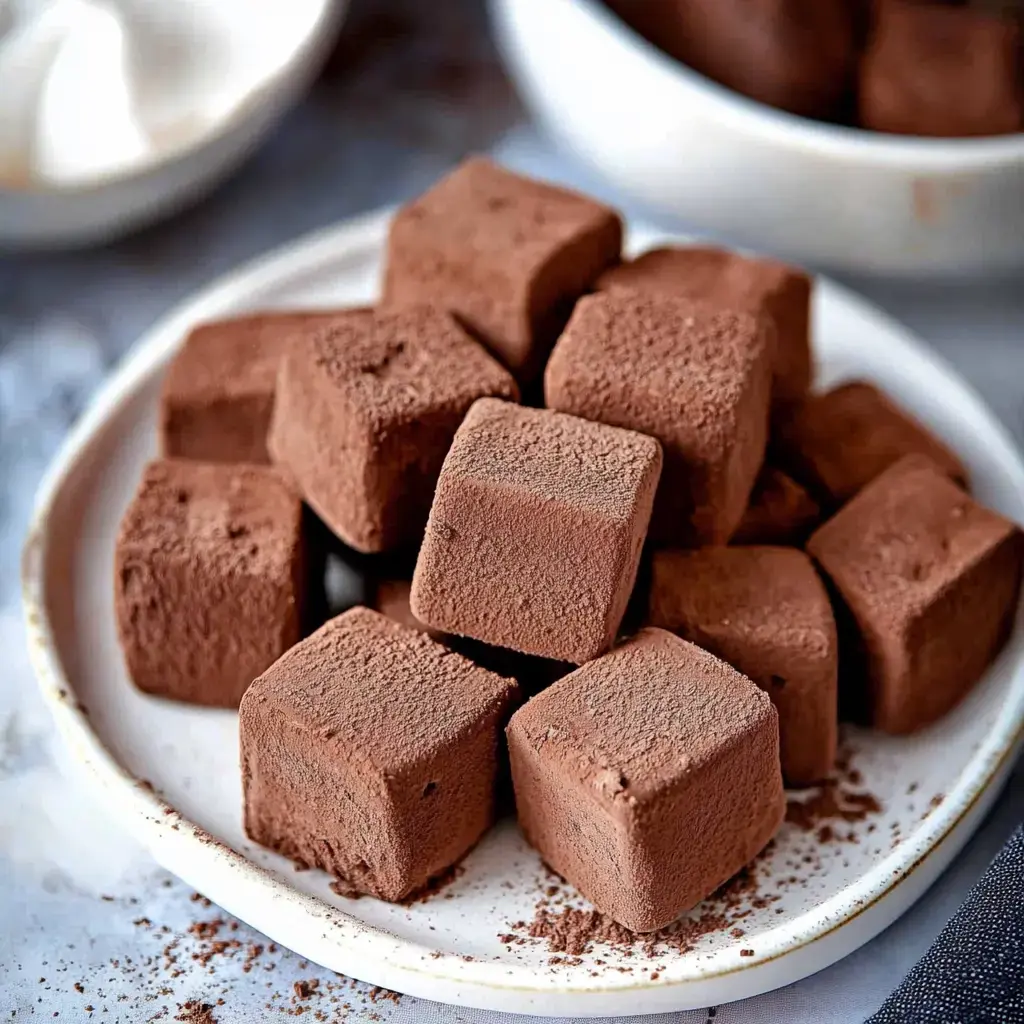
My favorite way to eat these is floating in a mug of hot chocolate where they slowly melt into chocolatey heaven. They're amazing in s'mores too or try them on top of brownies. I love watching guests' faces when they realize these are homemade.
Mix It Up
Sometimes I add orange zest for a chocolate orange treat or peppermint extract during the holidays. My coffee loving friends go crazy for the mocha version with extra coffee. A sprinkle of sea salt on top takes them to a whole new level.
Why These Are Worth Making
Once you try homemade marshmallows you'll never want store bought again. The texture is incredible and knowing exactly what goes into them makes them even better. Plus there's something magical about creating them from scratch.
The Cocoa Secret
Don't skip blooming your cocoa powder it's what gives these marshmallows their intense chocolate flavor. Just that little bit of hot water wakes up the cocoa making it richer and more velvety. I promise you'll taste the difference.
Troubleshooting Tips
If your mixture seems too loose check your thermometer accuracy. Sticky marshmallows usually just need more coating. And always let them cure overnight I know it's tempting to rush but time is your friend here.
Better Than Store Bought
Making these at home means no artificial anything just pure chocolate marshmallow goodness. You can adjust the sweetness make them as chocolatey as you like and know exactly what's in them. That's pretty special if you ask me.
Perfect for Gifting
These marshmallows make the sweetest gifts. I package them in pretty jars with ribbon and sometimes include my hot chocolate mix too. Everyone loves receiving something homemade and these always bring smiles.
 Pin it
Beyond Hot Chocolate
While they're heavenly in hot chocolate try them with chocolate fondue or melted over ice cream. They add such a fun touch to desserts and their homemade charm always gets compliments.
Fun with Shapes
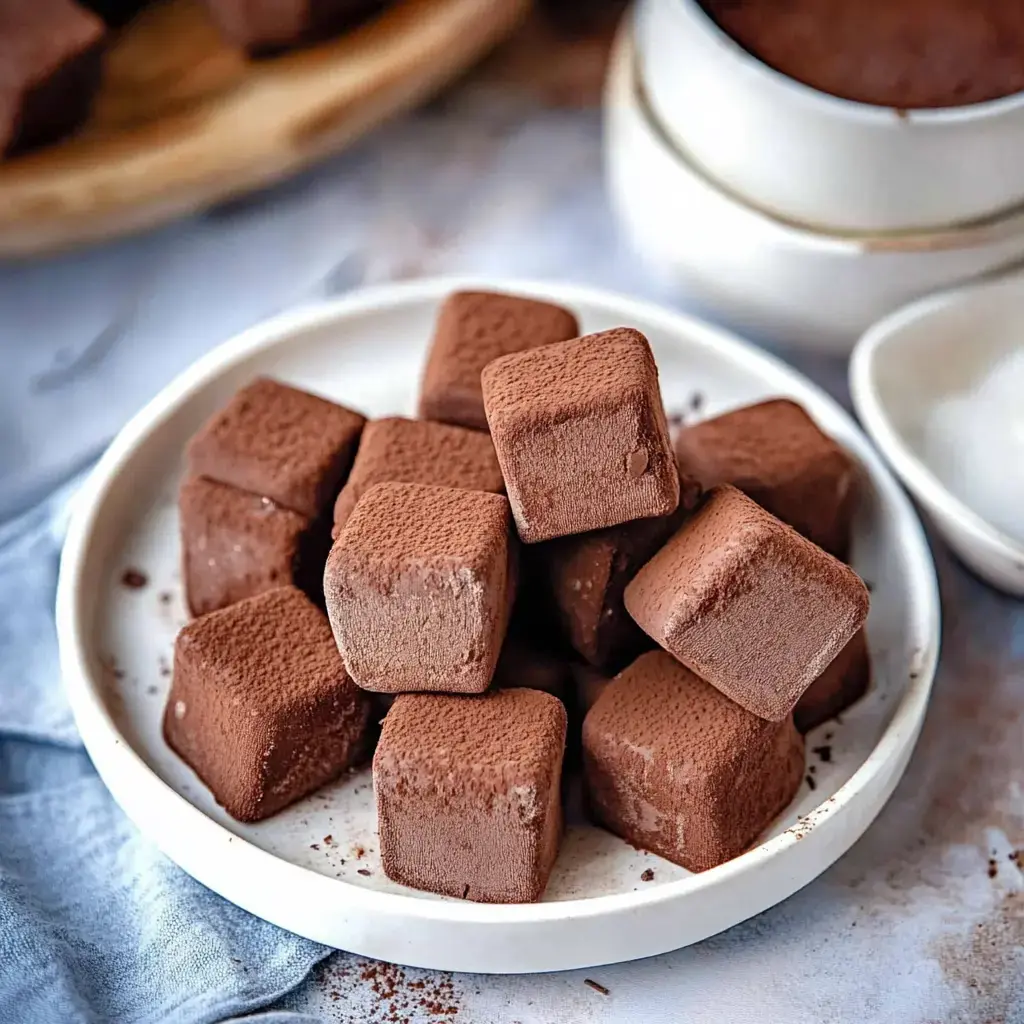
Get creative with your cutting I love using cookie cutters for special occasions. Small squares are perfect for hot chocolate but bigger pieces make amazing s'mores. Each size has its own special purpose.
Getting Kids Involved
My kitchen helpers love making these especially the cutting and coating part. Yes it gets messy but those sugar covered faces and proud smiles are worth it. It's become one of our favorite weekend activities.
 Pin it
Frequently Asked Questions
- → Why do marshmallows need to cure?
Curing allows the marshmallows to set properly and develop the right texture. This process lets excess moisture evaporate and helps the gelatin fully set.
- → Can I skip the instant coffee?
Yes, the coffee is optional. It enhances the chocolate flavor without making the marshmallows taste like coffee, but you can leave it out.
- → Why use Dutch cocoa powder?
Dutch-processed cocoa gives a richer chocolate flavor and darker color. Regular cocoa powder can work but won't give the same deep chocolate taste.
- → How long do homemade marshmallows last?
When stored in an airtight container at room temperature, they'll stay fresh for about 2 weeks. Keep them away from moisture and heat.
- → Why is weighing ingredients important?
Precise measurements are crucial for candy making. Even small variations can affect the texture and setting of the marshmallows.
