
 Pin it
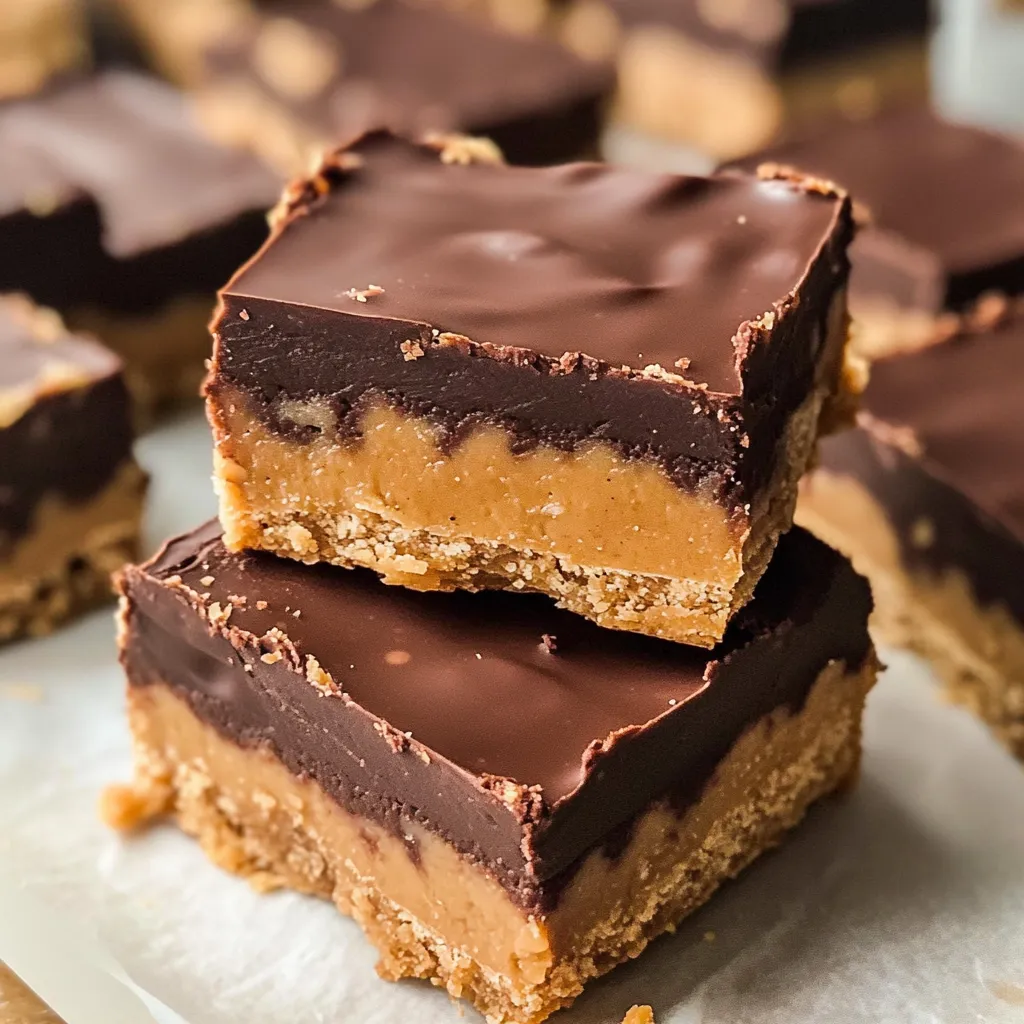
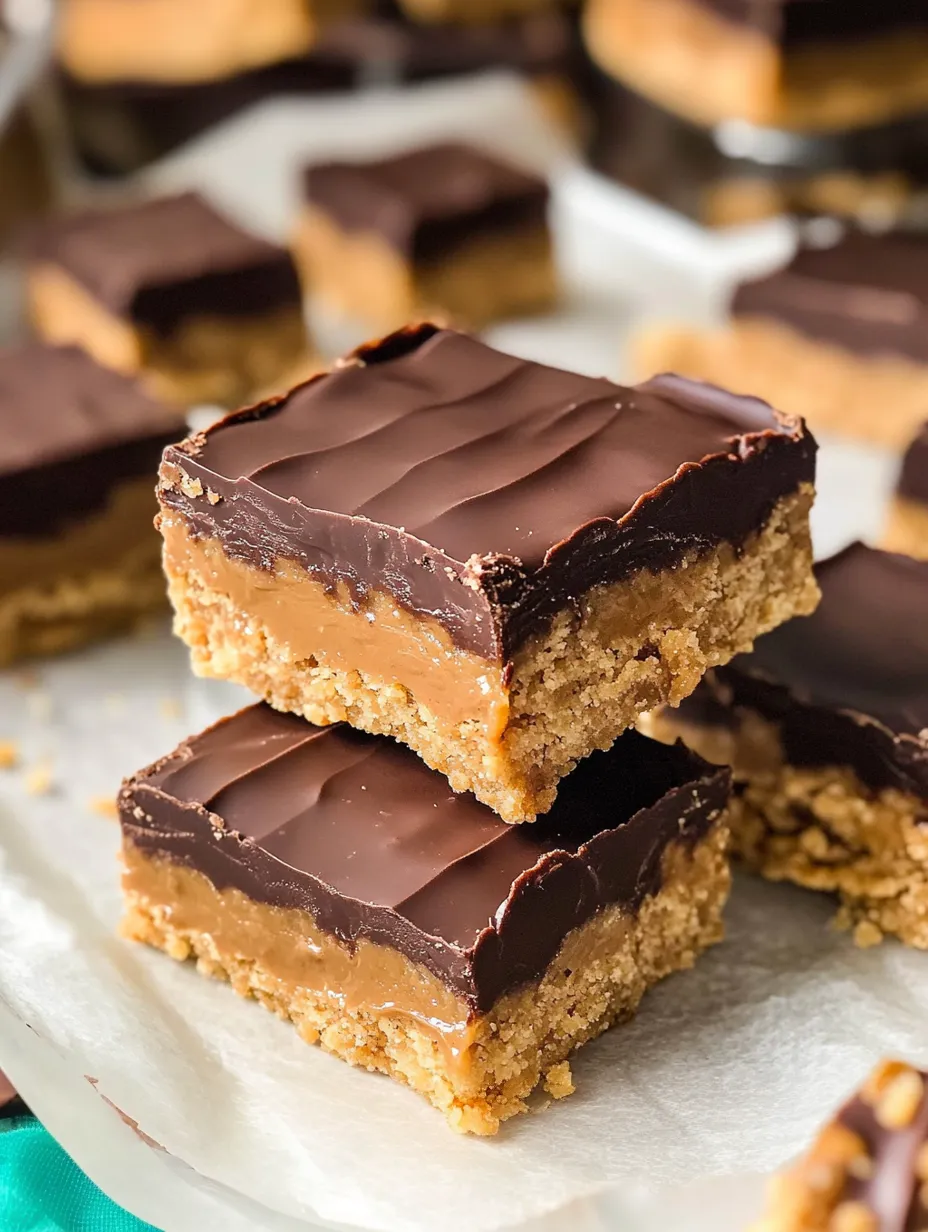
These no bake chocolate peanut butter bars have become my emergency dessert hero. I discovered this recipe years ago when I needed something impressive for a last-minute potluck. The combination of creamy peanut butter base and rich chocolate topping creates this perfect balance of flavors that reminds everyone of peanut butter cups, but somehow even better. The fact that they require just 5 ingredients and no oven makes them my go-to for summer gatherings or when I need a dessert that can't possibly fail.
Why You'll Love This Recipe
- The no-bake method means no hot oven (perfect for summer days)
- Just 5 simple ingredients you probably already have
- The chocolate-peanut butter combo satisfies the most intense sweet cravings
- They can be made ahead and stored for days in the refrigerator
Last month, I made these for a neighborhood block party. My usually reserved neighbor Rick took one bite and immediately asked, "Are these homemade peanut butter cups?" When I told him how simple they were to make, he insisted I write down the recipe for his wife. Two days later, she texted me saying they'd already made two batches because Rick couldn't stop eating them.
Key Ingredients
- Graham cracker crumbs - These provide structure and a subtle honey-sweet flavor that complements the peanut butter perfectly. Pre-crushed saves time, but whole crackers pulsed in a food processor work just as well.
- Creamy peanut butter - The star of the show that gives that unmistakable flavor. Regular commercial brands (not natural style) work best for the right consistency.
- Powdered sugar - This sweetens while helping to create that firm yet melt-in-your-mouth texture that makes these bars irresistible.
- Salted butter - The touch of salt balances the sweetness and enhances the peanut butter flavor. If you only have unsalted, add a pinch of salt to the mixture.
- Semi-sweet chocolate chips - They provide the perfect chocolate layer that's not too sweet or too bitter. The slight bitterness balances the sweet peanut butter layer.
 Pin it
Bar Magic
- Perfect preparation - That foil or parchment overhang is crucial for easy removal. I learned this the hard way when I once made them directly in the pan and had to dig out the first few pieces, which wasn't pretty!
- Butter melting - Melting the butter first creates the right consistency for mixing everything together smoothly. Make sure it's completely melted but not too hot.
- Even spreading - Take your time spreading the peanut butter mixture into an even layer. I use the bottom of a measuring cup to press it firmly and evenly, which helps the bars hold together when cut.
- Chocolate melting technique - Those 30-second intervals prevent the chocolate from seizing or burning. Patience is key here—if you microwave too long at once, you'll end up with scorched chocolate.
- Chilling time - Don't rush the refrigeration step. That full hour allows everything to set properly. I've tried to speed this up by using the freezer, but the texture isn't quite the same.
- Cutting strategy - Use a sharp knife and wipe it clean between cuts for the cleanest edges. I like to score the top chocolate layer very lightly first to prevent cracking.
You Must Know
- The bars need at least 1 hour to set, so plan accordingly
- Let them sit at room temperature for 5-10 minutes before cutting for the neatest slices
- Use regular peanut butter, not natural style that separates
I've been perfecting this recipe for years, making small tweaks each time. My first attempts used too much powdered sugar, making them overly sweet. Finding the right balance of ingredients was crucial for that perfect peanut butter cup flavor. The chocolate layer evolved too - originally I used milk chocolate, but the semi-sweet provides better contrast to the sweet peanut butter layer. Adding a bit more peanut butter than traditional recipes gives these a richer, more intense flavor that people can't resist.
Serving Ideas
Serve these bars chilled for the best texture. For a fancy presentation, cut them into smaller bite-sized squares and place in mini cupcake liners on a tiered tray. At summer gatherings, I keep them in a cooler with ice packs to prevent melting. They pair beautifully with coffee or milk, and for adults, a glass of dessert wine makes them feel extra special. I sometimes drizzle caramel sauce over the plated bars for an indulgent touch that transforms them into a restaurant-worthy dessert.
Tasty Twists
Try adding a half cup of mini chocolate chips to the peanut butter layer for extra chocolate goodness. Substitute crunchy peanut butter for more texture if that's your preference. For a grown-up version, add a tablespoon of bourbon to the melted chocolate. Sprinkle the top with flaky sea salt before the chocolate sets for a sweet-salty contrast that's incredibly addictive. My personal favorite variation swaps out 1/4 cup of the graham cracker crumbs with finely chopped pretzels for a subtle salty crunch.
Storage Smarts
These bars keep beautifully in the refrigerator for up to a week in an airtight container. Layer them with parchment paper to prevent sticking. For longer storage, these freeze remarkably well for up to 3 months. I wrap each one individually in plastic wrap, then store in a freezer bag. Let frozen bars thaw in the refrigerator overnight or at room temperature for about 30 minutes. I often make a double batch specifically to freeze, making it easy to pull out a quick dessert when unexpected guests arrive.
 Pin it
Sweet Secrets
For a smoother peanut butter layer, let the butter cool slightly before mixing with other ingredients
Adding a tablespoon of coconut oil to the chocolate makes it slice more cleanly without cracking
For a more intense peanut butter flavor, use half regular and half peanut butter chips in the topping
I've made these no bake chocolate peanut butter bars for countless gatherings, bake sales, and as holiday gifts packed in decorative tins. There's something universally appealing about that chocolate-peanut butter combination that lights up people's faces when they take that first bite. The simplicity of preparation combined with the rich, decadent taste makes these an unbeatable dessert option. Even though I've tried hundreds of other dessert recipes over the years, these bars remain in my top five go-to treats that never disappoint.
Frequently Asked Questions
- → Can I use crunchy peanut butter instead of creamy?
- Yes, you can use crunchy peanut butter if you prefer a bit of texture in your bars. The recipe will still work perfectly.
- → How do I store these peanut butter bars?
- Store them in an airtight container in the refrigerator for up to 1 week. You can also freeze them for up to 2 months.
- → Can I make these gluten-free?
- Yes! Simply use gluten-free graham crackers or cookies to make your crumbs and ensure all other ingredients are certified gluten-free.
- → Why do my bars crack when I cut them?
- If the chocolate layer is too cold, it can crack. Let the bars sit at room temperature for 10 minutes before cutting, or run your knife under hot water, dry it, and then cut.
- → Can I add any mix-ins to these bars?
- Absolutely! Try adding mini M&Ms, chopped peanuts, or even a layer of caramel between the peanut butter and chocolate layers for extra decadence.
- → What chocolate works best for the topping?
- Semi-sweet chocolate chips are recommended, but you can use milk chocolate for a sweeter flavor or dark chocolate for a richer, less sweet taste. You can also add 1 tablespoon of shortening to the chocolate for a softer texture.