
 Pin it
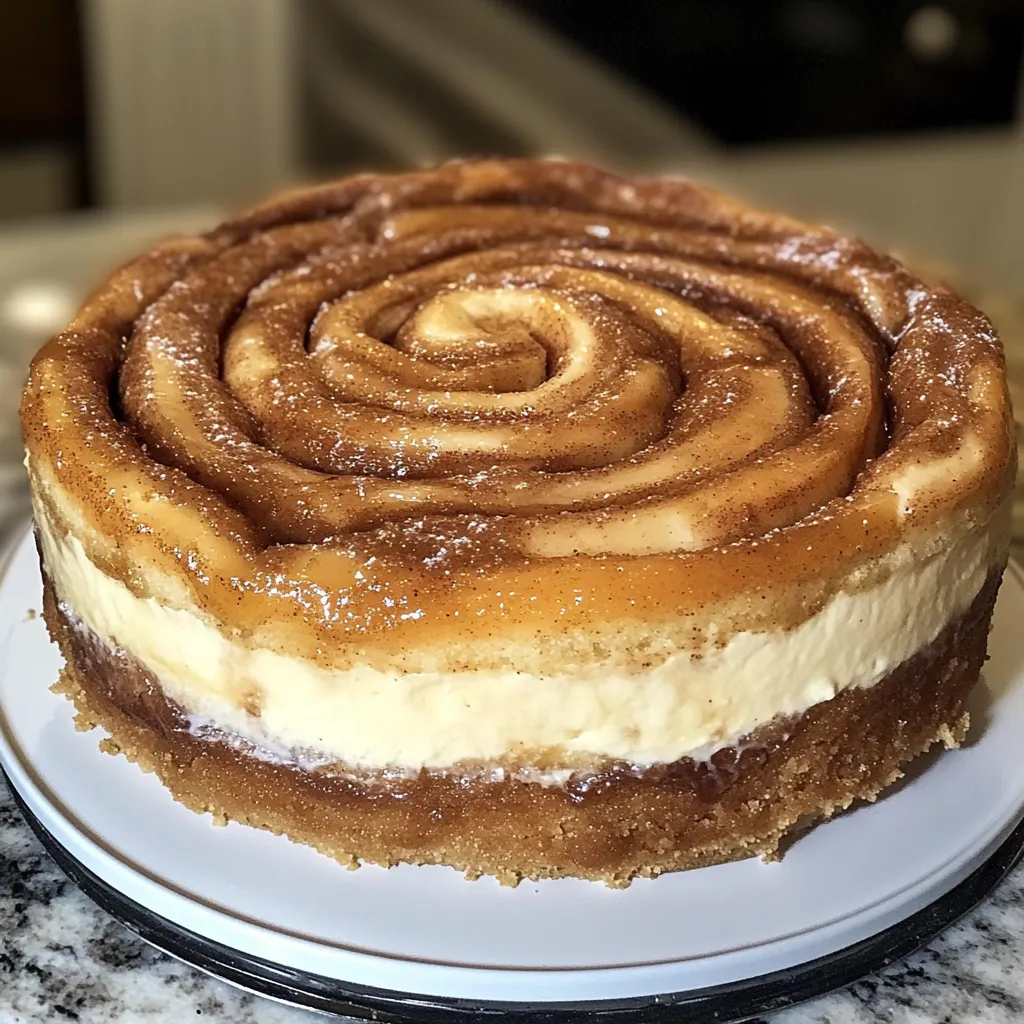
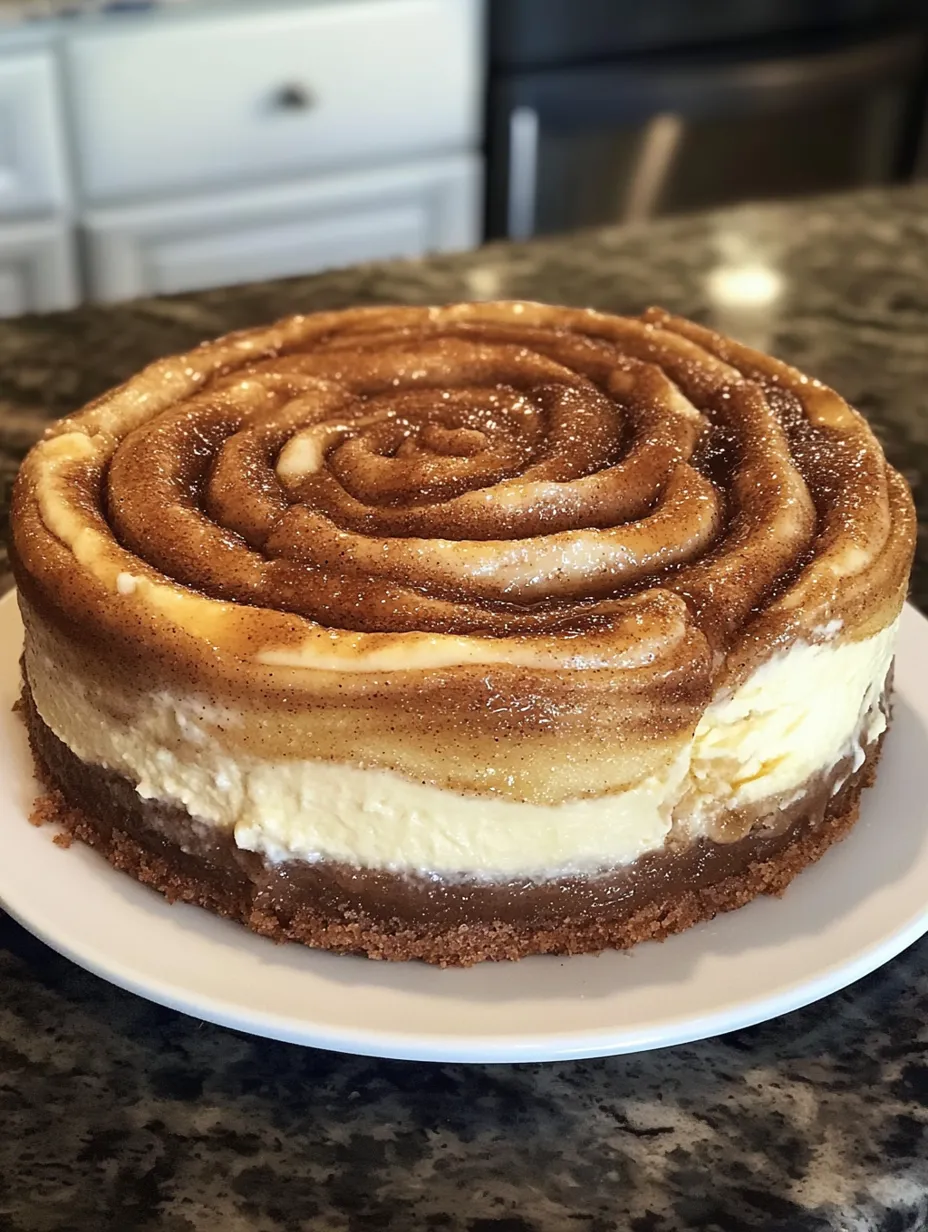
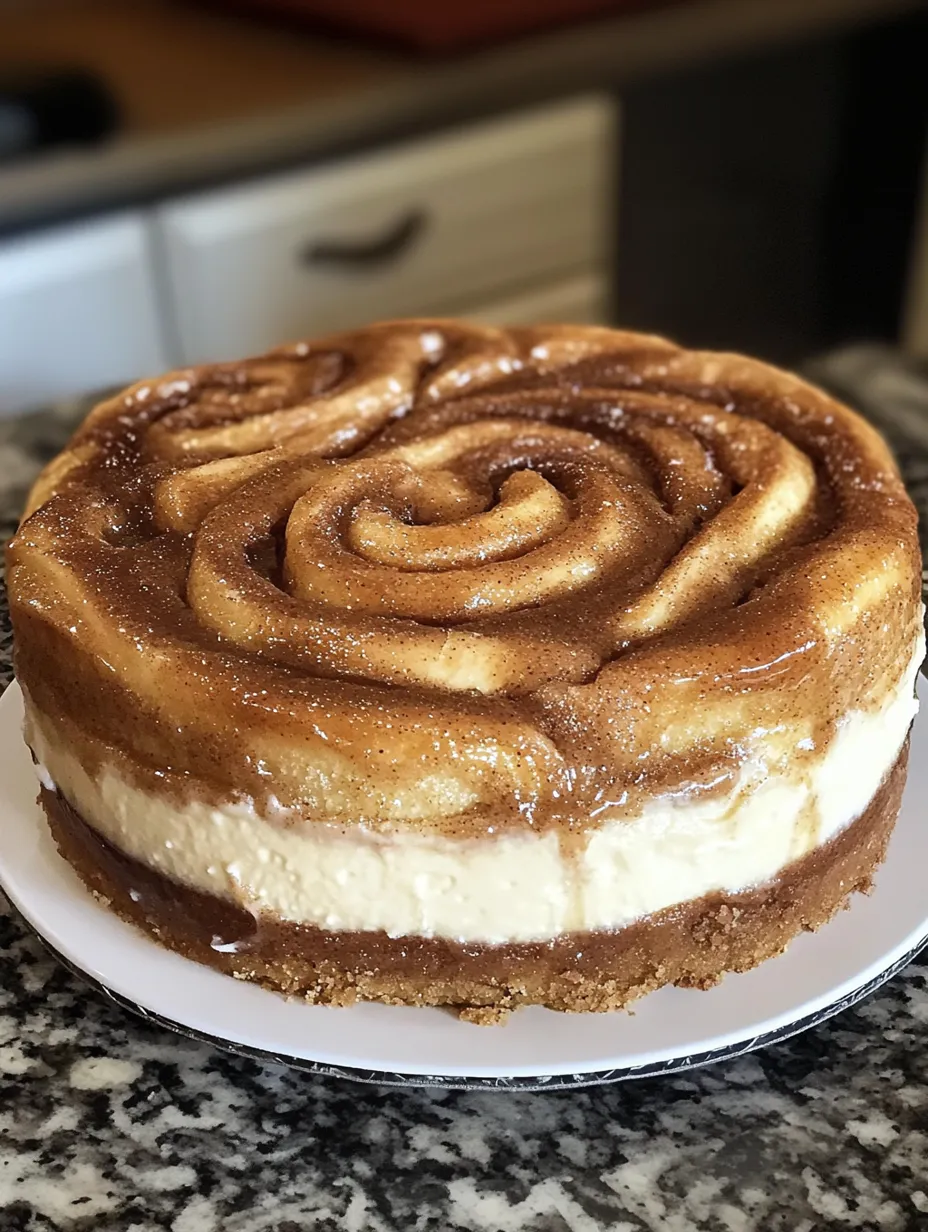
This cinnamon roll honeybun cheesecake combines my favorite breakfast pastry with classic cheesecake into one amazing dessert. The buttery, cinnamon-spiced graham cracker crust supports a rich, creamy filling swirled with that signature cinnamon sugar mixture you'd find in a honeybun. Topped with a simple sweet glaze, each bite delivers the perfect balance of tangy cheesecake and warm cinnamon goodness.
I made this for my sister's birthday last month, and caught my brother-in-law (who usually skips dessert) sneaking a third piece when no one was looking. He said it reminded him of his grandmother's cinnamon rolls but 'even better' with the cheesecake element.
Essential Elements
- Graham cracker crumbs: Create the perfect spiced foundation
- Full-fat cream cheese: Provides that classic tangy creaminess
- Sour cream: Adds moisture and balances the sweetness
- Ground cinnamon: Appears in every layer for depth of flavor
- Brown sugar: In the swirl creates those classic caramel notes
I've found that using truly room-temperature ingredients makes all the difference. When I rush and try to soften cream cheese in the microwave, I always end up with texture issues from hot spots that never fully incorporate.
 Pin it
Baking Method
- Perfect preparation
- Preheat your oven to 325°F and thoroughly grease your springform pan. I wrap the outside with foil to prevent leaks – a lesson learned after a smoky oven disaster with an older pan. Having everything ready before you start makes the process much smoother.
- Crust creation
- Mix graham cracker crumbs, melted butter, sugar, and cinnamon until it resembles wet sand that holds together when pressed. Use the bottom of a measuring cup to firmly press it across the bottom and about an inch up the sides of your pan. Bake until just fragrant and slightly darkened, about 8-10 minutes.
- Filling foundation
- Beat the cream cheese until completely smooth, then add sugar and continue until fluffy. This usually takes me 2-3 minutes even with softened cream cheese. Don't forget to scrape down the bowl several times – cream cheese loves to hide in the corners, creating lumps later if missed.
- Texture building
- Add sour cream, eggs (one at a time), vanilla, and cinnamon. Mix on low just until combined – overbeating incorporates too much air and can cause cracks. Pour this silky mixture over your cooled crust and tap the pan gently on the counter to release air bubbles.
- Swirl magic
- Combine melted butter, brown sugar, and cinnamon until smooth. Transfer to a zip-top bag with a tiny corner snipped off and pipe a continuous spiral from center to edge. Use a toothpick to lightly drag through the pattern, creating that beautiful marbled effect without completely mixing the swirl into the batter.
- Gentle baking
- Bake for 55-65 minutes until the center has just a slight jiggle. Turn off the oven, crack the door, and let the cheesecake cool gradually for an hour. This slow cooling process prevents those disappointing cracks that plagued my early attempts.
- Finishing touches
- Refrigerate at least 4 hours, preferably overnight. Before serving, whisk together powdered sugar, milk, and vanilla for the glaze and drizzle over the top. For clean slices, dip your knife in hot water and wipe dry between cuts.
My first attempt resulted in a Grand Canyon-sized crack from rushing the cooling process. Now I always make this dessert a day ahead and let it chill overnight. I've also learned to run a thin knife around the edge right after baking to prevent the cake from sticking to the sides as it cools and contracts.
Serving Style
This showstopper looks beautiful on a pedestal cake stand. For special occasions, I add a dollop of cinnamon-spiked whipped cream on the side or garnish with crushed cinnamon toast crunch cereal around the edge. The leftovers taste amazing with morning coffee, which feels appropriately indulgent given its breakfast pastry inspiration.
Flavor Adventures
Try adding toasted pecans to the crust for nutty dimension or a splash of bourbon instead of vanilla for depth. During the holidays, I add a pinch of nutmeg and cloves for an eggnog-inspired variation. My personal favorite includes little pockets of extra cream cheese mixed with cinnamon sugar throughout, mimicking the gooey centers of actual cinnamon rolls.
Make Ahead
This cheesecake actually improves with time, making it perfect for busy schedules. It keeps beautifully for up to three days in the refrigerator or can be frozen unglazed for up to two months. I often make two at once and freeze one for dessert emergencies – which happen more often than I'd like to admit!
 Pin it
I've served this cheesecake at countless gatherings, and there's something magical about watching people take that first bite – their eyes close as the familiar cinnamon flavors blend with rich, creamy cheesecake. While it does require some time to prepare, most of that is hands-off chilling time, and the results are absolutely worth the wait. This recipe has earned a permanent spot in my collection and continues to be requested by name whenever dessert options are discussed.
Frequently Asked Questions
- → Can I make this cheesecake ahead of time?
- Yes! This cheesecake is actually perfect for making ahead. It needs at least 4 hours of chilling time, but can be made 1-2 days in advance and kept refrigerated. Add the glaze just before serving for the freshest appearance.
- → How do I prevent my cheesecake from cracking?
- The gradual cooling method in the recipe (leaving it in the turned-off oven with the door cracked) helps prevent cracks. Also, avoid overmixing the batter, which incorporates air that can cause cracks, and make sure all ingredients are at room temperature before beginning.
- → Can I freeze this cheesecake?
- Yes, you can freeze this cheesecake for up to 2 months. Freeze it without the glaze, tightly wrapped in plastic wrap and aluminum foil. Thaw overnight in the refrigerator and add the glaze fresh before serving.
- → How do I know when my cheesecake is done baking?
- The cheesecake is done when the edges are set but the center still has a slight jiggle (like Jell-O). It will continue to set as it cools. If it's completely firm or starting to crack, it's likely overbaked.
- → Do I need a water bath for this cheesecake?
- This recipe doesn't require a water bath, but you can use one if you prefer. To do so, wrap the outside of your springform pan in foil and place it in a larger pan filled with about 1 inch of hot water before baking. This creates a more humid environment and helps prevent cracks.