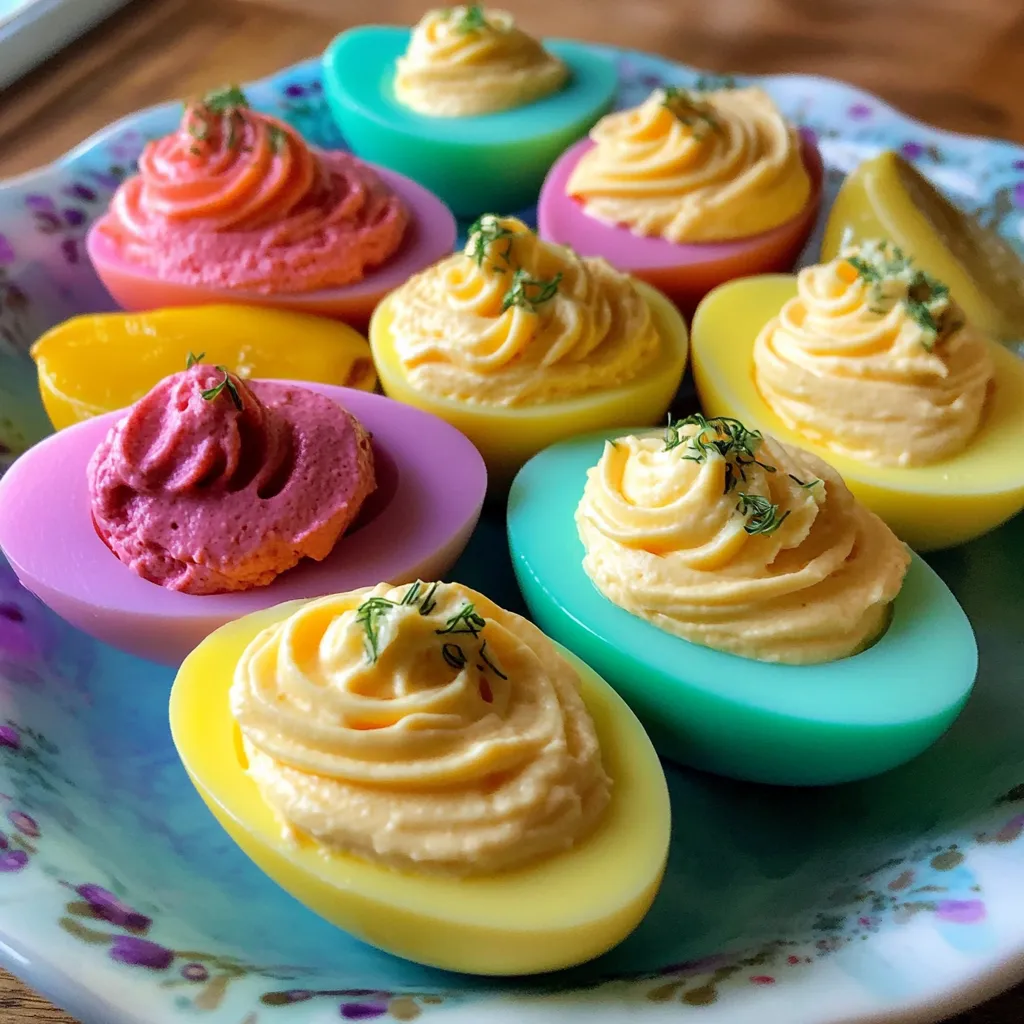
Hard boil eggs, peel, cut in half, remove yolks, dye the whites in colored water with vinegar, make filling with yolks and seasonings, then pipe filling into colored egg whites.
I never thought regular deviled eggs could be improved until I tried coloring them. Found this idea before Easter three years ago when I was bored with the same old appetizers. The bright whites make such a statement that people grab their phones before grabbing an egg! And honestly? It only takes a few more minutes than regular deviled eggs but everyone thinks you've slaved away for hours.
Why Make These
Seriously, nobody expects colorful eggs - the looks on people's faces are priceless
You can match literally any theme - baby showers, sports teams, holidays
Kids actually eat them because they look fun (my nephew who "hates eggs" ate four)
Takes barely any extra effort once you've made regular deviled eggs
My sister-in-law Lisa refused to believe I made these myself when I brought them to her cookout last summer. She kept insisting I'd bought them from some fancy catering place. When I showed her how easy they were, she made a batch for her book club and texted me three different photos of everyone raving about them.
Pick Your Ingredients
Week-old eggs peel way easier than fresh ones - grocery store eggs are perfect
Real mayonnaise makes all the difference in the filling - tried light once and totally regretted it
Pickle juice from the jar gives that tangy kick that makes people wonder what your secret is
Regular yellow mustard works better than fancy Dijon in this recipe - trust me on this one
Chunky dill bits give little bursts of flavor that smooth filling just doesn't have
I've become weirdly picky about my eggs for this recipe. Store them in the fridge for at least a week before boiling if you can. The air pocket gets bigger which means the shell practically falls off instead of taking half the white with it. Makes such a difference when you're trying to get them colored evenly.
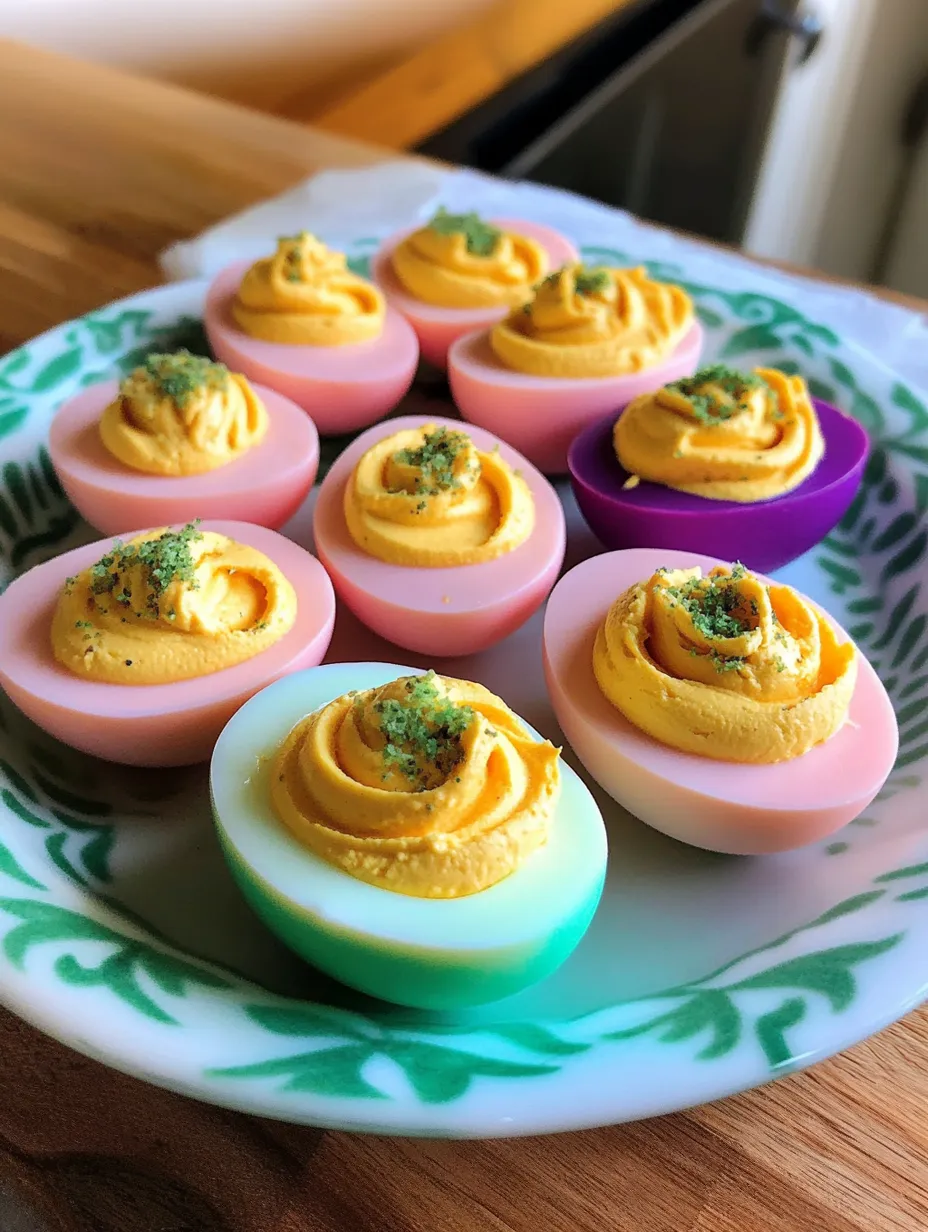
Pin itColored Deviled Eggs Recipe | recipesbyclare.com
Step-by-Step Instructions
Cold Start
Always start with cold water over your eggs. Hot water makes the shells crack before they're even cooked. I put mine in a big pot and make sure there's about an inch of water covering them. Don't crowd them either - they need room to cook evenly.
Watch That Boil
Once the water starts really bubbling, that's when timing matters. Don't walk away! I set a timer on my phone because I've ruined too many batches by getting distracted by TV. Medium-high heat works perfectly - too high and they bounce around and crack.
Let Them Rest
Turn off the heat completely and put the lid on tight. Those 12 minutes of sitting time are magic - the residual heat cooks them perfectly without getting that gross green ring around the yolks. I've tried 10 minutes and they're too soft, 15 minutes and they're overdone.
Ice Bath Shock
Drain all the hot water and rinse with cold tap water first. Then I usually throw in some ice cubes and more cold water. The temperature shock helps separate the membrane from the shell. My grandma taught me this trick and it works every single time.
Rolling Technique
Instead of picking at the shell, gently roll each egg on the counter to crack it all over. Start peeling from the fat end where there's an air pocket. Sometimes I do this under running water which helps wash away tiny shell pieces that want to stick.
Clean Cuts
Use your sharpest knife and wipe it between eggs. I cut mine lengthwise but hold them gently - squeezing too hard makes the yolk tear through the white. Nothing ruins the look faster than jagged edges or torn whites.
Careful Scooping
Pop the yolks out into a bowl with a gentle press of your thumb or a small spoon. Try not to tear the whites which need to stay intact for coloring. I've forgotten and accidentally poked holes through a few whites - they still taste fine but don't hold color well.
Smooth Operator
Mash those yolks with a fork first before adding wet ingredients. Break up all the clumps before mixing in mayo, pickle juice, and mustard. Keep mashing and stirring until it's completely smooth or you'll get a clogged piping bag later - learned that one the hard way!
Flavor Bombs
Stir in those finely chopped pickles last. I've tried all kinds of pickles but the dill ones just work best with the other flavors. Chop them super tiny or you'll have a heck of a time piping the filling. Season carefully - easier to add more salt than fix something too salty.
Bag It Up
Scoop everything into a ziplock, push the filling down to one corner, and squeeze out the air before sealing. Cut just a small corner off - smaller than you think you need. You can always make the hole bigger, but you can't make it smaller once you've cut it.
Color Secrets
The vinegar helps the color stick to the eggs - skipped it once and the color just slid off
Regular food coloring from the baking aisle works perfectly - no need for fancy stuff
Different brands of food coloring give slightly different shades - McCormick gives deeper colors in my experience
I tried making "natural" colored eggs with beet juice and turmeric for my health-conscious friend Jen. Complete disaster. The beet ones turned out light pink instead of red and the turmeric ones stained my countertop. Sometimes the artificial stuff just works better. For my mom's 60th birthday, I made her favorite purple shade by mixing red and blue drops - turned out exactly the color of her kitchen walls which made her laugh.
Serve With Style
These look amazing on almost any white plate or platter - the color really pops. For my cousin's Kentucky Derby party, I arranged green colored eggs in a circle to look like a wreath and put tiny mint sprigs between them. For casual cookouts, I just place them on a wooden cutting board with some scattered herbs. They look impressive either way and take way less effort than people think.
Mix It Up
Try swapping the pickle juice for olive brine if you're more of an olive person. My friend Tony adds a dash of Worcestershire sauce to the filling which gives it this subtle savory kick. For fancy brunches, I've topped these with everything from tiny shrimp to caviar to make them more grown-up. My brother adds bacon bits to his filling and they disappear even faster than my regular version.
Keep Them Fresh
I've learned to keep the colored whites and filling separate until about an hour before serving. The filled eggs start to get a bit watery after a few hours at room temperature. If I'm taking them to someone's house, I transport them in one of those plastic egg containers from the dollar store - not fancy but keeps them from sliding around. Never cover them with plastic wrap - it sticks to the filling and ruins that pretty piped look.
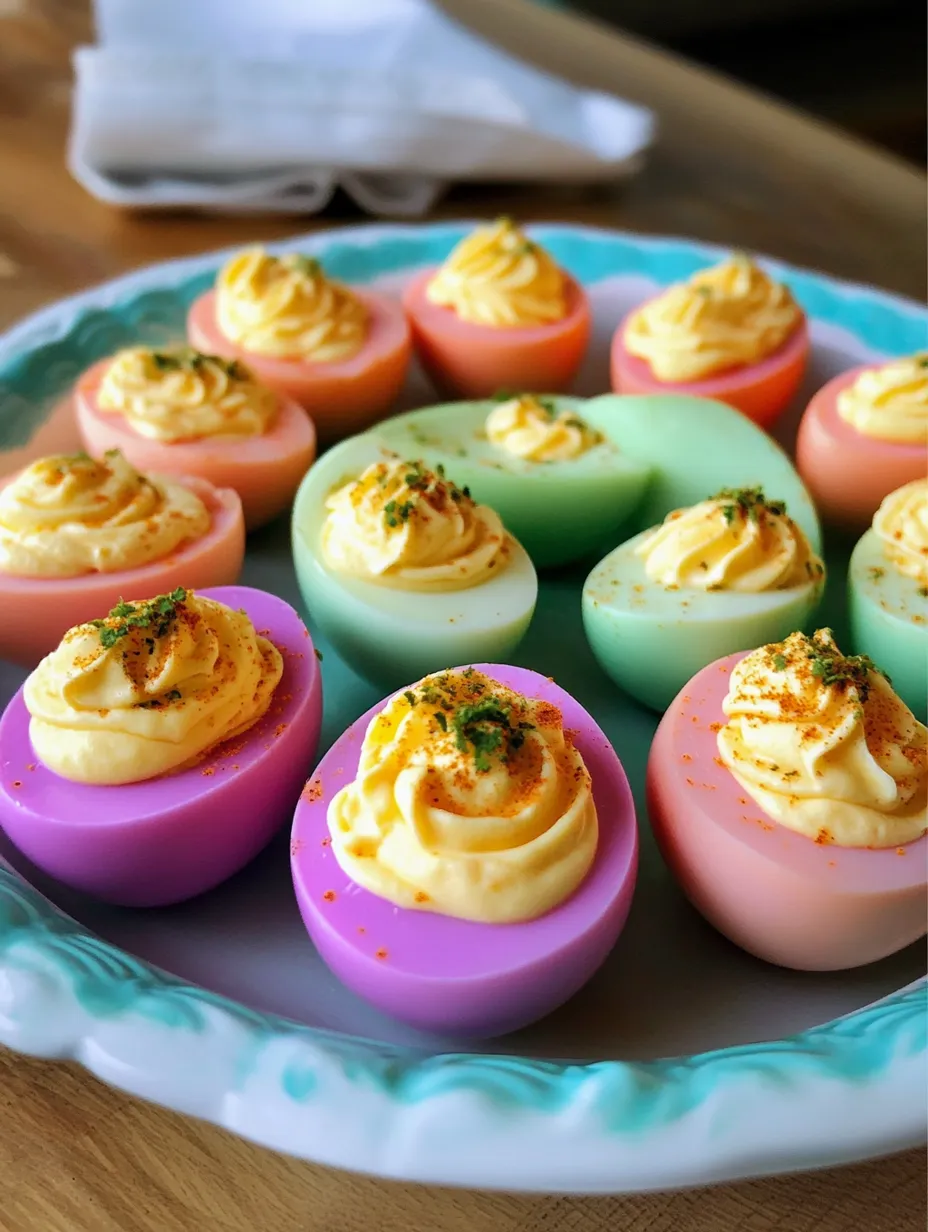
Pin itColored Deviled Eggs Homemade | recipesbyclare.com
Pro Kitchen Tips
Let your eggs come to room temp before dyeing them - the color takes better when they're not ice cold
Try marbling effects by putting a few drops of oil in your dye water and swirling gently
Use the back of a small spoon to create a divot in your filled eggs before adding toppings or garnishes
I've probably made thousands of these colored deviled eggs over the years. My family doesn't even ask what I'm bringing to gatherings anymore - they just expect "my eggs." My dad still claims he doesn't like deviled eggs but somehow always manages to eat at least three when I make them. Funny how a little food coloring can completely transform something so basic into something people actually get excited about. Worth every minute of peeling!
Frequently Asked Questions
→ Will the vinegar in the dye make the eggs taste sour?
No, the small amount of vinegar used helps the food coloring adhere to the egg whites but doesn't affect the taste. The eggs won't taste like vinegar at all.
→ How far in advance can I make these colored deviled eggs?
You can prepare these up to 24 hours ahead of time. Store them covered in the refrigerator. If making further in advance, you can prepare the colored egg whites and filling separately, then assemble just before serving.
→ What food coloring works best for this recipe?
Both liquid and gel food coloring work well. Liquid food coloring is more accessible and easier to mix, while gel colors can produce more vibrant results. Start with a few drops and add more for deeper colors.
→ Can I use natural food dyes instead of artificial coloring?
Yes! Try beet juice for pink/red, turmeric for yellow, spinach juice for green, or blueberry juice for blue/purple. Natural dyes may require longer soaking times and produce more subtle colors.
→ Why didn't my eggs peel easily?
For easier peeling, use eggs that are at least a week old rather than very fresh eggs. Also, plunging the eggs into ice water immediately after cooking helps separate the shell from the egg white.
→ Can I use different fillings for these colored deviled eggs?
Absolutely! The coloring technique works with any deviled egg filling. Try avocado-based filling, hummus-based filling, or add different herbs and spices to match your event theme.
Colored Deviled Eggs
Classic deviled eggs with a colorful twist - egg whites dyed in beautiful colors make these a standout appetizer for Easter gatherings and baby showers.
076 ounces water in each cup (for different colors)
081 teaspoon white vinegar, in each cup
09Food coloring in desired colors
Instructions
Step 01
Place eggs in a large saucepan and cover with cold water. Set the pan over medium-high heat and bring water to a boil. Turn off the heat, cover the pan with a lid, and let sit for 12 minutes.
Step 02
Drain and rinse eggs under cold water. Peel the shells off of the eggs.
Step 03
In separate cups, stir food coloring into cups of water in desired colors. Add 1 teaspoon of vinegar to each cup of colored water (don't worry, you won't taste the vinegar).
Step 04
Cut eggs in half lengthwise and carefully remove the yolks, placing them in a bowl. Gently place the empty egg white halves into the colored water. Let the eggs soak in the colored water for at least 10 minutes or until the desired shade is achieved.
Step 05
Add mayonnaise, pickle juice, and mustard to the bowl with yolks, then mash the yolks and stir until mixture is smooth. Stir in minced pickles and then season with salt and pepper.
Step 06
Using a spoon, gently remove the colored eggs from the dye and place them on a stack of paper towels to dry. Pat dry with additional paper towels.
Step 07
Place the yolk mixture in a large ziplock bag. Cut the tip off of the ziplock bag to make a DIY piping bag and pipe the egg mixture back into the colored egg white halves.
Step 08
Arrange on a serving platter and refrigerate until ready to serve.
Notes
The longer you leave the egg whites in the colored water, the deeper the color will be.
For pastel colors, perfect for Easter, use just a few drops of food coloring in each cup.
For baby showers, you can do pink and blue colors, or match the shower theme colors.
These can be prepared up to 24 hours in advance and stored covered in the refrigerator.
Tools You'll Need
Large pot
Knife
Mixing bowl
Mixing spoon
Zip-top bag
Scissors
Cups (for dye)
Spoon (for removing eggs from dye)
Paper towels
Serving platter
Allergy Information
Please check ingredients for potential allergens and consult a health professional if in doubt.
Contains eggs
Contains mustard
May contain soy (in mayonnaise)
Nutrition Facts (Per Serving)
It is important to consider this information as approximate and not to use it as definitive health advice.

 Pin it
 Pin it
 Pin it