
 Pin it
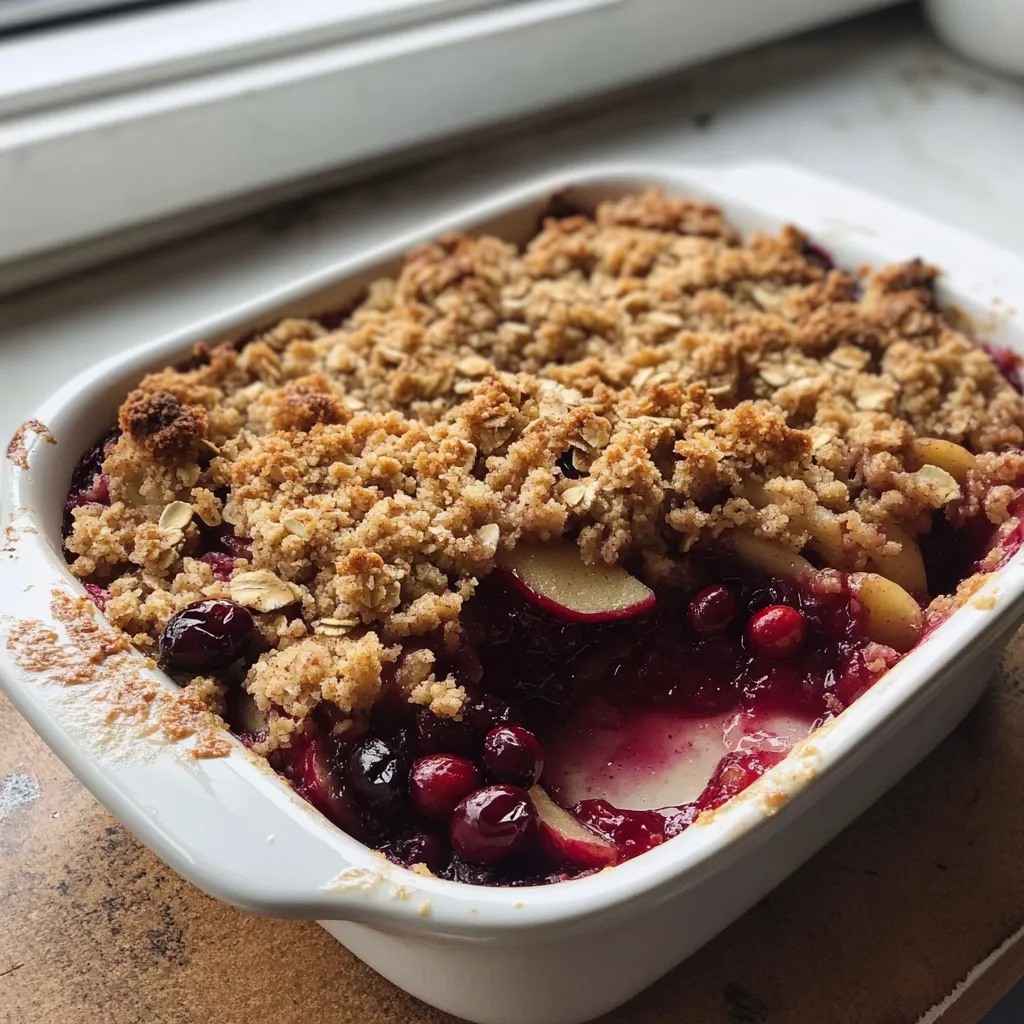
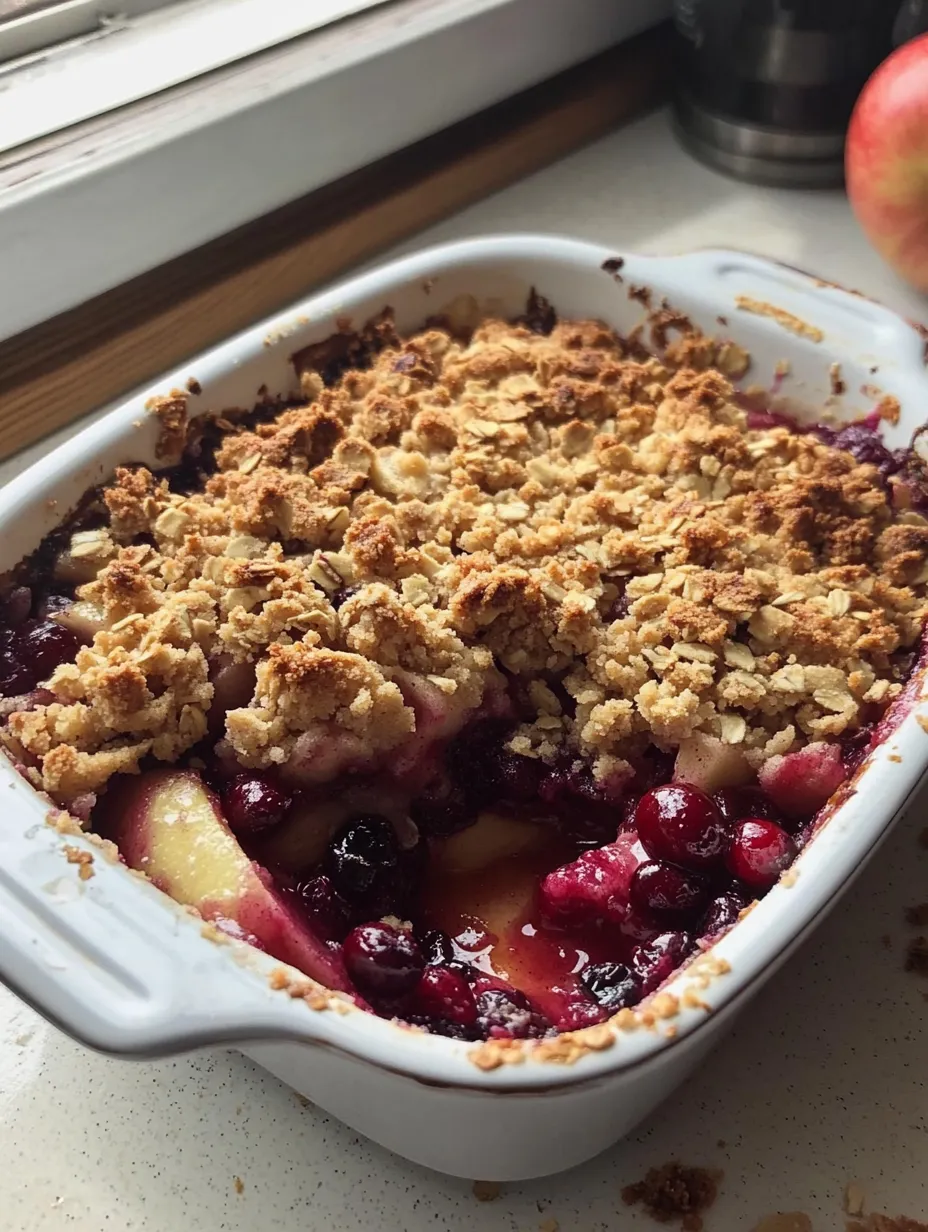
This cranberry apple crumble recipe came about during a chilly fall weekend when I had a surplus of apples from our annual orchard trip and some leftover cranberries in the fridge. The combination of tart cranberries and sweet apples creates this perfect balance that tastes like autumn in a dish. It's become our Thanksgiving tradition—my husband actually prefers it to pie, and my kids fight over who gets the corner pieces with the most crumble topping!
My mother-in-law, who's an amazing baker herself, actually asked for the recipe after having it at our place last Thanksgiving! My neighbor dropped off extra apples from her tree last week, and my kids immediately started chanting "crumble, crumble!" There's something about that combination of warm fruit and crispy, buttery topping that just feels like a hug in dessert form.
Seasonal Ingredients
- Apples: I usually use a mix of varieties for the best flavor and texture. Honeycrisp and Granny Smith are my favorite combo—one for sweetness, one for tartness. Some apples get super soft while others hold their shape, creating wonderful texture variety.
- Fresh cranberries: These little ruby gems add such beautiful color and tartness. I've used frozen in a pinch (don't thaw them first), but fresh ones hold their shape better. I sometimes add an extra handful because we love their pop of flavor.
- Brown sugar: Adds that wonderful caramel-like flavor to the topping. Dark brown sugar gives an even deeper flavor if you have it on hand, but light works perfectly too.
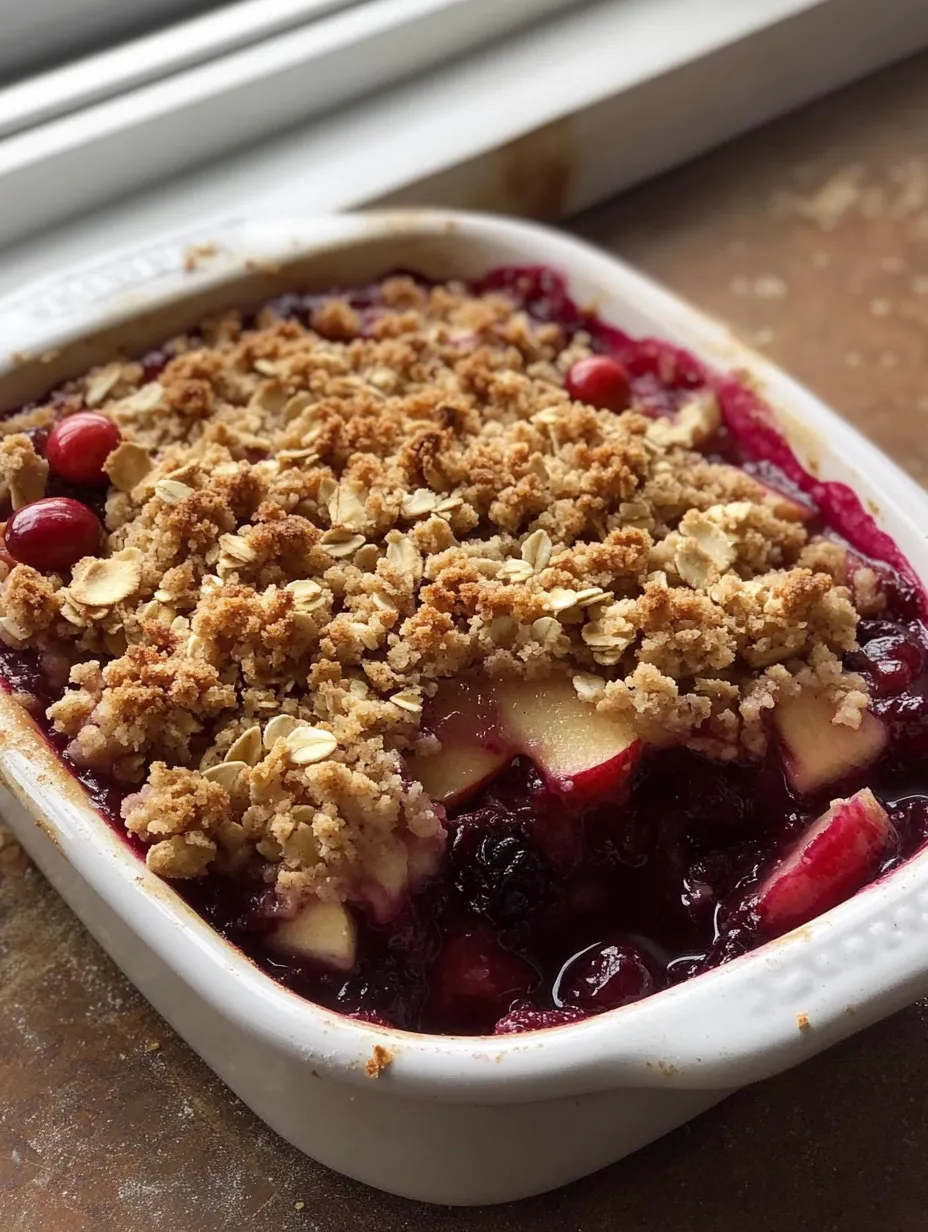
- Old-fashioned oats: These create that classic crumble texture. I've tried using quick oats when that's all I had, and while it works, you don't get quite the same wonderful texture. Steel-cut oats are too crunchy for this recipe.
- Cold butter: This is essential for that perfect crumbly topping! I've forgotten to chill the butter before and ended up with more of a cookie-like topping—still delicious but not that classic crumble texture.
 Pin it
Step-by-Step Instructions
- Perfect fruit prep
- Creating that ideal filling starts with how you cut the apples. I dice them into roughly 3/4-inch pieces—small enough to cook through but large enough to hold their shape. The first time I made this, I sliced the apples too thinly and they turned to mush. Leave the peels on for extra color, flavor, and nutrition, or peel them if you prefer a softer texture. I like to toss the fruit with the sugar and let it sit for about 10 minutes before adding the cornstarch—this helps draw out some juice and prevents the cornstarch from clumping.
- Spice balance
- Achieving that perfect fall flavor takes the right spice combination. Cinnamon is the star, but that hint of nutmeg makes all the difference. I've experimented with adding a pinch of cloves or ginger too, but this simple blend lets the fruit flavors shine. My grandmother's secret was to add a tiny grating of fresh nutmeg on top of the fruit just before adding the crumble—it adds this wonderful aromatic element that pre-ground nutmeg just can't match.
- Topping technique
- Creating that perfect crumbly texture requires cold butter and a light touch. I cut my butter into small cubes and then return it to the fridge while I prepare the fruit. For the best texture, I use my fingers to rub the butter into the dry ingredients—a pastry cutter works too, but I find fingers give you better control. You want a mix of crumb sizes, from small peas to larger almond-sized pieces, for the most interesting texture. Don't overwork it, or the butter will get too warm and the topping will become paste-like.
- Baking perfection
- Getting that golden topping with perfectly cooked fruit underneath takes a bit of oven know-how. My oven runs hot, so I actually bake this at 350°F instead of 375°F, but most ovens do well at the higher temperature. The key is looking for bubbling around the edges and a golden-brown top. If the topping is browning too quickly but the filling isn't bubbling yet, loosely cover it with foil for the remaining bake time. I place the baking dish on a sheet pan to catch any potential overflow—much easier than cleaning the oven!
- Cooling patience
- Achieving the perfect serving consistency requires a little restraint. It's so tempting to dig in right away, but giving it at least 10 minutes to cool slightly helps the filling set up and prevents burned mouths! The fruit filling is essentially boiling when it comes out of the oven. I've learned through painful experience that no matter how good it smells, it's worth waiting those few minutes.
- Serving strategies
- Enjoying this crumble at its best means serving it while still warm. A scoop of vanilla ice cream on top is absolutely classic—the way it melts into the warm fruit is pure magic. For breakfast leftovers (yes, we totally eat this for breakfast), a dollop of Greek yogurt is delicious and makes it feel slightly more virtuous. During the holidays, I sometimes spike the whipped cream with a touch of bourbon or maple syrup for an adult version.
I've been tweaking this recipe for about five years now. My original version had much less cranberry, but I've gradually increased the amount because we love that tart pop. I've also played with the sugar levels—too much makes it cloying, too little and the cranberries are too sour. This balance is just right for us, but you can adjust to your taste. My kids prefer it with a bit more cinnamon, while my husband likes it exactly as written.
Seasonal Serving
This gorgeous crumble makes a wonderful addition to any fall or winter gathering. For Thanksgiving, I prepare it earlier in the day and then pop it in the oven when we sit down to dinner, so it's warm and fragrant for dessert time. During Christmas, I sometimes add a handful of chopped walnuts or pecans to the topping for extra crunch and festive flavor. It travels well to potlucks if you cover it tightly with foil to keep it warm. For casual family dinners, I serve it right from the baking dish at the table—there's something so comforting about a communal dessert.
Flavor Variations
This versatile crumble welcomes creative adaptations while keeping that wonderful contrasting texture. In summer, I swap the cranberries for blueberries or blackberries for a more seasonal treat. For a holiday version, add a splash of brandy or bourbon to the fruit filling for depth. When I'm feeling indulgent, I add 1/4 cup of chopped toasted pecans and a handful of white chocolate chips to the topping. And for a gluten-free version for my sister, I substitute the all-purpose flour with almond flour or a gluten-free blend, which works beautifully.
Fresh Keeping
This crumble keeps surprisingly well for about 3 days at room temperature, covered with foil or in an airtight container. The topping will soften slightly but still maintains a nice texture. For longer storage, refrigerate for up to 5 days. Surprisingly, it freezes quite well too! I portion leftover crumble into individual containers, freeze, and then reheat in the microwave or oven for quick desserts later. The contrast between the warm crumble and cold ice cream is even more delightful when reheated.
 Pin it
I came up with this cranberry apple crumble as a way to use up autumn fruits, but it's become so much more than just a practical recipe in our family. There's something about the combination of tart fruit, warm spices, and that buttery crumble topping that brings everyone to the table. The way it fills the house with the most amazing aroma as it bakes is better than any scented candle! While it's perfect for fall special occasions, it's simple enough for everyday baking when you need a little comfort in dessert form.
Frequently Asked Questions
- → Can I use frozen cranberries instead of fresh?
- Yes! You can use frozen cranberries directly from the freezer without thawing them first. No other changes to the recipe are needed.
- → What are the best apples to use for this crumble?
- Firm apples that hold their shape when baked work best - try Granny Smith, Honeycrisp, Braeburn, or Pink Lady. You can also use a mix of different varieties for more complex flavor.
- → Can I make this ahead of time?
- Yes! You can assemble the entire dish up to a day ahead and refrigerate unbaked. Add 5-10 minutes to the baking time if baking from cold. You can also bake it earlier in the day and reheat at 300°F for about 15 minutes before serving.
- → Is there a gluten-free option?
- You can make this gluten-free by substituting the all-purpose flour with a gluten-free flour blend and using certified gluten-free oats.
- → How do I store leftovers?
- Cover and refrigerate leftovers for up to 4 days. Reheat individual portions in the microwave for 30-60 seconds or the entire dish in a 300°F oven until warmed through.