
 Pin it
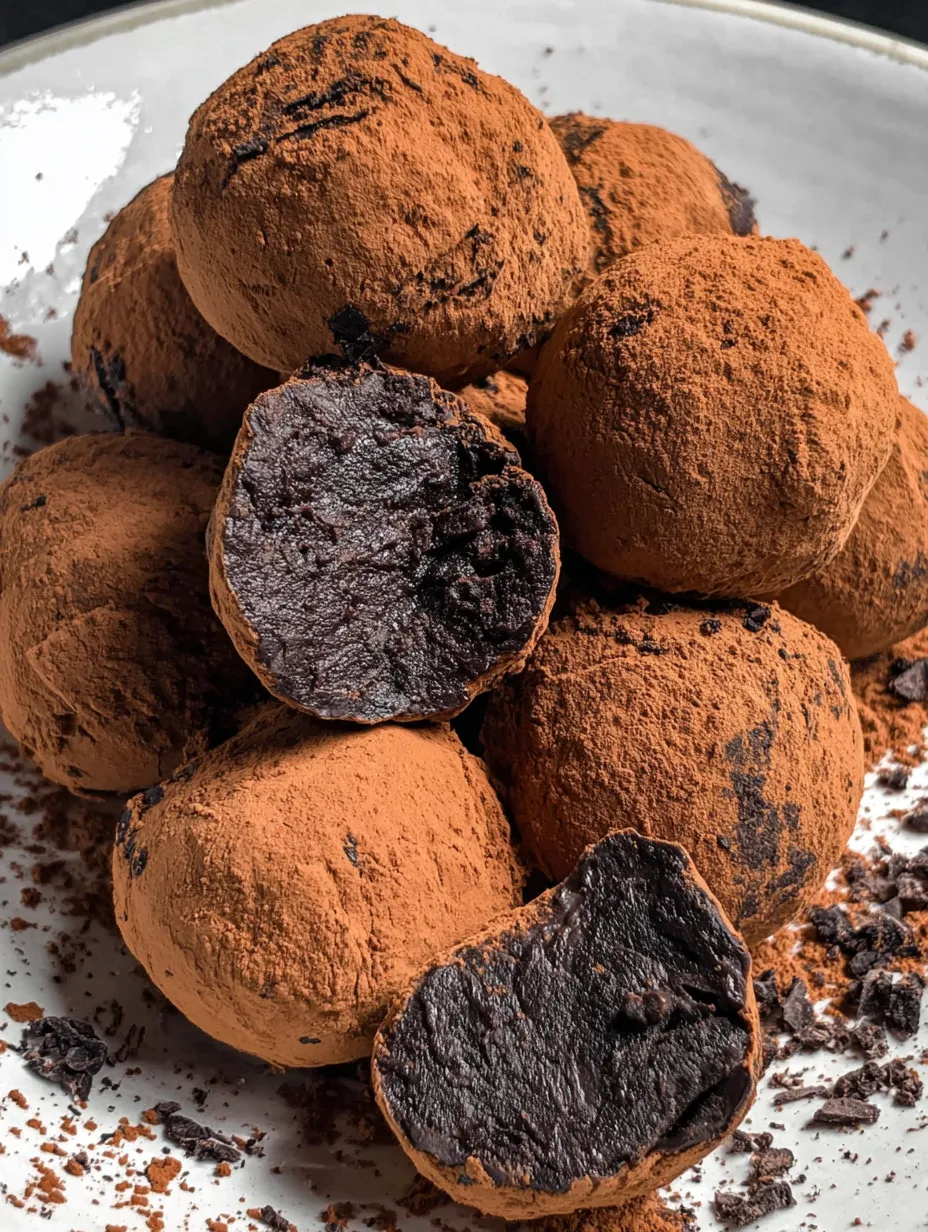
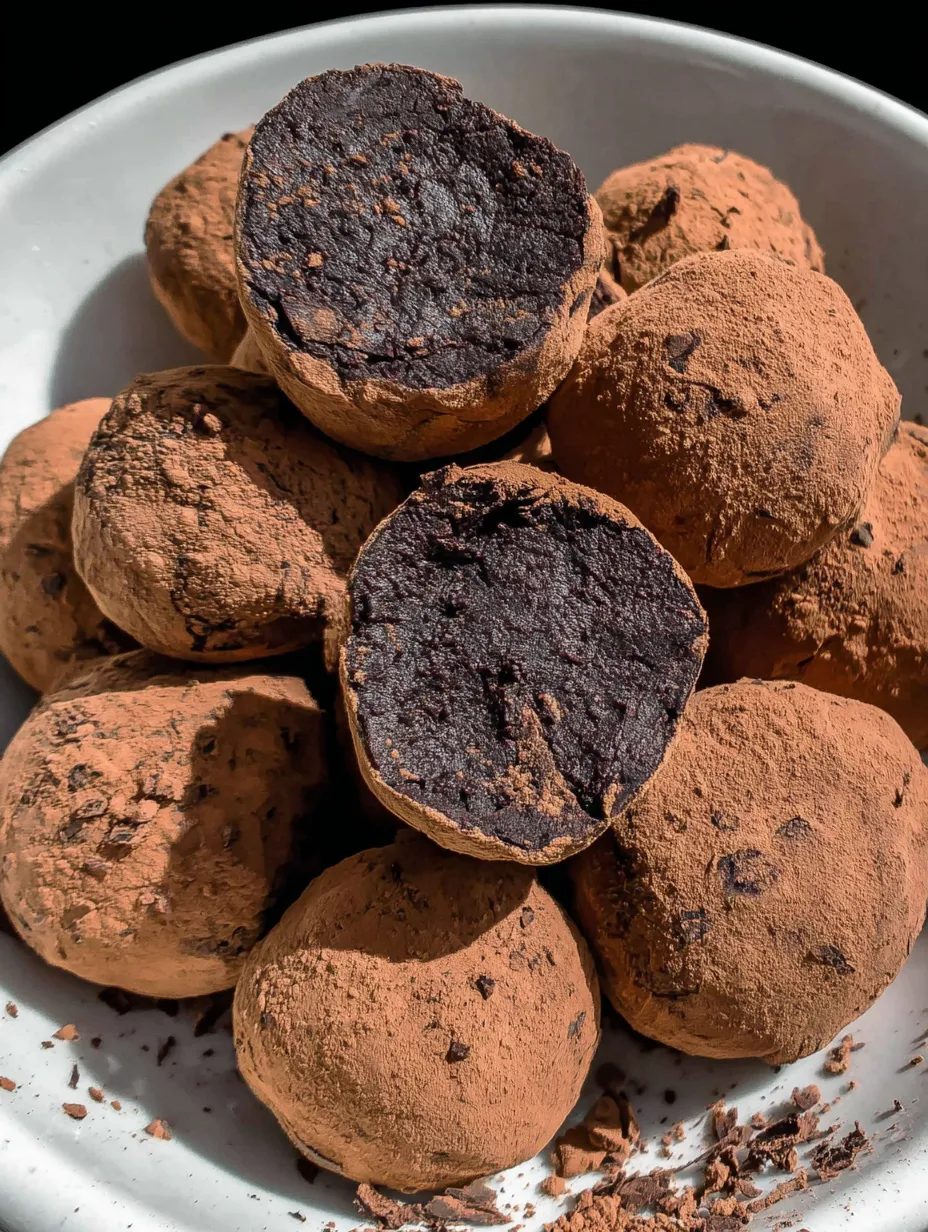
These 2-ingredient dark chocolate truffles have saved me countless times when I needed an impressive dessert but had zero energy or time to make something complicated. I discovered this recipe during a particularly busy holiday season when I wanted to bring homemade treats to a party but was completely overwhelmed with everything else on my plate, and I couldn't believe something so simple could taste so luxurious and decadent. The rich, intense chocolate flavor combined with that smooth, melt-in-your-mouth texture makes these truffles taste like something from an expensive chocolate shop, yet they require just two ingredients and about 15 minutes of actual hands-on work.
My friend Jessica, who avoids all dairy products, nearly tackled me when I told her these truffles contained no butter or cream because she'd been missing good chocolate truffles for years. She made them the very next day and texted me a photo of her batch with about fifteen exclamation points, saying they tasted exactly like the fancy truffles she used to buy before changing her diet. Now she makes them for every gathering and people always assume they're store-bought from some expensive boutique chocolate shop.
Essential Ingredients Breakdown
- Sweetened condensed coconut milk: Creates the creamy, rich, plant-based base (ensure you buy the condensed version, not regular canned coconut milk).
- Dark cacao powder: Provides intense, dairy-free chocolate flavor and color (unsweetened cocoa or cacao powder is needed; quality matters).
 Pin it
Making Perfect Truffles
- Warming the coconut milk:
- Pour the sweetened condensed coconut milk into a microwave-safe bowl and microwave on high for **30 seconds** until warm and slightly more fluid.
- Incorporating the cacao:
- Sift the cacao powder over the warm coconut milk using a fine-mesh sieve to prevent lumps. Stir with a spatula until the mixture transforms into a completely **smooth, glossy chocolate ganache** with no streaks of powder remaining.
- Achieving the right consistency:
- The mixture should be thick enough to coat the back of a spoon. If too thin, refrigerate for 10–15 minutes. If too stiff, add coconut milk 1 teaspoon at a time.
- Chilling for easier rolling:
- Transfer the chocolate mixture to the refrigerator for about **30 minutes** to firm up. It should be firm enough to scoop but not rock hard. (Freeze for 10–15 minutes if in a hurry.)
- Forming the truffles:
- Use a small scoop or teaspoon to portion out equal amounts. Roll each portion quickly between your palms using gentle pressure until it forms a smooth ball. Work quickly, cooling hands with cold water if they get too warm.
- Coating with cacao:
- Pour additional dark cacao powder into a shallow bowl. Drop each rolled truffle into the powder and gently roll or turn it until completely coated on all sides. Place on a clean plate or in paper candy cups.
- Final chilling:
- Return the coated truffles to the refrigerator for at least **15 minutes** to firm up completely before serving.
I've learned through making these truffles dozens of times that the temperature of everything matters significantly more than I initially thought. My first batch was a disaster because I tried rolling the truffles immediately after mixing, resulting in a sticky, melted mess all over my hands and countertop. Now I always chill the mixture for the full 30 minutes, and I keep a bowl of cold water nearby to cool my hands between rolling each batch of four or five truffles. I also discovered that sifting the cacao powder isn't just a nice suggestion but actually essential for getting that smooth, luxurious texture without any gritty bits.
Cacao Powder Quality
Since there are only two ingredients, the quality of your cacao powder takes center stage. Invest in a **high-quality cacao or cocoa powder** (like Dutch-processed for smoother flavor) to ensure a complex, rich chocolate taste without the unpleasant bitterness found in cheaper options. The better the powder, the better the final truffle flavor will be.
Coating Options Explored
- Classic dark **cacao powder** (unsweetened).
- Finely chopped **nuts** (pistachios, almonds, hazelnuts) for flavor and crunch.
- Unsweetened **shredded coconut** for a "snowball" look and texture.
- **Edible gold or silver luster dust** for an elegant appearance.
- **Rainbow sprinkles** or **crushed freeze-dried strawberries** for color.
Serving These Elegantly
Serve these truffles **chilled** on a beautiful plate or tiered stand. Arrange them in **paper candy cups** or mini cupcake liners for easy handling. They pair beautifully with coffee, espresso, or a glass of dessert wine. For a sophisticated dessert, plate 3–4 truffles with fresh berries and a mint sprig.
Keeping Them Perfect
- Store in the **refrigerator** for up to two weeks in an airtight container (layered with parchment paper if stacking).
- They **freeze exceptionally well** for up to three months. Thaw in the refrigerator for an hour before serving.
- **Do not leave at room temperature** for extended periods (they will soften and become sticky within 20–30 minutes).
Delicious Flavor Variations
- Add 1/4 teaspoon **peppermint extract** for mint chocolate truffles.
- Stir in 1 teaspoon grated **orange zest** and a few drops of orange extract.
- Dissolve 1 tablespoon **instant espresso powder** in the warm coconut milk for coffee truffles.
- Add 1 tablespoon of **liqueur** (e.g., Grand Marnier, Kahlua) for adult truffles (note: this makes them softer, requiring extra chilling).
- Add 1/2 teaspoon **chai spice blend** (cinnamon, cardamom, ginger) for spiced truffles.
 Pin it
I've made these 2-ingredient dark chocolate truffles for birthday parties, holiday gifts, romantic dinners, and random Tuesday afternoons when I needed something sweet, and they work perfectly in every situation. There's something magical about creating such an elegant, sophisticated dessert from just two ingredients and minimal effort, and watching people's faces when they taste them never gets old. The fact that they're naturally vegan and gluten-free means I can serve them to almost anyone without worrying about dietary restrictions, and the rich, intense chocolate flavor satisfies even the most devoted chocolate lovers. They've become my go-to recipe when I want to look like an amazing cook without actually spending hours in the kitchen!
Frequently Asked Questions
- → Can I use regular condensed milk instead?
- Yes, but the truffles won't be vegan anymore. Regular sweetened condensed milk works the same way.
- → Why do I need to refrigerate the mixture?
- Chilling makes the mixture firm enough to roll into balls. Without refrigerating, it will be too soft and sticky to shape.
- → How long do these truffles last?
- They'll keep in the fridge in an airtight container for up to a week. You can also freeze them for longer storage.
- → Can I add other flavors?
- Absolutely. Try adding a bit of vanilla extract, peppermint extract, or espresso powder for different flavor variations.
- → What can I roll them in besides cocoa powder?
- Crushed nuts, shredded coconut, powdered sugar, or colorful sprinkles all work great for coating.
- → Are these really only 2 ingredients?
- Yes! You just need condensed coconut milk and cocoa powder. The extra cocoa for rolling is just for coating, not mixing into the recipe.