
 Pin it
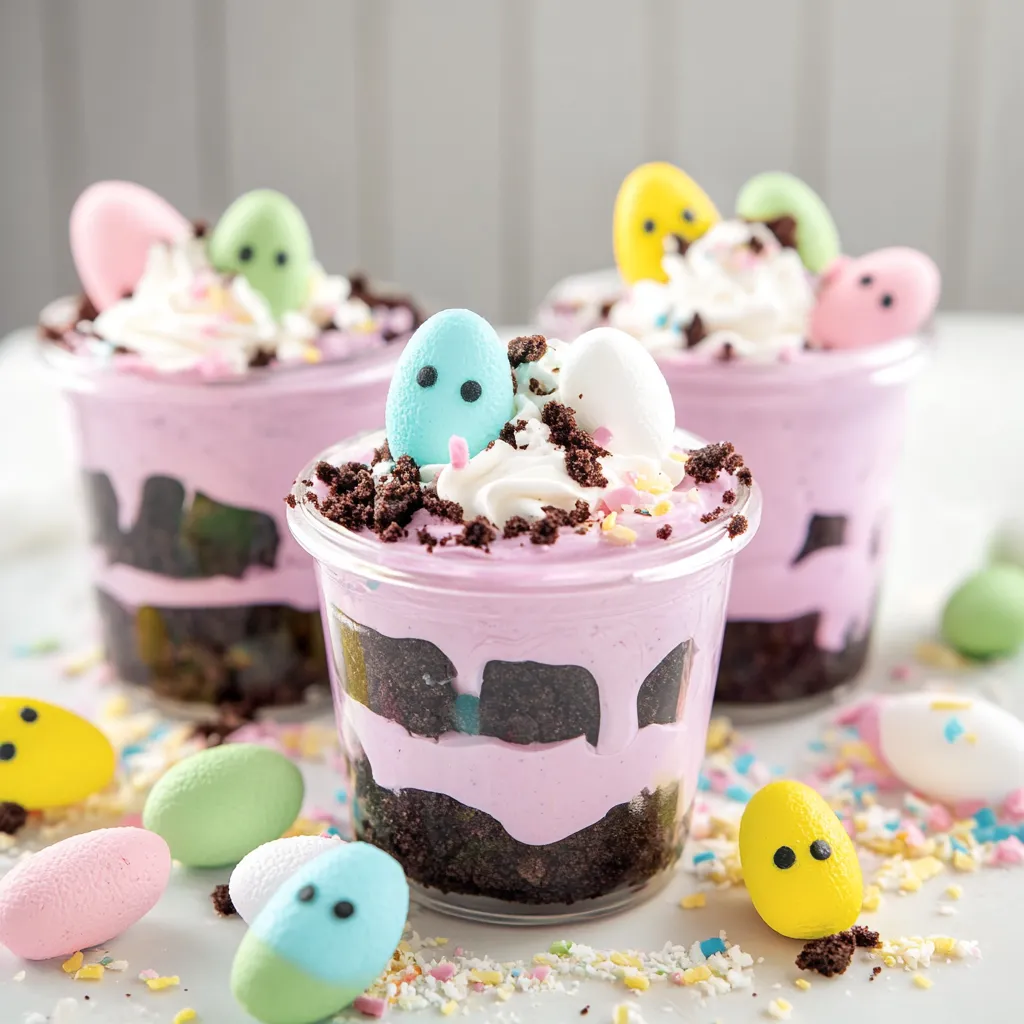
So I came up with these adorable little Easter cups a few years back when I was sick of just filling baskets with candy. I wanted something fun that would actually get eaten at our family gathering instead of just adding to the sugar pile. They're basically fancy pudding cups dressed up for spring, but let me tell you - people go crazy for them. There's something about those layers of creamy pudding and cookie crumbs topped with those marshmallow Peeps that just screams Easter without being too complicated.
Last Easter I brought these to my sister's where she hosts this big egg hunt every year. My niece (who's seven and suddenly very particular about everything) declared them "the most beautiful dessert ever" and made everyone wait while she took pictures. Even my brother-in-law, who usually passes on dessert, polished his off and kinda lingered around the extras I'd brought for the kids to take home.
What Goes In It
- Vanilla pudding mix is the base - and it needs to be instant, not the cook kind
- Cold milk - has to be cold or your pudding won't set up right
- Cool Whip makes everything lighter and fluffier than just pudding alone
- Oreos without the filling make the best "dirt" - trust me, I've tried with the filling and it just doesn't look right
 Pin it
Putting It Together
- Mix up your pudding and milk first. Really whisk it good for the full two minutes - I usually set a timer because otherwise I get impatient.
- Let it sit and do its thing for about 5 minutes. It'll thicken up a bit during this time.
- Split it between two bowls and add whatever food coloring you like. I usually go with purple and pink because they look springy, but my kids have requested blue and green before.
- Fold in the Cool Whip gently. Don't stir it hard or you'll knock all the air out and end up with flat pudding.
- For the Oreos, I usually put them in a ziplock bag and crush them with a rolling pin. If you have a food processor, that works too.
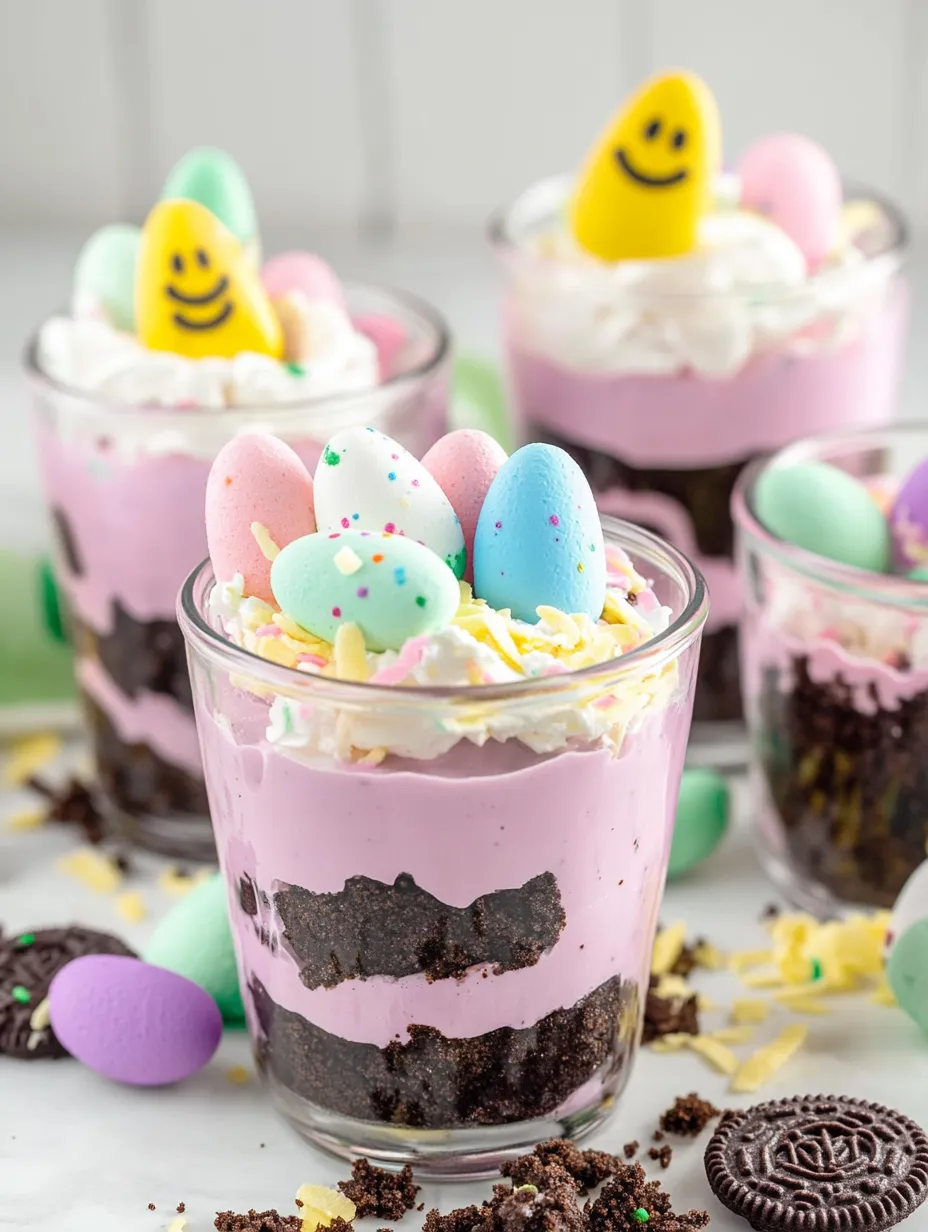
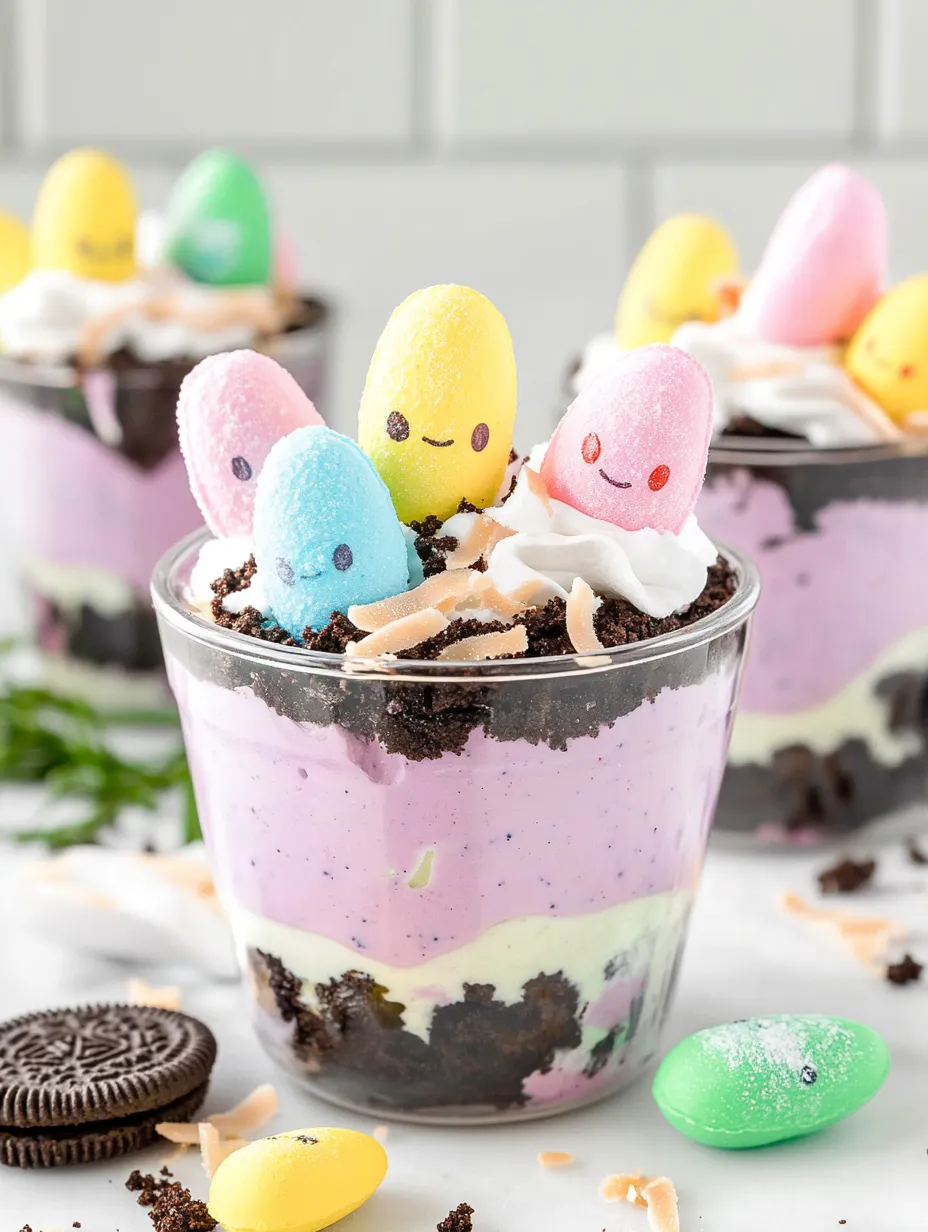
- Start layering in your jars - a spoonful of cookie crumbs, then some purple pudding, more crumbs, pink pudding, etc.
- Top it all off with a final layer of cookie crumbs.
- Stick them in the fridge for at least an hour, but overnight works great too.
- For the coconut "grass," put your coconut in a container with a tight lid, add a few drops of green food coloring and a tiny splash of water, then shake it like crazy until it's all green.
- Right before you're ready to serve, add your coconut grass, some candy eggs, and stick a Peep on top.
The first time I made these, I used chocolate pudding thinking it would make better "dirt." Big mistake - you couldn't see any of the pretty layers, and it all just looked like, well, mud. Switching to vanilla and adding colors was a game-changer. I also learned the hard way that including the Oreo filling makes the crumbs clump together in weird ways. My daughter's the one who suggested adding the coconut "grass" during year two of making these, and now I can't imagine them without it.
Serving Ideas
These look super cute all lined up on a tray with some real Easter grass or fresh flowers tucked between them. For my niece's birthday (which falls near Easter), I made them as part of a "garden party" theme and put each kid's name on a little flag stuck into their cup. At school functions, I've set up a little "garden" display with the cups nestled among some potted spring flowers and scattered plastic eggs.
Mix It Up
Sometimes I'll do one layer of chocolate pudding in between the colored layers for extra contrast. You can also use Golden Oreos for a lighter "sandy" look that's pretty too. My son loves when I use different candy on top - jelly beans, mini chocolate bunnies, or those tiny chocolate eggs with the crispy shell all work great.
 Pin it
These Easter dirt cups have somehow become the thing my family expects me to bring every spring. Honestly, they're so simple but people act like I spent hours on them. The kids get excited about the colors and candy, while the adults actually eat them because they're not overly sweet like a lot of Easter treats. It's kinda perfect when a recipe is both cute AND tastes good, you know?
Frequently Asked Questions
- → Can I make these dirt cups ahead of time?
- Yes! You can prepare the dirt cups up to 24 hours in advance. Keep them refrigerated, but wait to add the coconut grass, Peeps, and candy eggs until just before serving for the best presentation.
- → What can I use instead of Cool Whip?
- You can substitute homemade whipped cream by beating 1 cup of heavy whipping cream with 2 tablespoons of powdered sugar until stiff peaks form. Fold it into the pudding just as you would with Cool Whip.
- → Do I need to remove the Oreo filling?
- Removing the Oreo filling gives a more authentic 'dirt' look, but it's not necessary. For a quicker version, you can crush whole Oreos with the filling intact - the result will be slightly sweeter and lighter in color.
- → What size cups should I use?
- Small mason jars (4-8 oz) work perfectly, but you can also use clear plastic cups, small glass tumblers, or even regular drinking glasses. The clear sides showcase the colorful layers.
- → Can I use chocolate pudding instead of vanilla?
- Absolutely! Chocolate pudding makes delicious dirt cups too. You won't need to color chocolate pudding, but you can still create layers with vanilla and chocolate for contrast if desired.
- → Any tips for crushing the Oreos finely?
- A food processor works best for finely crushed Oreos. If you don't have one, place the cookies in a sealed plastic bag and crush them with a rolling pin or the bottom of a heavy pan, working in small batches for the finest texture.