 Pin it
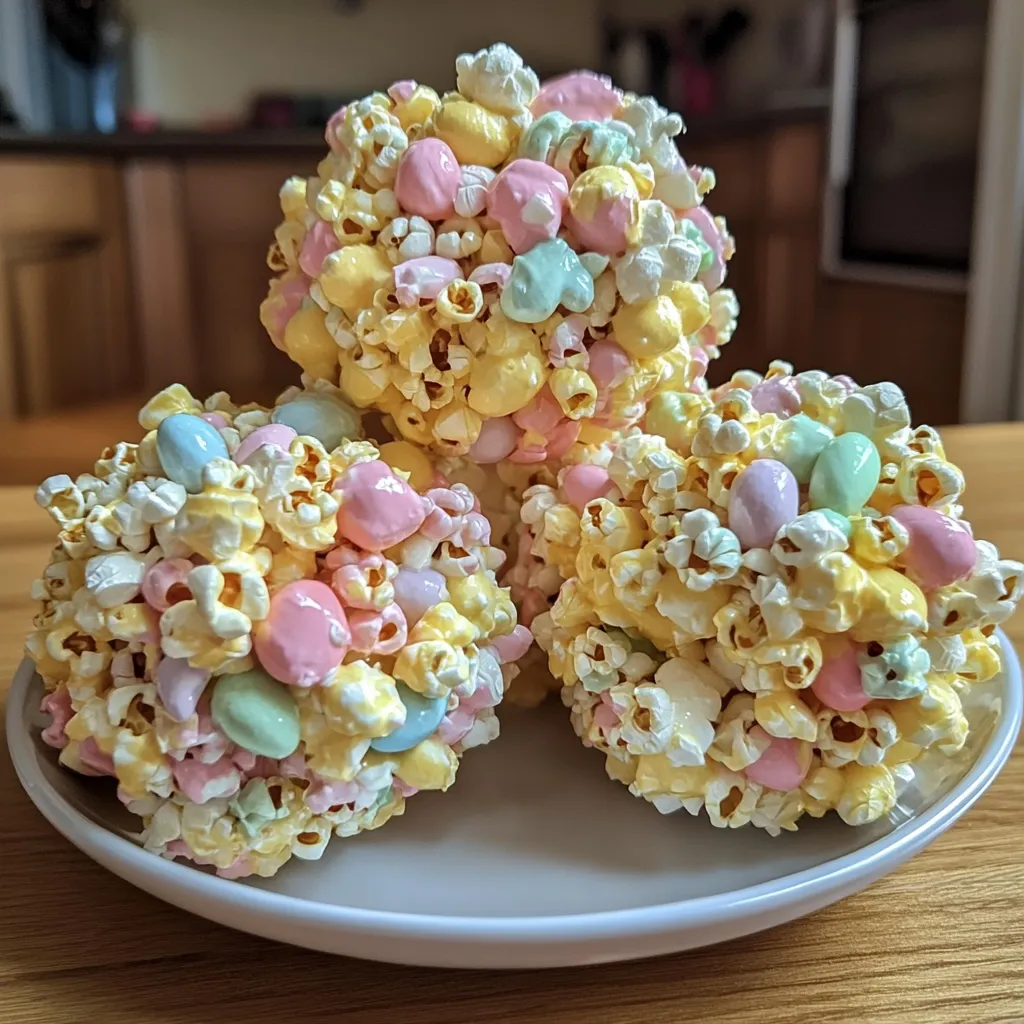
I stumbled upon this Easter popcorn balls recipe a few years ago when looking for something fun to make with my nieces during their spring break visit. These colorful treats have since become our annual Easter tradition, creating sticky hands, lots of giggles, and memories that last far longer than the treats themselves. What makes these popcorn balls special is the addition of those iconic Easter Peeps, which add bursts of color and a unique flavor that transforms ordinary popcorn balls into something truly festive. They're perfect for Easter baskets, spring gatherings, or anytime you need to brighten someone's day with a homemade treat.
Last Easter, I brought these to my neighbor's egg hunt gathering. Her five-year-old took one look at them and declared them "too pretty to eat" – a sentiment that lasted approximately 30 seconds before he was happily munching away with multicolored marshmallow stuck to his cheeks. Even the grandparents were sneaking seconds when they thought no one was looking!
Sweet Essentials
- Popcorn – The foundation of our colorful creation. I prefer air-popped for its neutral flavor and lighter texture, but microwave popcorn works in a pinch—just choose an unflavored or lightly salted variety. Avoid heavily buttered or flavored popcorn as it competes with our sweet marshmallow coating.
- Peeps marshmallows – These iconic Easter treats add both color and flavor. Different colors create different effects—pink and yellow make cheerful spring-toned balls, while blue or purple create more vibrant results. The beauty of this recipe is its flexibility—use whatever colors match your Easter decor or your kids' preferences.
- Mini marshmallows – These create the binding "glue" that holds everything together. Regular marshmallows work too, but minis melt more quickly and evenly. In a pinch, I've used large marshmallows cut into smaller pieces, though it's a bit messier.
- Butter – This adds richness and helps prevent sticking. Unsalted is best for controlling the flavor, but salted butter creates a nice sweet-salty balance if that's your preference. I've forgotten the butter once or twice, and while the recipe still works, the end result is much stickier and harder to shape.
- Vanilla extract – This simple addition elevates the flavor from just "sweet" to genuinely delicious. Don't skip it! A good quality vanilla makes a noticeable difference in the final taste.
 Pin it
Creating Colorful Magic
- Popcorn preparation:
- Starting with fresh popcorn makes all the difference. Those unpopped kernels can be tooth-breakers, so take an extra minute to sift through and remove them. I place my popcorn in a bowl larger than I think I need—the extra space makes stirring much easier and less messy.
- Melting with care:
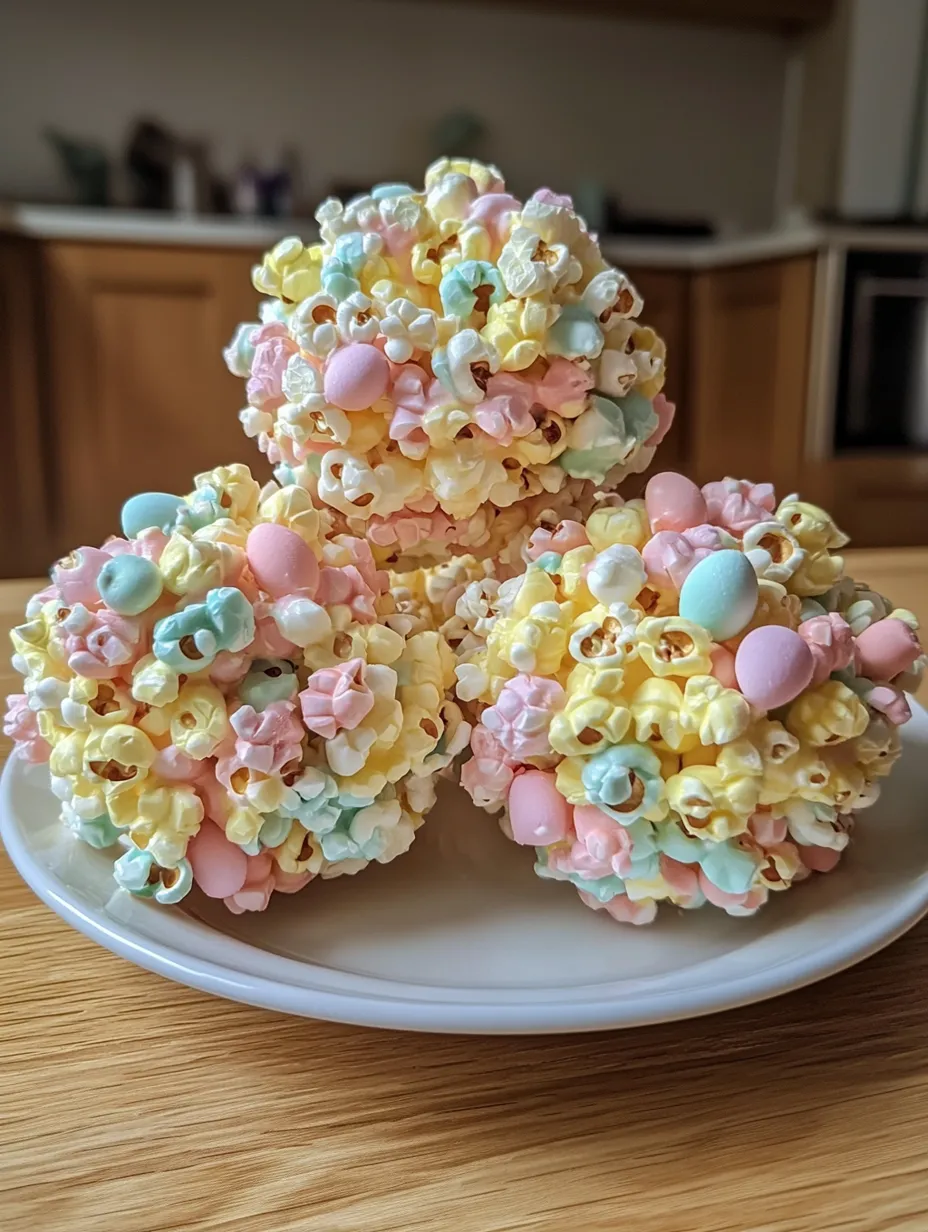
- The marshmallow mixture requires attention—it goes from perfectly melted to scorched in seconds. Keep the heat medium-low and stir constantly. When the Peeps start melting, they create beautiful color swirls in the mixture. For a more uniform color, stir thoroughly; for a marbled effect, stir minimally once everything is melted.
- Coating technique:
- Pour the melted mixture over the popcorn in several additions rather than all at once. This helps achieve more even coverage. Use a spatula or wooden spoon initially, then switch to greased hands for the final mixing—you'll get better coverage without crushing the popcorn.
- Shaping success:
- The secret to perfect popcorn balls is working quickly while the mixture is still warm and pliable. Keep a small bowl of cold water nearby to dip your hands occasionally—this prevents sticking and cools your hands if the mixture feels too hot. Apply gentle pressure as you shape; pressing too firmly crushes the popcorn and creates dense balls.
- Decorating details:
- If you're adding sprinkles or edible glitter, do so immediately after shaping each ball while the surface is still sticky. For a fun variation, press a few additional pieces of candy into the surface of each ball—mini chocolate eggs or jelly beans work beautifully.
My first attempt at these was both a success and a learning experience. I didn't grease my hands adequately and ended up with more marshmallow on my fingers than on the popcorn! I've also discovered that different flavors of Peeps create subtle flavor variations—the vanilla ones create a birthday cake-like flavor, while the fruit-flavored ones add interesting dimension. My personal favorite combination is using cotton candy flavored Peeps with a splash of almond extract instead of vanilla.
Festive Presentation
Transform these Easter popcorn balls into an even more impressive treat by wrapping them individually in clear cellophane tied with pastel ribbons. For Easter dinner place settings, position one wrapped popcorn ball atop each napkin as an edible favor. Create a centerpiece by arranging them on a tiered stand surrounded by fresh spring flowers or greenery. For children's Easter baskets, nestle them among chocolate eggs and small toys as a homemade highlight.
Sweet Variations
Once you've mastered the basic recipe, try some creative variations. Add a half cup of pastel chocolate chips or white chocolate chips to the popcorn before coating with the marshmallow mixture. For coconut lovers, roll the finished balls in toasted coconut for texture and flavor. Create "surprise" popcorn balls by hiding a small chocolate egg or jelly bean in the center of each one. During other seasons, swap Peeps for different colored or flavored marshmallows—orange for Halloween, red and green for Christmas, or team colors for game days.
Storage Secrets
These Easter popcorn balls maintain their best texture for about two days when stored in an airtight container at room temperature. Separate layers with parchment paper to prevent sticking. For longer storage, wrap each ball individually in plastic wrap, which helps preserve freshness for up to four days. Avoid refrigerating them, as this can make the popcorn texture chewy. In warmer weather, store in the coolest part of your kitchen away from direct sunlight to prevent softening.
 Pin it
I've made these Easter popcorn balls for countless spring gatherings over the years, from classroom parties to family Easter celebrations. There's something undeniably cheerful about these colorful treats that brings out the kid in everyone who sees them. While they might create a temporarily sticky kitchen, the joy on people's faces when they bite into that perfect combination of crunchy popcorn and sweet, colorful marshmallow makes the cleanup worthwhile. Whether you're creating a new family tradition or just looking for a fun way to use up extra Easter candy, these popcorn balls deliver both nostalgia and novelty in every bite.
Frequently Asked Questions
- → Can I use microwave popcorn for this recipe?
- Yes! Any type of popped popcorn works well - microwave, air-popped, or stovetop. Just avoid heavily flavored varieties like cheese or butter popcorn, as they don't pair well with the sweet marshmallow coating.
- → What if I can't find Peeps marshmallows?
- If Peeps aren't available, you can substitute with regular marshmallows and add a few drops of food coloring to the marshmallow mixture to create festive colors. You'll miss the sugar coating texture, but the overall effect will be similar.
- → Why are my popcorn balls falling apart?
- This usually happens if the marshmallow mixture wasn't hot enough to fully melt or if the balls weren't pressed firmly enough when shaping. Make sure your marshmallow mixture is completely melted and smooth, and really compress the popcorn when forming the balls.
- → How far in advance can I make these?
- For the best texture, make these popcorn balls no more than 1-2 days in advance. Store them in an airtight container at room temperature. They tend to get progressively harder and stickier over time.
- → Can I use different colored Peeps for a rainbow effect?
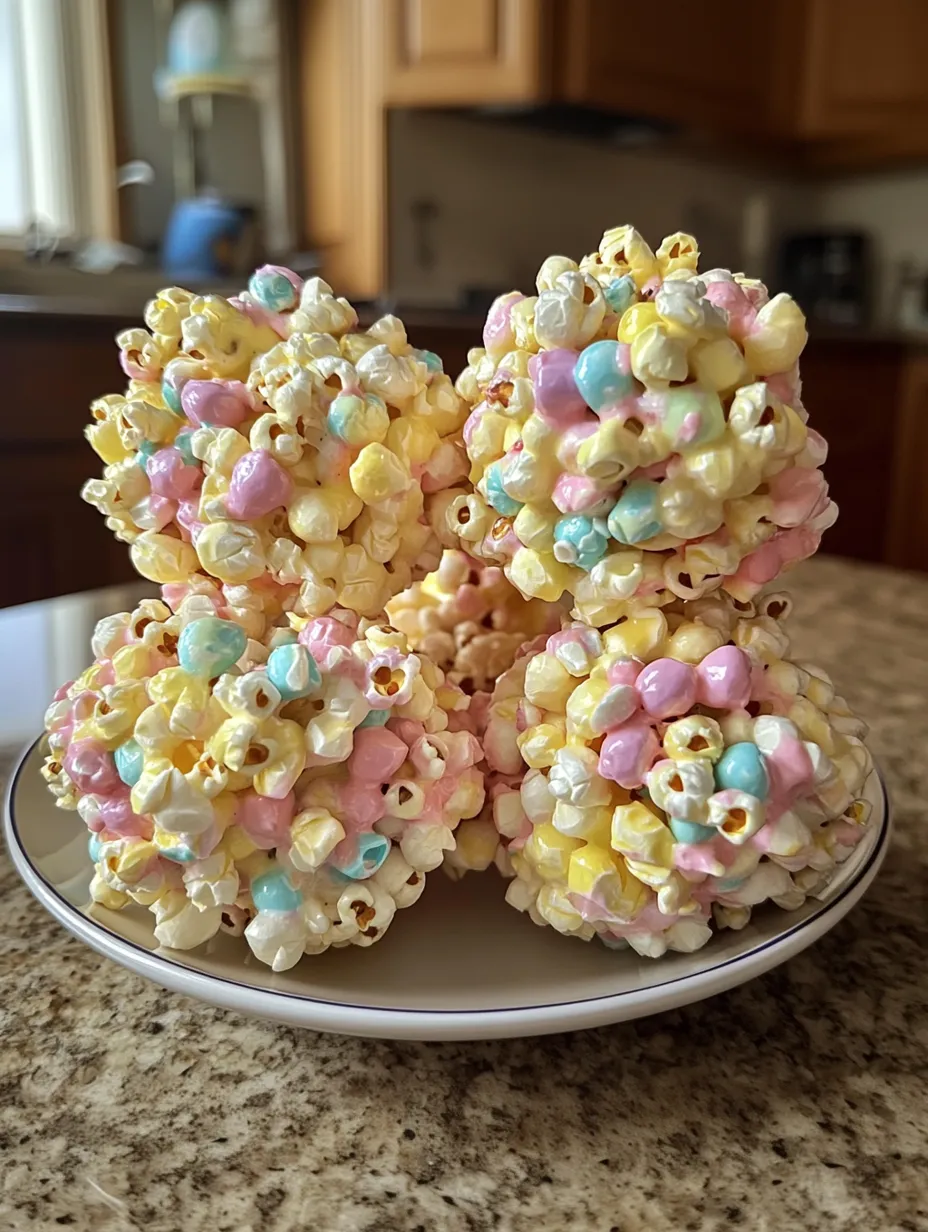
- Absolutely! Using a variety of colored Peeps will create a fun marbled effect in your popcorn balls. This is a great way to incorporate Easter colors or match a specific party theme.
- → What are some other mix-ins I could add?
- Get creative with mix-ins like pastel M&Ms, white chocolate chips, chopped jelly beans, or crushed graham crackers. Just add them after the marshmallow mixture has been incorporated but while it's still sticky enough for additions to adhere.
