

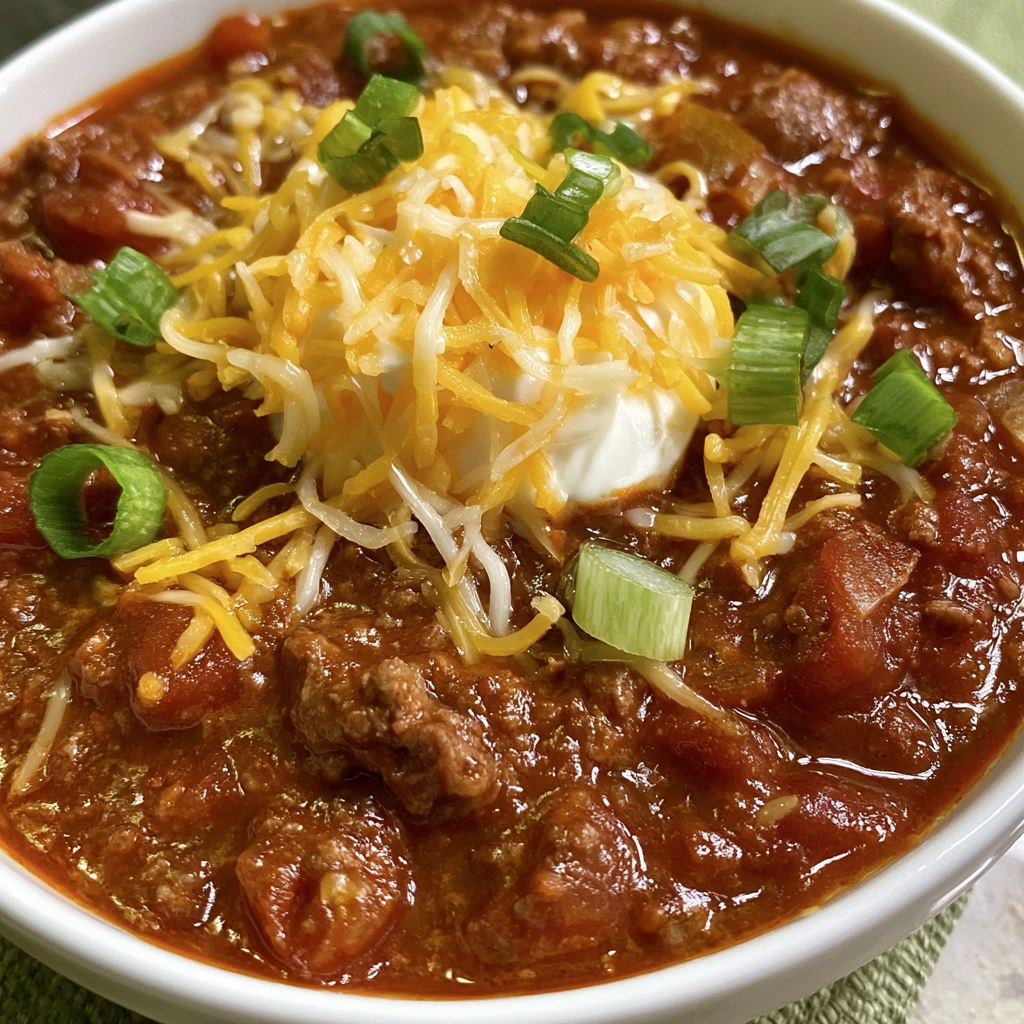
This easy homemade chili turns ground beef, peppers, tomatoes, and a prepared chili starter into a thick, comforting dinner in about 35 minutes. It has the slow-simmered character people want from chili, but the canned starter and concentrated beef base keep the ingredient list manageable on a weeknight.
The important work happens before the liquid goes in. Brown the beef with the onion and bell pepper, let the vegetables soften in the rendered fat, and drain well. Once the garlic is fragrant, everything else can simmer together gently while the seasoning settles into the sauce.
Ingredients for One-Pot Chili
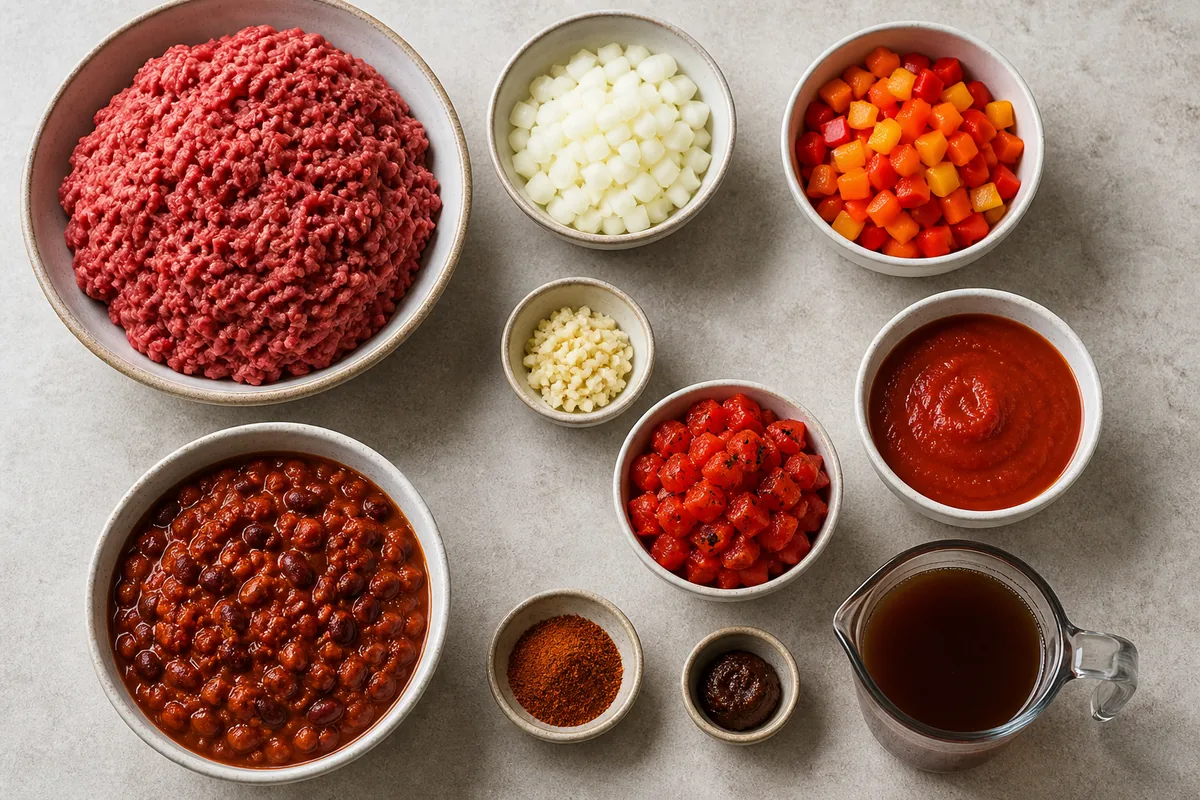
You need 2 pounds ground beef, 1/2 cup diced yellow onion, 1 diced bell pepper, and 1 tablespoon minced garlic for the base. The sauce uses two 15-ounce cans chili starter, one 15-ounce can fire-roasted diced tomatoes, one 15-ounce can tomato sauce, 1 packet chili seasoning, 1 teaspoon beef bouillon paste, and 1 cup beef broth.
- Ground beef: An 85/15 or 90/10 blend gives the chili body without leaving it greasy.
- Chili starter: Use two cans of a starter you already enjoy because its beans, sauce, and seasonings shape the final flavor.
- Fire-roasted tomatoes: Keep their liquid; it adds smoky tomato depth and helps the sauce simmer evenly.
- Beef bouillon paste: One teaspoon reinforces the savory flavor without requiring a long reduction.
- Bell pepper: Any color works. Green tastes sharper, while red or yellow adds mild sweetness.
If you enjoy this recipe, you may also like Meat Lover's Pizza Rice Skillet.
How to Make Easy Homemade Chili
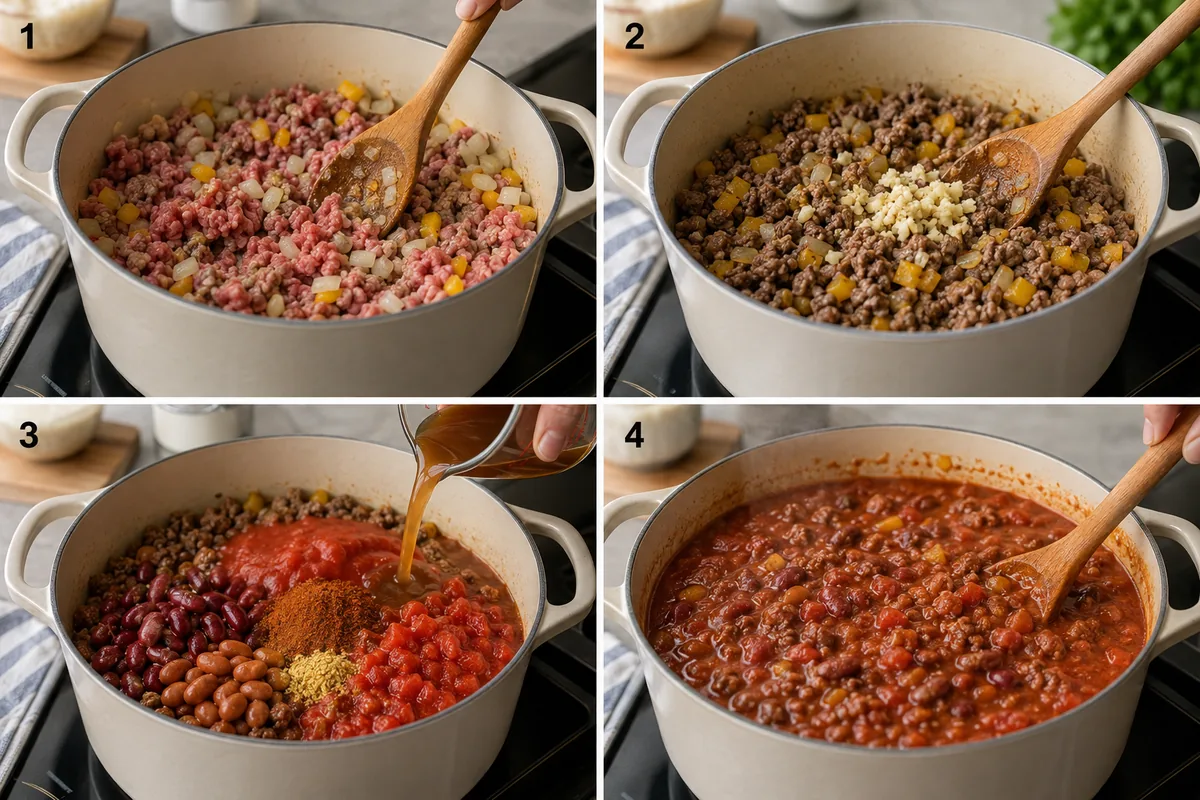
- Brown the base. Set a large heavy pot over medium-high heat. Add the ground beef, diced onion, and bell pepper. Break the meat into small pieces and cook until no pink remains and the vegetables begin to soften.
- Drain and add garlic. Carefully spoon off or drain excess fat. Return the pot to medium heat, stir in the minced garlic, and cook for about 1 minute, just until fragrant.
- Build the chili. Add both cans of chili starter, the fire-roasted tomatoes with their juices, tomato sauce, chili seasoning, beef bouillon paste, and beef broth. Scrape the bottom of the pot as you stir.
- Simmer. Bring the mixture to a gentle bubble, then reduce the heat to low. Simmer uncovered for 15 to 20 minutes, stirring now and then, until the sauce thickens and the flavors come together.
- Finish and serve. Taste before adding salt because the starter, seasoning packet, bouillon, and broth already contain it. Adjust pepper or seasoning, then ladle into bowls.
For storage details after serving, the USDA leftovers and food safety guidance.
Brown the Beef Before Adding Liquid
Crowding raw beef into a wet sauce makes it cook, but it misses the browned flavor that gives quick chili depth. Use a pot with a broad bottom and leave the heat at medium-high while breaking the meat apart. Let a few pieces sit against the hot surface long enough to develop color instead of stirring continuously.
The onion and pepper cook alongside the beef so their raw edge disappears early. If the pot holds a large pool of fat after browning, drain it before adding garlic. Leaving a thin coating is useful; leaving several tablespoons can make the finished bowl oily.
If you enjoy this recipe, you may also like Old Fashioned Vegetable Beef Soup.
Control the Texture with the Simmer
Keep the pot at a lazy simmer rather than a hard boil. Fast boiling can scorch tomato sauce around the edges and break down the beans in the chili starter. Stir every few minutes, reaching across the base of the pot where the beef settles.
For thicker chili, leave the lid off for the full 20 minutes. If it becomes thicker than you prefer, loosen it with a small splash of broth. For a soupier bowl, stop after 15 minutes. Remember that chili continues to thicken as it stands and will be noticeably firmer after refrigeration.
Easy Flavor Adjustments
The seasoning packet provides a dependable base, but you can adjust the character without changing the method. Add a pinch of smoked paprika for more smoke, cayenne for direct heat, or ground cumin for an earthier finish. A teaspoon of brown sugar can soften especially sharp canned tomatoes, while a squeeze of lime brightens a heavy pot.
Make one adjustment at a time and give it a minute in the hot chili before tasting again. Strong seasonings build quickly in a concentrated tomato sauce. If serving people with different heat preferences, keep the pot mild and offer hot sauce, sliced jalapeños, or crushed red pepper at the table.
Toppings and Serving Ideas
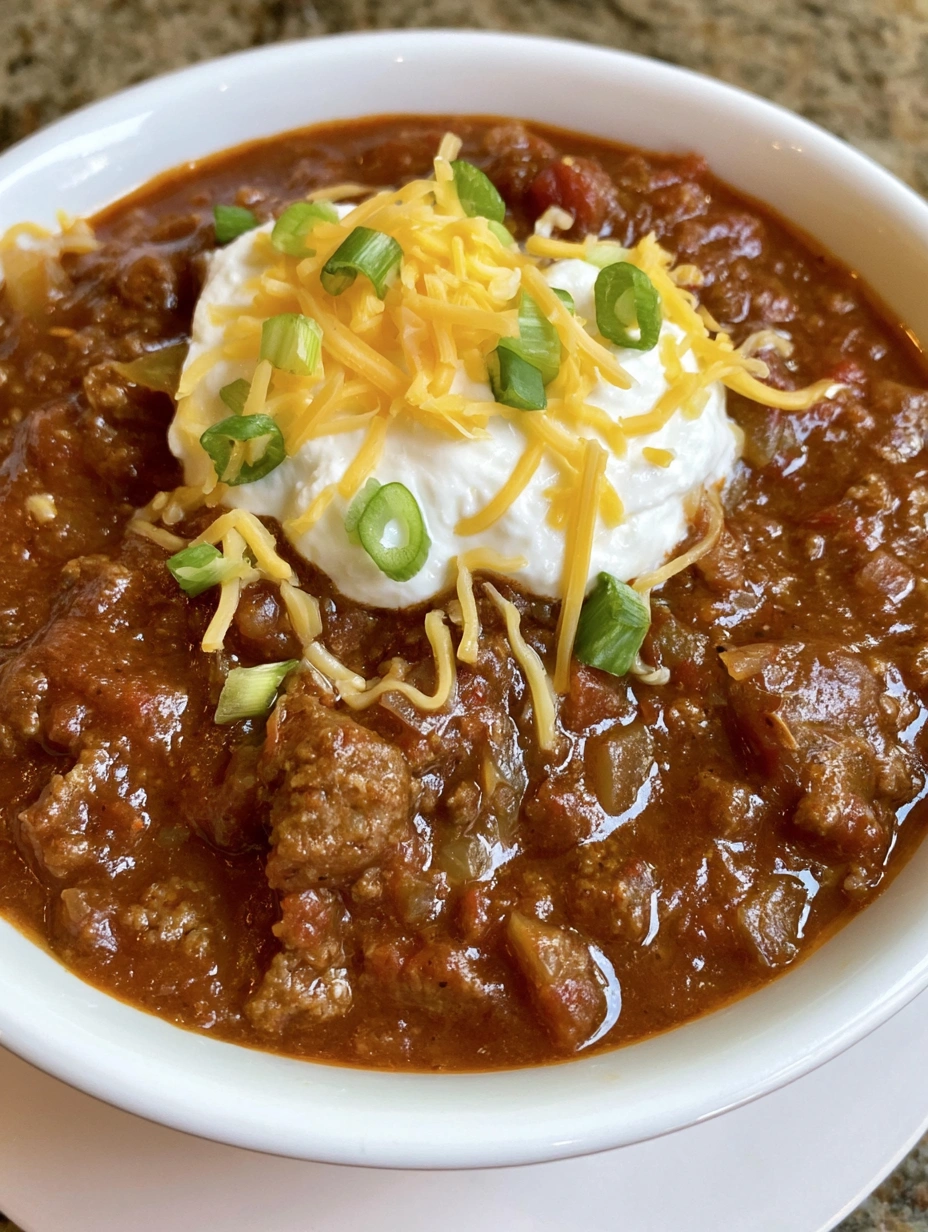
Set out shredded cheddar, sour cream, sliced scallions, diced avocado, pickled jalapeños, and crushed tortilla chips so everyone can finish a bowl their way. Cornbread, warm flour tortillas, or a simple green salad turns the chili into a complete meal without much extra work.
The chili also makes a useful filling for baked potatoes, nachos, chili dogs, or a rice bowl. When using it as a topping, simmer it toward the thicker end of the range so it stays in place rather than soaking the base.
Troubleshooting
- Chili is greasy: Drain the browned beef more thoroughly and skim any fat that rises during the simmer.
- Sauce is thin: Simmer uncovered for another 5 to 10 minutes, stirring more often as it reduces.
- Chili tastes too salty: Add plain tomato sauce or a little unsalted broth rather than more seasoning.
- Flavor seems flat: Check salt only after simmering, then add a small squeeze of lime or a pinch of cumin.
- Bottom is catching: Lower the heat and move the pot to a smaller burner; thick tomato sauces need gentle heat.
Storage, Freezing, and Reheating
Cool leftovers promptly and refrigerate them in a covered container for up to 4 days. The flavor often deepens overnight as the spices hydrate and the beef absorbs the tomato sauce. Reheat only the portion you need in a saucepan over medium-low heat, stirring occasionally and adding a spoonful of broth if it has become very thick.
For longer storage, freeze the cooled chili in meal-size containers for up to 2 months. Leave a little headspace for expansion and label the container with the date. Thaw overnight in the refrigerator, then bring it to a steady simmer before serving. Individual flat freezer bags thaw especially quickly and are convenient for lunches.
Conclusion
Brown 2 pounds of ground beef with onion and bell pepper, drain, and cook the garlic for 1 minute. Add chili starter, tomatoes, tomato sauce, seasoning, bouillon, and broth, then simmer gently for 15 to 20 minutes. Taste for salt only after the sauce has reduced.
Frequently Asked Questions
- → Can I make this chili ahead of time?
Yes. Prepare it up to 2 days ahead, cool it promptly, and refrigerate. Reheat gently with a splash of broth if needed; the flavor usually improves after resting.
- → How can I make the chili thicker?
Simmer it uncovered for an extra 5 to 10 minutes. Stir frequently near the end because the tomato base can catch as moisture evaporates.
- → Can homemade chili be frozen?
Yes. Freeze cooled chili airtight for up to 2 months. Thaw overnight in the refrigerator and reheat to a steady simmer.
- → What ground beef is best for chili?
An 85/15 or 90/10 blend works well. It provides enough fat for browning while remaining easy to drain and not making the finished chili greasy.