
 Pin it
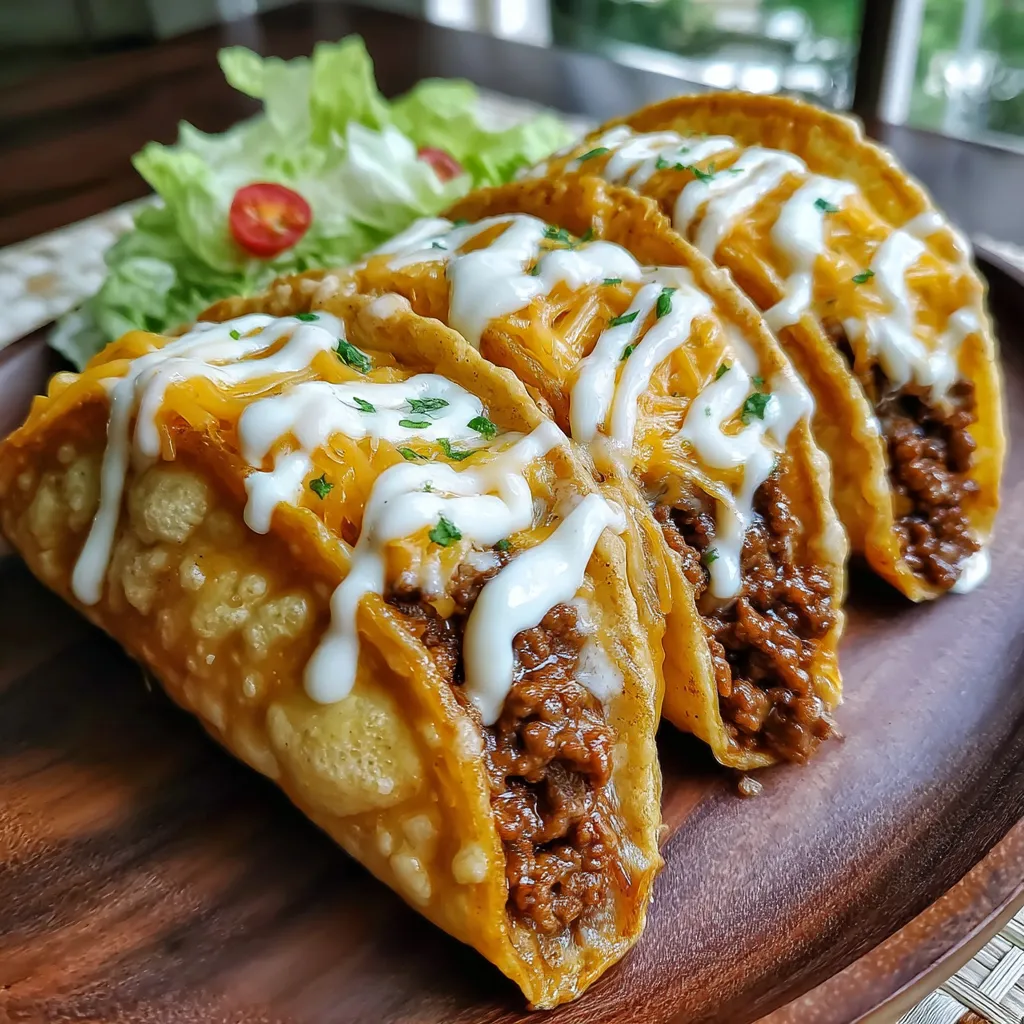
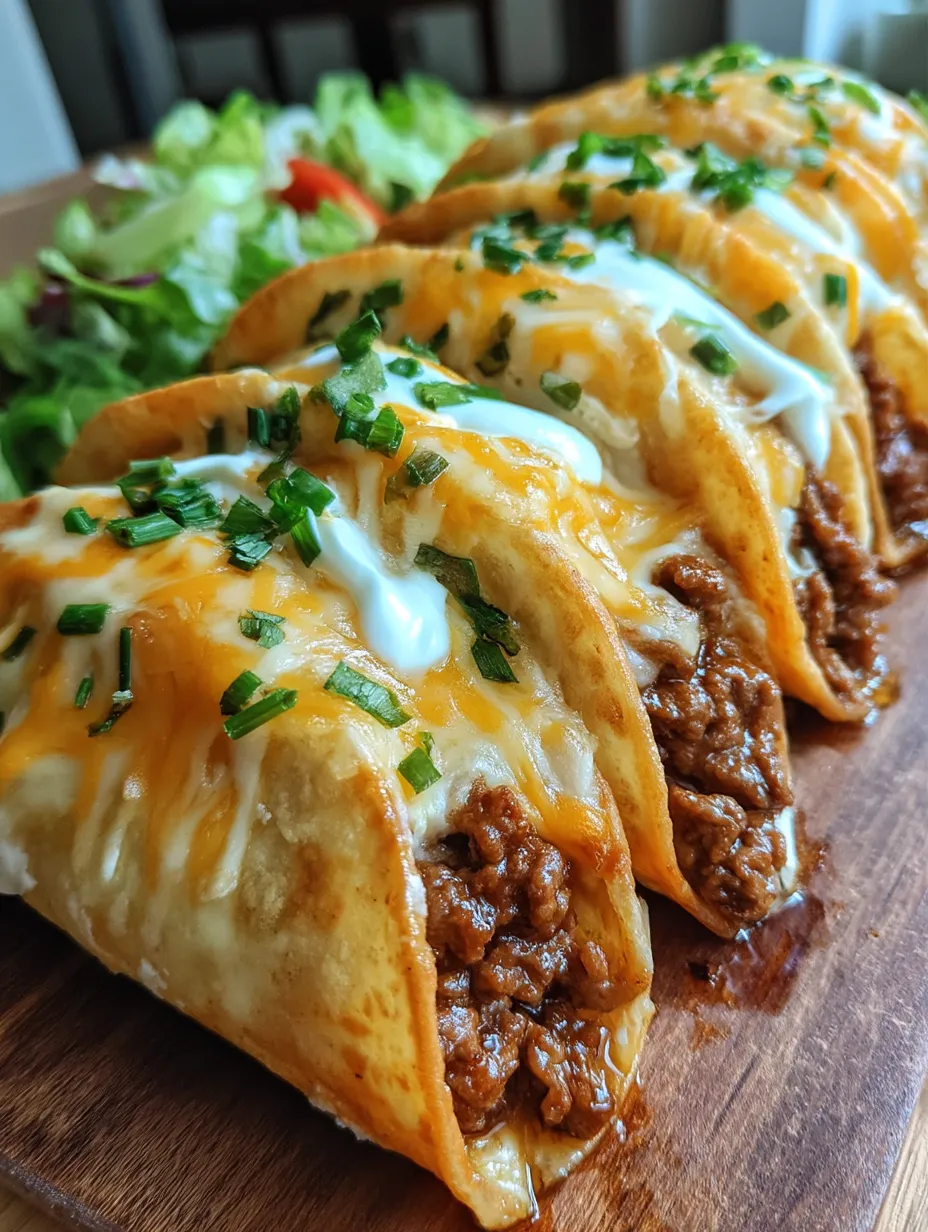
These pocket tacos have become my weekend guilty pleasure. Imagine biting through a crispy golden shell into warm, gooey cheese surrounding perfectly seasoned beef – it's basically the best parts of a quesadilla and a taco all rolled into one handheld package. I started making these when I needed something quick that would keep my teenagers from raiding the fridge every hour, and now they've become our Friday night tradition.
Last month when my son's friends came over unexpectedly, I whipped these up in about 30 minutes. The look on their faces when they bit into that first cheesy pocket was priceless. By the end of the night, I had three teenage boys asking for the recipe to take home to their moms. That's when you know you've hit on something good.
Simple Ingredients
- Ground Beef: The hearty base that makes these filling – 80/20 gives good flavor without excessive grease
- Cream Cheese: Creates that creamy, tangy richness that makes these irresistible – let it soften properly for easy spreading
- Packet Taco Seasoning: The shortcut that delivers big flavor with zero effort – choose mild or spicy based on your preference
- Cheddar Cheese: Brings that perfect melty stretch when you take a bite – pre shredded works fine but freshly grated melts better
- Salsa: Adds moisture and flavor dimension to the cream cheese base – chunky varieties add nice texture contrast
I discovered the trick of mixing salsa into the cream cheese by accident when I was low on ingredients one night. That happy mistake completely transformed these from good to "can't stop eating them" status. Sometimes kitchen magic happens when you least expect it.
 Pin it
Step-by-Step Instructions
- Beef Preparation
- Brown the ground beef thoroughly, breaking it into small crumbles as it cooks. Smaller pieces distribute better in the pockets and make eating cleaner. Draining off the excess fat prevents soggy pockets later. Adding the taco seasoning while the meat is still hot allows the flavors to bloom and penetrate deeply.
- Creamy Base
- Taking the time to beat the cream cheese until smooth before adding the salsa prevents lumps and creates an even spread. This mixture acts as both flavor and "glue" that helps hold everything together inside the pocket. Room temperature cream cheese mixes much more easily than cold, so don't skip this small prep step.
- Strategic Assembly
- Spread the cream cheese mixture first, covering the entire tortilla with a thin layer. This creates a moisture barrier that helps prevent the tortilla from getting soggy. Placing the beef in the center rather than spread out makes folding easier and prevents spillage during baking. The cheddar goes on top of the beef where it will melt down through the meat.
- Folding Technique
- The burrito style fold keeps everything neatly contained. Fold in the sides first, then roll from bottom to top, making sure all edges are sealed to prevent cheese from leaking out during baking. Don't overstuff or the pockets won't seal properly – about 2 3 tablespoons of filling is perfect.
- Butter Magic
- Brushing the tops with melted butter might seem like a small detail, but it's what transforms these from good to great. The butter helps the tortillas crisp up beautifully golden while adding rich flavor to the exterior. For extra flavor, add a pinch of garlic powder to the melted butter before brushing.
- Baking Brilliance
- Placing the pockets seam side down on the baking sheet prevents them from unraveling during baking. The 350°F temperature is perfect – hot enough to crisp the exterior but not so hot that the outsides burn before the inside heats through. The 15 minute bake time allows the tortillas to crisp while the cheeses melt to gooey perfection.
My first attempt at these resulted in a cheesy explosion all over my oven because I got too generous with the filling. I've since learned that restraint with filling leads to better pocket integrity. Some cooking lessons are learned the hard way!
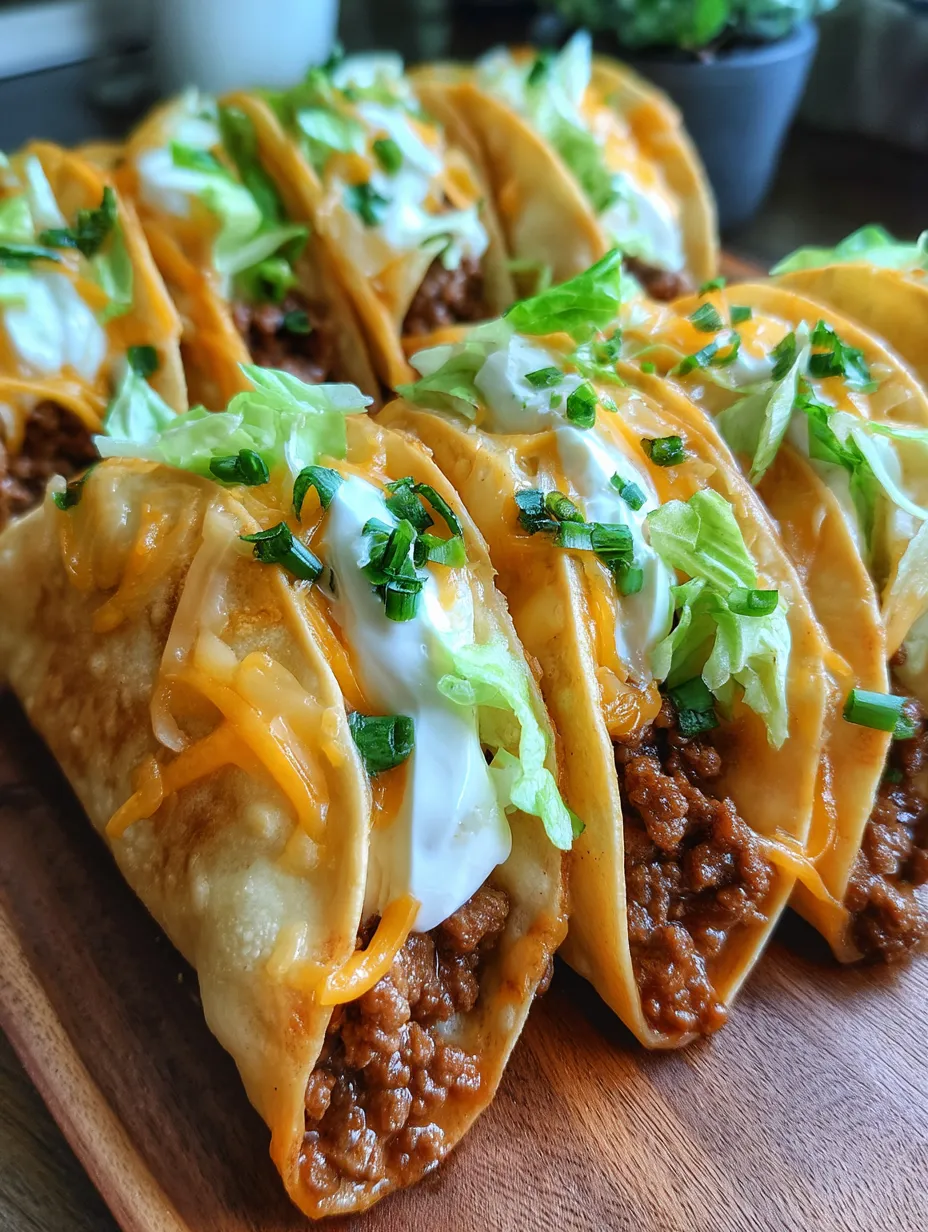
Serving Suggestions
These pockets need little accompaniment, but a few simple sides elevate the meal. Set out small bowls of additional salsa, sour cream, and guacamole for dipping – the contrast of the hot, crispy pockets with cool dips is perfect. A simple side salad with lime vinaigrette adds fresh balance to the rich pockets. For a fun presentation, serve on a platter with lime wedges and fresh cilantro scattered around.
Creative Variations
Transform this basic recipe with simple swaps that create entirely new flavor experiences. Try ground chicken or turkey seasoned with the same taco mix for a lighter version. Vegetarians can substitute a mixture of black beans and corn for the beef. Add a layer of refried beans under the beef for extra creaminess and protein. Spice lovers might appreciate diced jalapeños or Mexican hot sauce mixed into the cream cheese base.
Pocket Planning
These pockets are perfect for meal prep and advance preparation. Assemble completely, then freeze on a baking sheet until solid. Transfer frozen pockets to a zip top bag and store for up to three months. Bake directly from frozen, adding about 5 7 minutes to the cooking time. For quick after school snacks, bake a batch ahead and refrigerate for up to three days – reheat in a 350°F oven for 5 7 minutes to restore crispness.
 Pin it
I've been making these pocket tacos for about three years now, gradually perfecting the ratios and technique. What started as a quick solution for hungry teenagers has become something friends and family specifically request. There's something deeply satisfying about creating a dish that looks sophisticated but requires minimal effort – the perfect combination of impressive results with realistic prep time.
Frequently Asked Questions
- → Can I make these ahead of time?
- Absolutely! You can assemble these pocket tacos completely, then refrigerate them for up to 24 hours before baking. You may need to add an extra 2-3 minutes to the baking time if cooking them straight from the refrigerator. They also freeze well - just assemble, freeze in a single layer until solid, then transfer to a freezer bag for up to 3 months. Bake from frozen at 350°F for about 25-30 minutes.
- → What can I use instead of ground beef?
- These versatile pockets work well with many protein substitutes. Ground turkey or chicken are lighter alternatives that work perfectly with taco seasoning. For a vegetarian version, try black beans (drained and rinsed), crumbled tofu sautéed with the taco seasoning, or even a meat substitute product. Shredded rotisserie chicken mixed with the taco seasoning also makes an excellent quick variation.
- → How can I make these spicier?
- There are several ways to add heat to these pocket tacos. Use hot salsa instead of mild, add a few dashes of hot sauce to the cream cheese mixture, or mix in diced jalapeños or green chiles. You can also sprinkle red pepper flakes into the beef as it cooks, use pepper jack cheese instead of cheddar, or serve with spicy salsa or hot sauce on the side for dipping.
- → Can I use corn tortillas instead of flour?
- While traditional 6-inch flour tortillas work best for this recipe because they're pliable and hold together well when folded, you can use corn tortillas with some adjustments. Corn tortillas are more prone to cracking, so you'll need to warm them first to make them pliable. Wrap a stack in damp paper towels and microwave for 30 seconds, then work quickly to fill and fold them before they cool and stiffen again.
- → What side dishes go well with these pocket tacos?
- These pocket tacos pair beautifully with traditional Mexican-inspired sides. Try a simple green salad with cilantro-lime dressing, Mexican rice, refried or black beans, elote (Mexican street corn), or a fresh corn and avocado salad. For a lighter option, serve with a tangy slaw or roasted vegetables. Don't forget classic toppings like guacamole, pico de gallo, or extra sour cream for dipping!