
 Pin it
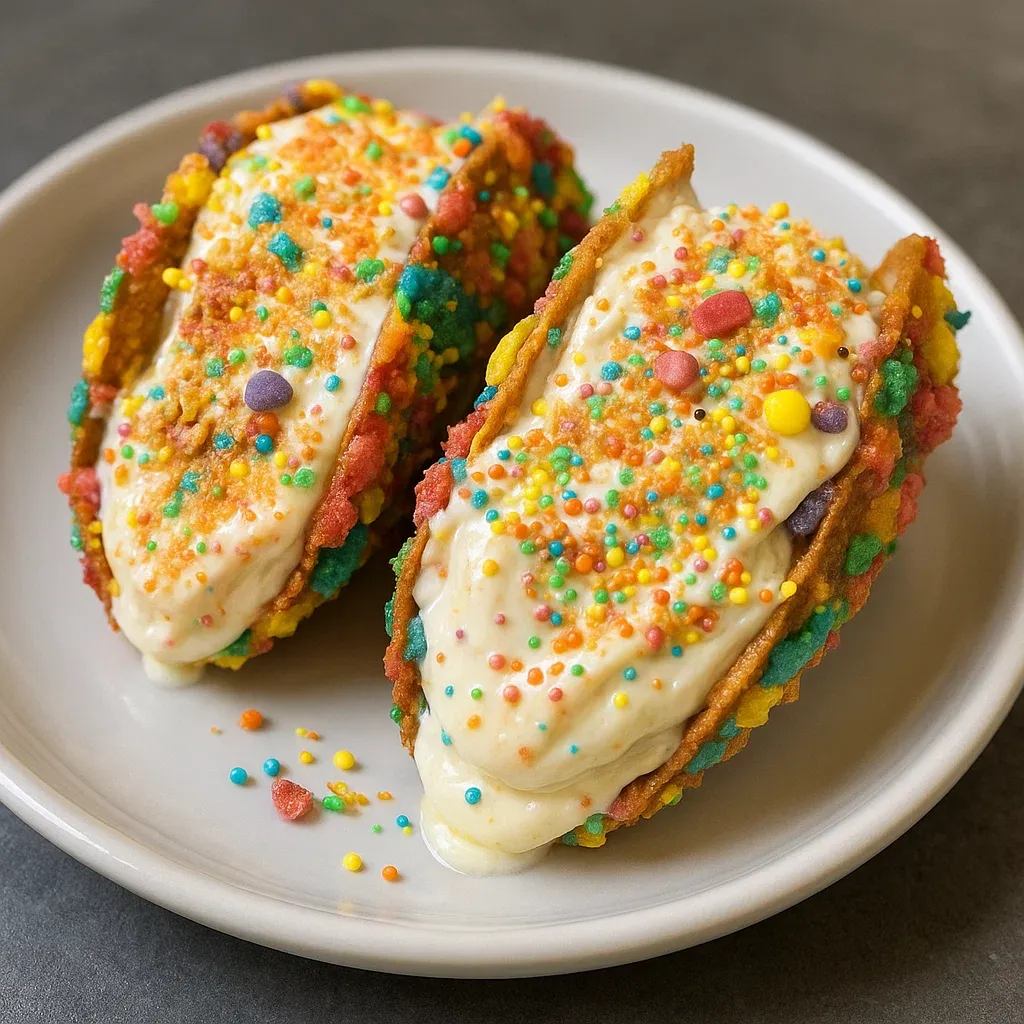
This fruity Pebbles Cheesecake Tacos recipe transforms ordinary cereal into an extraordinary dessert experience. The combination of crunchy, colorful shells filled with creamy cheesecake creates a playful twist that will delight both kids and adults alike.
I first created these colorful treats for my niece's birthday party last summer. The children were mesmerized by the vibrant colors, and even the adults couldn't resist grabbing seconds. Now they've become our signature family dessert for celebrations.
Ingredients
- 3 cups colorful fruity cereal: Provides the eye catching crunch and sweet flavor for the shells
- 1/2 cup unsalted butter melted: Binds the cereal together and adds richness
- 8 oz cream cheese softened: Creates the smooth base for the filling look for full fat for best texture
- 1/2 cup powdered sugar sifted: Sweetens without graininess ensure you sift for smoothness
- 1 tsp pure vanilla extract: Enhances the flavor profile with warmth
- 1 cup whipped cream: Lightens the filling making it airy and cloud like
- Additional fruity cereal for garnishing: Adds extra crunch and visual appeal
Step-by-Step Instructions
- Prepare the Crunchy Shell:
- Thoroughly mix your fruity cereal with melted butter until every colorful piece is completely coated. The butter should be warm enough to coat easily but not hot enough to melt the cereal. This mixture will form the foundation of your taco shells with the perfect balance of crunch and stability.
- Shape Your Shells:
- Press the mixture firmly into taco shaped molds or use the back of a muffin tin for an easy alternative. Apply even pressure to ensure the shells hold together. Place in the refrigerator for at least 30 minutes this chilling time is essential for creating shells that won't crumble when filled.
- Whisk Up the Cheesecake Filling:
- Beat the room temperature cream cheese with an electric mixer for about 2 minutes until completely smooth and fluffy. Gradually incorporate the powdered sugar and vanilla extract beating between additions. Continue mixing until you achieve a silky consistency with no lumps.
- Add Airiness:
- Fold the whipped cream into your cream cheese mixture using gentle strokes. Start by adding one third of the whipped cream to lighten the base then fold in the remainder. Use a figure eight motion with your spatula to preserve the air bubbles that make the filling light and mousse like.
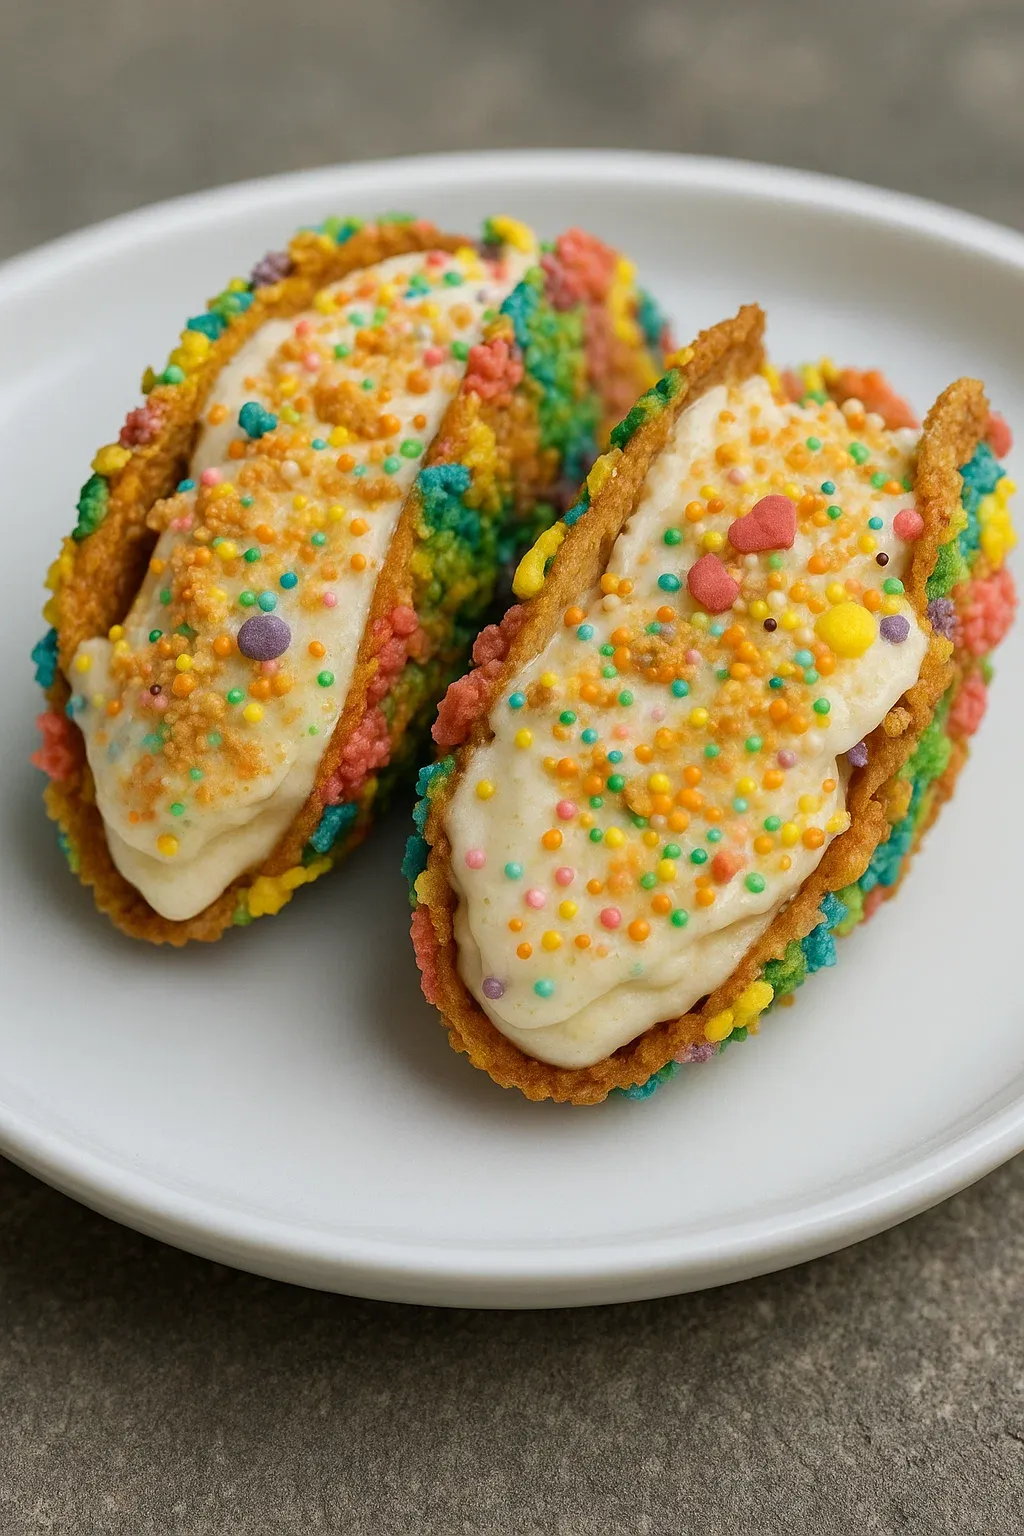
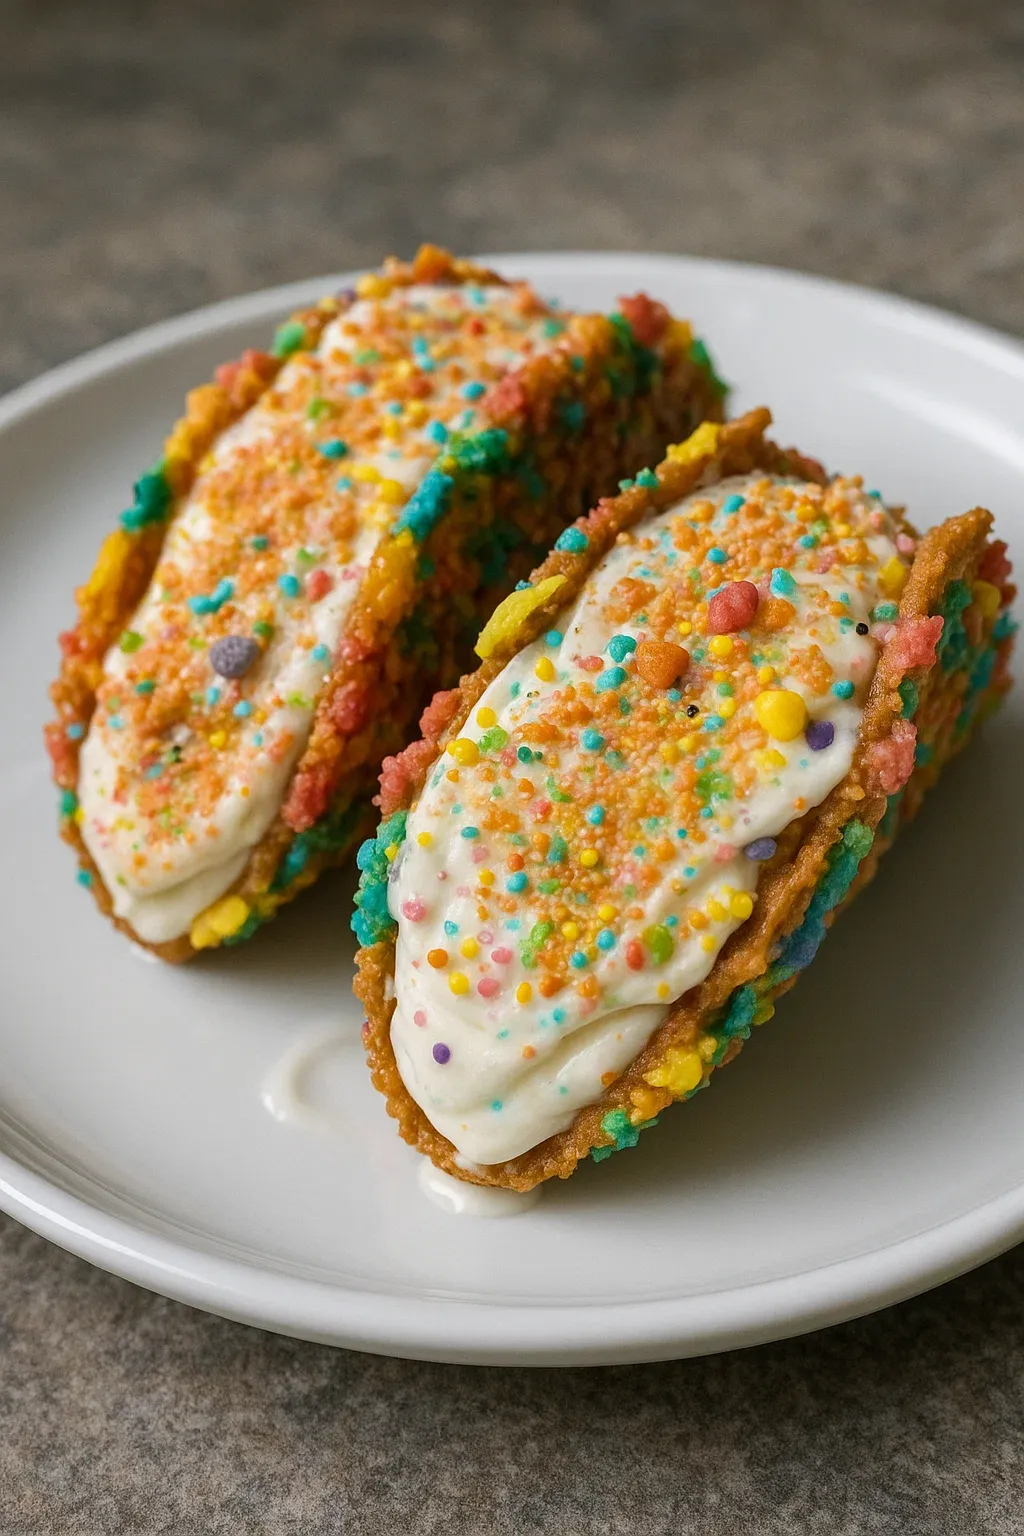
- Assemble the Bites:
- Remove your hardened shells from the refrigerator and fill each one with a generous portion of the cheesecake mixture. Use a piping bag for cleaner presentation or simply spoon the filling for a more rustic look.
- Garnish and Serve:
- Sprinkle additional cereal pieces on top pressing them lightly into the filling so they adhere. For best texture contrast serve immediately or chill for up to an hour if you prefer a firmer filling.
 Pin it
The vanilla extract is my secret weapon in this recipe. Though it seems simple its flavor bridges the gap between the tangy cream cheese and sweet cereal creating perfect harmony. My grandchildren always fight over who gets to sprinkle the extra cereal on top making it a treasured family activity.
Storage and Make-Ahead Tips
These cheesecake tacos will keep in the refrigerator for up to three days though the shells gradually soften over time. For best results store them in a single layer in an airtight container with parchment paper between layers if stacking is necessary. If making ahead keep the shells and filling separate refrigerating both until ready to assemble just before serving.
Perfect Pairings
Serve these vibrant tacos alongside fresh berries for a beautiful color contrast and complementary flavor. For special occasions add a small scoop of vanilla ice cream or a drizzle of white chocolate. These tacos also pair wonderfully with colorful drinks like strawberry lemonade for children or a sparkling rosé for adults at celebration events.
Troubleshooting Common Issues
If your shells crumble easily you likely need more butter or didnt press firmly enough during molding. Add additional melted butter a teaspoon at a time until the mixture holds together when pressed. If your filling seems too runny ensure your cream cheese was at room temperature and that your whipped cream was properly whipped to stiff peaks before folding. Chilling the assembled tacos for 30 minutes can help firm up a soft filling.
 Pin it
Frequently Asked Questions
- → How do I keep the cereal shells from falling apart?
Ensure the cereal is thoroughly coated with melted butter and firmly pressed into molds. Chilling for at least 30 minutes helps them set properly.
- → Can I customize the cheesecake filling?
Yes, you can add berry puree, citrus zest, or flavored extracts to the filling to create different flavor variations.
- → How do I make this dessert vegan-friendly?
Substitute cream cheese and whipped cream with plant-based alternatives. Use a dairy-free spread for the melted butter in the shells.
- → Can I prepare this dessert in advance?
Yes, the cereal shells can be made a day ahead and stored in an airtight container. Assemble with the filling shortly before serving.
- → What other toppings can I use for garnishing?
Experiment with crushed cookies, sprinkles, chopped nuts, or even a drizzle of melted chocolate for added flair.