
 Pin it
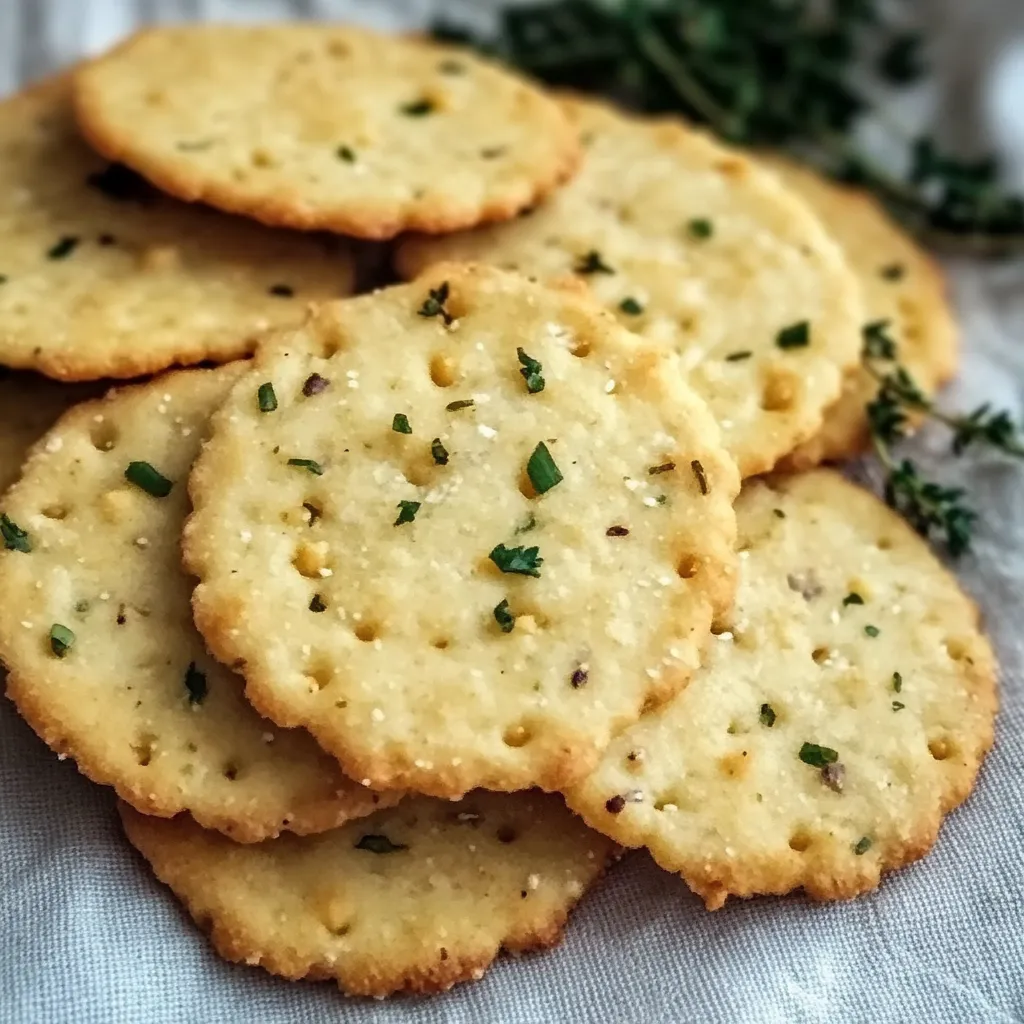
I stumbled upon this garlic and herb chickpea flour cracker recipe last spring when I was looking for healthier snack options but tired of everything at the grocery store. The combination of savory herbs and nutty chickpea flour creates these incredible crackers that taste like they came from an expensive specialty shop but cost a fraction to make at home. They've become my go-to when I want something crunchy that I can feel good about eating.
My neighbor stopped by just as these were cooling on the rack, and the aroma of garlic and herbs convinced her to try one. After her third cracker, she asked for the recipe, saying she couldn't believe something so simple could taste so much better than store-bought versions. Sometimes the most satisfying recipes are the ones that transform humble ingredients into something special.
Simple Ingredients
- Chickpea flour: Also called besan, it provides a nutty flavor and protein-rich base
- Dried herbs: The combination of rosemary, thyme, and oregano creates a classic savory profile
- Garlic powder: Adds that perfect savory depth without the burning risk of fresh garlic
- Olive oil: Creates richness and helps develop those crispy edges
- Salt and pepper: Essential for bringing all the flavors together
 Pin it
Cracker Creation
- Dough Development
- The consistency of your dough makes all the difference - it should feel like play-dough, pliable but not sticky. I've found that adding the water gradually, rather than all at once, gives me better control over the final texture. The first time I made these, I added all the water immediately and ended up with a sticky mess that required adding more flour, which threw off the flavor balance. Now I start with half the water and add the rest little by little until it reaches that perfect consistency.
- Rolling Technique
- Using parchment paper both below and above the dough is absolutely genius - it prevents sticking without adding extra flour, which could make the crackers too dry. Press firmly and roll with even pressure to maintain consistent thickness throughout. I aim for about 1/8 inch thickness, which creates perfectly crisp crackers. My first batch had uneven thickness, which meant some crackers burnt while others remained undercooked. The parchment paper trick also makes transfer to the baking sheet seamless.
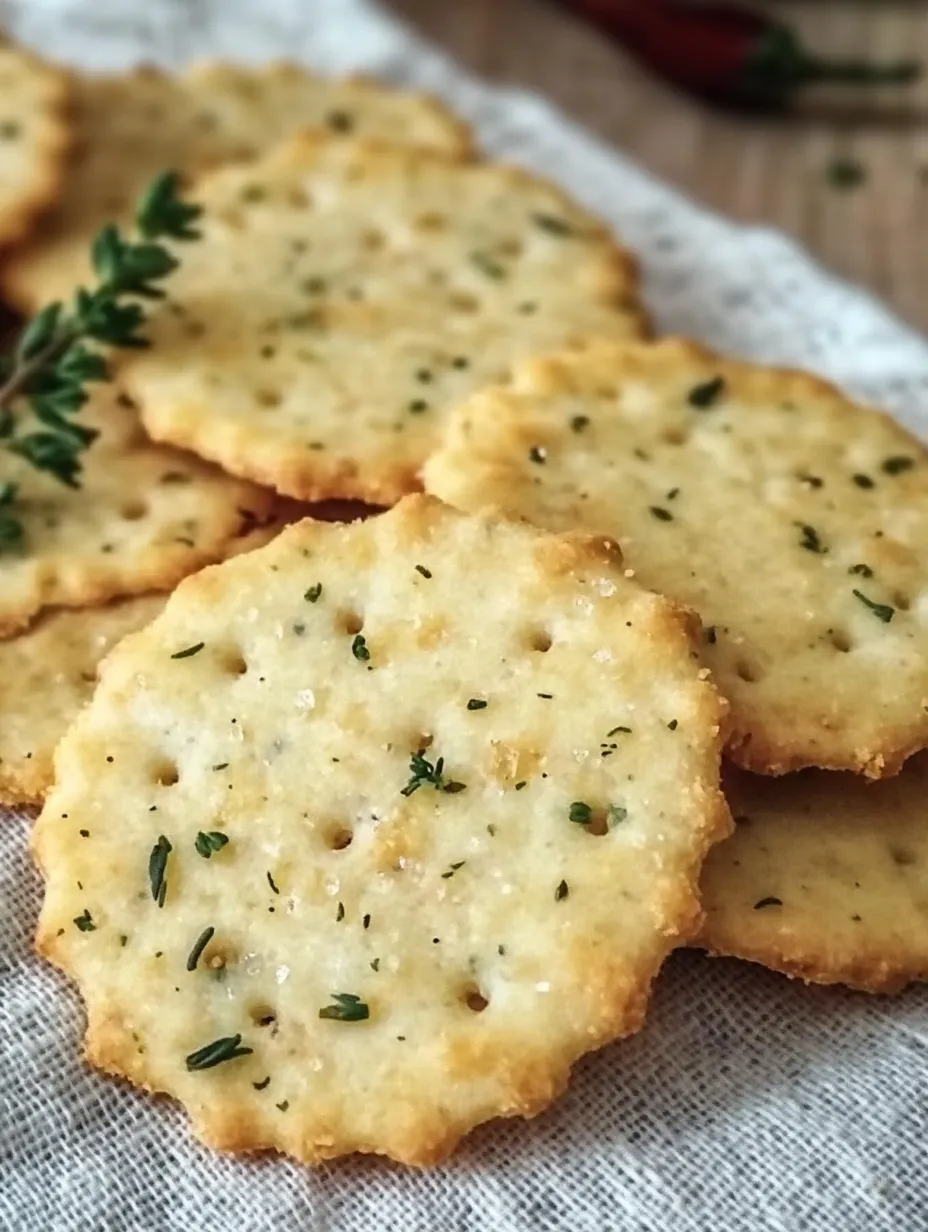
- Scoring Strategy
- Creating defined score lines before baking makes for clean breaks after cooling. I've found that a pizza cutter works beautifully for this, creating straight lines without dragging the dough. Don't worry about cutting all the way through - just create good indentations. The shape and size are entirely up to your preference - I typically do 1.5-inch squares for easy snacking, but have made everything from larger rectangular "flatbreads" to tiny diamonds for cheese plates.
- Baking Vigilance
- These crackers require close attention during baking. The high protein content in chickpea flour means they go from perfectly golden to burnt rather quickly. I start checking at the 12-minute mark and usually find 15-17 minutes to be the sweet spot in my oven. The edges should be getting golden while the centers firm up. If you notice some areas browning faster than others, rotate the pan halfway through baking for more even results.
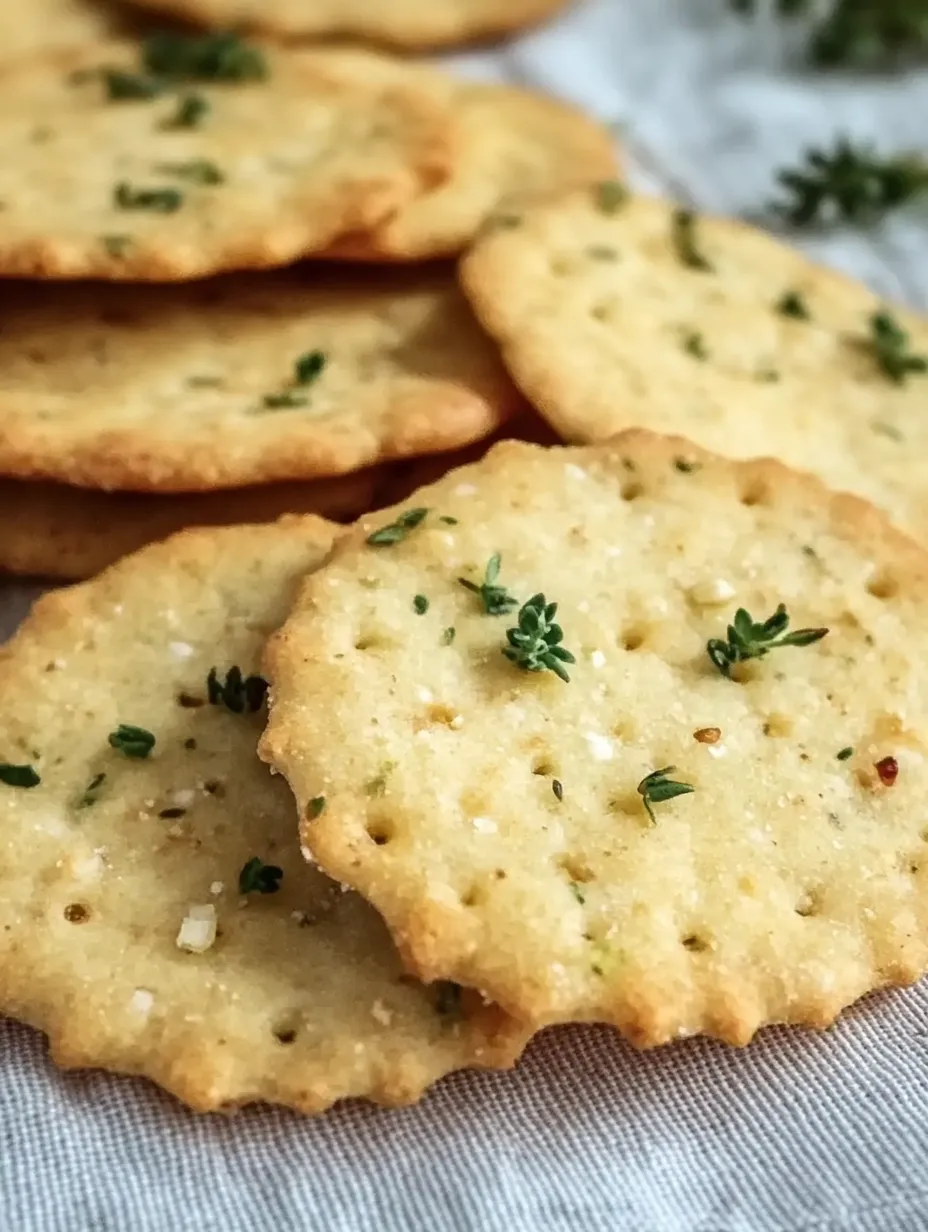
- Cooling Patience
- The cooling step is not just waiting time - it's actually an essential part of the cooking process. The crackers continue to crisp up significantly as they cool. The first time I made these, I was impatient and broke into them while still warm, finding them disappointingly chewy. When I let the next batch cool completely, the transformation was remarkable - perfectly crisp, light crackers. I now make myself leave the kitchen while they cool to avoid temptation!
- Storage Wisdom
- Once cooled completely, store in an airtight container to maintain freshness. If they soften after a few days (though they rarely last that long in my house), the quick reheat in a low oven works wonders to restore crispness. Glass containers seem to keep them crispier longer than plastic in my experience. For gift-giving, I package them in paper bags lined with parchment, which looks rustic and charming while protecting the crackers.
My teenage son, who typically reaches for bags of chips without a second thought, actually requested I make "those garlic crackers" again for his study group. When a picky teen chooses homemade over processed snacks, you know you've found a winning recipe.
Perfect Pairings
Serve these crackers with hummus or baba ganoush for a protein-rich snack. For entertaining, I arrange them on a cheese board with soft cheeses like goat cheese or brie, which complement the nutty flavor beautifully. They're substantial enough to hold up to hearty dips like spinach artichoke without breaking. My husband loves them alongside soup for lunch, while I often grab a handful with a piece of fruit for a quick afternoon energy boost.
Flavor Variations
Try adding a teaspoon of smoked paprika for a subtle smoky flavor. Replace the mixed herbs with za'atar or everything bagel seasoning for a different flavor profile. Add finely grated parmesan cheese to the dough for a cheesy variation that's absolutely addictive. Last month I experimented with adding finely chopped fresh rosemary instead of dried herbs, which created beautiful flecks throughout the crackers and an even more aromatic result.
 Pin it
I've made these garlic and herb chickpea flour crackers countless times since discovering the recipe, tweaking it slightly each time until it's perfectly suited to my taste. What started as a healthy alternative to store-bought crackers has become a staple in my kitchen and a frequent request from friends and family. There's something deeply satisfying about transforming a few simple ingredients into something so flavorful and nourishing. My daughter has even started making these in her college apartment, saying they make her feel like a "real adult" when she serves them to friends instead of opening a box of crackers.
Frequently Asked Questions
- → Is chickpea flour the same as besan?
- Yes, chickpea flour and besan are the same product. Besan is the Indian name for flour made from ground chickpeas (also called gram flour). It has a slightly nutty flavor and is naturally gluten-free, making it perfect for these crackers.
- → Can I use different herbs and spices in these crackers?
- Absolutely! The recipe is very adaptable to different flavor profiles. Try Italian herbs with a sprinkle of nutritional yeast for a cheesy flavor, cumin and paprika for a Southwestern twist, or za'atar and sumac for a Middle Eastern version.
- → Why did my crackers turn out chewy instead of crispy?
- The most common reason for chewy crackers is insufficient baking or cooling time. Chickpea flour crackers need to be rolled thin (about 1/8 inch) and baked until the edges are golden brown. They also continue to crisp up as they cool, so be sure to let them cool completely before storing.
- → How long do homemade chickpea crackers stay fresh?
- When stored in an airtight container at room temperature, these crackers will stay fresh for up to one week. If they begin to soften after a few days, you can recrisp them by placing in a 300°F oven for about 5 minutes.
- → Are these crackers good for dipping?
- Yes! These chickpea flour crackers are sturdy enough for dipping into hummus, baba ganoush, guacamole, or any other dip. They also pair beautifully with soft cheeses on a charcuterie board or can be enjoyed on their own as a protein-rich snack.