
 Pin it
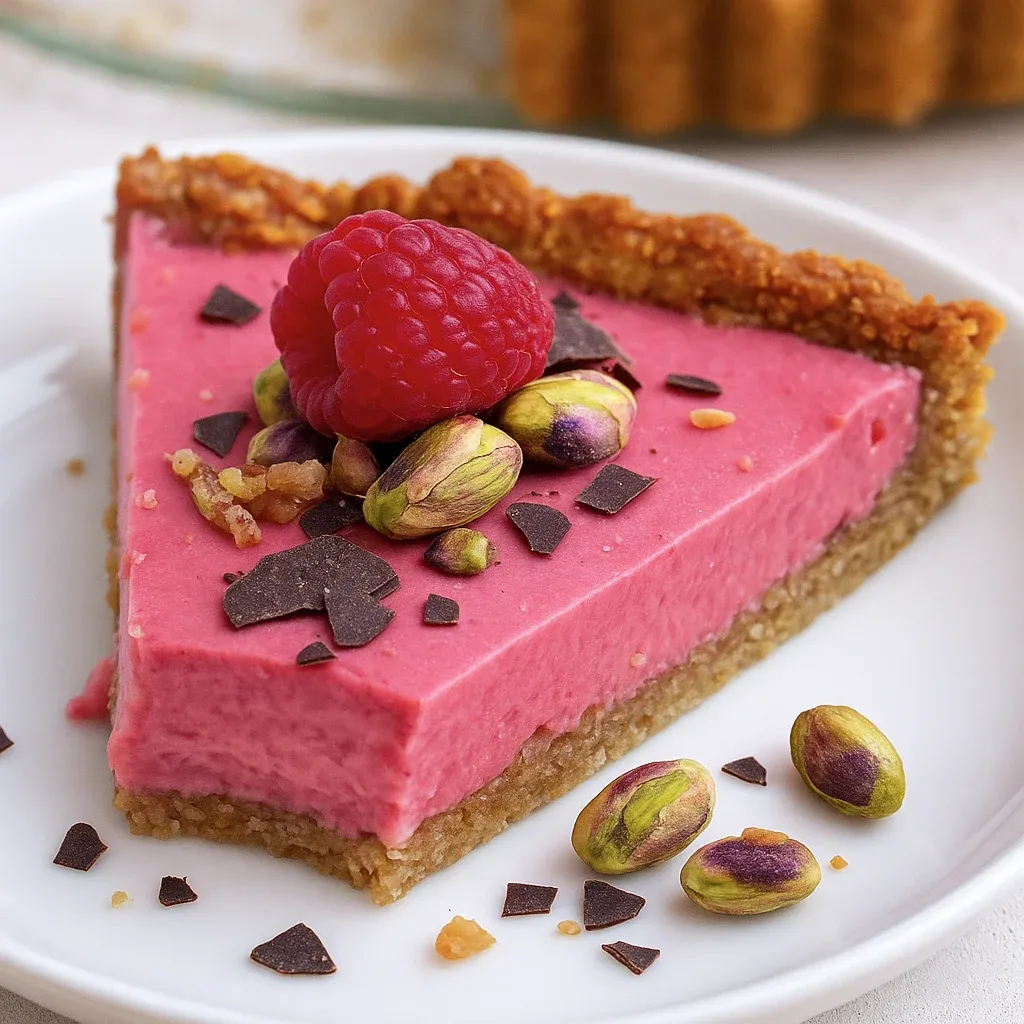
This Raspberry Cream Tart has been my ultimate summer dessert for years, combining the refreshing taste of raspberries with a creamy yogurt filling and a nutritious date-nut crust. It's a heavenly treat that's not only delicious but also healthy, vegan, and gluten-free.
I first created this tart when looking for a healthier dessert option that wouldn't compromise on flavor. Now it's my go-to recipe whenever we have guests over during summer months they never believe it's actually good for them.
Ingredients
- Rolled oats: Provide a nutritious base and create the perfect texture for our crust
- Almonds: Add healthy fats and a subtle nutty flavor that complements the raspberries
- Walnuts: Bring omega-3 fatty acids and their distinctive taste deepens the flavor profile
- Dates: Work as a natural sweetener and binding agent look for soft Medjool variety if possible
- Coconut oil: Helps solidify the crust when chilled use virgin oil for better flavor
- Agave syrup: Adds just the right amount of sweetness without overwhelming the natural flavors
- Salt: Enhances all the flavors in the crust just a pinch makes everything pop
- Frozen raspberries: Work perfectly year-round but fresh berries will provide brighter flavor in summer
- Yogurt: Creates the creamy base with a pleasant tanginess choose plant-based for vegan option
- Coconut cream: Provides richness and helps the filling set properly chill coconut milk overnight and use only the solid part
- Agar agar: Serves as a vegetarian gelatin alternative ensures perfect setting without animal products
- Coconut sugar or agave syrup: Allows you to control sweetness to your preference
- Lemon juice: Brightens the flavor and balances the sweetness with a hint of acidity
Step-by-Step Instructions
- Prepare the dates:
- Soak the dates in water for at least one hour to soften them properly. This ensures they blend smoothly into a paste that will bind our crust ingredients together effectively. The longer you soak them the easier they will blend.
- Grind the dry ingredients:
- Finely grind the oats, walnuts, and almonds in a food processor until they reach a flour-like consistency. This creates the base texture for our crust and helps everything bind together properly. Make sure to process them until no large pieces remain.
- Make the date mixture:
- Process the soaked dates with coconut oil and agave syrup until they form a smooth paste. The mixture should be sticky and hold together when pressed between your fingers. This creates the binding agent for our crust.
- Combine the crust:
- Add the ground oat-nut mixture and salt to the date paste and process until everything is well combined. The resulting dough should hold together when pressed and have a slightly sticky consistency. This will form the delicious base of our tart.
- Form the crust:
- Press the dough firmly into a greased tart pan, creating an even layer with slightly raised edges. Use your fingers or the bottom of a glass to ensure the crust is packed tightly and evenly. This prevents cracking during baking.
- Bake the crust:
- For the baked version, place the crust in a preheated oven at 180°C for 10-15 minutes until just slightly golden. Watch carefully to prevent burning as nut crusts can darken quickly. Let cool completely before filling.
- Prepare the raspberry puree:
- Heat the frozen raspberries until they begin to break down, then strain through a fine sieve to remove the seeds. This creates a smooth, intensely flavored raspberry puree that forms the base of our cream filling.
- Mix the cream base:
- Combine yogurt, coconut cream, sweetener, and lemon juice in a blender until smooth and well incorporated. Add the raspberry puree and blend again until the mixture turns a beautiful pink color and everything is perfectly combined.
- Activate the agar agar:
- Mix agar agar with water or milk and a tablespoon of the yogurt mixture in a small saucepan. Bring to a boil while stirring constantly, then let bubble for one minute. This activates the gelling properties that will help our tart set properly.
- Complete the filling:
- Quickly stir the hot agar agar mixture into the raspberry cream until fully incorporated. Work quickly as agar agar begins setting as it cools. Pour the mixture into the cooled tart crust, spreading it evenly to create a smooth surface.
- Chill to set:
- Refrigerate the tart overnight or for at least 4 hours until the filling is completely set. This patience-testing step is essential for achieving the perfect creamy yet firm texture that makes this tart so special.
 Pin it
The coconut cream is truly the secret ingredient in this recipe. The first time I made this tart, I was amazed at how it created such a luxurious texture without using any dairy. The way it combines with the raspberry puree creates a perfect balance that reminds me of the classic raspberry desserts my grandmother used to make, but with a modern, healthier twist.
Make Ahead and Storage
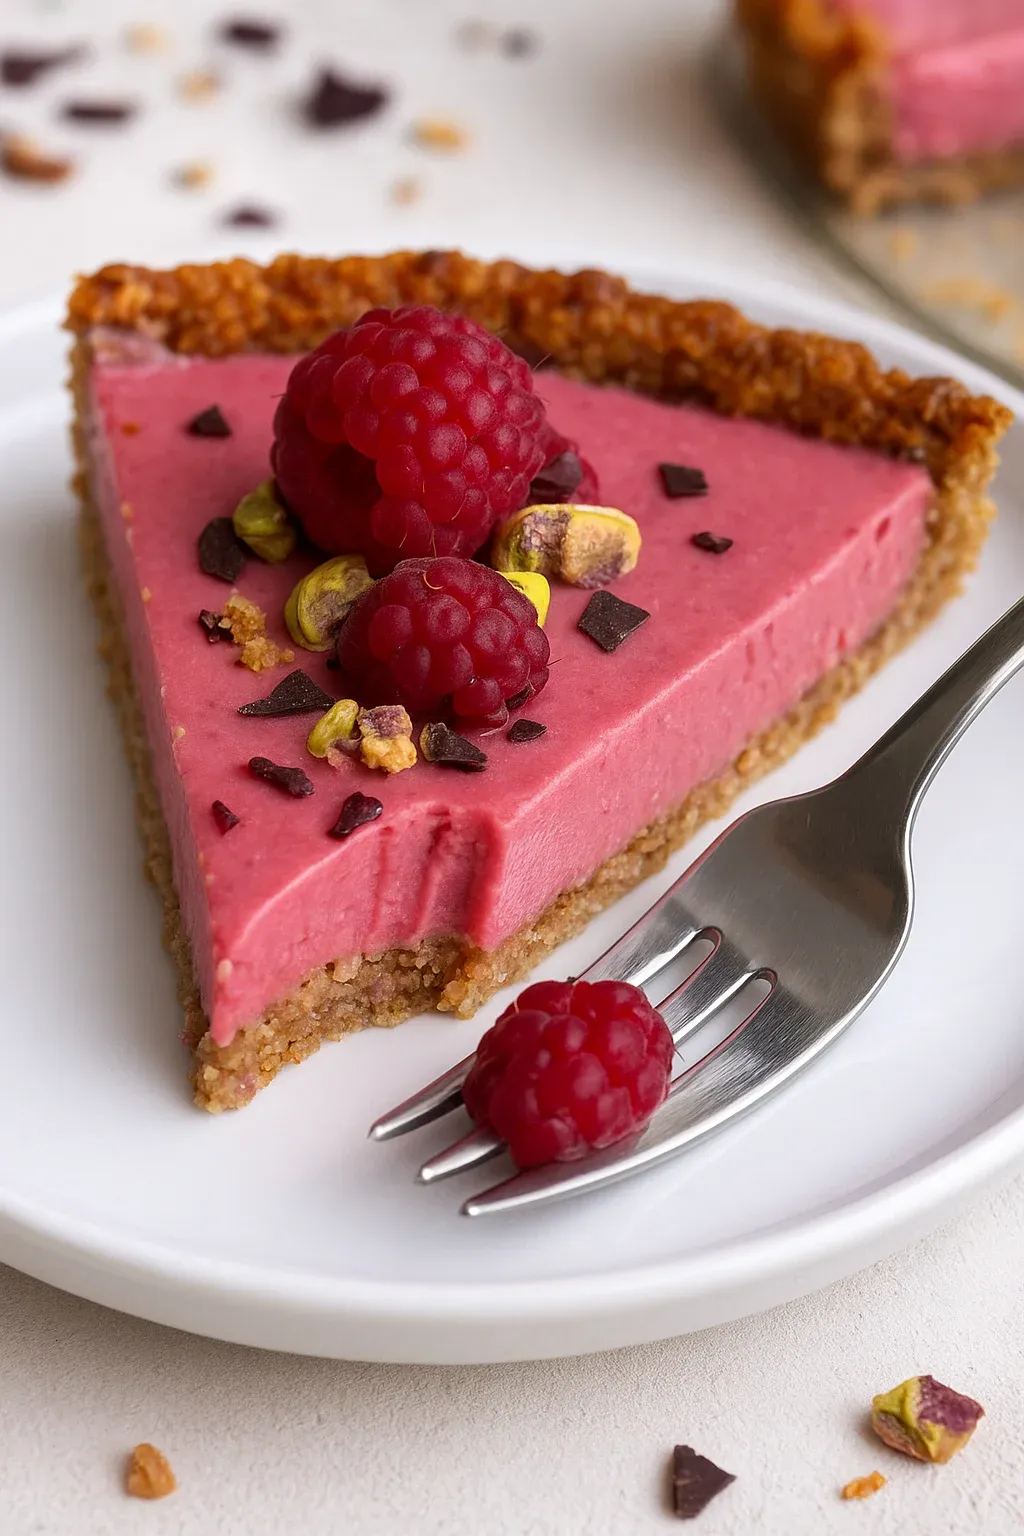
This tart actually tastes better on the second day after the flavors have had time to meld together. You can store it in the refrigerator for up to 5 days, though the crust may begin to soften slightly after day 3. For longer storage, you can freeze individual slices for up to 2 months simply thaw in the refrigerator overnight before serving.
Seasonal Variations
While frozen raspberries work beautifully year-round, you can experiment with other berries based on seasonal availability. Strawberries create a sweeter version perfect for early summer, while blackberries give a more intense flavor with a hint of tartness ideal for late summer. You can even try a mixed berry version using whatever looks best at your local market.
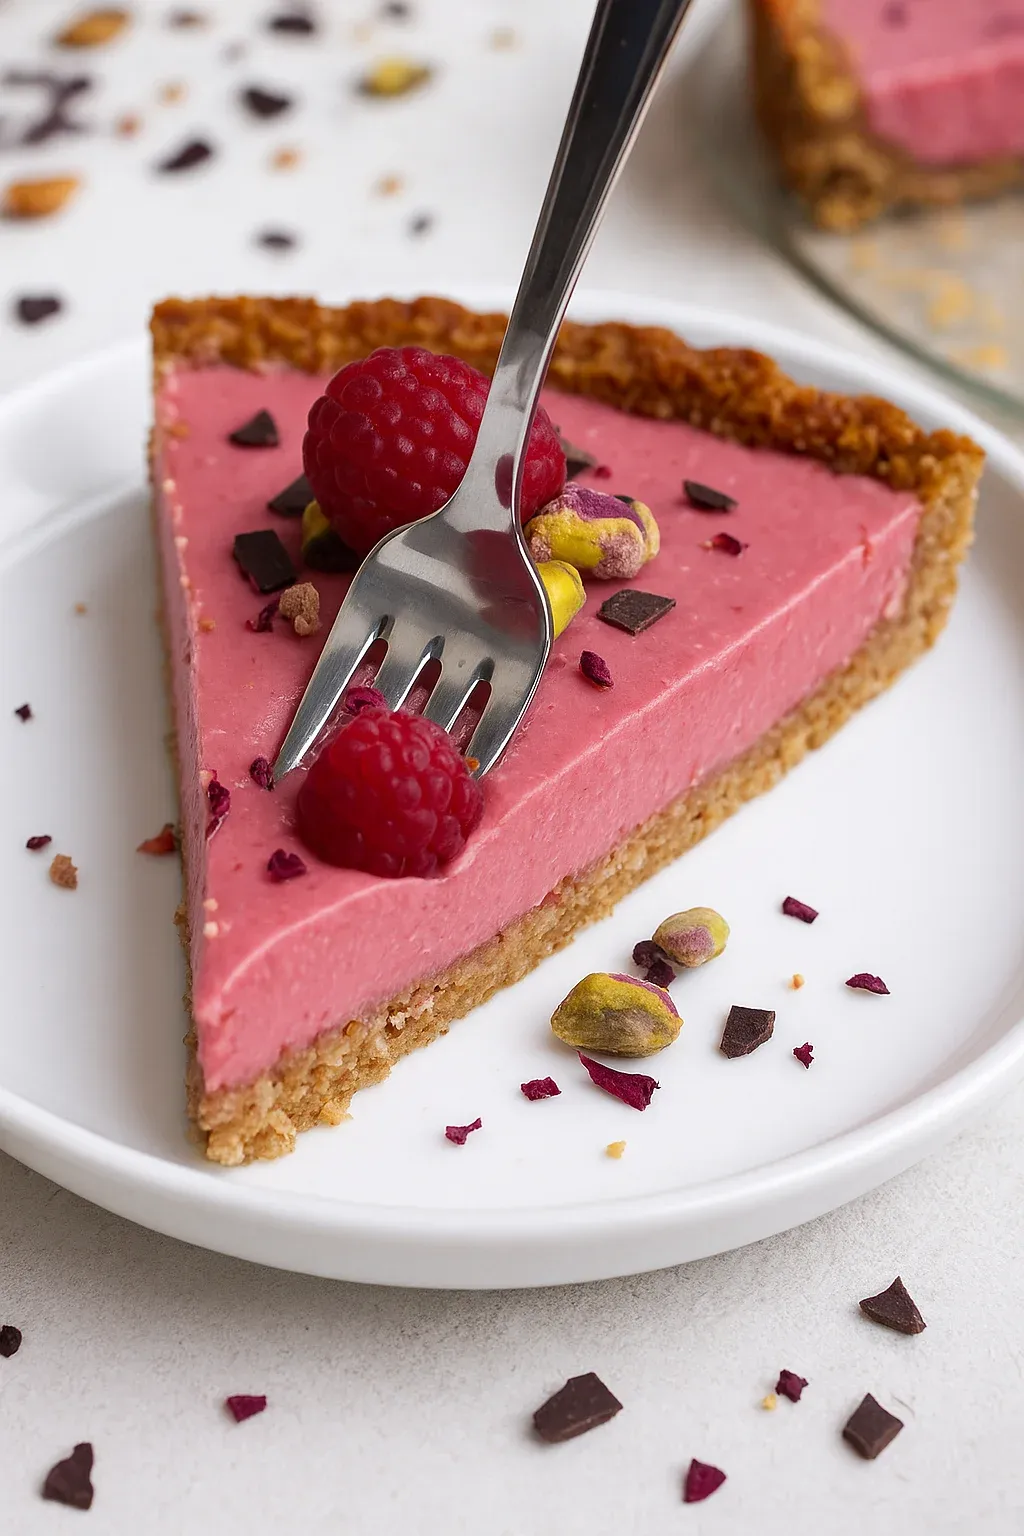
Serving Suggestions
Serve this tart chilled with a light dusting of freeze-dried raspberry powder for an elegant presentation. For a more indulgent dessert, add a small dollop of coconut whipped cream on the side. This tart pairs beautifully with a glass of prosecco for special occasions or a cup of mint tea for everyday enjoyment.
 Pin it
No-Bake Alternative
For hot summer days when you don't want to turn on the oven, the no-bake version of this tart is equally delicious. Simply press the crust into the tart pan and freeze for at least 2 hours before adding the filling. The texture will be slightly firmer and more reminiscent of a frozen dessert, which can be particularly refreshing during warmer months.
Frequently Asked Questions
- → Wie gestaltet sich die Zubereitung des Tartebodens?
Der Boden besteht aus gemahlenen Haferflocken, Mandeln, Walnüssen und eingeweichten Datteln. Diese werden mit Kokosöl und Agavendicksaft vermischt und in einer Tarteform verteilt. Anschließend kann er gebacken oder gekühlt werden.
- → Kann die Tarte ohne Backen zubereitet werden?
Ja, der Boden kann alternativ eingefroren werden, anstatt ihn zu backen. Einfach die Masse gleichmäßig in die Tarteform drücken und über Nacht einfrieren, bevor die Creme hinzugefügt wird.
- → Wie wird die Himbeercreme hergestellt?
Die Himbeercreme besteht aus erwärmten Himbeeren, die durch ein Sieb gestrichen werden, sowie Kokoscreme, Joghurt, Zitronensaft und einem Süßungsmittel. Diese Zutaten werden gründlich gemixt, bevor Agar Agar hinzugefügt wird, um die Creme zu stabilisieren.
- → Ist die Tarte für unterschiedliche Diäten geeignet?
Ja, die Tarte ist sowohl vegan als auch glutenfrei und eignet sich daher für verschiedene Ernährungsbedürfnisse. Die Zutaten wurden mit natürlichen, pflanzlichen Alternativen zusammengestellt.
- → Wie lange sollte die Tarte im Kühlschrank fest werden?
Die Himbeercreme Tarte sollte am besten über Nacht im Kühlschrank gelagert werden, damit die Creme vollständig fest wird.
- → Welche Alternativen gibt es zu Agavendicksaft?
Falls Agavendicksaft nicht verfügbar ist, kann auch Kokosblütenzucker, Honig oder ein anderes flüssiges Süßungsmittel verwendet werden.