
 Pin it
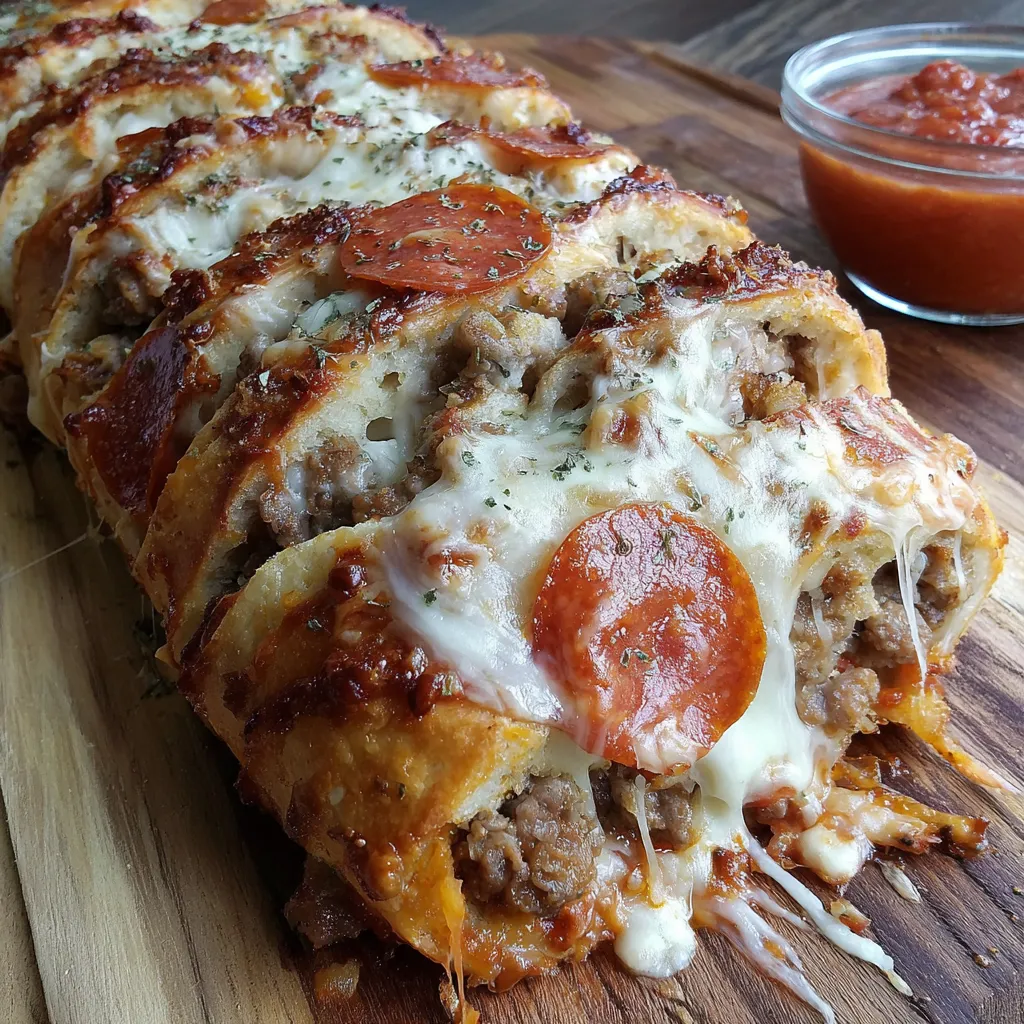
This meat lovers pizza bread became my go-to recipe after years of struggling to find the perfect game day food. I was tired of the same old wings and chips, so I started experimenting with different ways to combine pizza flavors into something more portable. After many kitchen experiments and a few disasters, this recipe emerged as the clear winner. The seasoned ground beef, crispy pepperoni, and melted cheese trio wrapped in golden dough creates something that feels both familiar and special. My family now expects this at every gathering, and I've stopped counting how many times I've shared this recipe with neighbors.
My brother-in-law Dave always claimed he wasn't much of a cook until he tried making this recipe. Now he brings it to every family barbecue and acts like he invented it himself. His kids beg him to make "Dad's special pizza thing" at least twice a month. Last Christmas, his wife quietly asked me for the recipe again because Dave had lost the copy I gave him, but she didn't want to hurt his pride by asking him to get it from me again.
Ingredient Selection Guide
- Lean ground beef: Pick beef that's 90/10 or leaner to avoid grease pooling inside the bread, which makes everything soggy and difficult to slice cleanly
- Pizza dough tube: The refrigerated kind works perfectly here, but let it warm up on the counter for about twenty minutes so it rolls out without fighting you
- Quality pizza sauce: Don't cheap out on this since you'll taste it in every bite, plus you need extra for dipping so get a bigger jar
- Deli provolone: Pre-sliced from the deli counter melts more evenly than the individually wrapped stuff and doesn't leave weird plastic-y textures
- Thin pepperoni slices: Regular thick pepperoni makes the bread hard to cut through cleanly, and the thin ones distribute better throughout each bite
- Fresh mozzarella works too: If you want to get fancy, fresh mozzarella that you shred yourself melts incredibly well, though the pre-shredded saves time
 Pin it
Complete Cooking Instructions
- Building the meat base
- Heat your oven to 400 degrees first, then grab a large skillet and get it hot over medium-high heat. Add the ground beef with the oregano, garlic powder, and salt all at once. Break up the meat with your spoon as it cooks, stirring every minute or so to get even browning. This takes about six to eight minutes total, and you want no pink spots remaining. The meat should look golden brown and smell amazing with all those seasonings.
- Creating the saucy mixture
- Once your beef looks perfect, tip the pan slightly and spoon out any excess fat that's accumulated. Nobody wants greasy pizza bread. Let the meat cool down for just a couple minutes, then stir in about one-third cup of that pizza sauce. Mix it really well so every piece of beef gets coated. This step prevents the sauce from making your dough soggy later, plus it lets all those flavors get acquainted.
- Preparing your canvas
- Unroll that pizza dough onto a rimmed baking sheet, being gentle so you don't tear it. Sometimes the dough wants to spring back into its original shape, which means it's too cold. Just let it sit for five more minutes, then gently stretch it into a rectangle that's roughly twelve by eight inches. You want even thickness throughout so everything bakes consistently.
- Layering like a pro
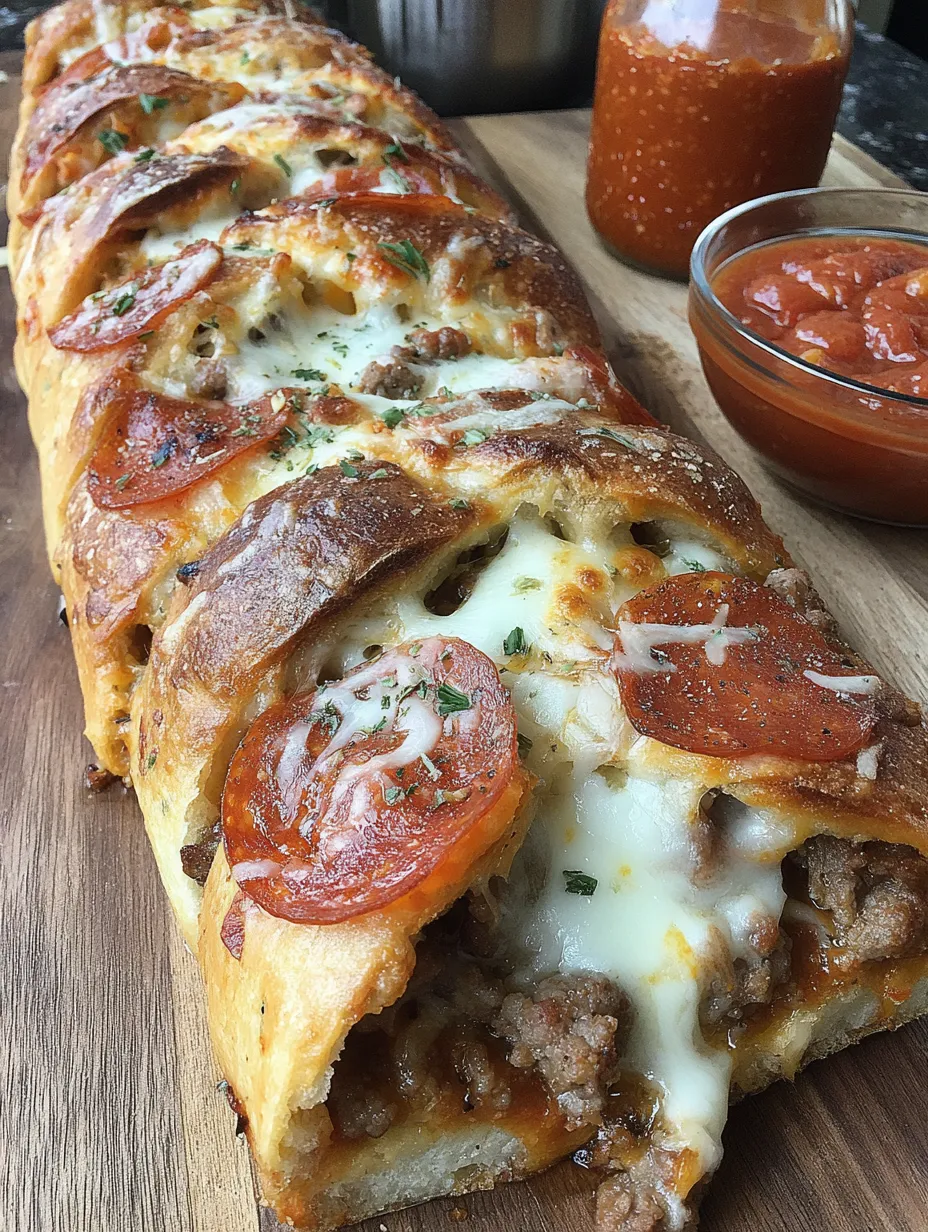
- Spread half cup of pizza sauce right down the middle third of your dough, leaving about two inches of plain dough on each side for the braiding part. Lay those provolone slices over the sauce, overlapping them slightly so there aren't any gaps. Distribute your pepperoni evenly over the cheese, then spoon that seasoned beef mixture on top. Finally, sprinkle the mozzarella over everything and press it down gently so it sticks to the other ingredients.
- Mastering the braid
- Take a sharp knife and cut diagonal strips about one inch apart down both sides of the dough, cutting from the outer edge toward the filling but stopping about half inch away from the filling itself. Start at one end and alternate lifting strips from each side, crossing them over the filling to create that braided look. When you reach the end, tuck those final pieces underneath to seal everything up tight.
- Final touches matter
- Brush melted butter all over the surface, getting into every little crevice for even browning. Sprinkle that Parmesan cheese evenly over the buttered surface, then finish with the remaining oregano. These final steps create that gorgeous golden crust that makes people think you spent way more time on this than you actually did.
The first time I made this, I skipped draining the beef because I was in a hurry. Big mistake. The bottom of the bread turned into a soggy mess that fell apart when I tried to slice it. I also learned that overstuffing the center just leads to burst seams and filling spilling out everywhere. Now I measure everything carefully and distribute it evenly, which gives much better results. The braiding technique intimidated me initially, but after making this a few dozen times, I can do it without even thinking about it.
Perfect Serving Ideas
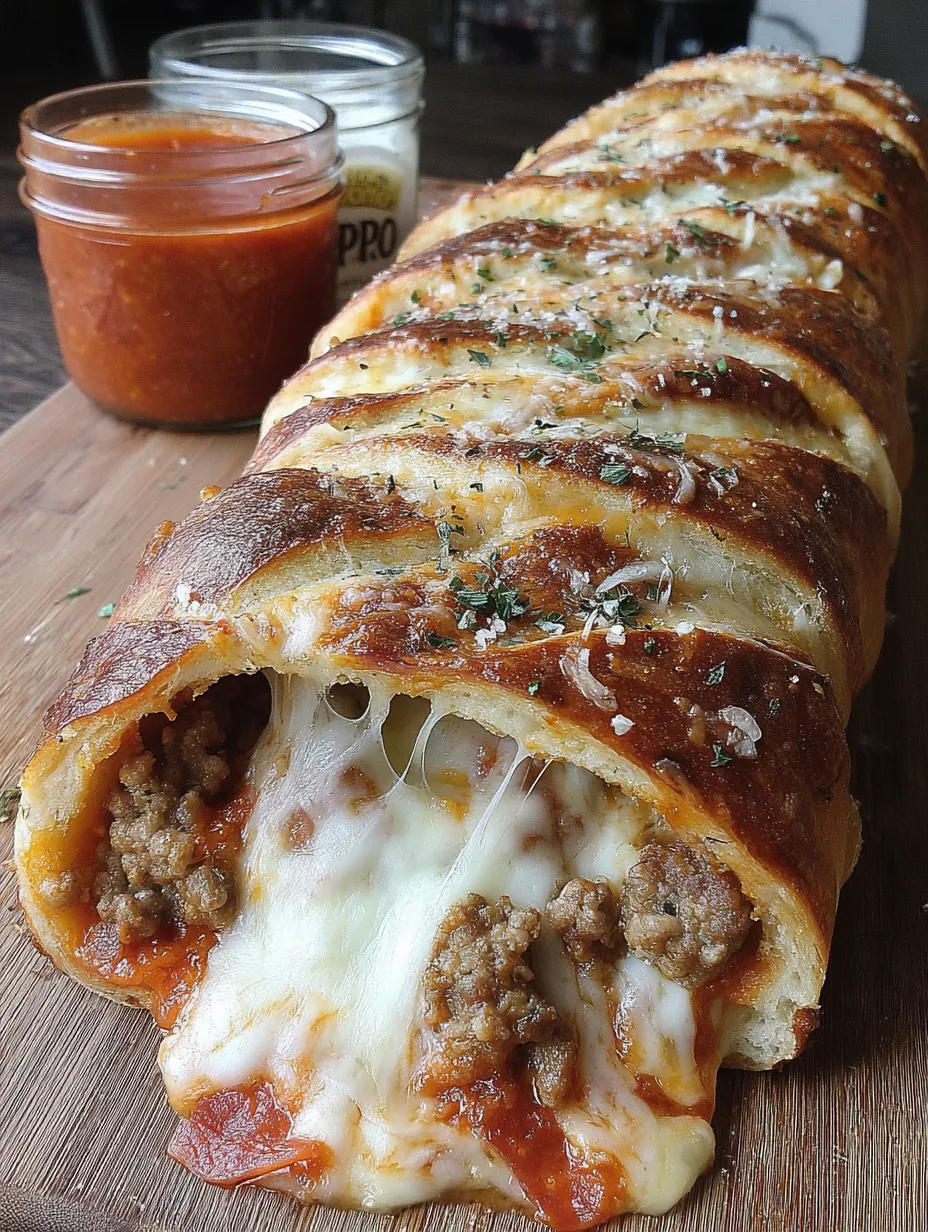
Slice this bread while it's still warm and serve it with that remaining pizza sauce heated up in a small saucepan for dipping. The temperature contrast between the hot bread and warm sauce makes every bite incredible. For big parties, I cut smaller pieces and arrange them on platters with different dipping options like ranch dressing and garlic aioli. During football season, this pairs perfectly with loaded nachos and buffalo chicken dip for a spread that keeps everyone happy through double overtime.
Creative Recipe Twists
Swap the ground beef for spicy Italian sausage if you want more heat and flavor complexity. The fennel seeds in the sausage complement the pepperoni beautifully. For breakfast gatherings, I use breakfast sausage instead and add scrambled eggs to the filling, serving it with warm maple syrup for dipping. Vegetarians love the version where I replace all the meat with sautéed mushrooms, bell peppers, and onions. During summer, I make a lighter version with fresh tomatoes, basil, and fresh mozzarella that tastes like Caprese salad in bread form.
Storage and Reheating
This bread keeps beautifully in the refrigerator for up to four days wrapped in foil or sealed in containers. When reheating, use the oven instead of the microwave to keep that crispy exterior. Wrap individual pieces in foil and heat at 350 degrees for eight to ten minutes. The whole thing freezes perfectly for up to three months if you wrap it tightly in plastic wrap first, then foil. Thaw overnight in the fridge and reheat the same way for results that taste almost as good as fresh.
 Pin it
This meat lovers pizza bread represents everything I love about cooking for people. It looks impressive enough for company but comes together easily enough for weeknight dinners. Watching people's faces when they take that first bite never gets old, especially when the cheese stretches out in those perfect Instagram-worthy pulls. The combination of familiar pizza flavors in this portable format hits all the right comfort food notes while still feeling special enough for celebrations. After making this hundreds of times over the years, it remains one of my most requested recipes, and I never get tired of the compliments it brings.
Frequently Asked Questions
- → Can I use homemade pizza dough?
- Absolutely! Homemade dough works great. Just make sure it's rolled to a similar size as the refrigerated dough for proper braiding.
- → How do I get the braided look?
- Cut 1-inch strips on both sides of the filling, then alternately bring strips from each side over the filling to create a braided pattern.
- → Can I add other meats?
- Yes! Try adding cooked Italian sausage, bacon bits, or ham. Just make sure any meat is fully cooked before adding to the filling.
- → How do I prevent the bottom from getting soggy?
- Make sure to drain the ground beef well and don't use too much sauce. A baking sheet with sides helps contain any leakage.
- → Can I make this ahead of time?
- Yes! Assemble completely, cover, and refrigerate up to 24 hours before baking. Add 5-10 extra minutes to baking time if starting cold.