
 Pin it
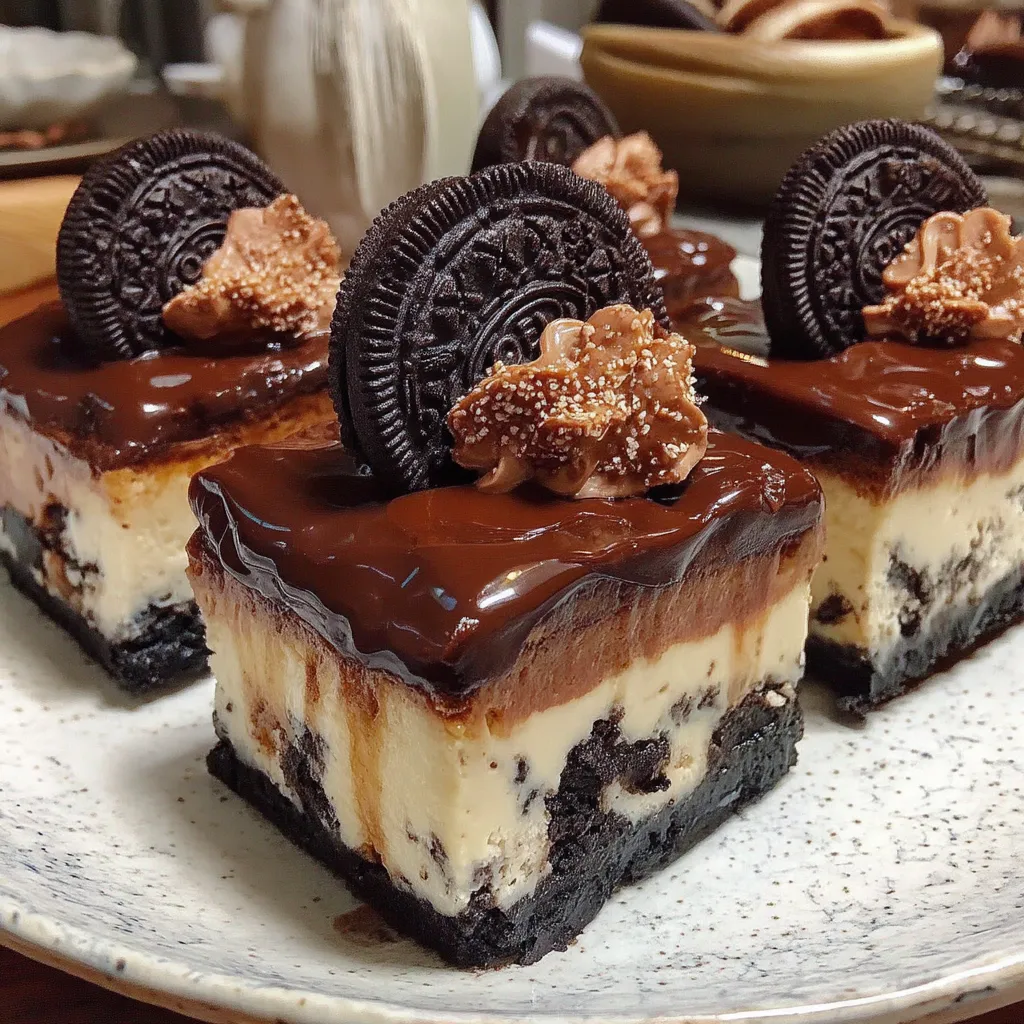
This no-bake Oreo cheesecake bar recipe has been my secret weapon for summer gatherings and last-minute dessert requests. The combination of creamy cheesecake filling studded with Oreo chunks, resting on a chocolatey cookie base, and topped with silky ganache creates an irresistible treat without ever turning on the oven.
I first made these bars during a power outage when my daughter's birthday cake plans fell through. The panic turned to joy when these bars received more compliments than any baked cake I'd ever made. Now they're requested at every family gathering.
Ingredients
- Oreo cookies: the star ingredient provides both the crust and creamy filling. Look for regular not double stuffed for the best ratio
- Butter: binds the crust together. Use unsalted for better control of flavor
- Cream cheese: creates that signature cheesecake tang. Full fat Philadelphia works best here as low fat versions can create a watery filling
- Heavy cream: whipped to soft peaks gives the filling its light mousse like texture
- Granulated sugar: balances the tanginess without making it overly sweet
- Milk chocolate: creates a silky ganache layer. Choose a good quality brand you enjoy eating plain
Step-by-Step Instructions
- Create the Cookie Base:
- Separate the Oreo cookies from their creamy centers saving both parts. Crush the chocolate cookies until they resemble fine crumbs I find a food processor works best but a sealed bag and rolling pin works too. Mix thoroughly with melted butter until the mixture resembles wet sand. Press firmly into a lined 8×8 inch pan creating an even layer. Refrigerate while preparing the filling.
- Prepare the Cream Cheese Mixture:
- Beat room temperature cream cheese until completely smooth about 2 minutes. Any lumps now will remain in your final dessert. Add the reserved Oreo filling and continue beating until fully incorporated. The mixture should be silky and uniform in texture.
- Whip the Cream:
- In a separate bowl whip cold heavy cream with sugar until soft peaks form. Look for the cream to hold its shape when the beater is lifted but the tip of the peak should still fold over slightly. Avoid overwhipping or your filling may become grainy.
- Combine the Filling Components:
- Gently fold the whipped cream into the cream cheese mixture using a spatula with a light hand. Cut through and fold over rather than stirring to maintain as much air as possible. When nearly combined add roughly chopped Oreo pieces folding just until distributed.
- Layer the Dessert:
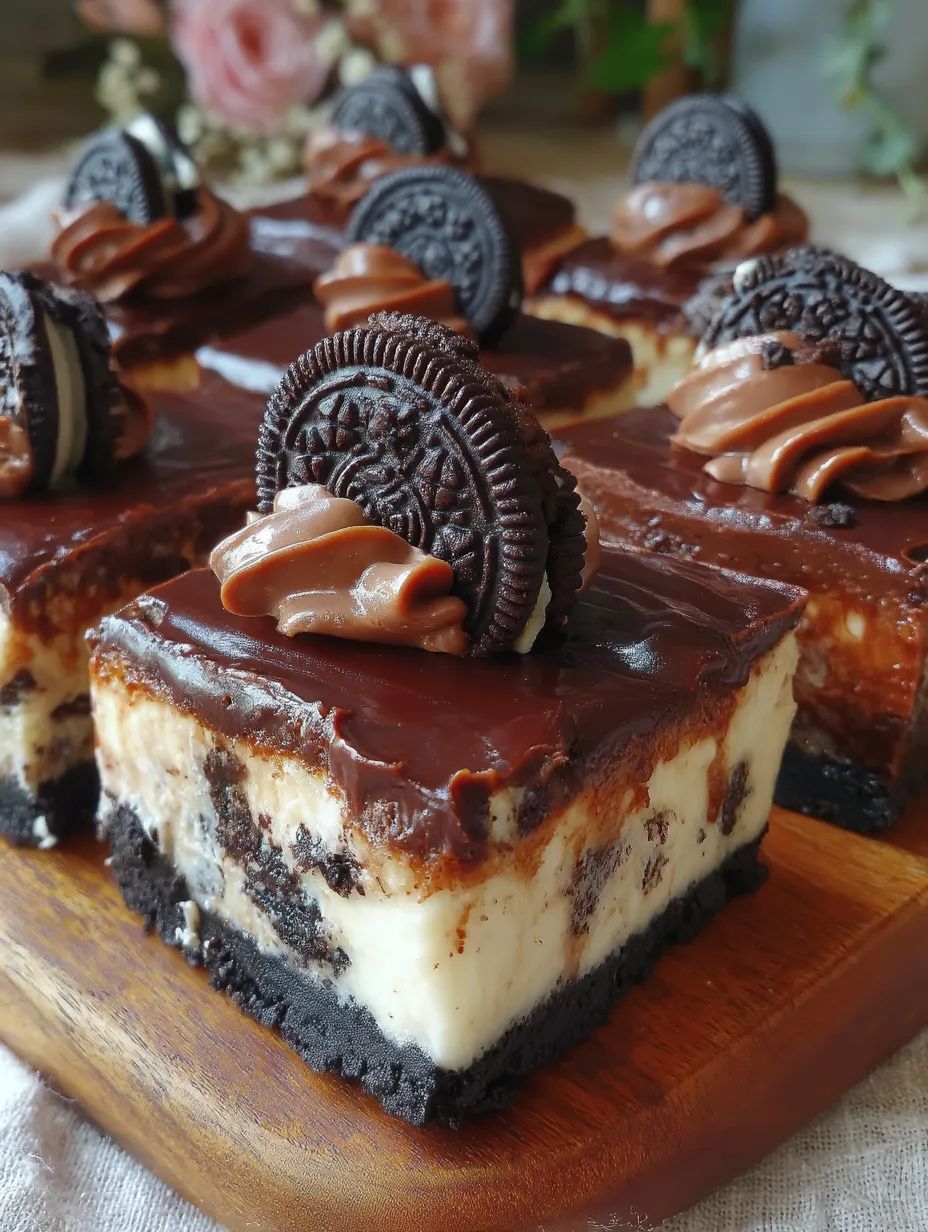
- Spread half the filling over the chilled crust creating an even layer. Place whole Oreos in a single layer across the filling. Top with remaining filling and smooth the surface with an offset spatula. This middle layer of whole cookies creates a delightful surprise when slicing.
- Chill Thoroughly:
- Cover the pan with plastic wrap and refrigerate overnight. This resting period is crucial as it allows the flavors to meld and the filling to set properly. Minimum chill time is 4 hours but overnight yields the best texture.
- Create the Ganache Topping:
- Gently heat the cream until just below simmering small bubbles around the edge but not boiling. Pour over chopped milk chocolate and let sit for 1 minute before stirring. Stir gently until completely smooth. Allow to cool slightly until thickened but still pourable.
- Apply the Finishing Touch:
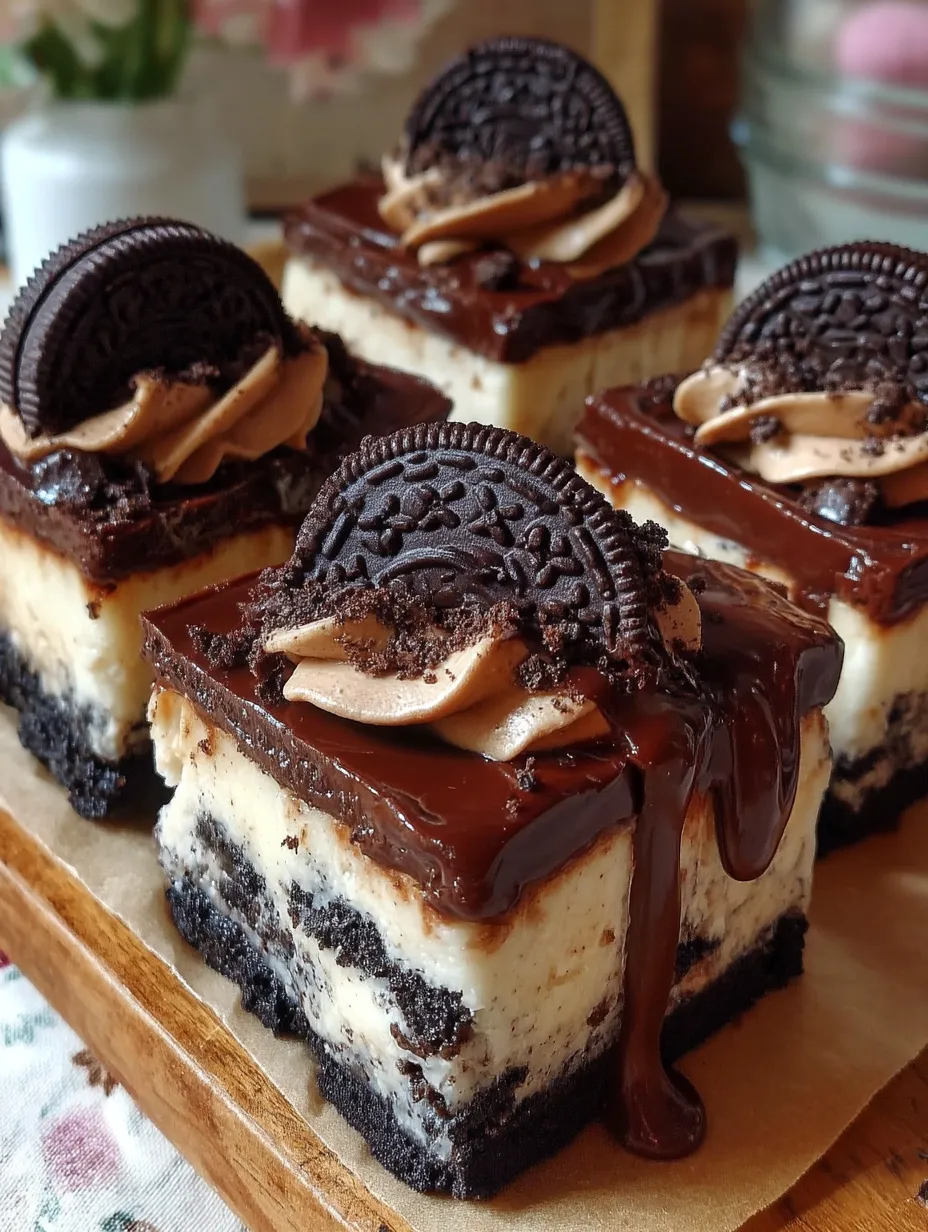
- Pour ganache over the chilled cheesecake layer spreading to the edges. The ganache should be cool enough not to melt the filling but warm enough to spread easily. Return to refrigerator for at least 30 minutes until ganache is set.
- Final Presentation:
- Carefully lift the dessert from the pan using the parchment paper overhang. Cut into bars with a warm knife wiping between cuts for clean edges. Top each bar with halved Oreos for decoration just before serving.
 Pin it
You Must Know
The secret to this cheesecake's incredible texture lies in properly folding the whipped cream into the cream cheese mixture. My grandmother taught me this technique when I was just ten years old, standing on a kitchen stool at her counter. She would always say "Gentle hands make light desserts" and this recipe proves her right every time.
Perfect Slicing Technique
For professional looking bars chill the dessert completely before cutting. Run a sharp knife under hot water and wipe dry between each cut. This prevents the filling from sticking to the knife and ensures each slice has clean defined layers. If serving at a party consider cutting slightly smaller portions these bars are rich and satisfying even in modest servings.
Storage And Make-Ahead Tips
These cheesecake bars will keep beautifully in the refrigerator for up to 5 days stored in an airtight container. For longer storage freeze individual slices on a baking sheet until solid then transfer to a freezer bag. Thaw in the refrigerator overnight before serving. The texture remains remarkably unchanged even after freezing making this an excellent make ahead dessert option for busy periods.
Customization Ideas
While classic Oreos create the traditional cookies and cream flavor this recipe welcomes creative variations. Try mint Oreos for a refreshing twist or peanut butter Oreos for a nutty dimension. The ganache can also be customized substitute white chocolate for a striking contrast or dark chocolate for a more intense flavor. For special occasions consider adding a tablespoon of coffee liqueur to the filling for a sophisticated mocha version that adults will especially appreciate.
 Pin it
Frequently Asked Questions
- → How should I store these no-bake Oreo bars?
Store them in an airtight container in the refrigerator for up to 5 days. Serve chilled for the best texture.
- → Can I use a different type of cookie for the crust?
Yes, graham crackers or other chocolate cookies can be substituted, although it will alter the flavor slightly.
- → Can I make these in advance?
Absolutely! These bars need to chill overnight, making them perfect for preparing a day ahead of time.
- → What can I use instead of heavy cream for the filling?
Whipping cream is a great alternative to heavy cream, but avoid using single cream as it won't achieve the same texture.
- → Can I freeze these bars?
Yes, you can freeze them for up to 2 months. Wrap them tightly in plastic wrap and aluminum foil. Thaw in the refrigerator.