
 Pin it
This no-bake Oreo Nutella cheesecake transforms humble ingredients into a showstopping dessert that's guaranteed to impress. The combination of creamy cheesecake, rich Nutella, and crunchy Oreos creates perfect textural harmony without ever turning on your oven. I've brought this to countless gatherings and watched as it disappears within minutes, leaving everyone asking for the recipe.
When I first created this recipe during a summer heatwave, I was desperate for something special without heating up my kitchen. Now it's become my signature dessert that friends specifically request for birthdays and celebrations.
Ingredients
- Oreo cookies: Crushed and whole provide both the crust and delightful texture throughout the cake
- Melted butter: Binds the crust together and adds richness look for unsalted butter for better flavor control
- Cream cheese: Softened at room temperature for at least 30 minutes ensures a silky smooth filling
- Nutella: The star ingredient delivers deep chocolate hazelnut flavor use room temperature for easier mixing
- Heavy whipping cream: Must be very cold to whip properly forms the light airy structure of the cheesecake
- Granulated sugar: Sweetens and stabilizes the whipped cream component
Step-by-Step Instructions
- Prepare the Crust:
- Place Oreo cookies in a food processor and pulse until you achieve fine crumbs with no large pieces remaining. Transfer to a bowl and pour in the melted butter. Mix thoroughly until the texture resembles wet sand with all crumbs evenly moistened. Press firmly into the bottom of a 9inch springform pan using the flat bottom of a measuring cup to create an even compact layer. Place in freezer for 15 minutes to set while preparing the filling.
- Create the Cheesecake Base:
- In a large bowl beat the softened cream cheese with an electric mixer on medium speed for 2 minutes until completely smooth and free of lumps. Add room temperature Nutella and blend until fully incorporated scraping down sides of the bowl frequently to ensure no cream cheese streaks remain. The mixture should be uniform in color and silky in texture.
- Whip the Cream:
- In a separate chilled metal bowl whip the cold heavy cream and sugar starting on low speed then increasing to high until soft peaks form about 3 minutes. The cream should hold its shape but still have a slight droop at the tip when the beater is lifted. Be careful not to overwhip which would create a grainy texture.
- Combine the Filling:
- Using a rubber spatula fold one third of the whipped cream into the Nutella cream cheese mixture to lighten it. Then gently fold in remaining whipped cream using an underandover motion preserving as much air as possible. Continue folding until no white streaks remain but avoid overmixing which would deflate the mixture.
- Add Cookies and Layer:
- Gently fold in the chopped Oreo pieces distributing them evenly throughout the filling. Pour half of this mixture into the chilled crust and spread into an even layer. Warm the middle layer Nutella slightly for easier spreading and drizzle over the first layer of filling. Top with remaining filling and smooth the surface with an offset spatula.
- Final Touches and Chilling:
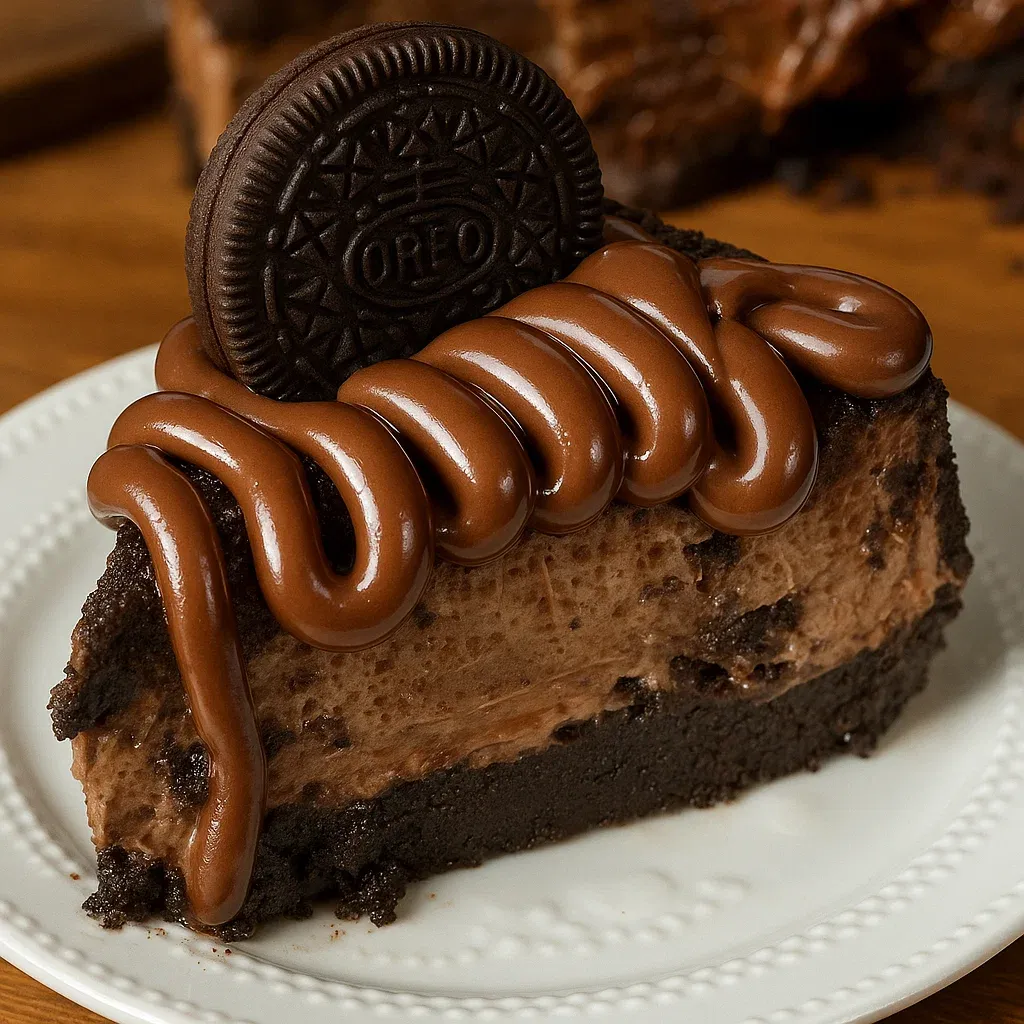
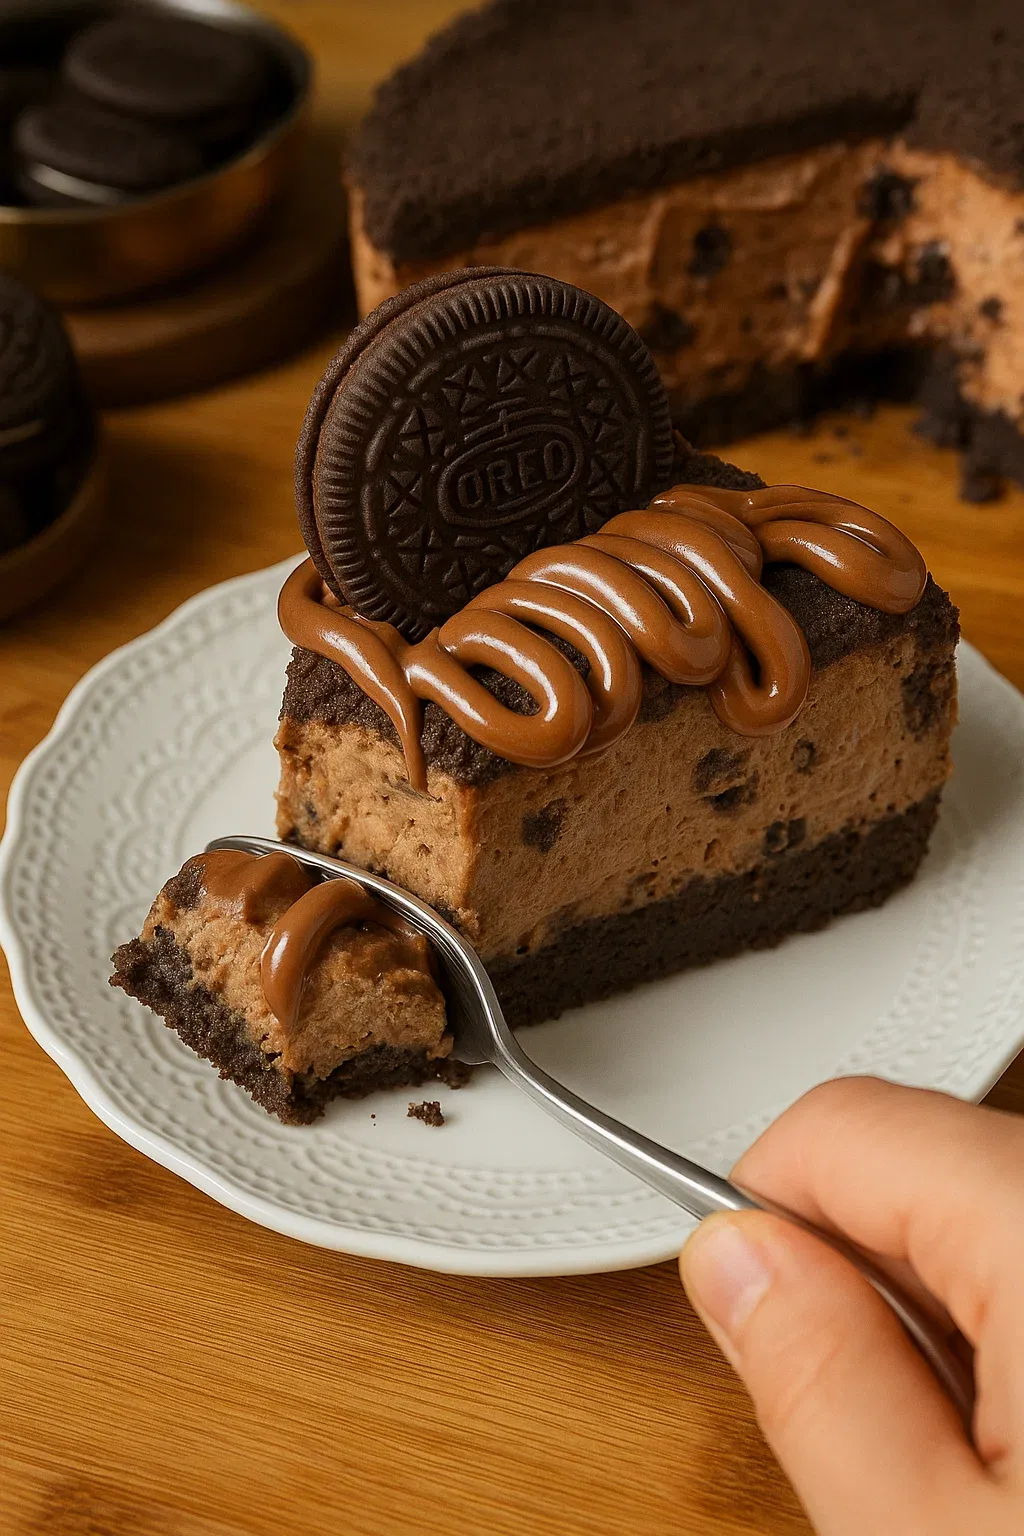
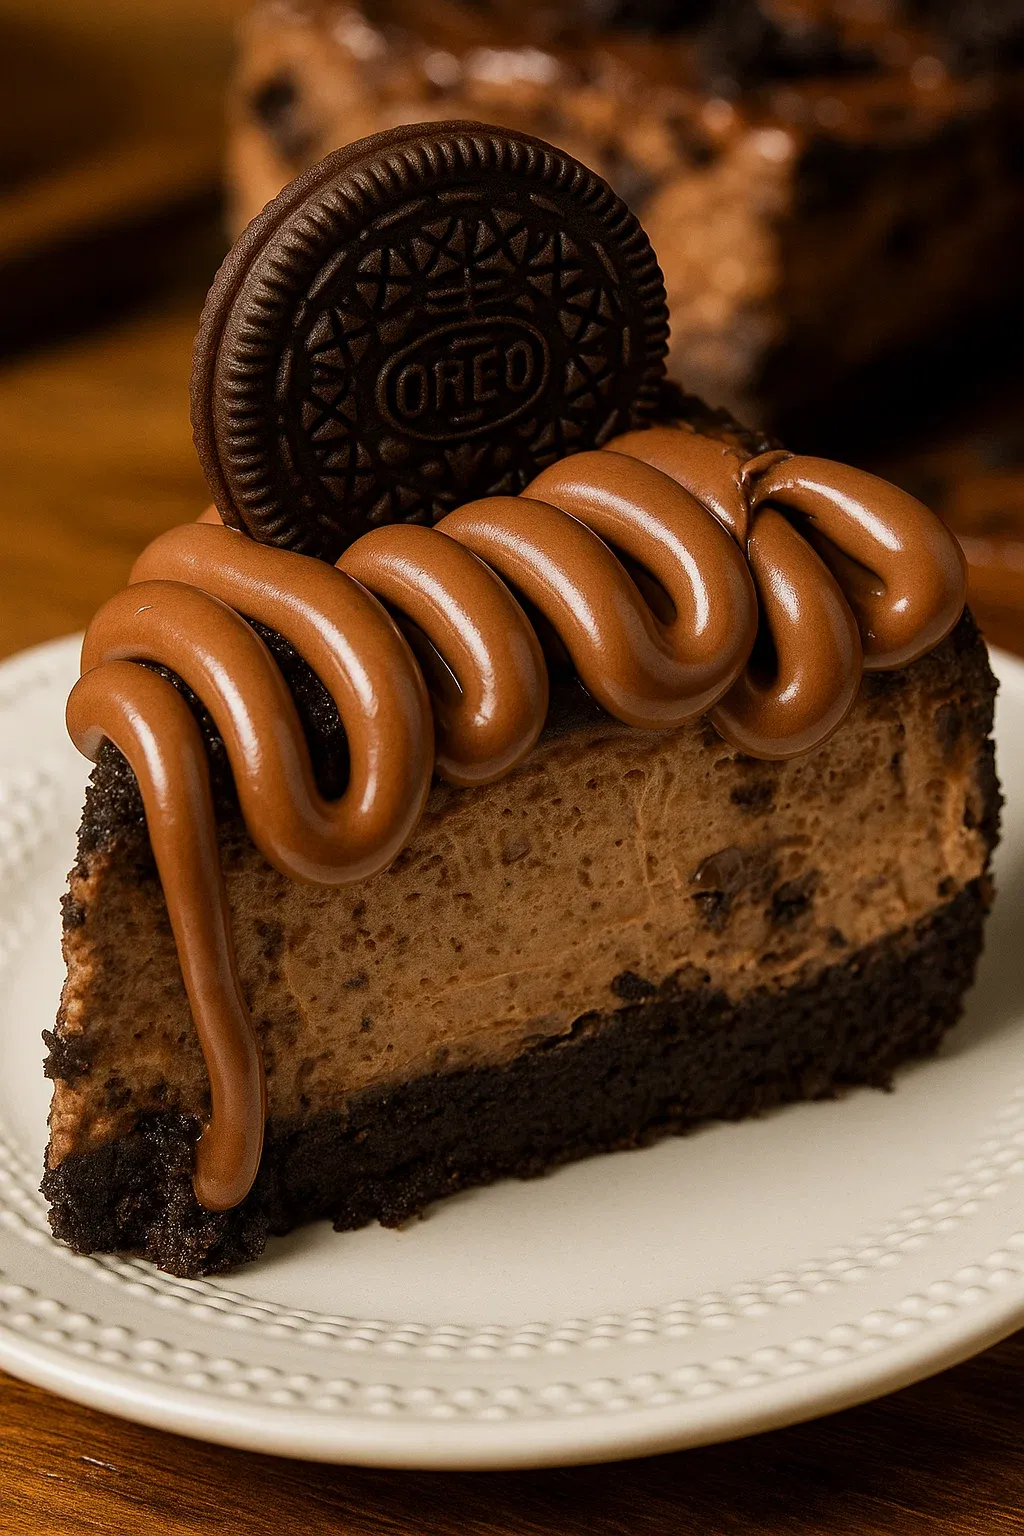
- Cover the springform pan with plastic wrap avoiding contact with the surface and refrigerate for a full 8 hours or preferably overnight. The long chilling time allows the flavors to meld and the texture to set properly. Before serving remove the sides of the springform pan and decorate with warmed Nutella crushed Oreo cookies and whole Oreos placed decoratively around the edge.
 Pin it
My secret to the perfect crust is removing the cream filling from the Oreos used in the crust mixture. This creates a deeper chocolate flavor without excess sweetness. I discovered this by accident when my daughter insisted on scraping out and eating all the filling from the cookies I planned to use!
Make It Your Own
This cheesecake welcomes customization based on your preferences. Try adding a teaspoon of instant espresso powder to the filling to enhance the chocolate flavor, or incorporate a tablespoon of Frangelico liqueur for an extra hazelnut dimension. You might also experiment with different cookies in place of some of the Oreos—chocolate chip cookies or Biscoff cookies both work beautifully.
Storage Instructions
The completed cheesecake keeps beautifully in the refrigerator for up to 5 days when stored in an airtight container. For longer storage, you can freeze individual slices wrapped tightly in plastic wrap and placed in freezer bags. To serve from frozen, thaw overnight in the refrigerator for the best texture. The Oreo garnishes may soften slightly over time but the flavor remains delicious.
Troubleshooting Tips
If your cheesecake isn't setting properly, it's likely due to not whipping the cream enough before folding it into the cream cheese mixture. The cream provides the structure that allows the cake to hold its shape. Another common issue is not allowing enough chilling time—this dessert truly needs the full 8 hours to develop its proper texture.
Serving Suggestions
While this cheesecake is certainly decadent enough to stand alone, I love serving it with a few complementary additions. A scoop of vanilla bean ice cream provides a wonderful temperature contrast, while fresh raspberries or strawberries add a welcome brightness that cuts through the richness. For coffee lovers, an espresso or cappuccino makes the perfect accompaniment to enhance the chocolate notes.
 Pin it
Frequently Asked Questions
- → Can I use a different type of cookie for the crust?
Yes, you can substitute Oreos with other cookies like graham crackers, digestive biscuits, or similar. However, ensure they are finely crushed and mixed with butter for a solid crust.
- → What can I use instead of Nutella?
If you prefer, you can swap Nutella with other chocolate-hazelnut spreads or even melted chocolate for a similar rich, creamy flavor.
- → How long does this dessert need to chill?
The dessert needs to chill for at least 8 hours or overnight to achieve its firm texture and be easy to slice.
- → Can I make this dessert ahead of time?
Absolutely! You can prepare it a day or even two in advance. Just keep it refrigerated and garnish with toppings right before serving.
- → Is heavy whipping cream necessary?
Heavy whipping cream is essential for achieving a light and fluffy filling. Lower-fat alternatives may not whip as well and could affect the texture.
- → Can I freeze this dessert?
Yes, you can freeze this dessert for up to 1 month. Wrap it tightly and let it thaw in the fridge before serving.