
 Pin it
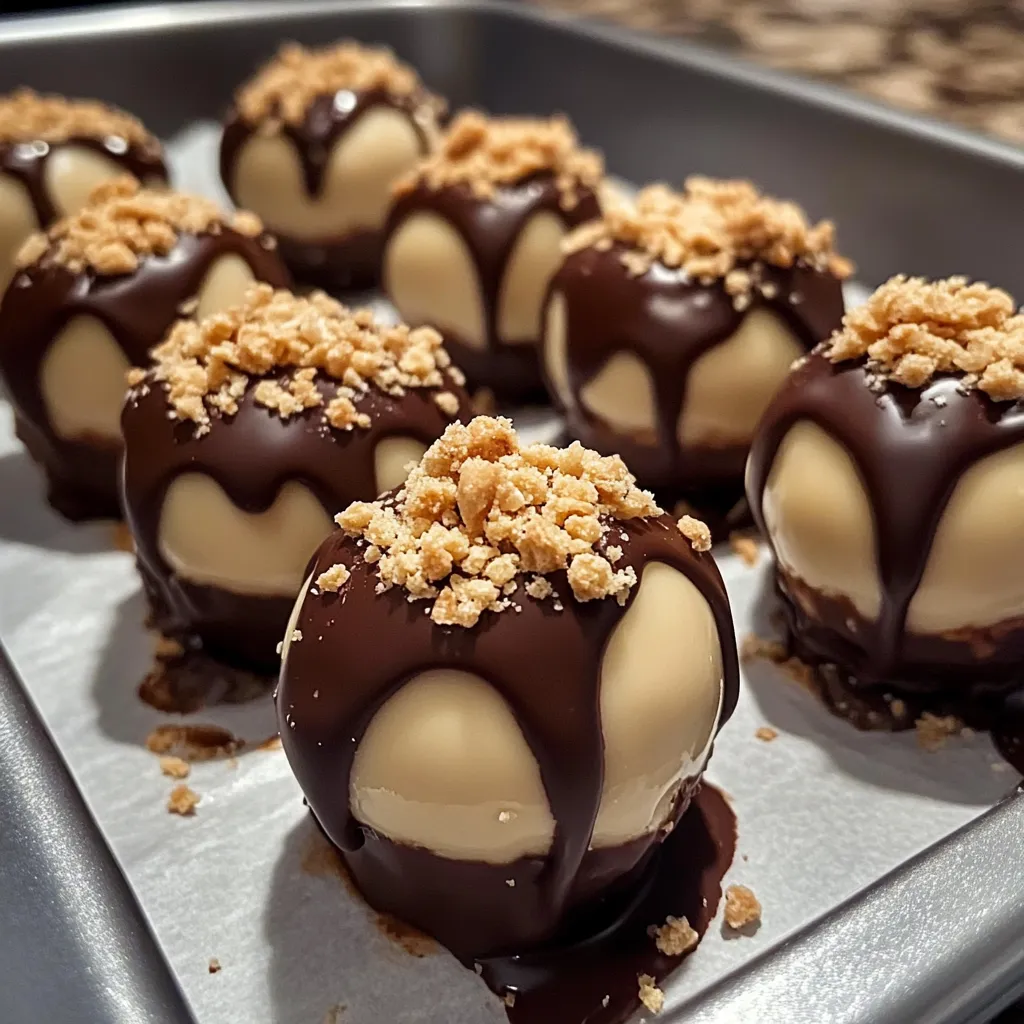
I discovered these no-bake peanut butter cheesecake balls during one of those late-night dessert cravings when turning on the oven felt like far too much effort. What began as a kitchen experiment has become my most requested treat for gatherings, potlucks, and holiday cookie exchanges. These little bites of heaven combine the creamy tanginess of cheesecake with rich peanut butter, wrapped in a chocolate shell with a graham cracker crunch. The best part? They come together in minutes with zero baking required, though you'll need a bit of patience during the chilling time – trust me, it's worth the wait.
Last Christmas, I brought these to my neighbor's holiday party, and her husband, who claims to "not have a sweet tooth," ate seven of them before casually asking if I might share the recipe with his wife. Three days later, she texted me a photo of her kitchen counter covered with various versions she'd made after he kept dropping not-so-subtle hints about wanting more. Now that's what I call a successful dessert!
Simple Ingredients
- Cream cheese - The foundation of our cheesecake flavor needs to be properly softened for a smooth mixture. Leave it out for at least an hour, or microwave in 10-second bursts if you're impatient like me. Full-fat cream cheese creates the richest flavor, though reduced-fat works in a pinch.
- Peanut butter - Creamy style creates the smoothest texture, but if you're a crunchy peanut butter devotee, it works too – just expect more texture in your finished balls. Natural peanut butter can separate and create an oily mixture, so the commercial creamy varieties work best here.
- Powdered sugar - This sweetens while maintaining a smooth texture. Sifting isn't strictly necessary, but it does help prevent lumps, especially if your powdered sugar has been sitting in the pantry for a while.
- Graham crackers - These add structure and that classic cheesecake crust flavor. I prefer the honey graham variety, but chocolate graham crackers create an amazing variation. You want a fine crumb but not complete dust – some small pieces add nice texture.
- Mini chocolate chips - These little surprises add texture and chocolate goodness throughout. The mini size distributes better than regular chips, but in a pinch, regular chips chopped up work perfectly too.
 Pin it
Creating Sweet Magic
- Perfect mixing technique:
- Start by beating the cream cheese alone until completely smooth – this prevents lumps later. Add powdered sugar gradually rather than all at once to avoid a sugar explosion and achieve the smoothest texture. The peanut butter and cream cheese must be fully incorporated for that perfect cheesecake flavor balance.
- Ideal consistency:
- After adding the graham cracker crumbs, the mixture should be firm enough to roll but still slightly sticky. If it's too soft to hold its shape, refrigerate for 15-20 minutes before rolling. If it's too dry, add a tablespoon of milk or a bit more peanut butter.
- Rolling like a pro:
- Slightly damp hands prevent sticking while rolling the balls. I keep a small bowl of water nearby to dip my fingertips occasionally. Aim for uniform size – about one inch in diameter is perfect for a two-bite dessert. A small cookie scoop creates consistent portions if you have one.
- Freezing fundamentals:
- Don't skip the freezing step! This firms the balls enough to withstand the warm chocolate during dipping. Thirty minutes is the minimum, but they can stay in the freezer for up to a week if you're planning ahead. Place them far enough apart on the baking sheet so they don't stick together.
- Dipping secrets:
- Use a fork to dip each ball, allowing excess chocolate to drip through the tines. Tap the fork gently on the side of the bowl to remove drips before transferring to parchment. Work with just a few balls at a time, keeping the rest in the freezer – cold balls make for the smoothest chocolate coating.
My first attempt at these taught me several valuable lessons. I tried using melted chocolate chips without adding any shortening or oil, which created a thick coating that was hard to work with. Now I add a teaspoon of coconut oil to my chocolate for the perfect consistency. I've also learned that patience during the chilling process is crucial – rushing leads to messy dipping and less defined shapes. The good news is that even the "ugly" ones taste absolutely delicious!
Perfect Presentation
Transform these peanut butter cheesecake balls into an even more impressive dessert by serving them on a platter with fresh berries for color contrast. For gift-giving, place them in mini cupcake liners inside a beautiful box. Create a dessert table showstopper by stacking them in a pyramid on a cake stand. For holidays, add a drizzle of contrasting chocolate (white over dark or vice versa) for elegant decoration.
Flavor Adventures
Once you've mastered the basic recipe, try some creative variations. Replace some of the graham crackers with crushed pretzels for a sweet-salty combination. Add a tablespoon of cocoa powder to the base for a chocolate-peanut butter version. Experiment with coatings – try crushed nuts, sprinkles, shredded coconut, or colored sugar for festive occasions. For a more grown-up flavor, add a splash of bourbon to the mixture and coat with finely chopped toasted pecans.
Storage Secrets
These no-bake peanut butter cheesecake balls maintain their perfect texture for up to two weeks when stored in an airtight container in the refrigerator. Place parchment paper between layers to prevent sticking. For longer storage, freeze them for up to three months – just thaw in the refrigerator for a few hours before serving. The chocolate coating actually helps preserve the creamy interior, making these an excellent make-ahead dessert option.
 Pin it
I've made these no-bake peanut butter cheesecake balls for countless gatherings over the years, from casual family desserts to fancy holiday parties. There's something about the combination of tangy cheesecake, nutty peanut butter, and chocolate that seems to universally delight people of all ages. While they might look like they require special skills, they're actually one of the most forgiving desserts I make – perfect for beginners or involving kids in the kitchen. Just be prepared to share the recipe, because requests are absolutely guaranteed!
Frequently Asked Questions
- → Can I use crunchy peanut butter instead of creamy?
- Yes, you can use crunchy peanut butter if you prefer some extra texture in your cheesecake balls. The mixture might be slightly more difficult to roll smoothly, but it will work and provide a nice crunch.
- → What kind of chocolate works best for dipping?
- Chocolate melting wafers or candy coating work best as they set firmly and don't require tempering. However, you can also use chocolate chips mixed with 1 teaspoon of coconut oil or shortening per cup of chips to help it melt smoothly.
- → Can I make these ahead of time for a party?
- Absolutely! These cheesecake balls are perfect for making ahead. Store them in the refrigerator for up to a week, or freeze for up to 3 months. If frozen, thaw in the refrigerator overnight before serving.
- → What can I use instead of graham crackers?
- You have several options: vanilla wafers, digestive biscuits, shortbread cookies, Oreo cookies (without the cream), or even pretzel crumbs for a sweet-salty combination. Just make sure they're crushed into fine crumbs.
- → How do I prevent my hands from getting sticky when rolling the balls?
- Lightly coat your hands with cooking spray or a small amount of vegetable oil before rolling. Alternatively, refrigerate the mixture for 15-20 minutes before rolling to firm it up, or use a small cookie scoop to portion the mixture.
- → Can I make these without peanut butter for allergies?
- Yes! Substitute the peanut butter with almond butter, sunflower seed butter, or cookie butter for those with peanut allergies. The texture and flavor will be slightly different but still delicious.