 Pin it
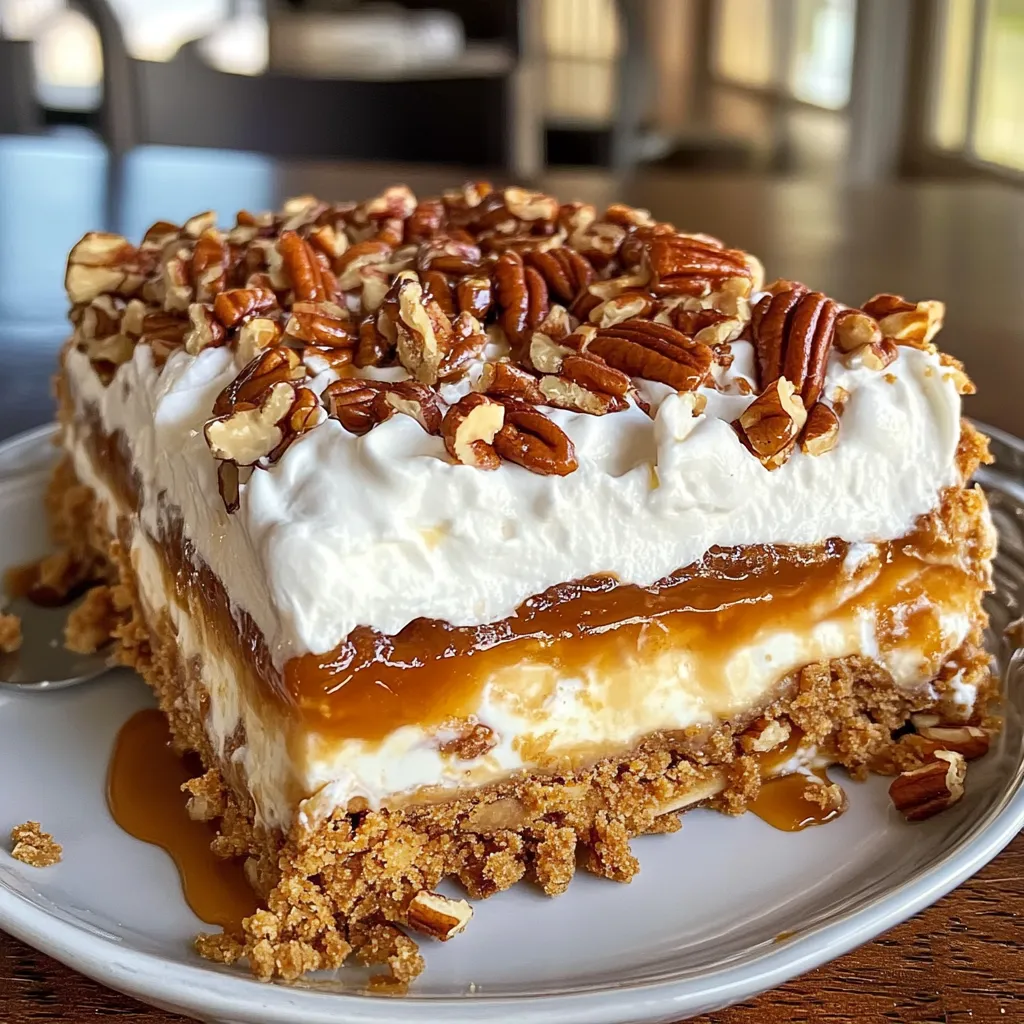
I discovered this no-bake dessert masterpiece three Thanksgivings ago when I was desperately seeking an alternative to traditional pecan pie. Don't get me wrong – I love a good pecan pie, but after years of making the same desserts, I craved something different that still captured those beloved flavors. This Pecan Pie Lasagna was my kitchen experiment turned family tradition. Imagine all the rich, caramelly, nutty goodness of pecan pie, but transformed into cool, creamy layers that make you close your eyes with each bite. It's become our most requested holiday dessert, though I've been known to make it for random Sunday dinners when we need something special.
Last Christmas, my uncle Bob – who loudly proclaims every year that he "only eats traditional desserts" – took one reluctant bite of this and then immediately asked for a full piece. I caught him sneaking back to the dessert table for seconds before dinner was even cleared. That's when you know a recipe is truly special – when it converts even the staunchest traditionalists.
Layered Ingredients
- Graham cracker crumbs – These form our "crust" layer, though it's more substantial than a typical pie crust. I've found that honey graham crackers provide the best flavor, but cinnamon grahams create a delicious variation. Pre-crushed crumbs save time, but crushing your own in a food processor gives a nicer texture with some slightly larger pieces mixed in.
- Cream cheese – The backbone of our creamy layer needs to be properly softened for a smooth result. I've forgotten this step more times than I'd like to admit and ended up with a lumpy mess that required emergency electric mixer intervention. Leave it out for at least an hour before starting, or microwave in 10-second bursts if you're impatient like me.
- Brown sugar – This provides that deep molasses note essential to authentic pecan pie flavor. Dark brown sugar intensifies this effect, but light brown works perfectly too. Always pack it firmly in your measuring cup – loose brown sugar will throw off your proportions.
- Corn syrup – I know, I know, it's not trendy, but it's crucial for that signature pecan pie texture and glossiness in our filling. Light corn syrup keeps the focus on the brown sugar and pecans without adding its own strong flavor.
- Pecans – The star of the show deserves proper treatment. I toast mine in a dry skillet for about 5 minutes before chopping to enhance their flavor. For the garnish on top, I reserve some larger pieces for visual appeal.
 Pin it
Creating Layers of Love
- Building the perfect base:
- Mix those graham cracker crumbs thoroughly with the butter and sugar – it should hold together when pressed but not be greasy. I use the bottom of a measuring cup to firmly compact it into an even layer. This creates a solid foundation that holds up to the layers above without crumbling when served.
- Perfecting the cream layer:
- Beat that cream cheese until genuinely smooth and fluffy before adding other ingredients. Folding in the whipped topping requires a gentle touch – use a rubber spatula and an under-and-over motion rather than stirring, which deflates all that beautiful fluffiness. This layer should be billowy but stable.
- Mastering pecan pie filling:
- The stovetop filling requires attention – walking away even briefly can lead to scrambled eggs or burned sugar. The key is constant, gentle stirring and watching for that moment when it thickens just slightly. It will still be fairly liquid when hot but sets up beautifully as it cools. Make sure to let it cool for about 15 minutes before adding it to the cream cheese layer, or you'll end up with a melted mess.
- Creating clean layers:
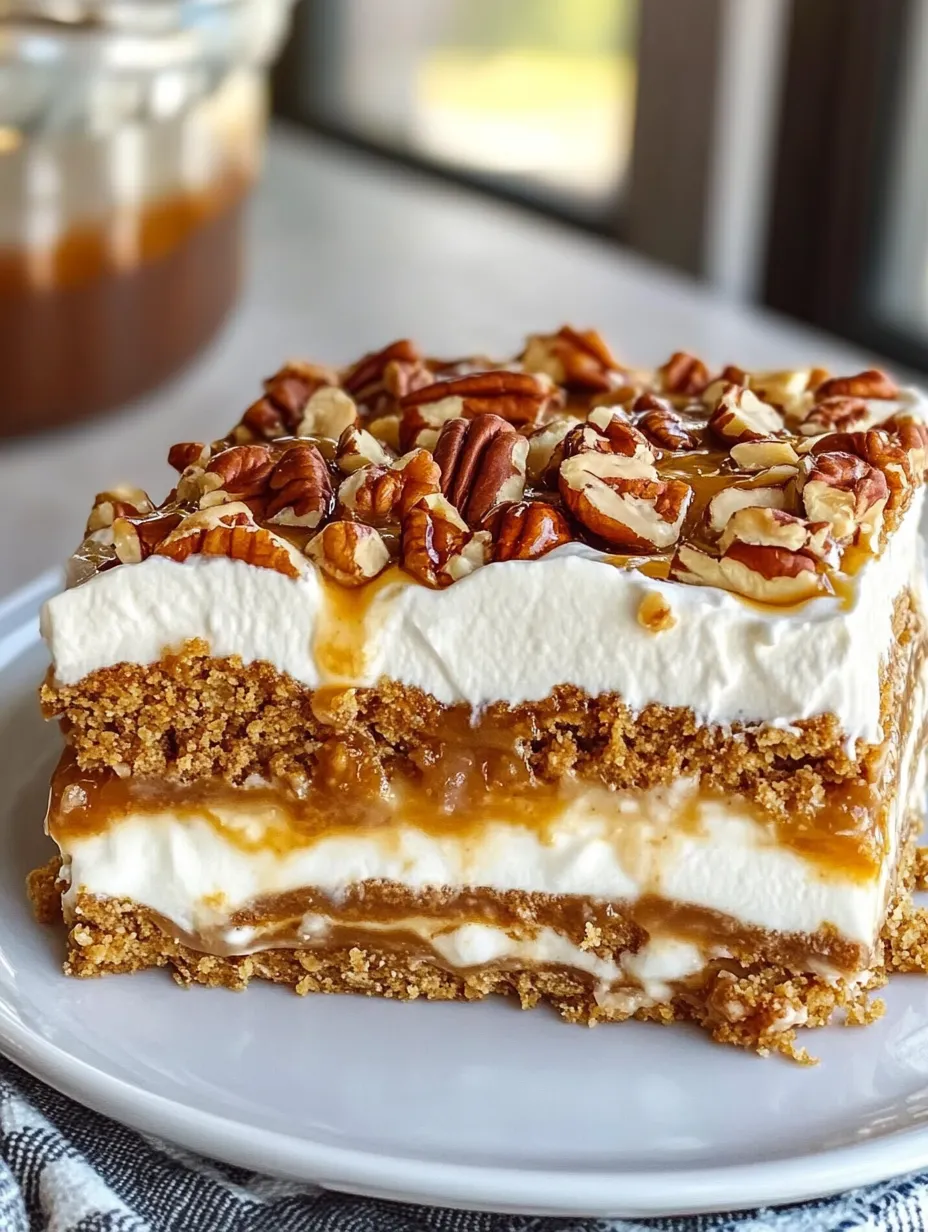
- Each layer should be completely chilled before adding the next. I know it's tempting to rush, but patience creates those beautiful distinct layers you want when you slice it. Use an offset spatula for smooth, even spreading, especially with the final whipped topping layer.
- Garnishing with style:
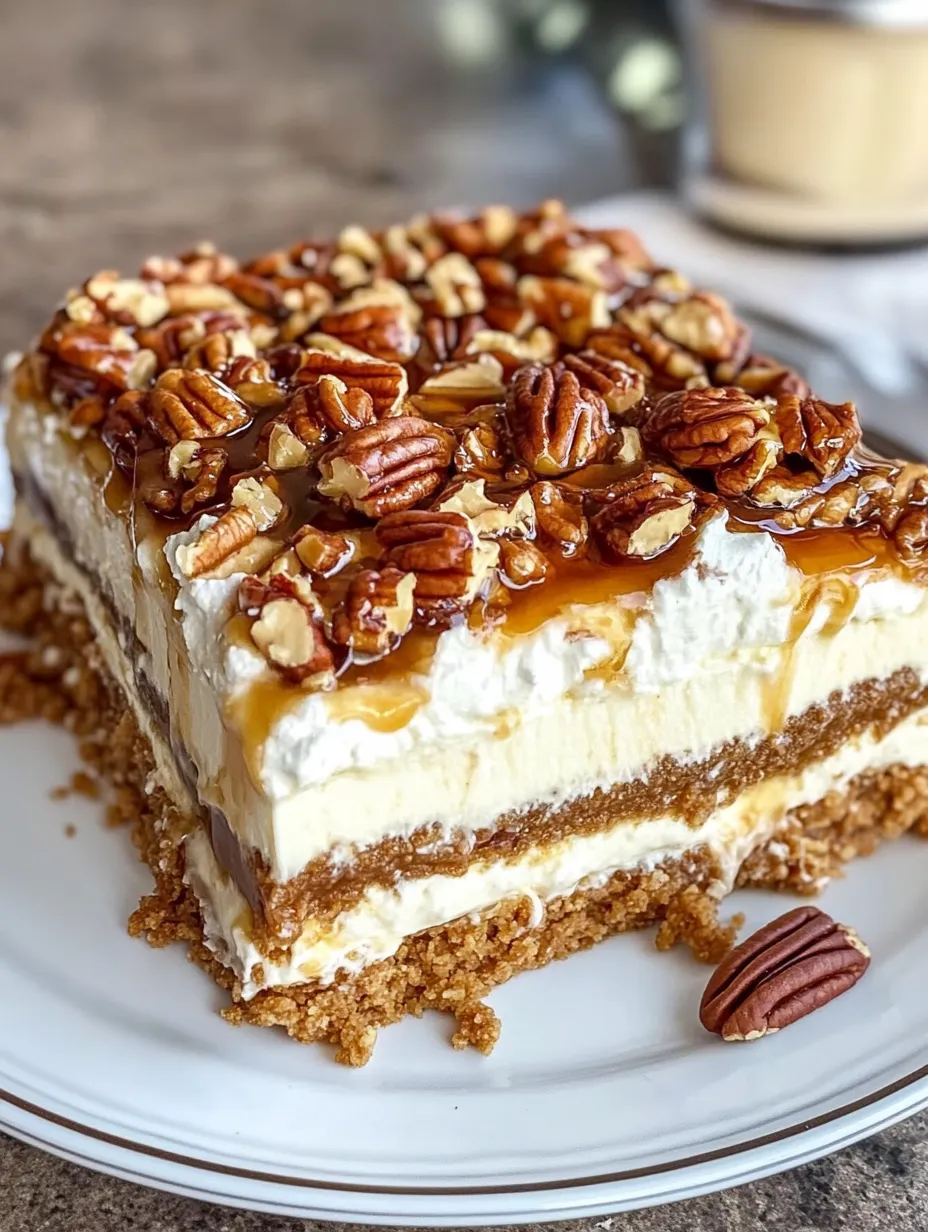
- That final sprinkle of pecans and drizzle of caramel sauce isn't just for looks – it gives guests a preview of the flavors inside and adds textural contrast to the creamy top. I like to add the caramel drizzle in a crosshatch pattern using a squeeze bottle for control.
My first attempt at this dessert was nearly disastrous – I rushed the process and poured hot pecan filling directly onto the cream cheese layer. The result was a tasty but unattractive swirled mess that my husband dubbed "Pecan Pie Soup." I've since learned that proper cooling time between layers is non-negotiable. I've also experimented with the ratio of pecans to filling and found this version creates the perfect balance of nutty texture without overwhelming the creamy elements.
Perfect Presentation
Transform this dessert into an even more impressive finale by serving it in individual clear glasses or mason jars for a dinner party. The visible layers create an immediate wow factor. For holiday gatherings, I place the whole dessert on a wooden board surrounded by fresh greenery and cinnamon sticks for a rustic presentation. A small pitcher of warm caramel sauce on the side allows guests to add extra drizzles to their slices.
Flavor Variations
Once you've mastered the basic recipe, try adding a teaspoon of bourbon to the pecan filling for sophisticated depth. For chocolate lovers, sprinkle mini chocolate chips between the cream cheese and pecan layers. During fall, a teaspoon of pumpkin pie spice in the cream cheese layer creates a seasonal twist. For a lighter version, I've successfully used one-third less fat cream cheese and light whipped topping without compromising much texture.
Storing Suggestions
This dessert maintains its perfect texture for up to four days when stored covered in the refrigerator. The flavors actually develop and improve after the first day, making it ideal for make-ahead holiday planning. For the cleanest slices, use a sharp knife dipped in hot water and wiped clean between cuts. While I don't recommend freezing the completed dessert as the textures can change, you can prepare and freeze the crust and cream cheese layers up to two weeks ahead, then thaw and add the remaining components.
 Pin it
I've made this Pecan Pie Lasagna for countless gatherings over the years, from casual family dinners to fancy holiday celebrations. There's something magical about the way those distinct layers come together – the buttery graham cracker base, the light cream cheese layer, the rich pecan pie filling, and that final cloud of whipped topping. While it might require a bit more patience than throwing together a quick dessert, the compliments and recipe requests make it entirely worthwhile. Even better, I can make it the day before entertaining and have one less thing to worry about day-of. That's what I call a winning dessert strategy.
Frequently Asked Questions
- → Can I make this dessert ahead of time?
- Yes! This dessert is actually better when made ahead. You can prepare it up to 2 days in advance and keep it refrigerated. In fact, overnight chilling is recommended for the best flavor and texture.
- → Can I use store-bought graham cracker crust?
- While you can use a pre-made graham cracker crust, you'd need to transfer it to a 9x9 dish or make adjustments to the recipe quantities. The homemade crust only takes a few minutes and gives you better control over thickness and sweetness.
- → Is there a way to make this dessert without corn syrup?
- You can substitute honey or maple syrup for the corn syrup, though it will slightly change the flavor. Golden syrup is another excellent alternative that will maintain a similar flavor profile.
- → Can I use homemade whipped cream instead of Cool Whip?
- Absolutely! Whip 1½ cups of heavy cream with ¼ cup powdered sugar and ½ teaspoon vanilla until stiff peaks form to replace the 2½ cups of Cool Whip. Just be aware that homemade whipped cream may not hold up as long as Cool Whip.
- → Why did my pecan filling turn out too runny?
- The pecan filling needs to be cooked until it thickens slightly, which usually takes about 5 minutes of constant stirring. If it's still runny, you likely didn't cook it long enough. Make sure to let it cool before adding it to the cream cheese layer.
- → Can this dessert be frozen?
- Yes, you can freeze this dessert for up to one month. Wrap it tightly with plastic wrap and aluminum foil to prevent freezer burn. Thaw overnight in the refrigerator before serving.
