
 Pin it
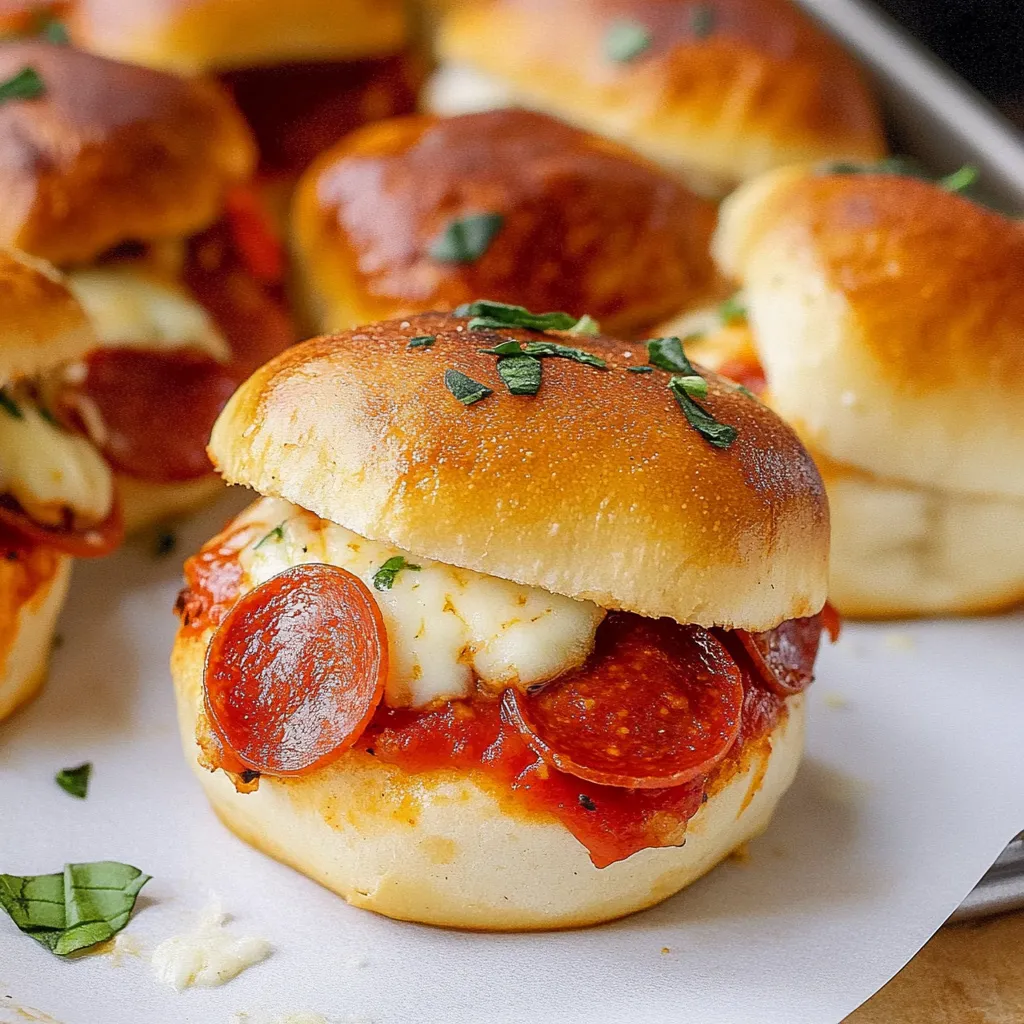
These pepperoni pizza sliders have saved my sanity at countless kids' birthday parties, game day gatherings, and those nights when I just can't deal with another round of 'what's for dinner' questions. They've got all the flavors of pizza packed into adorable little sandwiches that are way less work than making actual pizza. The rolls get all buttery and crisp on top while the inside turns into this gooey, cheesy pizza heaven.
Last Super Bowl, I made three batches of these, thinking we'd have leftovers. They disappeared before halftime, and my friend's husband was hunting through the kitchen looking for more. My 10-year-old nephew declared them 'better than regular pizza' which might be the highest praise possible from a kid that age.
Perfect Ingredients
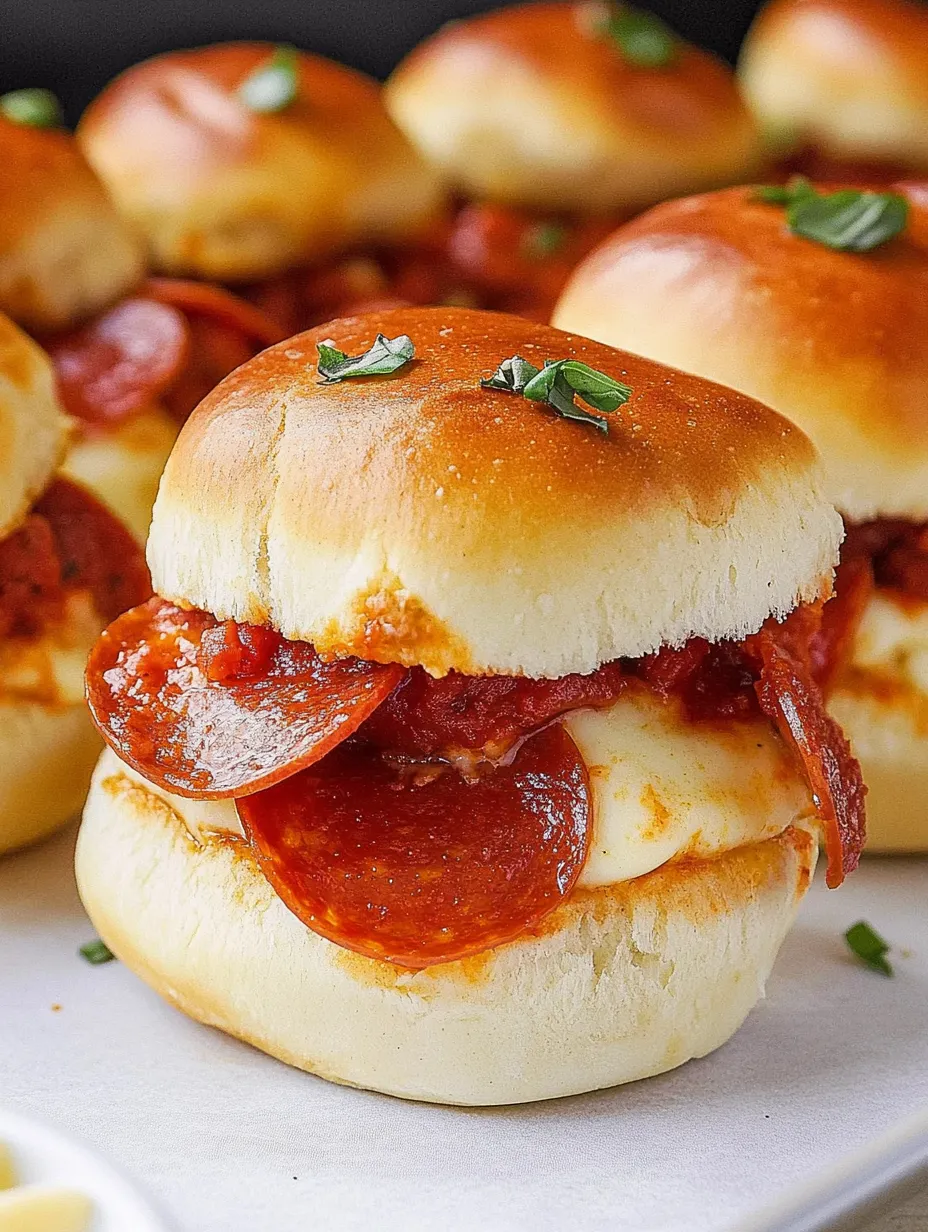
- Hawaiian rolls: That slight sweetness against the savory fillings is absolute magic. Plus, they come connected which makes assembly so much easier.
- Marinara sauce: Don't go overboard here or you'll end up with soggy sliders. A thin layer does the trick. I like to use a chunkier sauce that won't soak into the bread too quickly.
- Mozzarella cheese: Freshly shredded melts way better than the pre-shredded bags with anti-caking agents. The extra two minutes of grating is totally worth it.
- Mini pepperoni: These little guys distribute more evenly than full-sized slices, so you get pepperoni in every bite. Plus, they're just cute.
- The butter topping: This garlicky, herby mixture turns the ordinary rolls into something special as it soaks in and crisps up the tops.
 Pin it
Slider Magic
- Keep those buns connected:
- Using a large serrated knife to slice all the rolls in half horizontally while they're still connected makes assembly ridiculously easy. Just one clean cut and you're done.
- Build in layers:
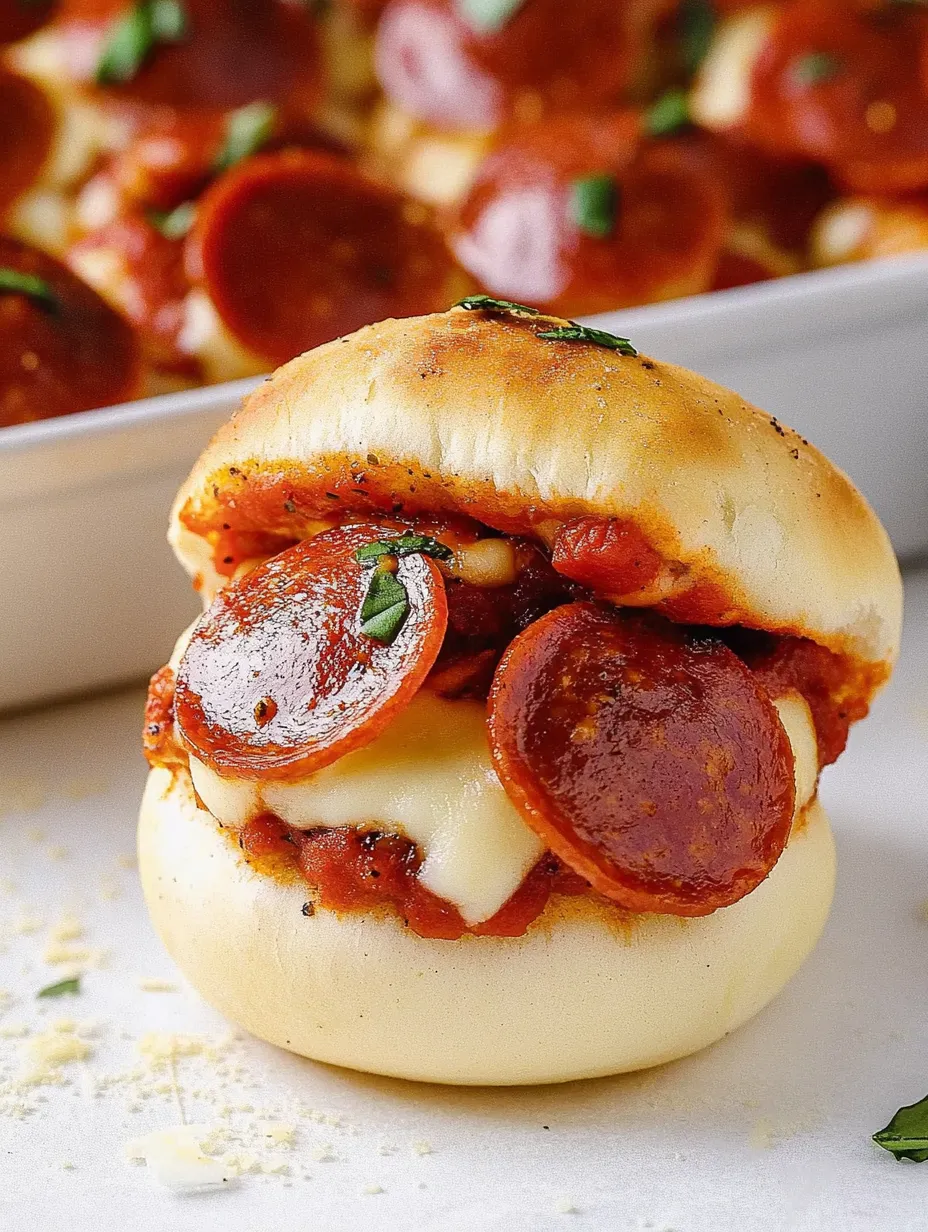
- Start with a thin layer of sauce - key word being thin. Too much will make the bottom buns soggy. Then add cheese, pepperoni, more cheese. That cheese-pepperoni-cheese layering keeps the meat from making direct contact with the bread, which helps prevent sogginess.
- Don't rush the butter brush:
- Take your time spreading that seasoned butter mixture over the tops. Get into all the nooks and crannies between the buns. This step adds tons of flavor and creates that crispy golden top that makes these irresistible.
- The foil trick:
- Covering with foil for the first part of baking allows everything to heat through and the cheese to melt without the tops getting too brown. Removing it for the last few minutes gives you that perfect crispy finish.
- Let them rest:
- Hardest part of the recipe? Waiting those few minutes after they come out of the oven before cutting. This brief rest lets everything set up a bit so the cheese doesn't all ooze out when you cut them.
- Cut smart:
- Use a sharp knife and follow the natural seams between the rolls for the cleanest cut. If they came as connected rolls, those connection points are your cutting guides.
I came up with these for my son's seventh birthday party when I realized I'd invited fifteen kids but didn't want to deal with pizza delivery timing or individual orders. I assembled them during the party games, popped them in the oven when the kids started getting hungry, and they were ready in minutes. Every parent asked for the recipe, and now they've become my signature party food. My daughter has started requesting them for her lunch box (I just wrap them individually in foil and they're still good at room temp).
Serving Ideas
Pair these sliders with a simple green salad to balance out all that cheesy goodness. For a party spread, set out small bowls of warm marinara sauce for dipping - the extra sauce takes these over the top. If you're serving adults, a crisp Italian red wine cuts through the richness perfectly.
Tasty Twists
Try a veggie version with sautéed mushrooms, bell peppers and onions (just make sure to pre-cook and drain well). For meat lovers, add a layer of cooked Italian sausage under the pepperoni. Make a white pizza version using alfredo sauce instead of marinara, topped with spinach, chicken and mozzarella.
Storage Smarts
These sliders are best fresh from the oven, but if you have leftovers, wrap them individually in foil and refrigerate for up to 2 days. Reheat in a 300°F oven for about 10 minutes until warmed through. For make-ahead prep, assemble everything except the butter topping, cover and refrigerate for up to 12 hours, then add the butter mixture and bake when ready.
 Pin it
I've made these pepperoni pizza sliders for everything from classroom parties to family movie nights to adult dinner gatherings. There's something about handheld food that makes any occasion more fun, and these deliver big pizza flavor in adorable mini form. The fact that they come together in minutes with ingredients I usually have on hand makes them my go-to when I need something crowd-pleasing without a lot of fuss.
Frequently Asked Questions
- → Can I make these sliders ahead of time?
- You can assemble them a few hours ahead and refrigerate, then brush with butter mixture and bake right before serving.
- → What other toppings can I add?
- Try cooked sausage, diced bell peppers, olives, mushrooms, or any of your favorite pizza toppings. Just avoid wet ingredients that might make the buns soggy.
- → Can I use regular hamburger buns?
- You can, but slider buns or Hawaiian rolls work best because they stay connected, making assembly and serving easier.
- → How do I store and reheat leftovers?
- Store in an airtight container in the refrigerator for up to 2 days. Reheat in a 300°F oven for 10 minutes or until warmed through.
- → What sides go well with these sliders?
- A simple green salad, vegetable sticks, potato chips, or a cup of tomato soup make perfect accompaniments.