
 Pin it
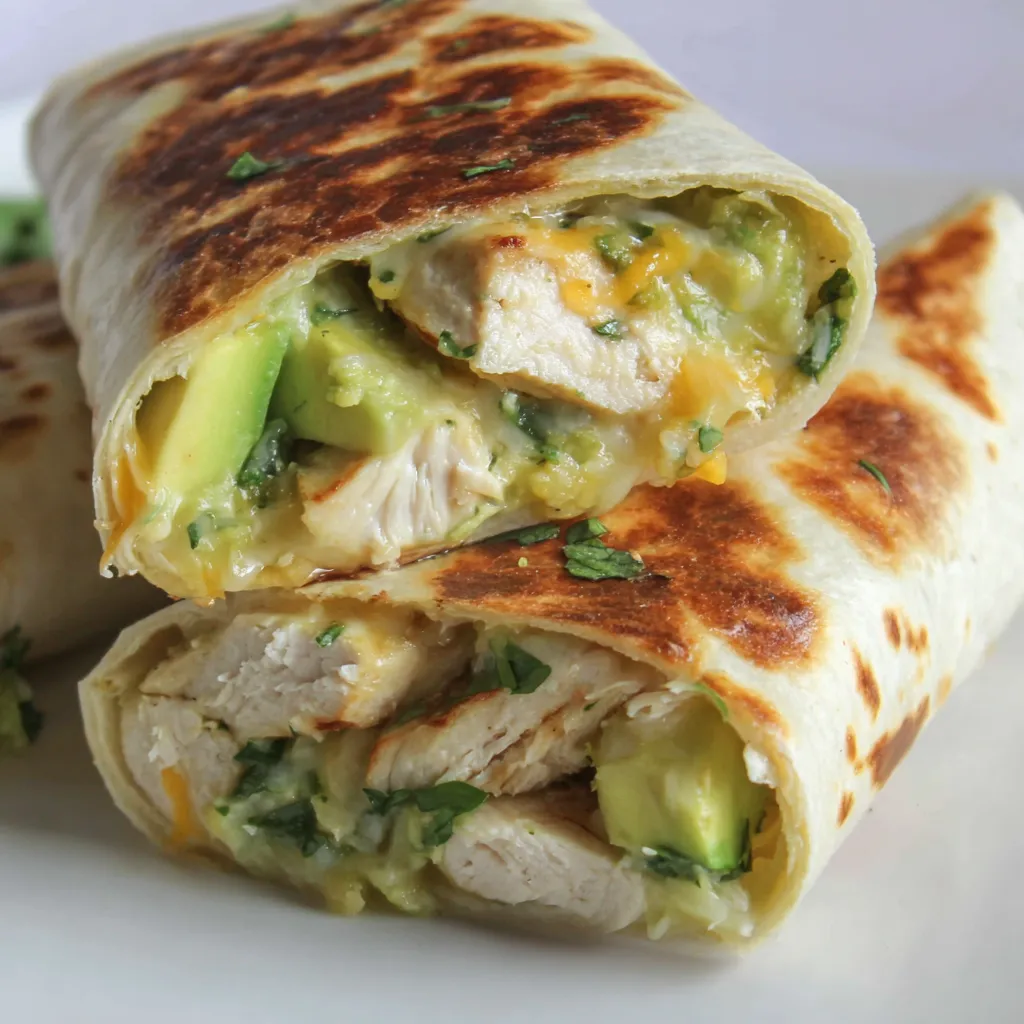
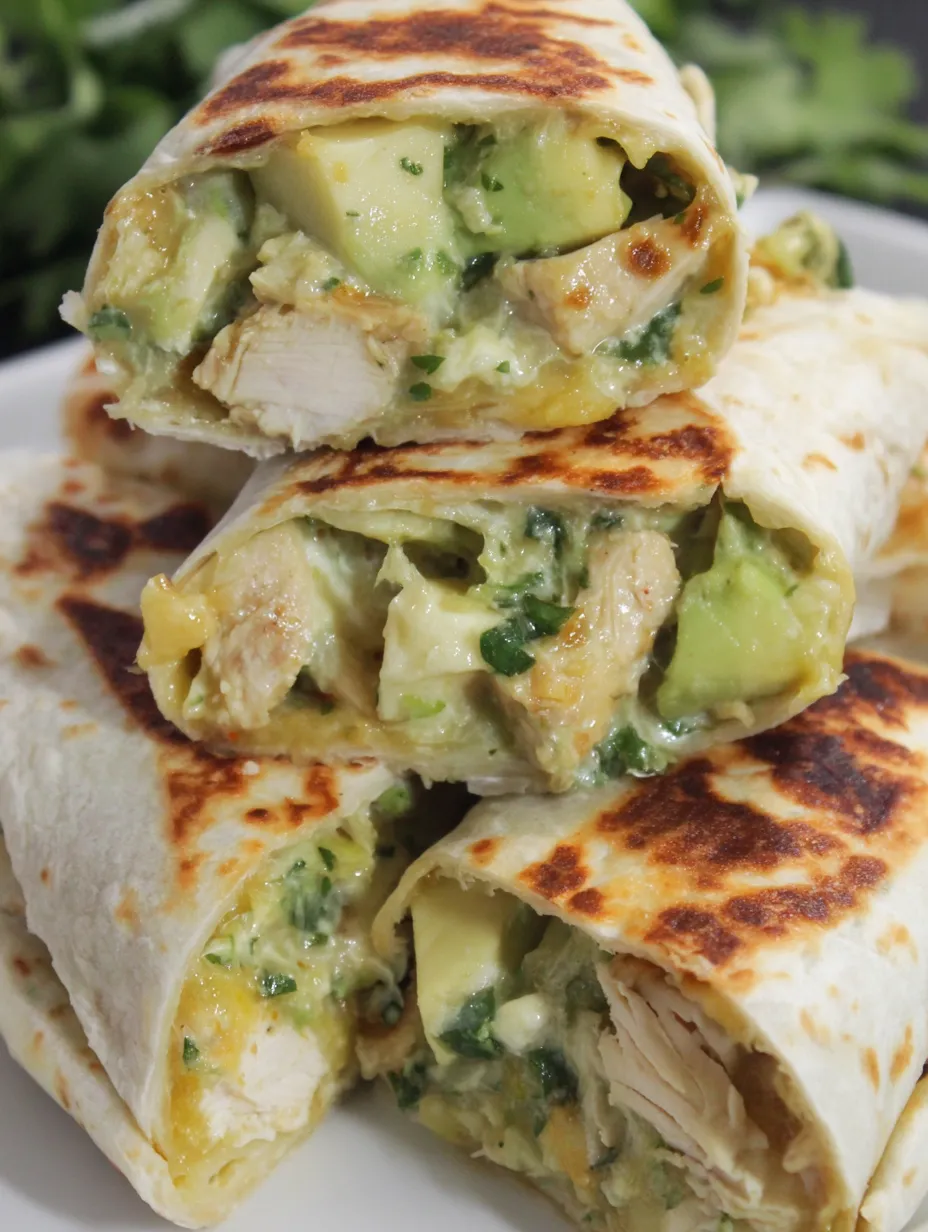
Quick and easy chicken burritos are the ultimate solution for those "starvation emergency" moments. While calling it a recipe might feel generous, this 10-minute method proves that simply folding quality ingredients into a tortilla and pan-frying them can outshine expensive delivery. By using pre-cooked rotisserie chicken, creamy avocado, and melted cheese, you create a crispy, handheld meal that satisfies even the most dramatic teenage hunger in record time.
I discovered this technique when my son came home from soccer practice with the kind of urgent hunger only a teenager can achieve. I had fifteen minutes to produce "real food" before he started raiding the pantry. My friend Jessica, who famously claims she "can't cook," started making these after seeing how easy they were. She saved fifty dollars in her first week by quitting her daily takeout habit, proving that you don't need culinary skills to make a perfect burrito—just a hot pan and a spatula.
Master Your Ingredients
- Cooked Shredded Chicken: Two cups of rotisserie chicken is the secret to the 10-minute timeline. Discard the skin and bones, and shred the meat into bite-sized pieces for even distribution
- Mexican Cheese Blend: Half a cup acts as the internal "glue." It melts quickly and binds the chicken and avocado together so the filling doesn't slide out
- Fresh Avocado: One medium avocado, diced small. Dicing ensures you get a creamy hit in every bite rather than one giant chunk in the middle
- Fresh Cilantro: Two tablespoons of chopped cilantro provide a bright, herbal contrast to the rich cheese and savory chicken
- Large Flour Tortillas: You'll need four. Flour tortillas crisp up beautifully in oil and are flexible enough to hold a substantial amount of filling without tearing
- Frying Oil: One tablespoon of a neutral oil (like vegetable or canola) to achieve that golden, toasted exterior
 Pin it
Creating Your 10-Minute Burritos
- The Filling Mix:
- Gently fold the shredded chicken, cheese, diced avocado, and cilantro in a bowl. Do not overmix; you want the avocado to remain in distinct, creamy cubes rather than becoming a mashed green paste. This preserves the texture and prevents the burrito from feeling mushy.
- The Rolling Technique:
- Place the filling in a line down the center of the tortilla. Fold the sides in first, then roll tightly from the bottom up. Aim for a compact cylinder—like a tightly rolled yoga mat. A loose roll will fall apart in the pan, while a tight roll stays sealed and crispy.
- The Perfect Pan-Fry:
- Heat the oil in a skillet over medium-high heat. Place the burritos seam-side down first. This is critical as the heat seals the flap of the tortilla, locking the filling inside. Fry for 2 minutes per side until the exterior is golden brown and the cheese is fully melted.
Through my many "emergency" dinner sessions, I've learned that patience in the pan pays off. I once tried to skip the frying step and served them as cold wraps; they were boring and structurally weak. Those four minutes in the skillet transform the ingredients into a cohesive, hot meal. I also learned the hard way that overfilling leads to a messy skillet—less is definitely more when it comes to a secure roll.
Creative Variations
Bulk up the filling with black beans or leftover Spanish rice for a heartier meal. If you're craving a kick, use Pepper Jack cheese or mix a tablespoon of salsa directly into the chicken mixture. For a breakfast twist, swap the chicken for scrambled eggs and add some crispy bacon bits.
Storage and Freezing
These burritos are best fresh, but they store well in the fridge for up to 2 days. To keep the crunch, reheat them in a dry skillet or a toaster oven rather than the microwave. For long-term prep, you can freeze them individually in foil for up to 3 months. Thaw overnight in the fridge before re-crisping in a pan.
 Pin it
Whether you're feeding a carload of hungry athletes or just looking for a way to use up that grocery store rotisserie chicken, these burritos are a reliable win. They bridge the gap between 'fast food' and 'homemade' with zero stress. Once you master the 2-minute-per-side fry, you'll never settle for a soggy, un-toasted burrito again.
Frequently Asked Questions
- → Can I use a different protein?
- Sure! Shredded beef, pork, or even black beans would work great. Just use the same amount and follow the recipe as written.
- → How do I keep the burritos from falling apart?
- Make sure to fold in the sides before rolling, and place them seam side down in the pan first. The heat will help seal them closed.
- → Can I freeze these for meal prep?
- Yes! Freeze them cooked or uncooked for up to 3 months. Wrap each one individually in foil or plastic wrap, then store in a freezer bag.
- → How do I reheat frozen burritos?
- Microwave for 2-3 minutes until heated through, or bake at 350°F for 15-20 minutes. If baking from frozen, add 5-10 extra minutes.
- → What can I add to make these more filling?
- Rice, black beans, corn, bell peppers, or even scrambled eggs would all be great additions. Just don't overfill or they'll be hard to roll.
- → Do I have to pan-fry them?
- Nope! You can eat them as soft burritos without frying. Or bake them at 400°F for 10-12 minutes to crisp them up instead of pan-frying.