
 Pin it
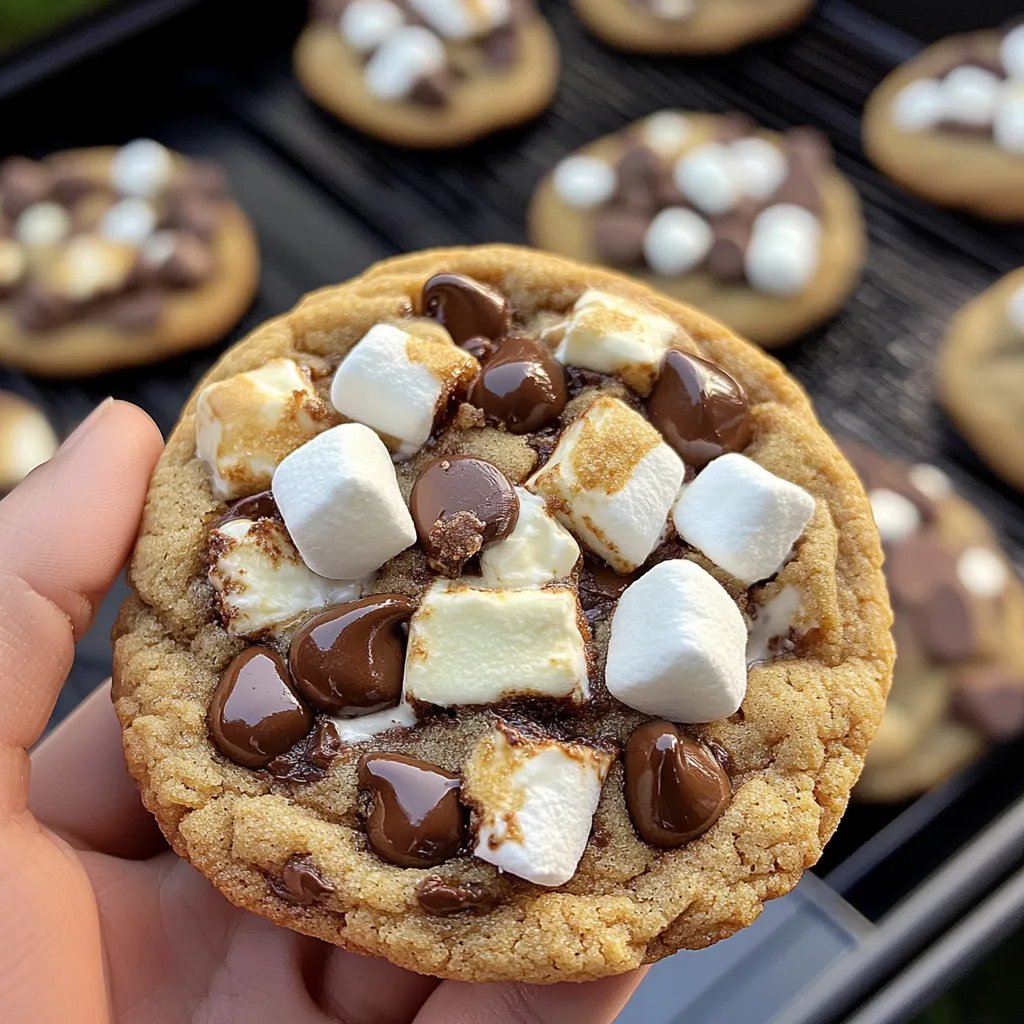
Listen, these cookies were born from a happy accident last summer. We were rained out of our camping trip, and my kids were devastated about missing s'mores night. I had all the ingredients sitting on the counter—plus some Hershey's Cookies & Cream bars my daughter had begged for at the grocery store. Somehow, all those goodies ended up in my cookie dough, and now my family won't let me make chocolate chip cookies any other way! They're chewy on the edges, gooey in the middle, with those perfectly toasted marshmallows that take me straight back to childhood campfires.
My neighbor Tom, who swears he "doesn't like sweets," ate four of these when I brought them to our block party last month. His wife texted me the next day asking for the recipe because apparently he wouldn't stop talking about them. I've created a monster, and I'm not even sorry!
Ingredients
- Butter: I use Land O'Lakes unsalted because it has a consistent fat content. Store brand butter can be unpredictable, and these cookies deserve the good stuff.
- Brown sugar: Dark brown gives deeper molasses notes, but light works fine too. Sometimes I use both! The key is measuring it loosely packed, not firmly packed like some recipes call for.
- Graham crackers: These get folded directly into the dough AND pressed on top. Don't crush them too finely for the topping—you want visible chunks that give that authentic s'mores look.
- Mini marshmallows: Regular marshmallows work too, but they'll create giant pockets of goo (which isn't necessarily a bad thing!). I cut regular marshmallows into quarters with kitchen scissors when I'm out of minis.
- Hershey's Cookies & Cream bars: This is what sets these cookies apart from regular s'mores cookies. The vanilla cookie bits in the chocolate add this amazing texture contrast. I've tried other brands, but Hershey's truly works best here.
 Pin it
Step-by-Step Instructions
- Butter wisdom
- Getting the right texture starts with perfectly softened butter. It should yield easily to a finger press but not be melty or greasy. I leave mine out for about an hour before baking. Once, I tried to shortcut with the microwave and ended up with flat, greasy cookies. Never again!
- Sugar incorporation
- Creating that perfect chewy texture depends on proper creaming. Beat the butter and both sugars for a full 3-4 minutes until the mixture looks lighter in color and fluffier in texture. I scrape down the sides of my mixing bowl at least twice during this process. My first batch didn't get beat long enough, and the cookies were denser and less chewy.
- Egg addition
- Achieving the right structure requires patience. Add eggs one at a time, mixing well after each addition. I learned this mattered when I dumped both eggs in at once during a rushed batch, and the cookies spread way too much. That extra minute of mixing time makes a real difference!
- Flour technique
- Building the right foundation means not overmixing. I whisk the dry ingredients in a separate bowl first to evenly distribute the leavening agents, then add them gradually to the wet ingredients. Stop mixing as soon as the flour disappears—overmixing develops gluten and makes tough cookies. I use a wooden spoon for the final mix to avoid that problem.
- Perfect toppings
- Creating that authentic s'mores experience is all about timing. The two-stage baking process is crucial—if you add the marshmallows and chocolate before baking, they'll completely melt and disappear into the cookie. Adding them halfway through gives them just enough time to get gooey while maintaining their shape and identity.
- Toasting technique
- Getting that campfire look makes these cookies special. If you don't have a kitchen torch, you can broil the cookies for about 30 seconds—but watch them like a hawk! I once walked away for literally 20 seconds and came back to marshmallows that looked like lumps of coal.
I've been tweaking this recipe for about two years now. Initially, I just tossed broken graham crackers into regular chocolate chip cookie dough, but incorporating them into the flour mixture gives better distribution. My son suggested adding the Cookies & Cream bars after seeing them in the pantry, and that was the game-changing addition! My daughter prefers when I use mini chocolate chips instead of regular-sized ones—she claims you get "more chocolate in every bite," and honestly, she's not wrong.
Cookie Companions
These cookies are amazing on their own, but for an over-the-top dessert experience, sandwich slightly softened vanilla ice cream between two cooled cookies for the ultimate ice cream sandwich. For summer parties, I arrange them on a platter with fresh strawberries and blueberries for a red-white-and-blue theme. They're also perfect for gifting—I pack them in mason jars tied with twine for teacher appreciation gifts. My favorite indulgent way to enjoy them is slightly warmed with a cold glass of milk on the side—absolute heaven after a long day.
Flavor Twists
This versatile base recipe works beautifully with different mix-ins. During the holidays, I swap the Cookies & Cream bars for Peppermint Bark pieces. For my chocolate-obsessed nephew, I've used chocolate graham crackers instead of regular ones. Once when I was out of semi-sweet chocolate chips, I used all white chocolate chips and they were surprisingly delicious—much sweeter, but a nice change of pace. For fall bake sales, I add a teaspoon of cinnamon to the dough and use caramel-filled chocolate squares instead of the Cookies & Cream bars.
Cookie Keeping
These cookies stay amazingly soft for about 3-4 days in an airtight container. The trick is adding a piece of sandwich bread to the container—the cookies absorb moisture from the bread and stay fresh longer. I usually store them with wax paper between layers to prevent sticking. For longer storage, the baked cookies freeze beautifully for up to 3 months—just thaw at room temperature for about an hour before serving. To refresh day-old cookies, 10 seconds in the microwave brings back that just-baked gooeyness.
 Pin it
I've made these cookies for countless school functions, neighborhood potlucks, and family gatherings. There's something about the combination of nostalgic s'mores flavors with the unexpected twist of cookies and cream chocolate that makes them irresistible to pretty much everyone. My favorite thing is watching someone take their first bite—there's always this moment of surprise followed by the "oh wow" face that tells me these cookies have found another fan. While they're a bit more involved than basic chocolate chip cookies, the extra steps are totally worth it for the joy they bring. And isn't that what baking is all about?
Frequently Asked Questions
- → Can I use regular-sized marshmallows instead of mini ones?
- You can, but cut them into quarters first. Mini marshmallows work best because they melt more evenly and don't overwhelm the cookies.
- → What if I don't have a kitchen torch?
- No problem! The cookies are delicious without toasting the marshmallows. You could also place them under a broiler for a few seconds (watch them carefully!).
- → Can I substitute another type of chocolate bar?
- Absolutely! Regular Hershey's bars, Cookies 'n' Cream bars, or even chopped Oreo cookies would all work well in this recipe.
- → How do I store these cookies?
- Store in an airtight container at room temperature for up to 3 days. The marshmallows may soften over time, which is completely normal.
- → Can I freeze the cookie dough?
- Yes! Freeze the shaped dough balls without toppings. When ready to bake, add a minute to the initial baking time, then add toppings and finish baking as directed.